I Fixed My Worst Sourdough Fail Ever (And How You Can Too)
From dense brick to golden perfection—here's how I turned my biggest baking disaster into my best learning experience.
Published on March 21, 2026
Picture this: You've been nurturing your sourdough starter for weeks, dreaming of that perfect loaf with its golden crust and airy crumb. You follow every step religiously, shape your dough with care, and slip it into the oven with high hopes.
Then you pull out what looks like a sourdough pancake.
Yep, that was me three months ago. And friend, I was devastated.

The Epic Fail That Changed Everything
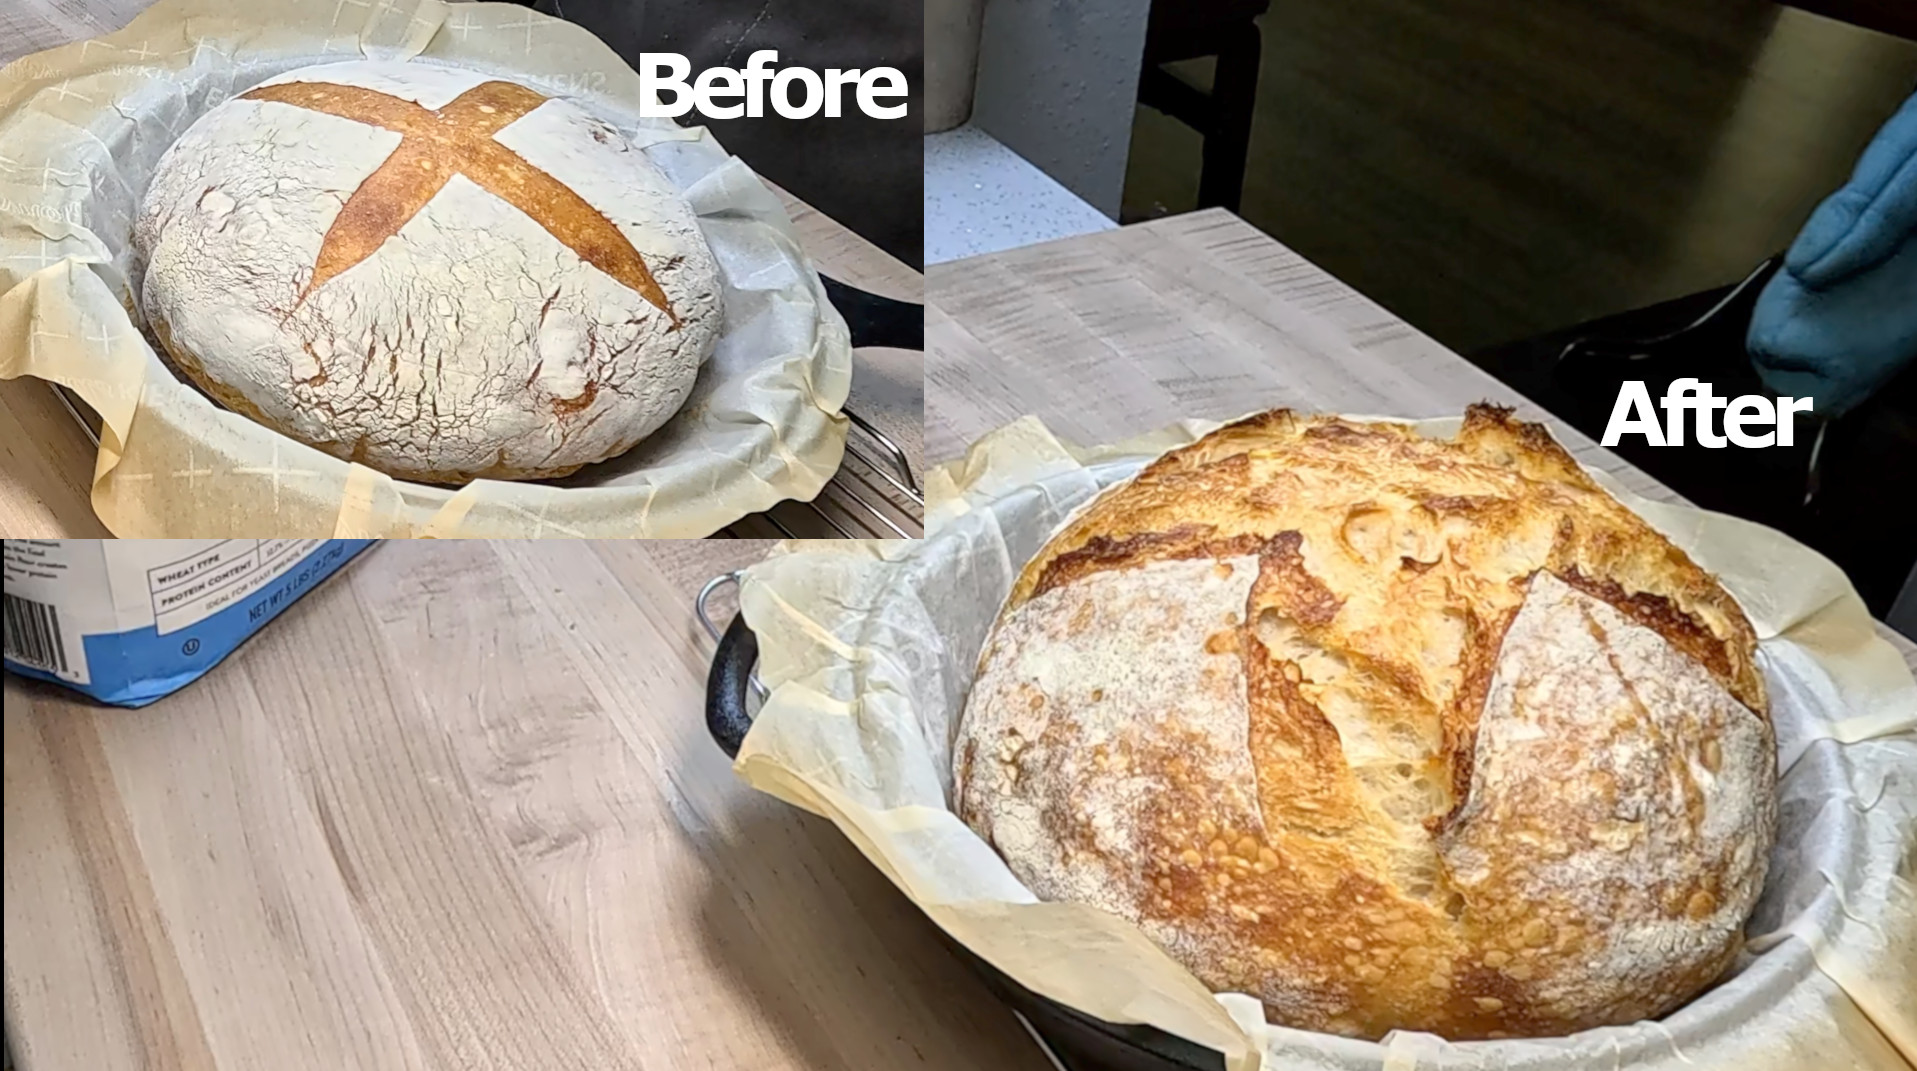
My disaster loaf was legendary in all the wrong ways. Dense as a brick, flat as a frisbee, and so gummy inside that I could barely cut through it. The crust looked promising—golden and crackling—but that's where the good news ended.
I stared at that failed loaf for a solid ten minutes, fighting back tears of frustration. All those days of feeding my starter, all that anticipation... gone.
But here's the thing about sourdough fails: they're not really failures. They're expensive (and sometimes inedible) lessons wrapped in flour and disappointment.
Detective Work: What Went Wrong?
After my initial pity party, I put on my detective hat and started investigating. I grabbed my notebook and started documenting everything I could remember about that disastrous bake.
The Smoking Gun: Timing Issues
The biggest culprit? I had completely misread my starter's peak activity. What I thought was "ready to go" was actually well past its prime—my poor starter had already peaked and was on its way down.
A truly active starter should double in size within 4-8 hours of feeding and pass the float test with flying colors. Mine was sluggish and barely bubbling.
The Supporting Evidence: Shaping Troubles
Looking back, my shaping technique was also suspect. I was so focused on not overworking the dough that I barely gave it any structure. The result? A loose, floppy mess that spread instead of rising.
Environmental Factors
My kitchen was unusually cold that week (thanks, broken heater!), which slowed down fermentation significantly. I should have adjusted my timing, but instead, I stuck rigidly to the recipe.
Recommended Product

KneadAce Cotton Rope Banneton Bread Proofing Basket Set, Oval & Round Bread Baskets with Liners & Covers
The Road to Redemption
Determined not to let one bad loaf defeat me, I decided to start over—but this time with a systematic approach.
Step 1: Starter CPR
First, I gave my starter some serious TLC. I switched to a more consistent feeding schedule (every 12 hours at room temperature) and started using a kitchen scale for precise measurements. Within a week, my starter was more active and predictable than ever.
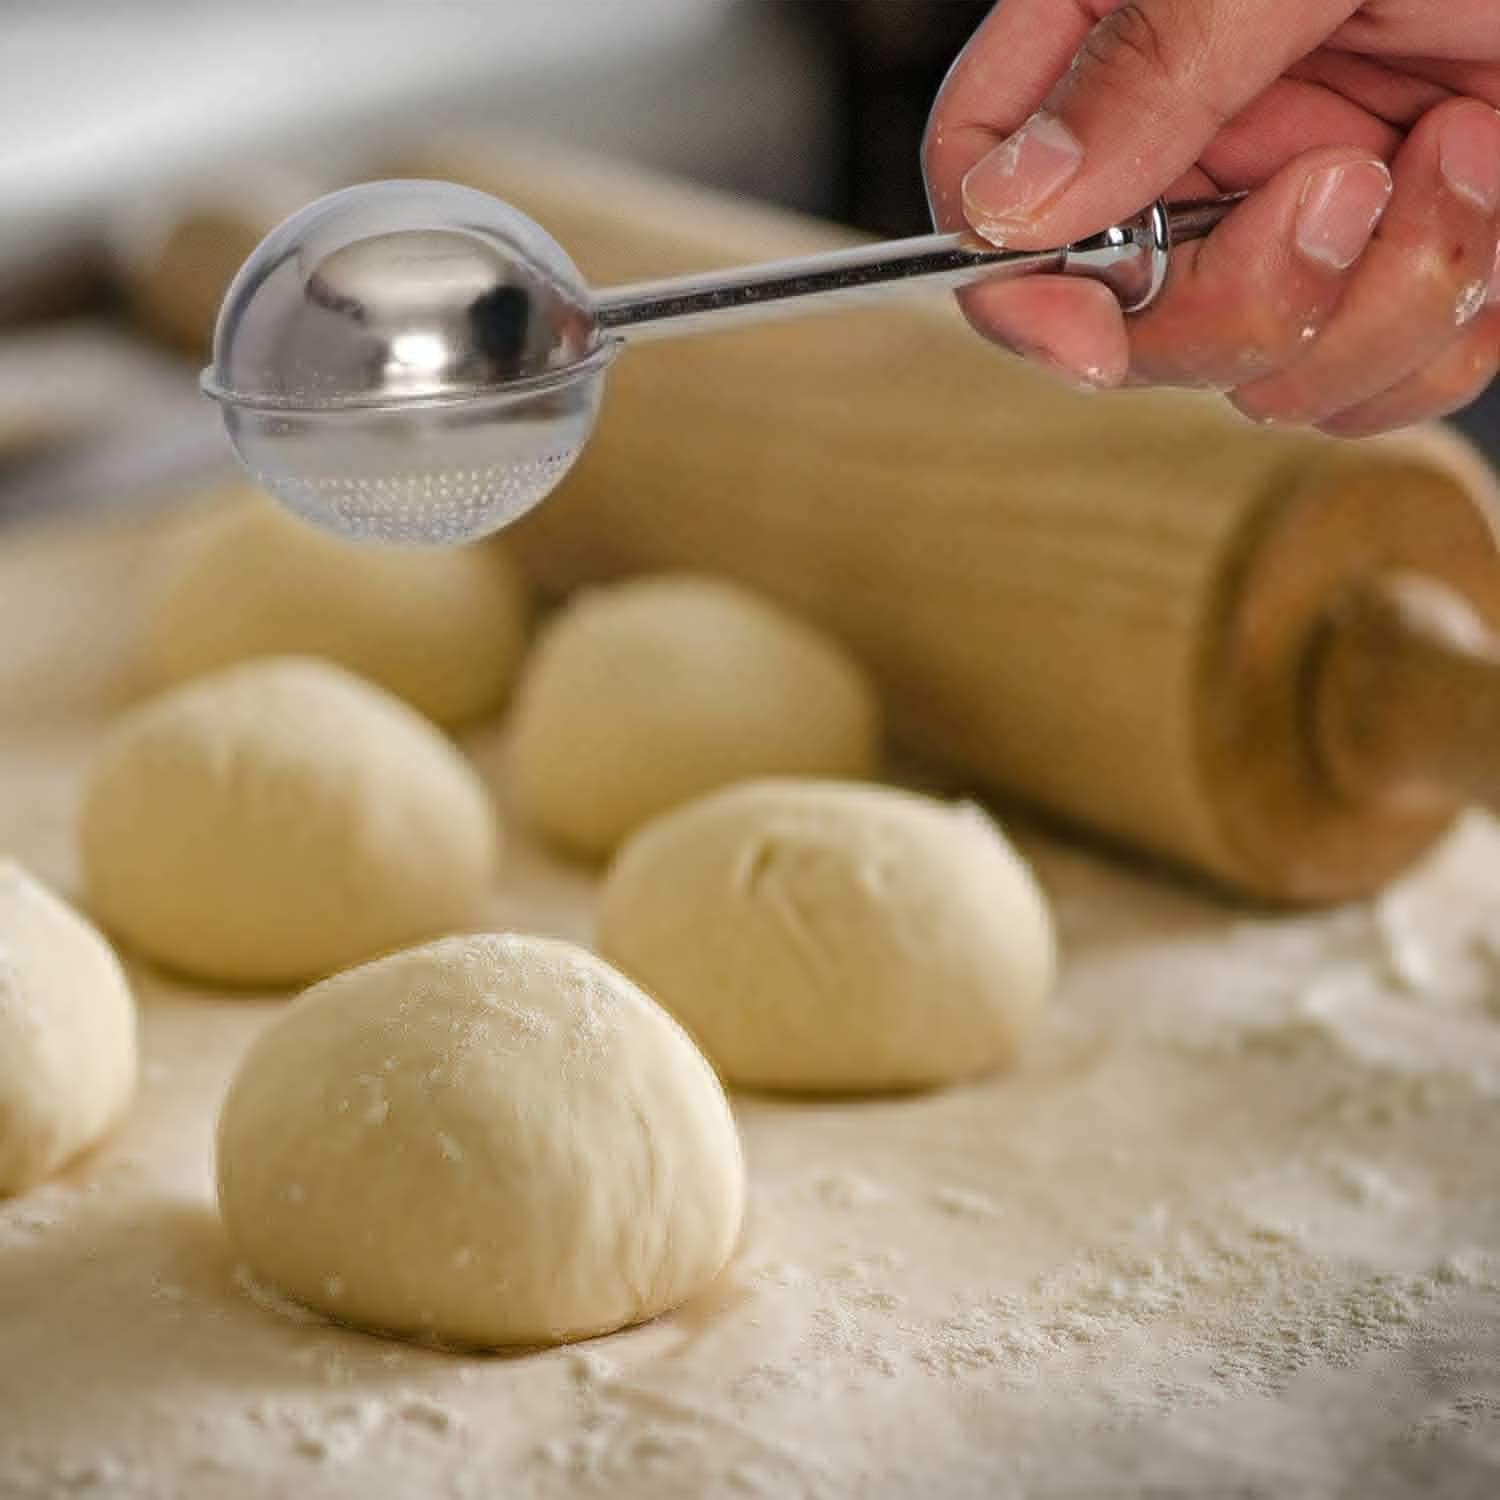
Step 2: Back to Basics
I swallowed my pride and went back to a simple Classic Sourdough Bread recipe. No fancy hydration levels, no complicated techniques—just the fundamentals done right.
Step 3: Temperature Control
I invested in a simple thermometer and started tracking my dough temperature throughout the process. This game-changer helped me understand how temperature affects fermentation timing.
Recommended Product
KneadAce Cotton Rope Banneton Bread Proofing Basket Set, Oval & Round Bread Baskets with Liners & Covers
The Breakthrough Moment
Two weeks later, I tried again. Same recipe, same ingredients, but this time I was armed with knowledge from my spectacular failure.
I waited for my starter to truly peak—doubling in size with a sweet, tangy aroma and passing the float test easily. I paid attention to dough temperature and adjusted my timeline accordingly. Most importantly, I gave proper attention to shaping, creating tension in the dough surface.
When I pulled that loaf from the oven, I actually gasped. Golden crust, beautiful oven spring, and when I cut into it the next day—an open, chewy crumb with those coveted irregular holes.
It was redemption in bread form.
Recommended Product

Sally's Organics® Empty Clear Glass Spray Bottles - Refillable 16 oz
What I Learned (And What You Can Too)
Your Starter Is Your Foundation
Everything starts with a healthy, active starter. If you're having consistent issues, spend time getting your starter in peak condition before attempting another loaf. It's not glamorous, but it's essential.
Timing Is Everything, But Not Rigid
Recipes give you guidelines, not gospel. Learn to read your dough's signals—how it feels, looks, and behaves—rather than blindly following timestamps.
Temperature Awareness Changes Everything
Understanding how temperature affects fermentation was my biggest breakthrough. Cooler temperatures slow things down; warmer speeds them up. Adjust accordingly.
Embrace the Learning Process
Every "failed" loaf teaches you something valuable. I learned more from that disaster than from my previous successful bakes combined.
Recommended Product
Sally's Organics® Empty Clear Glass Spray Bottles - Refillable 16 oz
Your Fail-Safe Action Plan
If you're facing your own sourdough disaster, here's your recovery roadmap:
- Document everything about your failed attempt
- Assess your starter health and activity level
- Start simple with a No-Knead Sourdough Bread: No Dutch Oven recipe
- Focus on one variable at a time when troubleshooting
- Be patient with the process and yourself
Recommended Product
HULISEN Flour Duster for Baking, One-Handed Operation, 304 Stainless Steel Powdered Sugar Shaker Duster
The Sweet Taste of Success
That "redemption loaf" tasted incredible—not just because of its perfect crumb and tangy flavor, but because of the journey it represented. Every dense, flat, or gummy loaf before it had taught me something valuable.
Now, several months later, I consistently bake beautiful sourdough. But I keep a photo of that epic fail on my phone as a reminder: every expert was once a beginner, and every master was once a disaster.
Recommended Product
HULISEN Flour Duster for Baking, One-Handed Operation, 304 Stainless Steel Powdered Sugar Shaker Duster
Your Turn to Rise Above
Have you faced your own sourdough disaster? Don't throw in the tea towel just yet. That spectacular fail might just be the catalyst for your biggest breakthrough.
Take notes, adjust your approach, and try again. Your future self—and your taste buds—will thank you.
What's your biggest sourdough lesson learned the hard way? Share your story in the comments below, and let's turn our collective baking disasters into wisdom for the next generation of home bakers!
Comments
Sign in to join the conversation
Sign In