Your First Loaf: Complete Sourdough Beginner's Guide
Ready to bake your first sourdough loaf? This complete beginner's guide walks you through every step with confidence-building tips and tricks.
Published on February 18, 2026
There's something magical about pulling your very first sourdough loaf from the oven. The golden crust crackles as it cools, releasing that distinctive tangy aroma that fills your entire kitchen. If you're standing at the threshold of your sourdough journey, feeling equal parts excited and intimidated, you're in exactly the right place.
Baking sourdough isn't just about following a recipe—it's about developing an intuitive relationship with living ingredients. Don't worry though; thousands of home bakers have walked this path before you, and with the right guidance, your first loaf can be absolutely delicious.
Before You Begin: Setting Yourself Up for Success
Your Sourdough Starter is Your Best Friend
First things first: you'll need an active, bubbly sourdough starter. This living culture of wild yeast and bacteria is the heart of every great sourdough loaf. Your starter should double in size within 4-8 hours of feeding and have a pleasant, tangy smell—like yogurt or vinegar.
If your starter passes the "float test" (a spoonful floats in water), you're ready to bake!
Essential Equipment (Nothing Fancy Required)
The beauty of sourdough is its simplicity. You likely have everything you need:
- Large mixing bowl
- Kitchen scale (highly recommended)
- Bench scraper or large spoon
- Clean kitchen towel
- Baking sheet or loaf pan
- Sharp knife or razor blade
Notice what's NOT on this list? A Dutch oven, stand mixer, or expensive equipment. Great sourdough comes from technique, not gadgets.
Choosing Your First Recipe
As a beginner, I strongly recommend starting with a no-knead method. These recipes are incredibly forgiving and require minimal hands-on time. The magic happens through long fermentation, not intensive kneading.
Our No-Knead Sourdough Bread: No Dutch Oven (AP Flour Edition) is perfect for first-timers. It uses just all-purpose flour and basic equipment you already own.
For those ready for a slightly more involved process, the Classic Sourdough Bread offers that authentic artisan experience with a crackling crust and open crumb.
The Step-by-Step Process
Step 1: Mixing Your Dough
Sourdough mixing is different from regular bread. You're combining just four ingredients: flour, water, salt, and your active starter. The dough will look shaggy and rough at first—this is completely normal!
Mix until no dry flour remains. The dough should feel sticky and somewhat unmanageable. Resist the urge to add more flour; stickiness is your friend in sourdough baking.
Step 2: Bulk Fermentation (The Waiting Game)
This is where the magic happens. During bulk fermentation, your dough transforms from a sticky mess into smooth, elastic bread dough. The wild yeast works its magic, creating flavor and structure.
For beginners, I recommend a long, slow fermentation at room temperature (6-12 hours) or even better, an overnight cold fermentation in the refrigerator. This extended time develops incredible flavor and makes the dough easier to handle.
Step 3: Shaping (Keep It Simple)
Don't overthink shaping for your first loaf. A simple boule (round loaf) or placing the dough in a loaf pan works perfectly. The goal is creating some surface tension without deflating all those beautiful bubbles you've developed.
Handle the dough gently but confidently. It's more resilient than you think!
Step 4: Final Proof
Your shaped dough needs one last rise. This can take anywhere from 2-4 hours at room temperature or overnight in the refrigerator. The dough is ready when it springs back slowly from a gentle poke—not immediately, but not staying indented either.
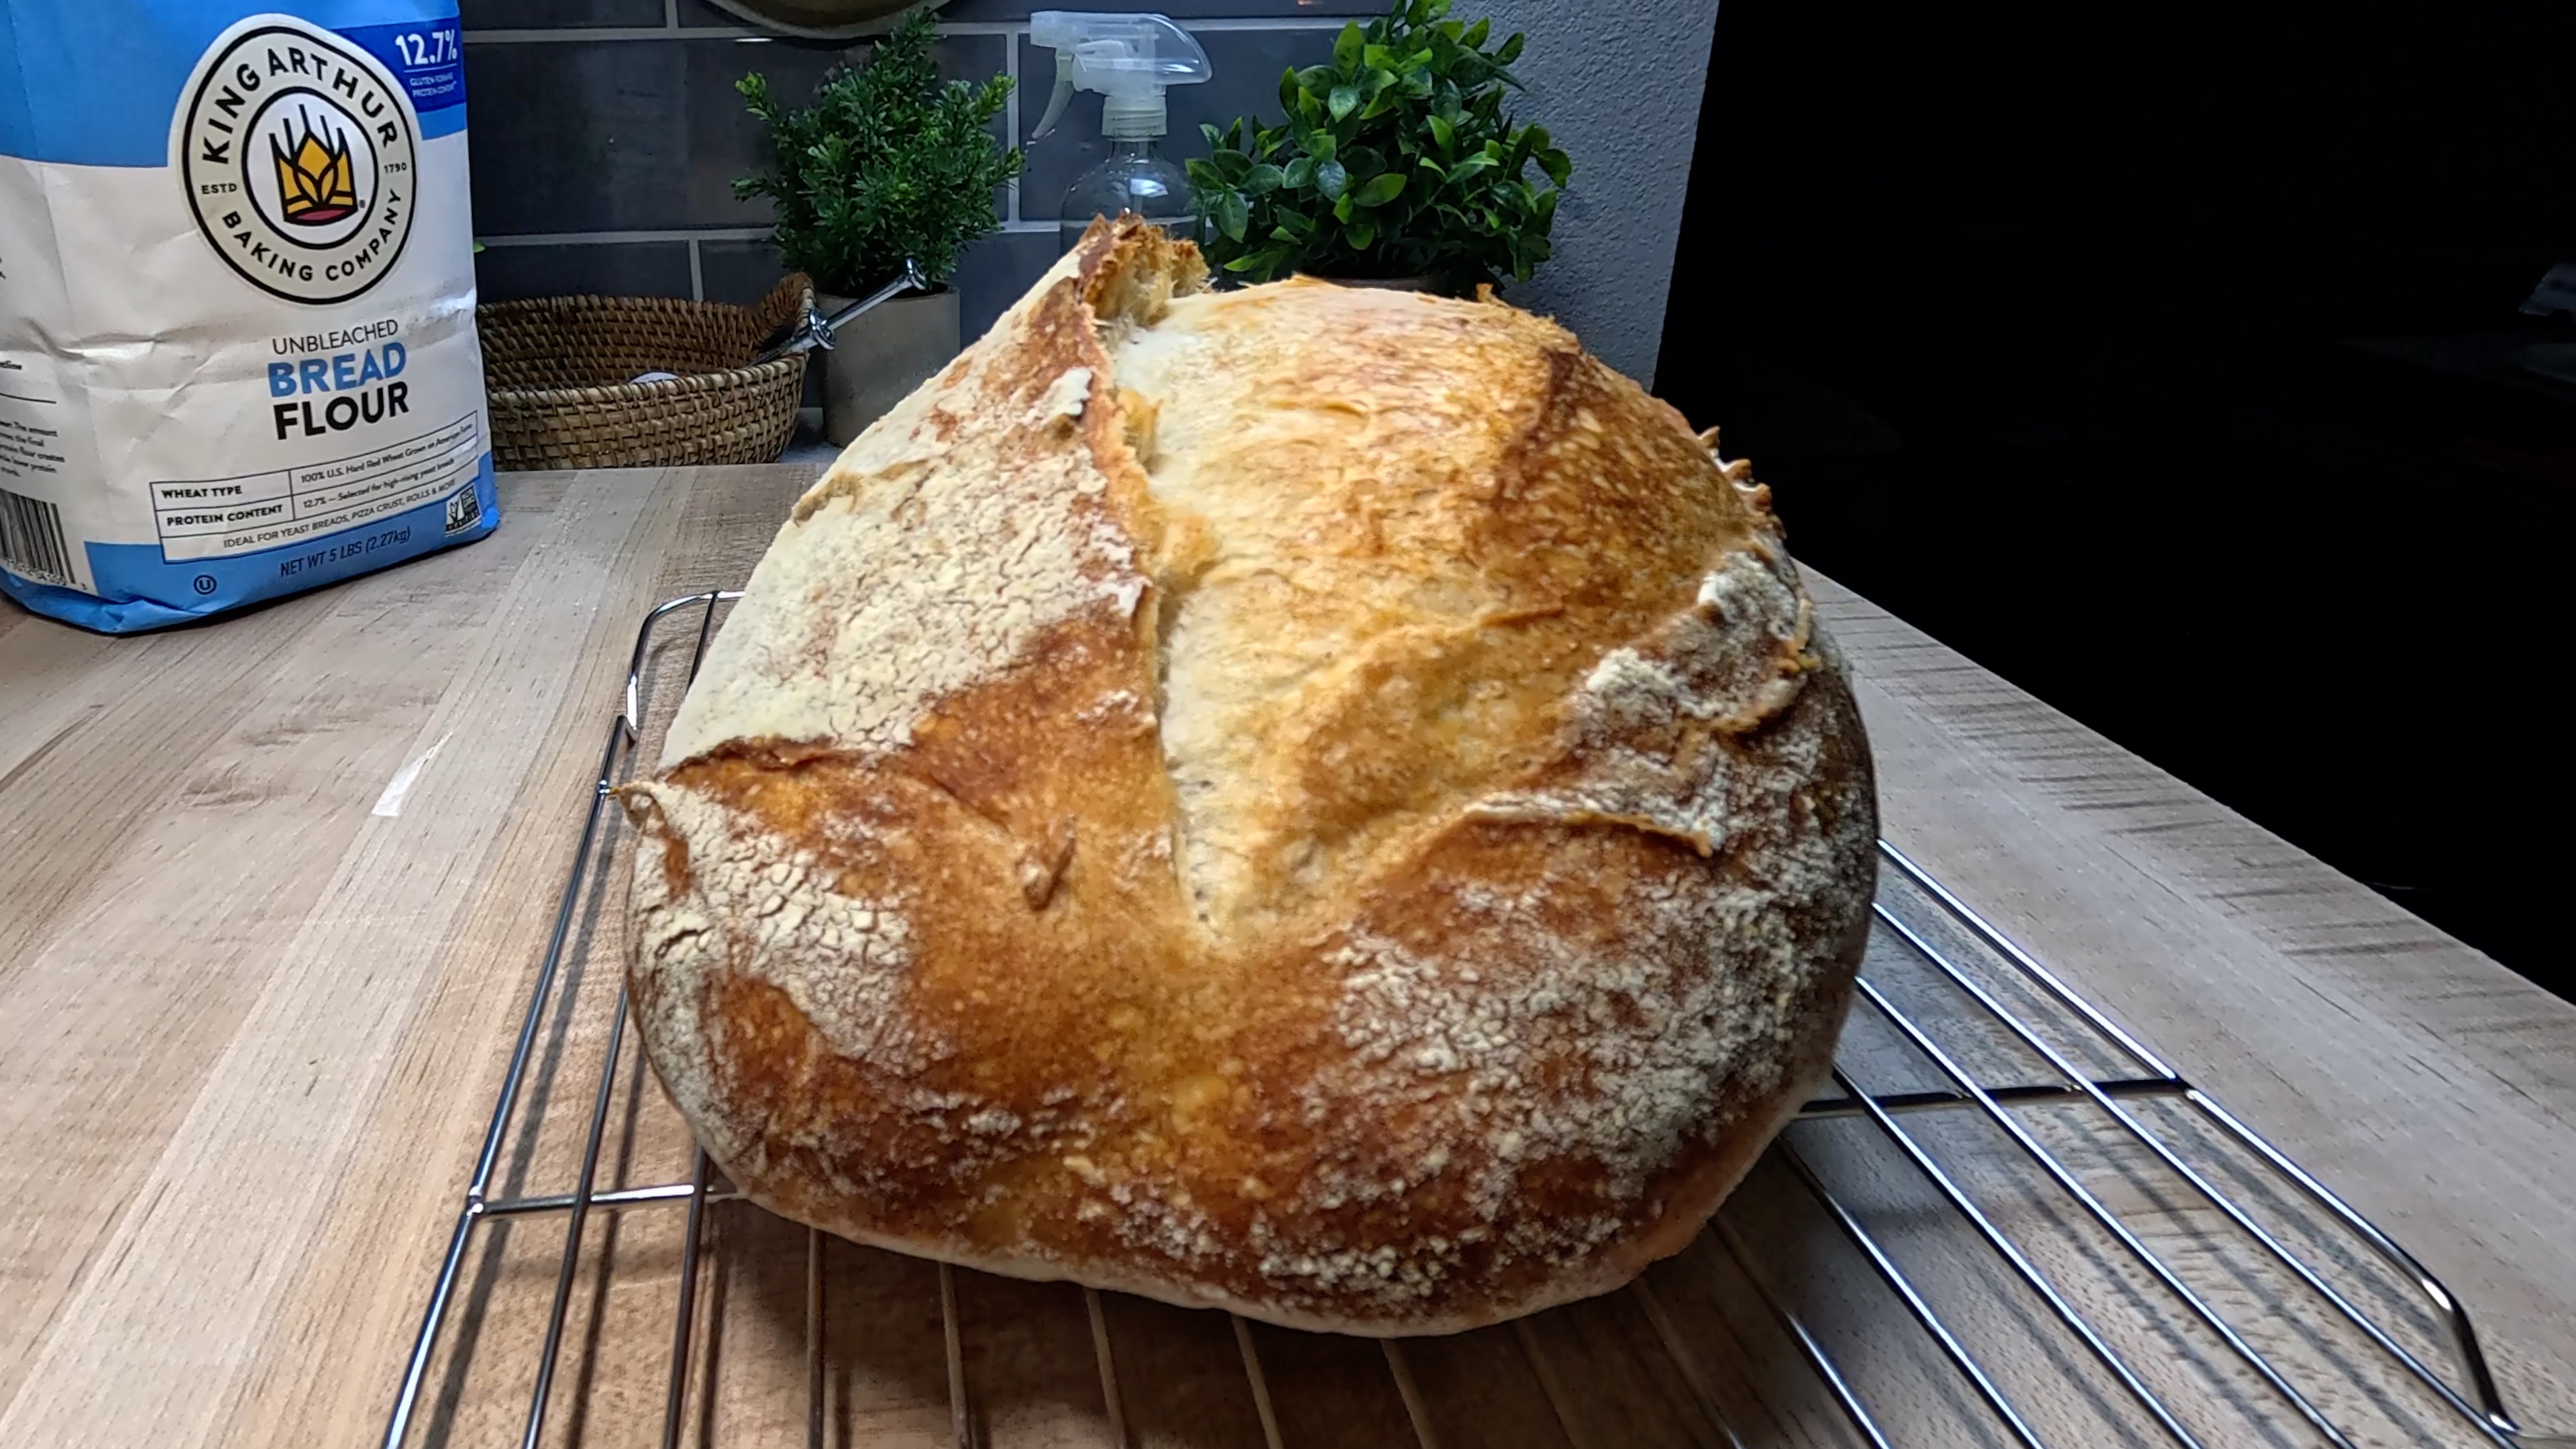
Step 5: Scoring and Baking
Scoring isn't just decorative; it controls how your bread expands in the oven. A simple slash down the center with a sharp blade works perfectly for beginners.
Bake at high heat (450°F) for that gorgeous golden crust. Steam during the first 15 minutes (a pan of hot water in the oven works great) to help create that crackling exterior we all love.
Common Beginner Mistakes (And How to Avoid Them)
Mistake #1: Inactive Starter
Solution: Always use your starter at its peak activity—bubbly, doubled in size, and pleasantly tangy.
Mistake #2: Over-proofing
Solution: Watch for visual cues rather than strict timing. The dough should look puffy but still hold its shape.
Mistake #3: Adding Too Much Flour
Solution: Embrace the stickiness! Wet hands and a bench scraper are your best tools for handling sticky dough.
Mistake #4: Expecting Perfection
Solution: Your first loaf might be dense, wonky-shaped, or over-proofed. That's completely normal and still delicious!
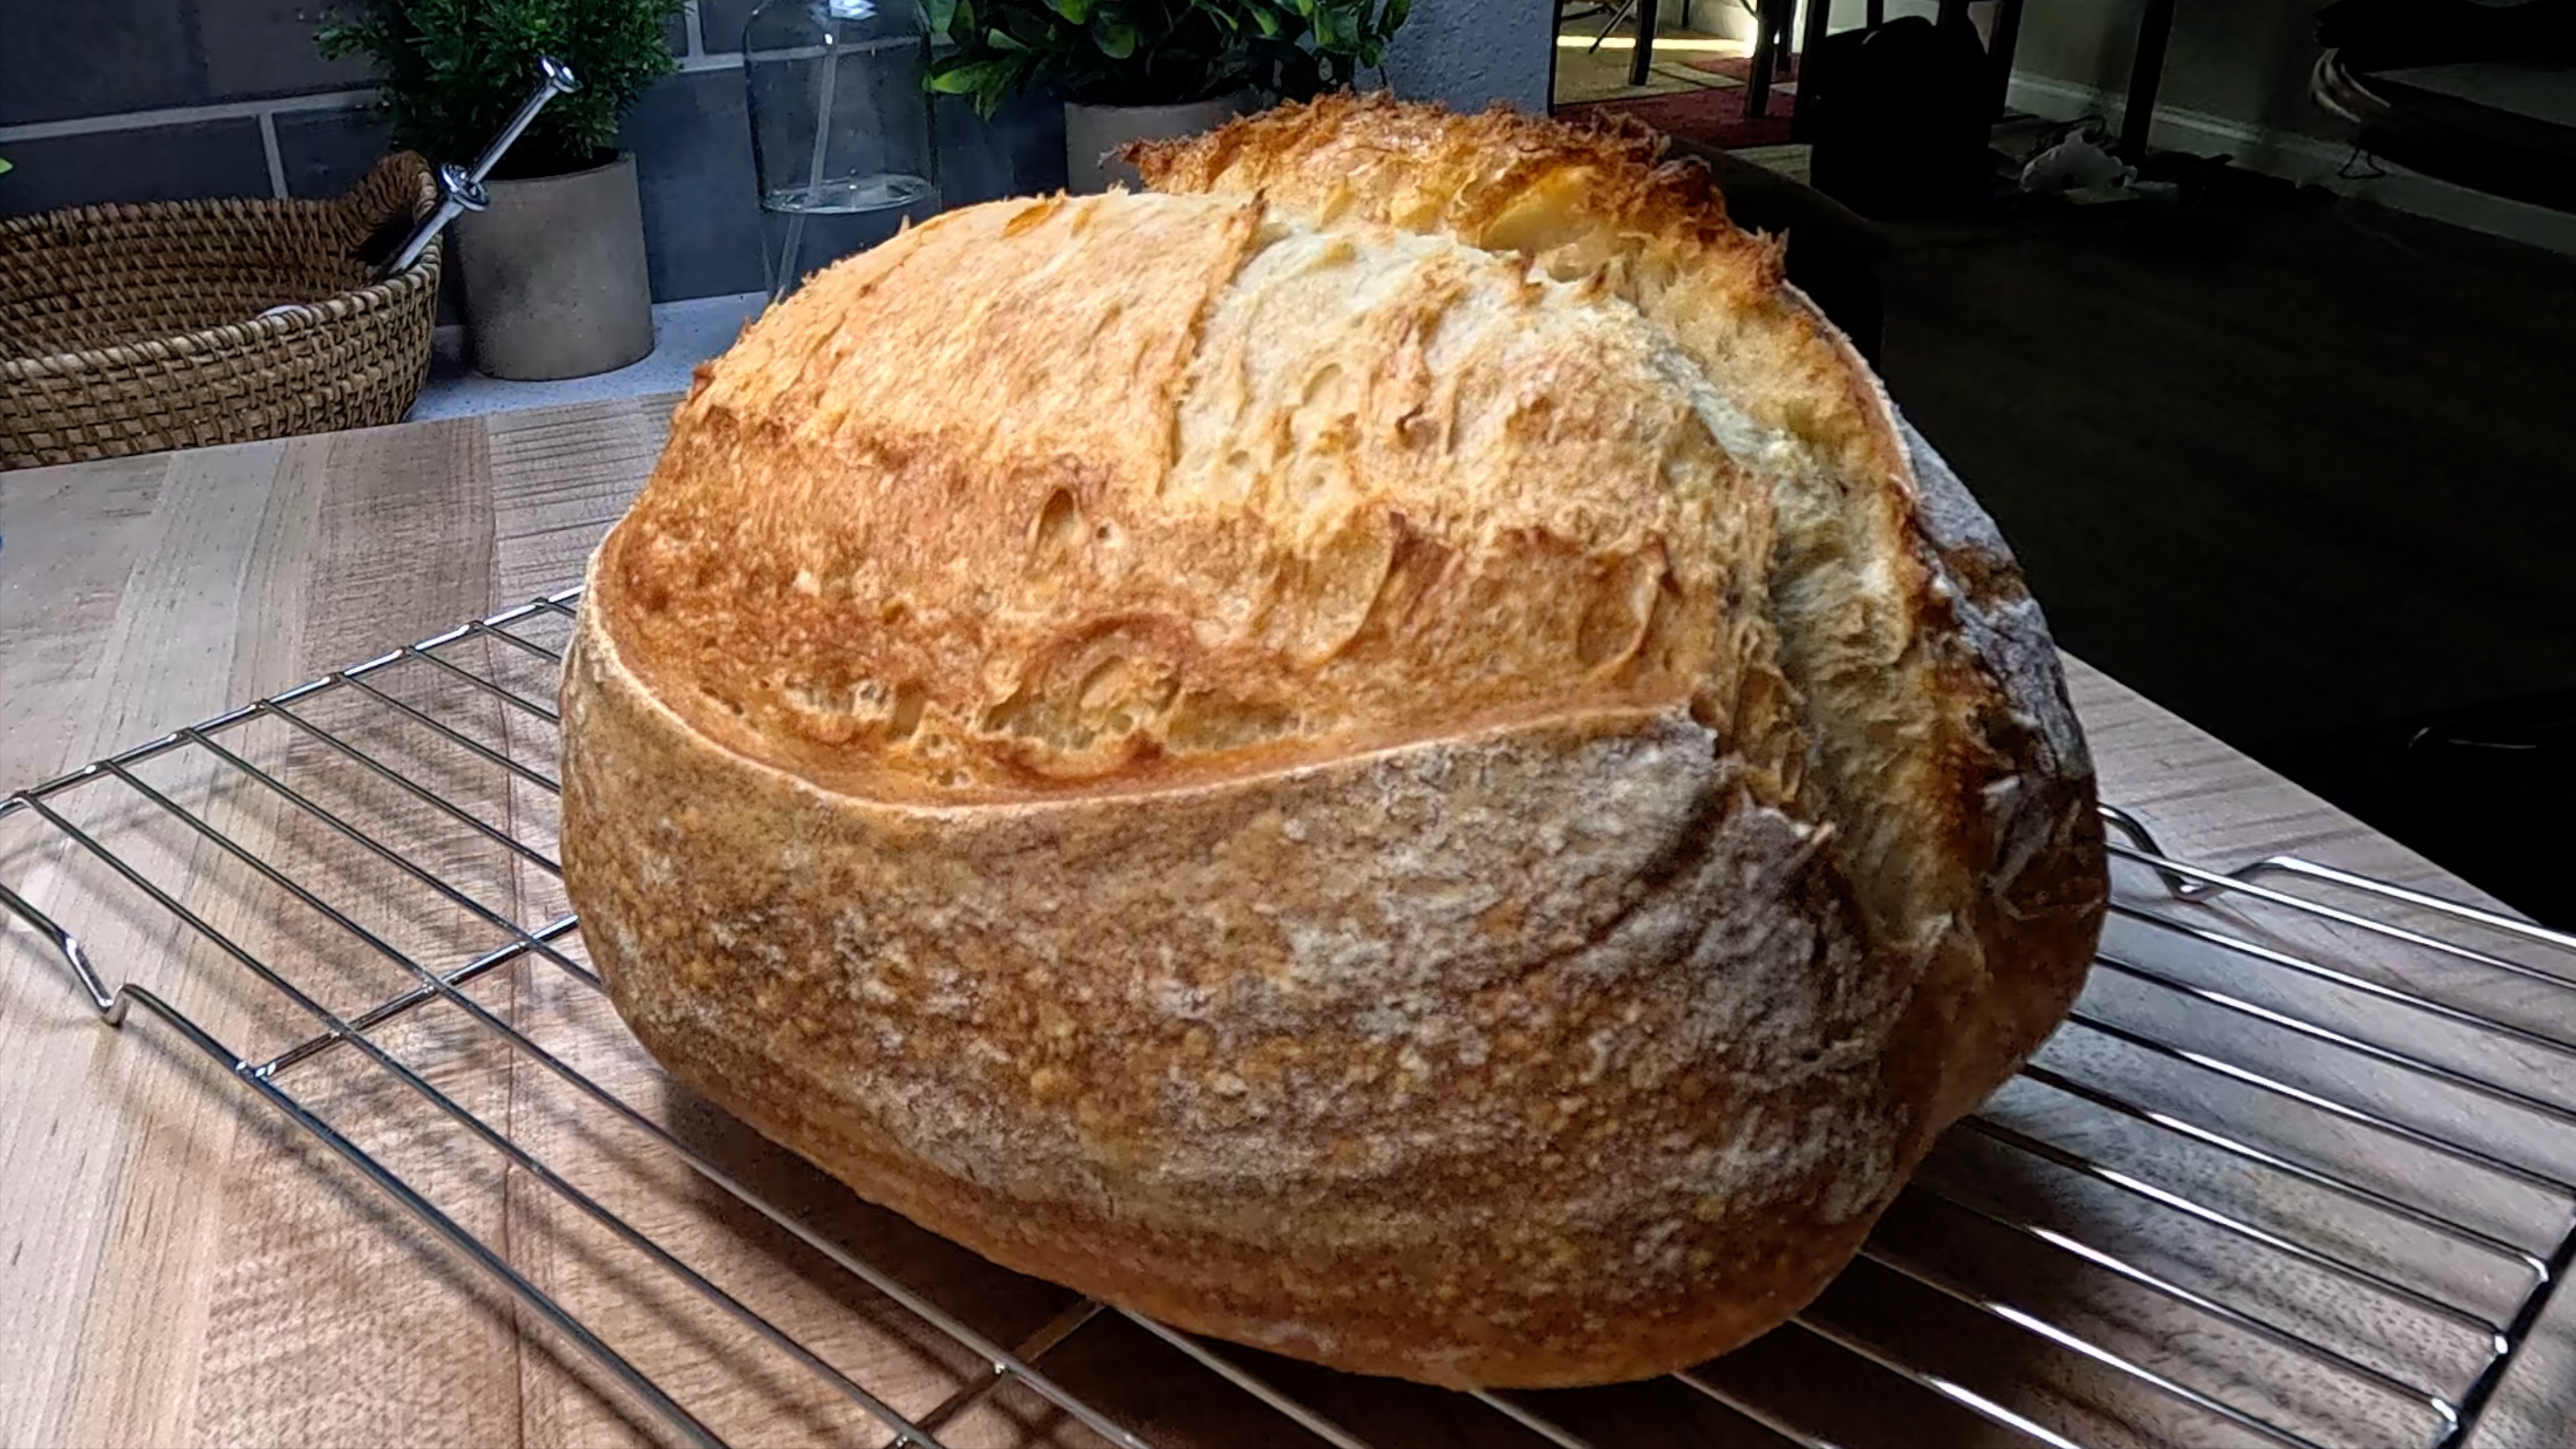
Reading Your Bread (What Success Looks Like)
A successful first sourdough loaf will have:
- A golden-brown, crackling crust
- Good oven spring (height and shape)
- A tangy, complex aroma
- Chewy texture with some irregular holes
- Slightly dense crumb (this improves with practice)
Remember, even professional bakers had imperfect first loaves. Each bake teaches you something new about your starter, your environment, and your technique.
Troubleshooting Your Results
Dense loaf? Your starter might need more time to become fully active, or the dough was under-fermented.
Flat bread? Likely over-proofed or the dough needed better shaping for surface tension.
Pale crust? Increase your oven temperature or bake for a few extra minutes.
Every "failure" is actually valuable data for your next bake. Keep notes about timing, temperature, and results—you'll be amazed how quickly you improve.
Your Sourdough Journey Starts Now
Baking your first sourdough loaf is like taking the first step on a lifelong journey. You're joining a community of bakers who understand the deep satisfaction of creating something beautiful and nourishing from just flour, water, salt, and time.
Your first loaf might not look like those perfect Instagram photos, and that's absolutely fine. What matters is that you're learning, experimenting, and developing skills that will serve you for years to come.
The tangy aroma filling your kitchen, the satisfying crunch of that first slice, the pride of saying "I made this"—these moments make every imperfect loaf worthwhile.
So take a deep breath, trust the process, and remember: every expert baker was once a beginner who decided to try anyway. Your sourdough adventure starts with mixing that first bowl of ingredients. The rest is just delicious practice.
Ready to get your hands floury? Choose one of our beginner-friendly recipes, gather your ingredients, and let's bake some bread together. Your kitchen—and your family—will never be the same!
Comments
Sign in to join the conversation
Sign In