
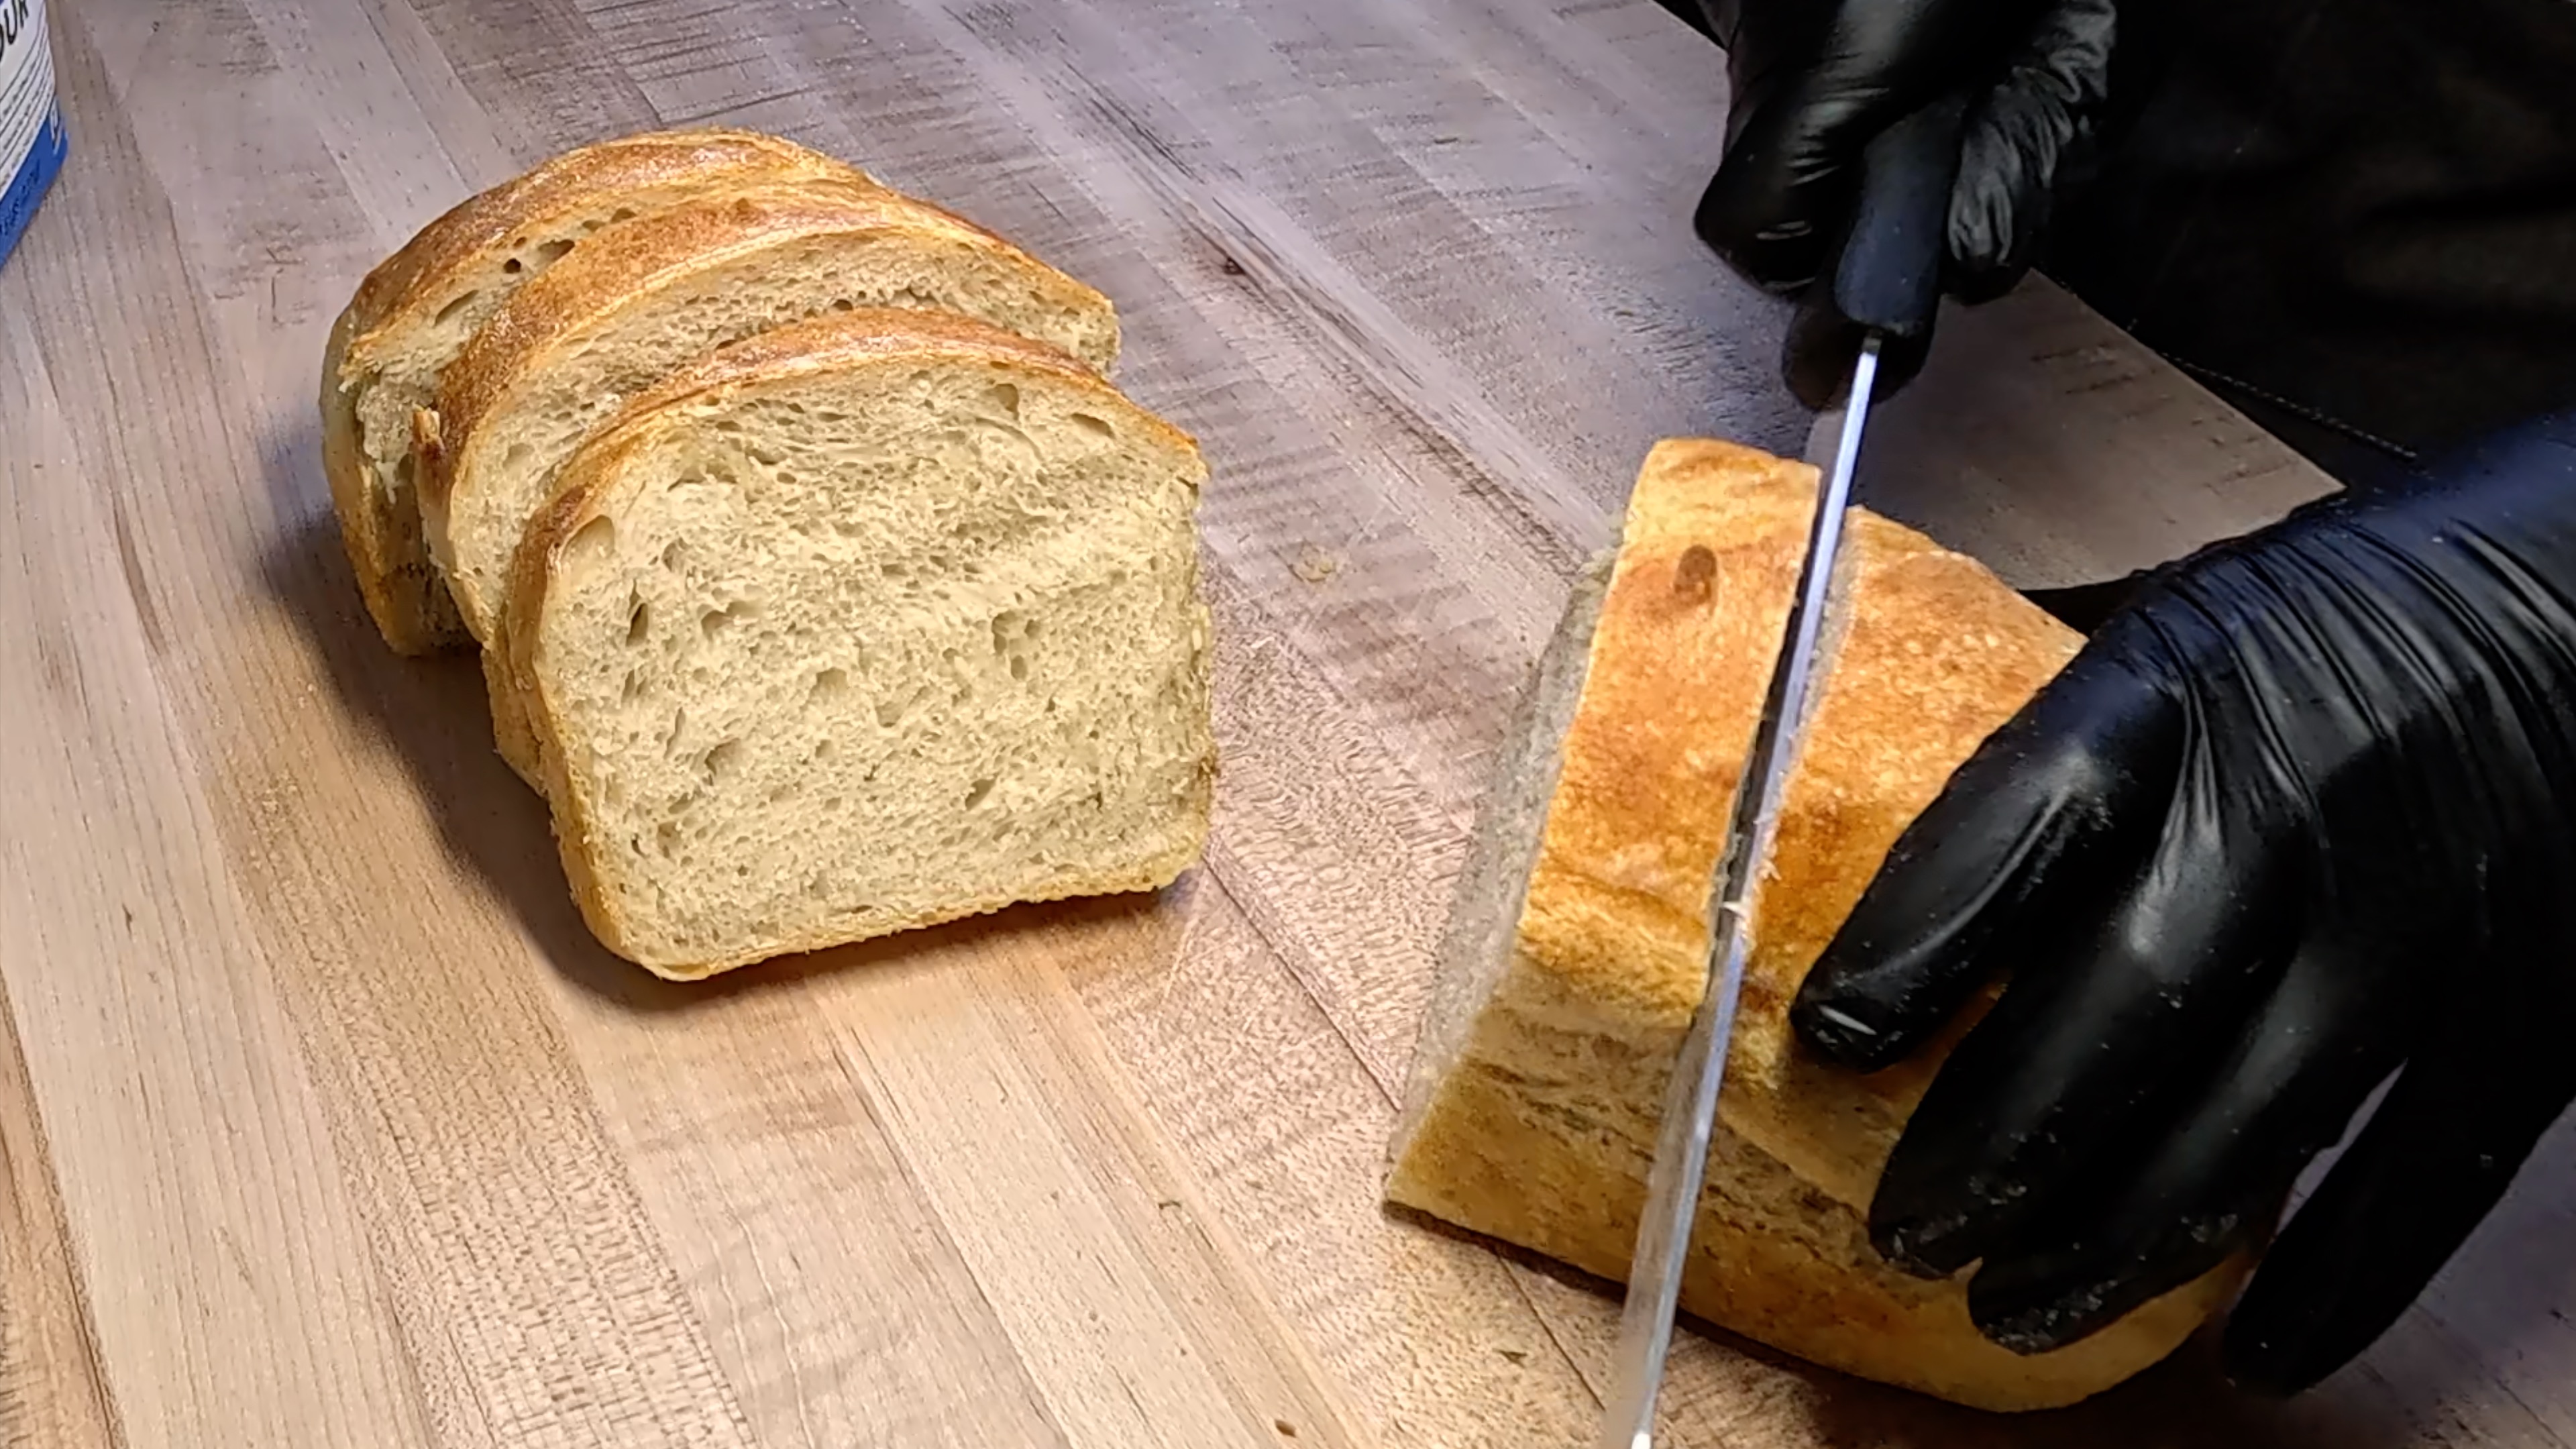
Classic Sourdough Sandwich Loaf - Soft, Tangy & Sliceable
A tender, open-crumbed sandwich loaf with a golden crust and just the right amount of sourdough tang.
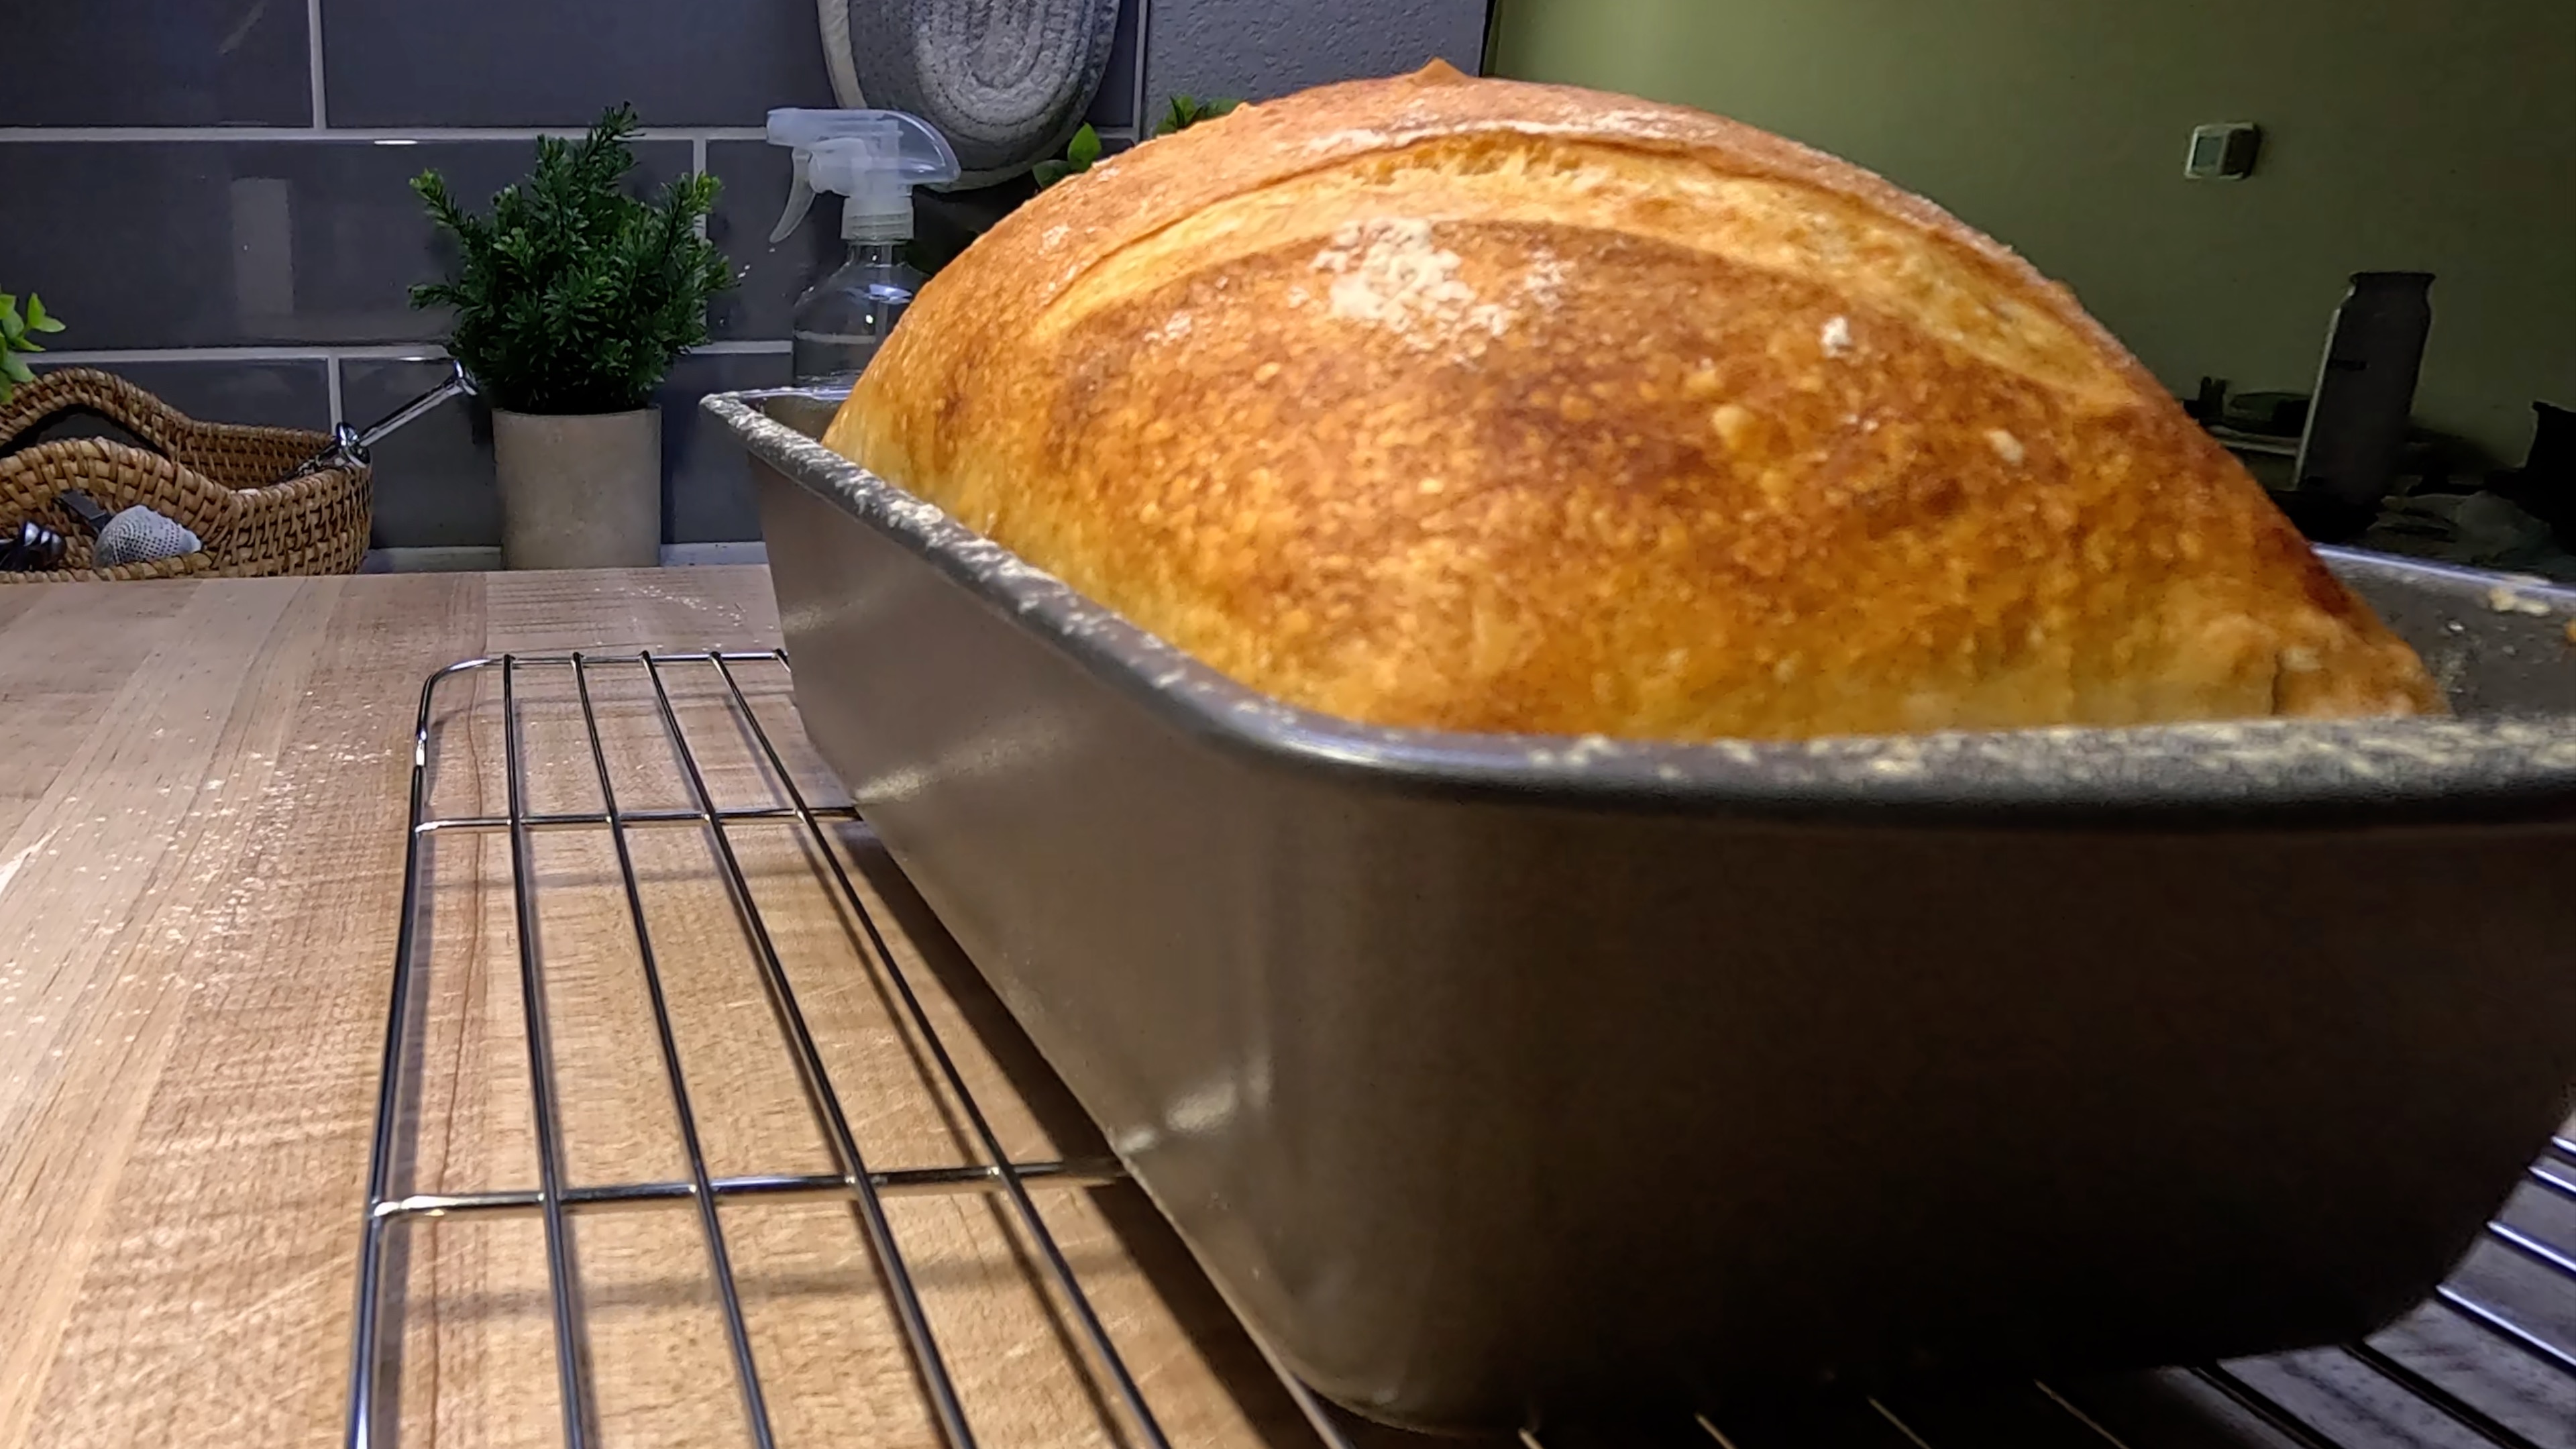
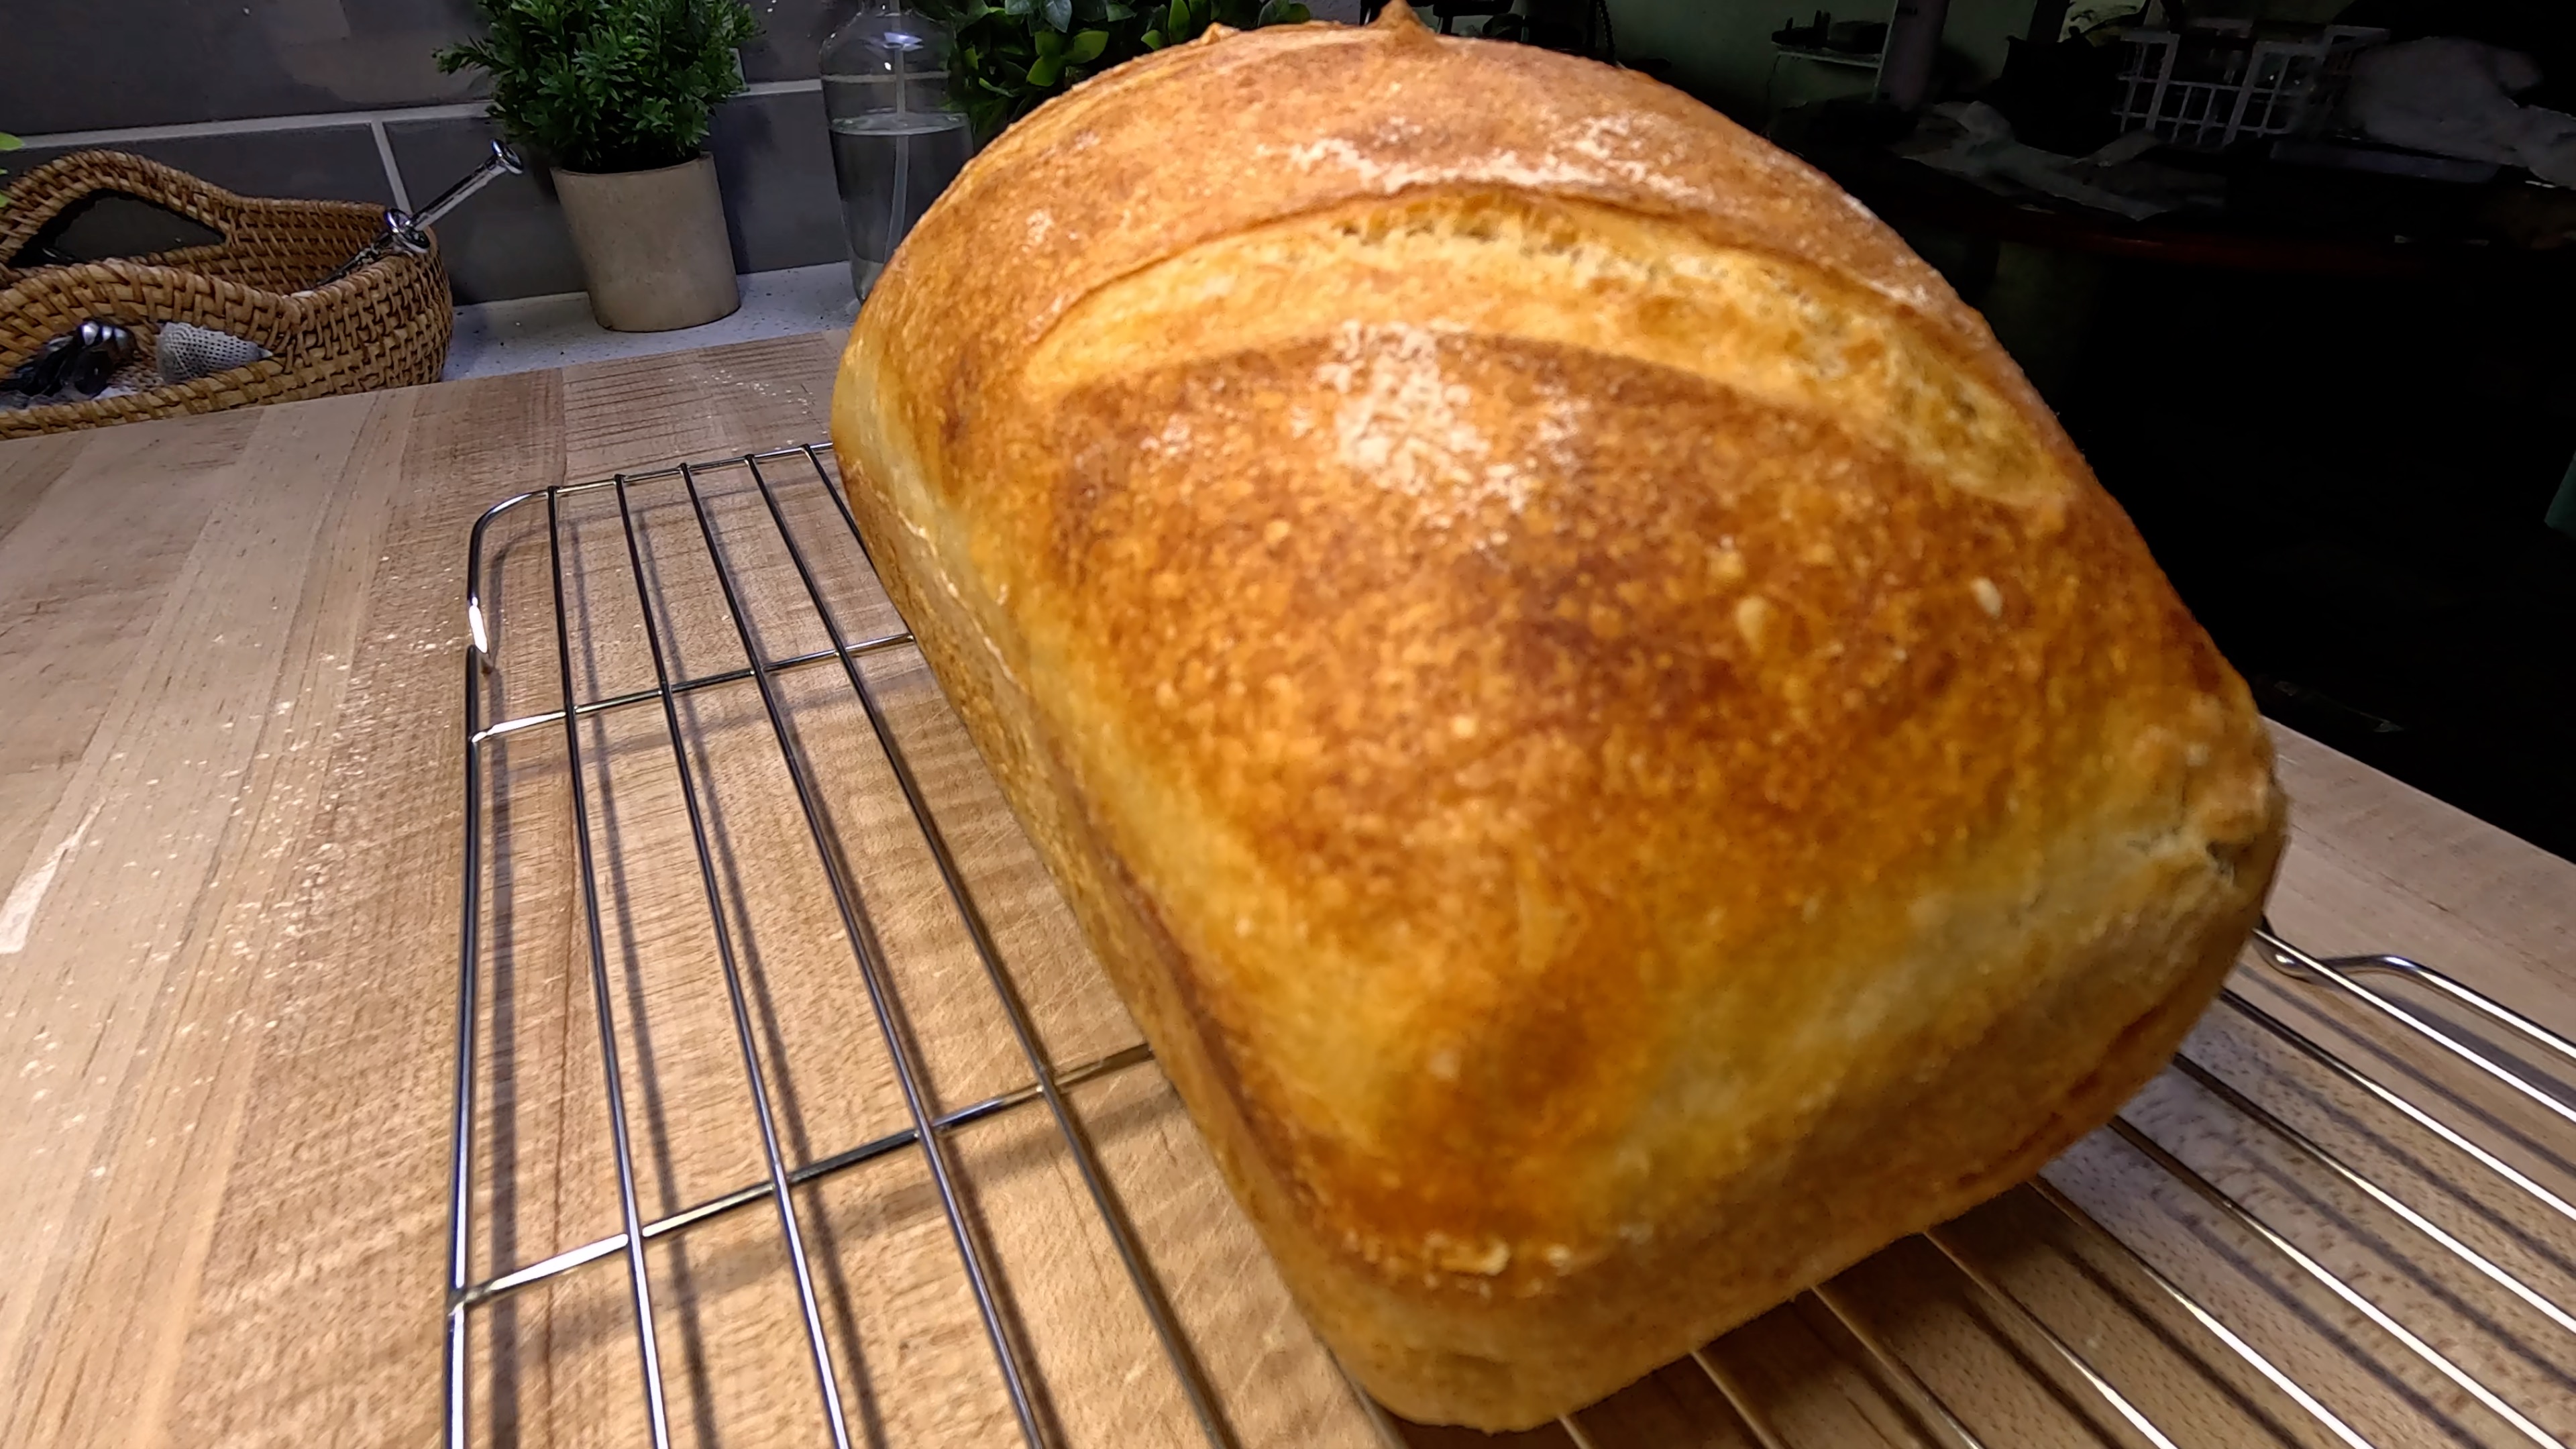
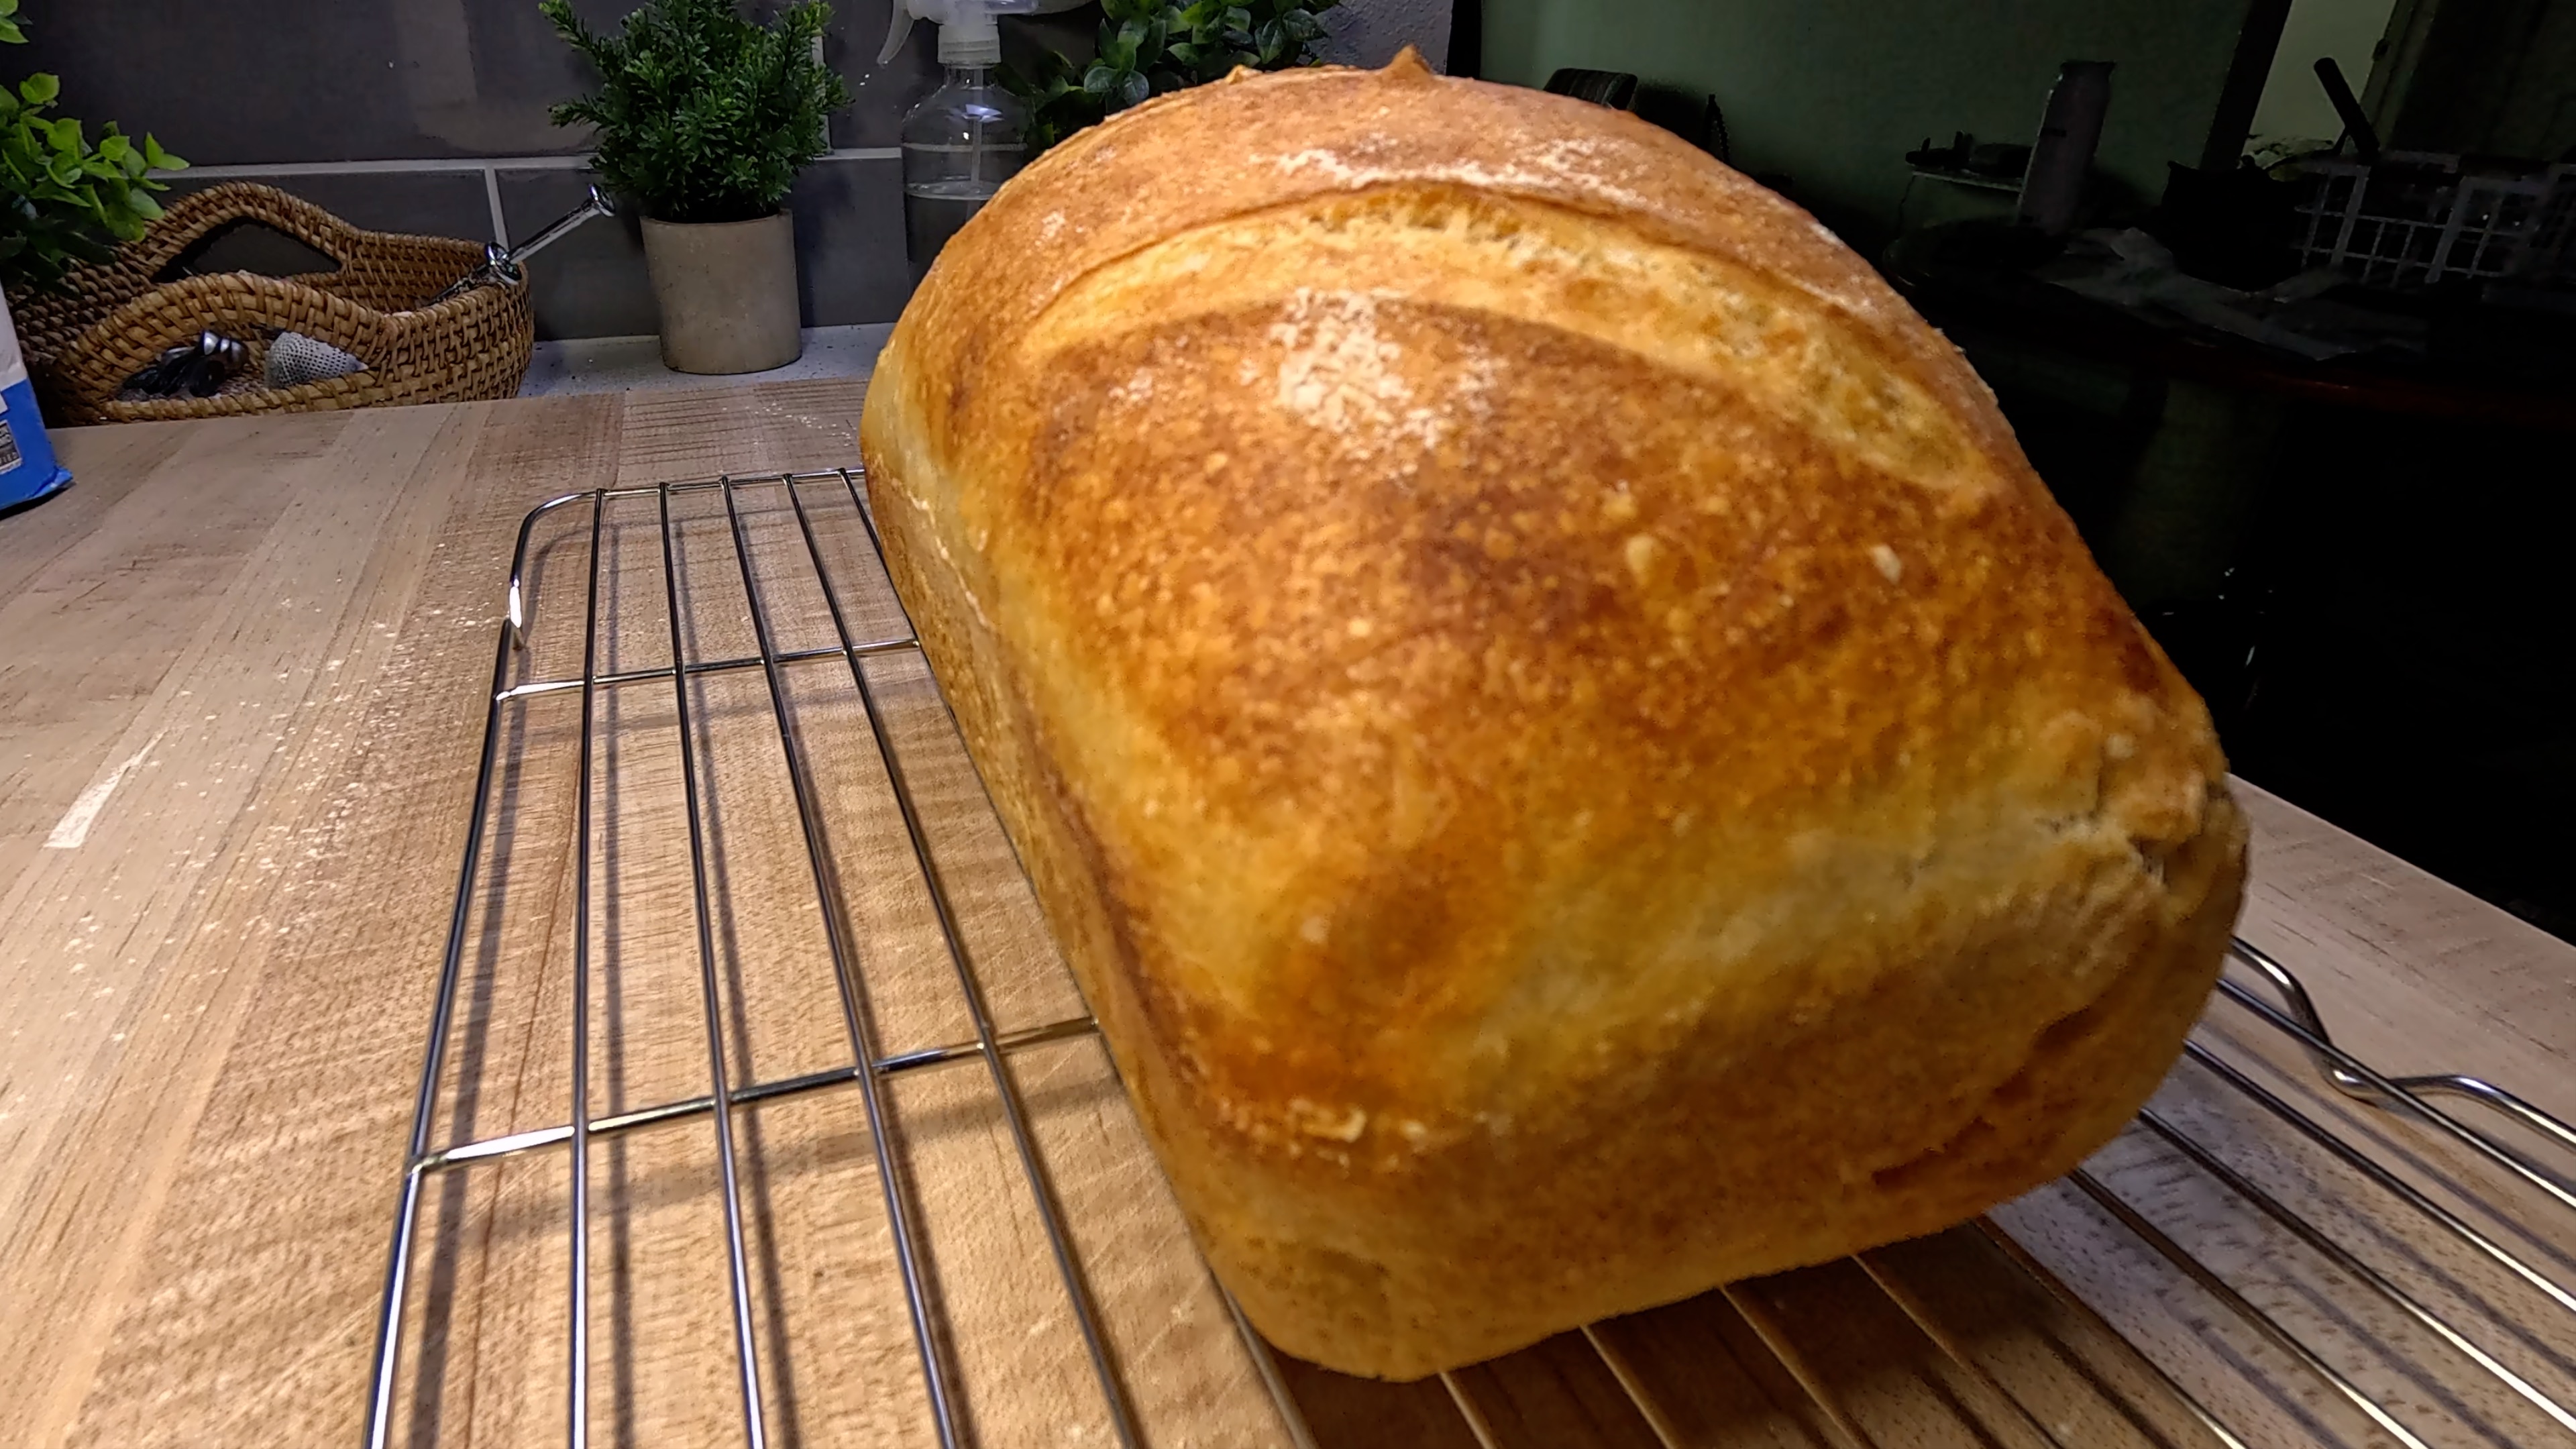
Instructions
- 1
FEED YOUR STARTER: In a clean jar, combine 50g of your existing starter with 50g bread flour and 50g room temperature water. Stir vigorously until no dry flour remains and the mixture looks smooth and lump-free — think pancake batter. Mark the jar with a rubber band or tape so you can track the rise. Set it in a warm spot (ideally 75–78°F / 24–26°C) and let it do its thing for 6–8 hours. You're waiting for it to double in size, develop a domed top, and look wonderfully bubbly throughout. When it smells yeasty and sweet with just a hint of tang, it's ready to bake with. Drop a small spoonful into a glass of water — if it floats, you're in business!
- 2
MIX YOUR DOUGH: Once your starter is active, bubbly, and at or just past its peak rise, it's time to mix. Pour 350g of room temperature water into a large mixing bowl, then add 120g of your active starter. Stir well with a silicone spatula or your hand until the starter is fully dissolved into the water — the water will look slightly milky and frothy, and that's exactly what you want. Next, add 10g of fine sea salt and stir again until dissolved. Now, add all 500g of bread flour at once. Use your silicone spatula to bring the dough together, mixing until there are no dry patches of flour remaining and the dough looks shaggy and rough. It won't be smooth yet — that's perfectly normal and exactly right. Cover the bowl with a damp towel or plastic wrap and let it rest for 30 minutes before your first stretch and fold. You've just built the foundation of a beautiful loaf — well done!
- 3
STRETCH & FOLDS: Over the next 2–3 hours, you'll perform 3 sets of stretch and folds to develop gluten strength and structure — no kneading required. For each set, wet your hand slightly to prevent sticking, then grab one side of the dough, stretch it up as high as it comfortably goes without tearing, and fold it over to the opposite side. Rotate the bowl 90 degrees and repeat until you've gone all the way around — that's one complete set. Perform the first set about 30 minutes after mixing, then repeat at 45–60 minute intervals for 2 more sets. After the first fold, the dough will feel slack and sticky — don't panic, that's normal. By the second fold, you'll notice it becoming more cohesive and elastic. By the third fold, the dough should feel pillowy, smooth, and hold its shape when you pull it. It may even look slightly puffy and feel alive under your hands — that's the fermentation kicking in and it's a beautiful moment. After your final set of stretch and folds, cover the bowl and let the dough continue to bulk ferment at room temperature for the remainder of the time, until it has grown noticeably — roughly 50–75% in volume, looks jiggly when you shake the bowl gently, and has visible bubbles on the surface and sides. This room temperature bulk ferment typically takes 3–5 hours total from the time you mixed, depending on your kitchen temperature.
- 4
FINAL SHAPE INTO LOAF PAN: Once your bulk ferment is complete and the dough has risen 50–75% with a jiggly, airy feel, it's time to shape — straight from the bowl into the loaf pan, no pre-shaping or bench rest needed. Lightly grease a standard 9x5 inch (23x13 cm) loaf pan with butter or neutral oil, making sure to get into all the corners. Lightly flour your work surface, then gently turn the dough out — let it fall naturally rather than forcing it. Pat it gently into a rough rectangle about the width of your loaf pan. Fold the long sides inward like a letter, then roll the dough away from you into a tight log, using your thumbs to apply gentle tension as you roll. Pinch the seam closed along the bottom. The surface of the dough should feel taut and smooth, like the skin of a pillow just before it's fully plumped. Place the shaped dough seam-side down into your greased loaf pan. It should sit about halfway up the sides of the pan — it'll fill out beautifully during the proof. Give yourself a little pat on the back — shaping a sandwich loaf is a skill, and you just nailed it.
- 5
COLD OVERNIGHT PROOF: Cover the loaf pan snugly with plastic wrap — press it gently against the surface of the dough to prevent a skin from forming, then lay a kitchen towel over the top for extra insulation. Slide it into the refrigerator and let it proof slowly overnight, anywhere from 8–12 hours. The cold environment slows fermentation way down, allowing the dough to develop deeper, more complex flavor while also firming up the surface — which makes scoring so much easier and cleaner in the morning. When you take it out of the fridge the next day, the dough should have puffed noticeably and may be peeking over the edge of the pan. It should feel cold and firm to the touch, with a slight spring when you gently press a finger into the surface. That gentle spring-back is your green light to bake. This is the moment the magic of slow fermentation reveals itself — breathe it in.
- 6
PREHEAT YOUR OVEN: About 45–60 minutes before you're ready to bake, preheat your oven to 500°F (260°C). If you have a baking stone or steel, place it on the middle rack to preheat as well — this helps deliver a burst of bottom heat that encourages a strong oven spring. If you'd like to add steam for the first portion of baking (which promotes a glossy, crackly crust), place an empty metal pan on the bottom rack while the oven preheats. A thoroughly preheated oven is one of the most important factors in a great bake — don't rush this step.
- 7
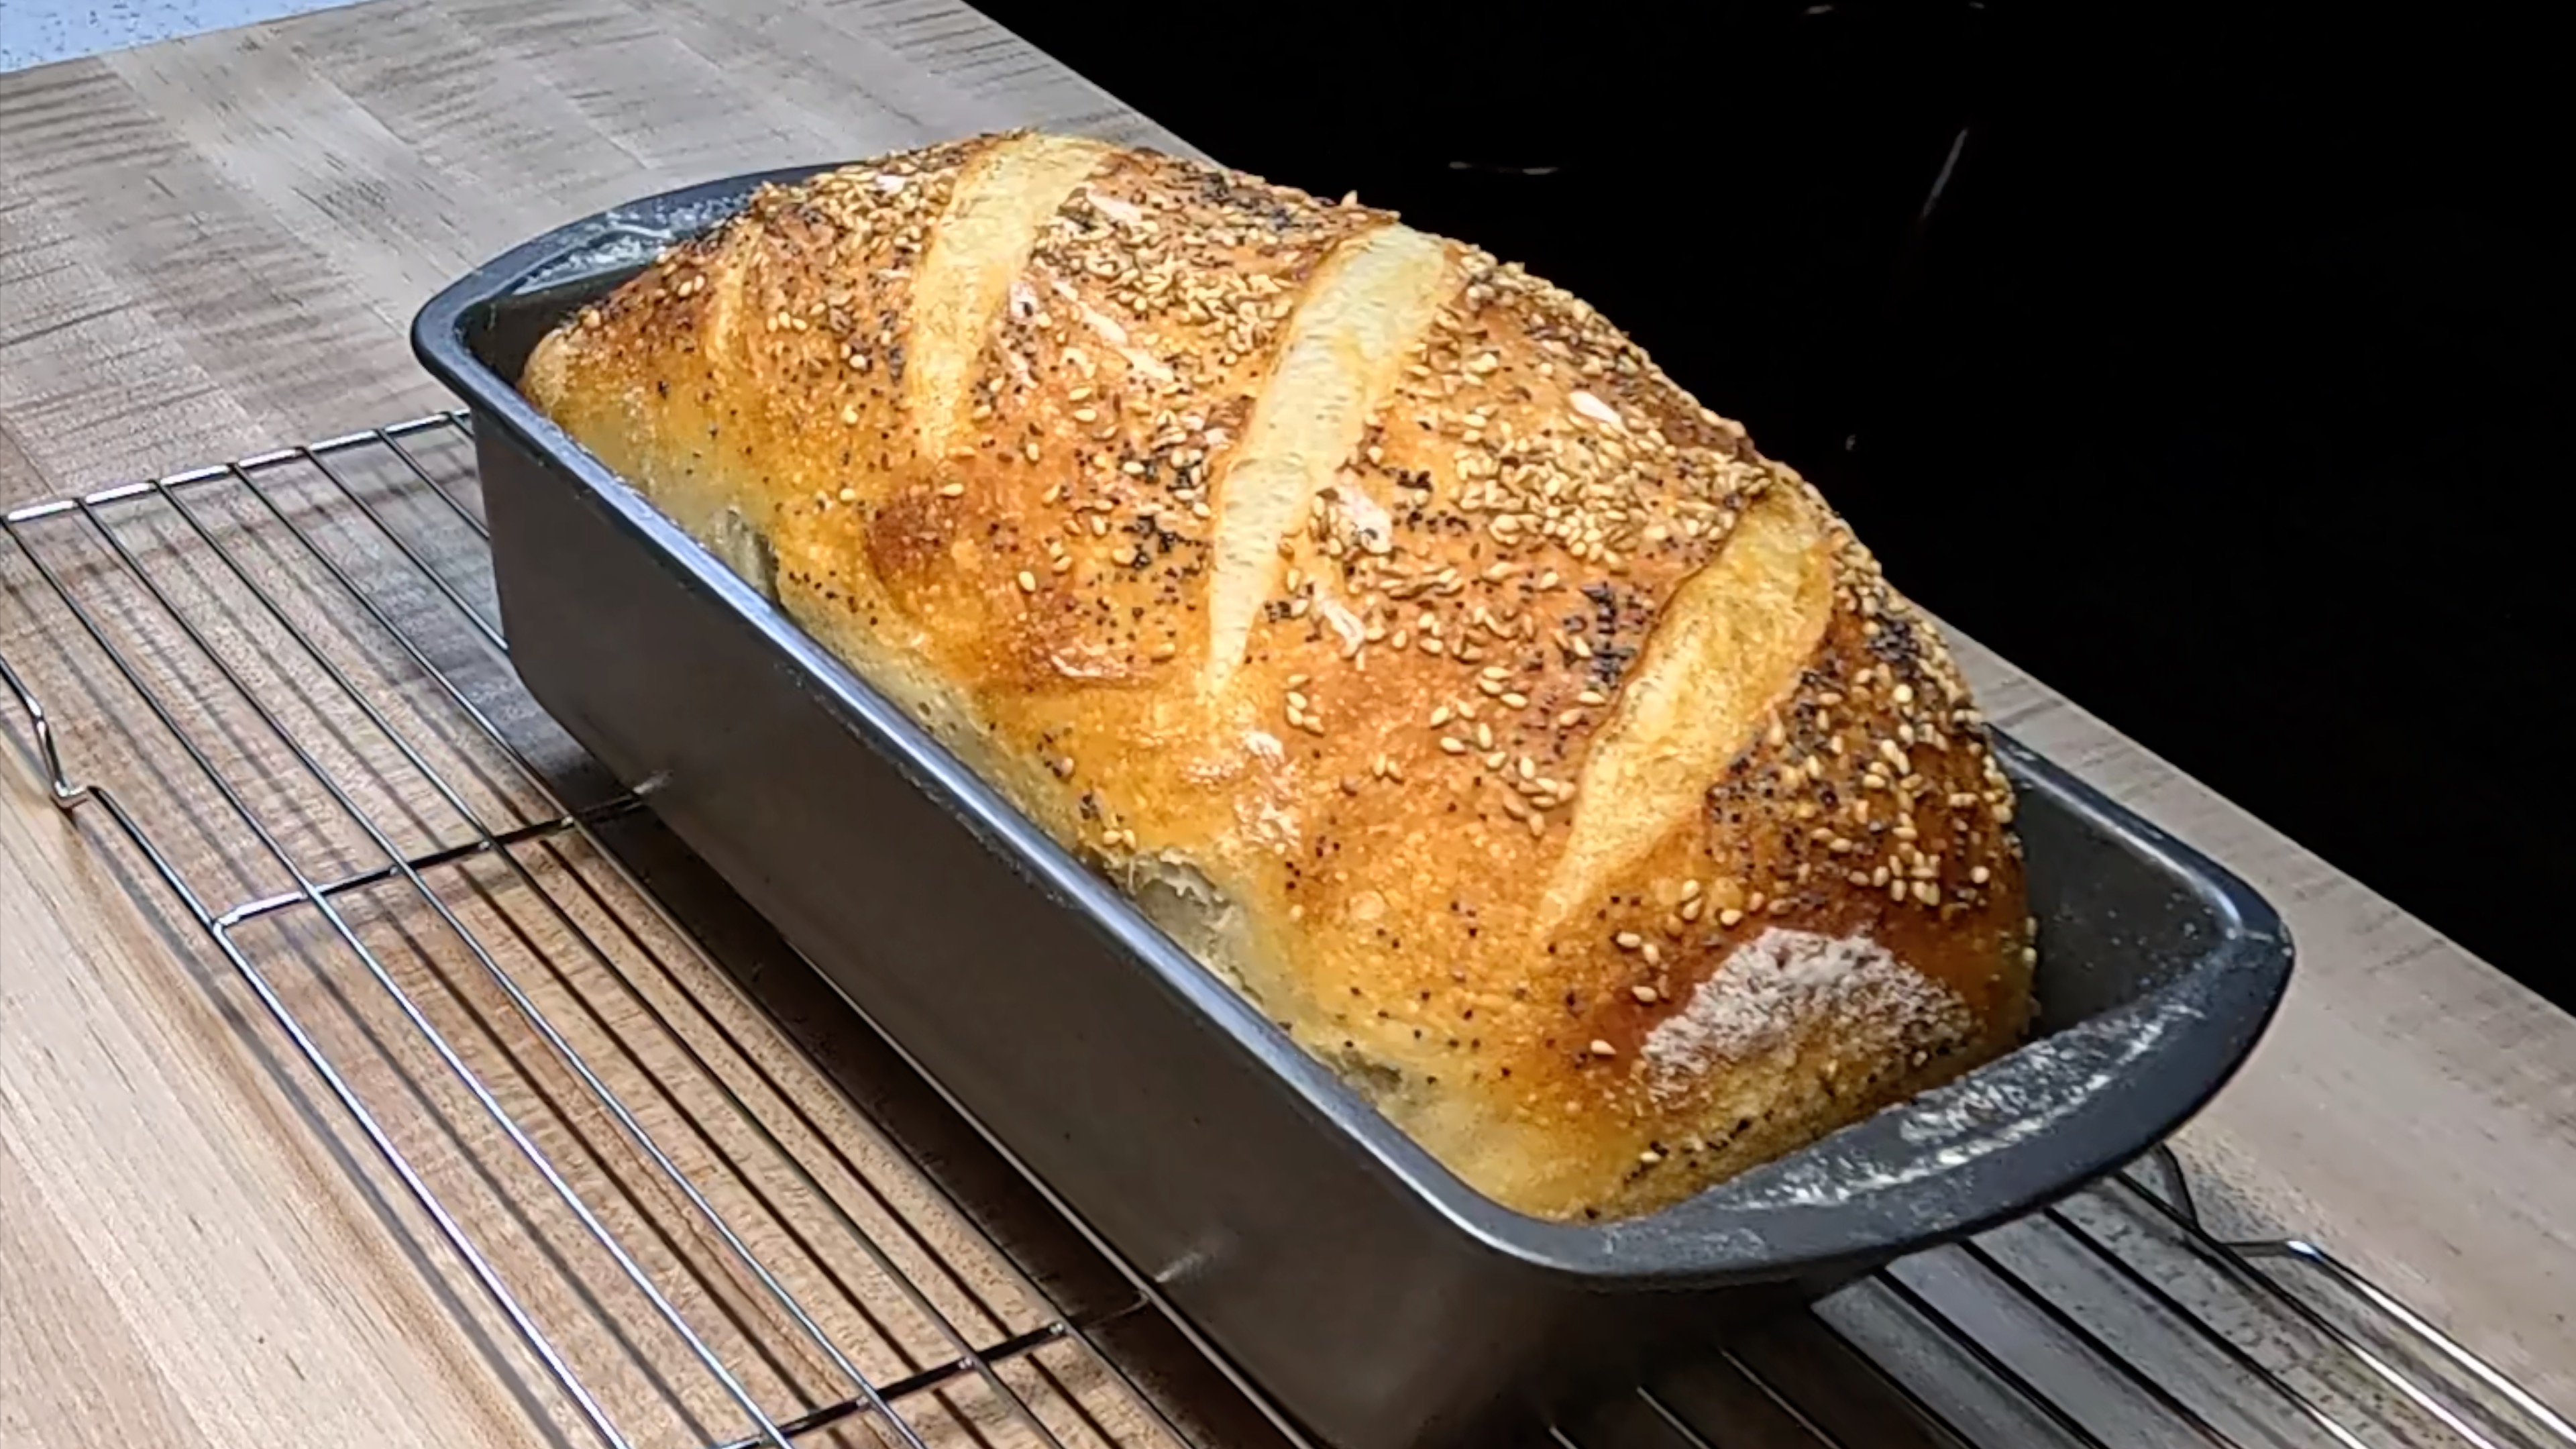
SCORE & BAKE: Remove the loaf pan from the refrigerator. The cold surface makes this the perfect moment to score. Using a sharp bread lame, razor blade, or serrated knife, make one confident score down the center of the loaf lengthwise — aim for about 1/2 inch (1.25 cm) deep, held at a slight angle (around 30–45 degrees) to encourage the signature sandwich loaf ear. Work quickly and decisively — hesitation leads to dragging. If you added a steam pan, pour 1 cup of boiling water into it carefully just before closing the oven door. Place the loaf pan on the center rack (or on your preheated stone) and bake at 500°F (260°C) for 20 minutes with steam. Then, remove the steam pan, reduce the temperature to 450°F (230°C), and continue baking for another 25–30 minutes until the crust is a deep, burnished golden brown and the internal temperature reads 205–210°F (96–99°C) on an instant-read thermometer. If the top is browning too fast, tent loosely with foil for the final 10 minutes. The smell filling your kitchen right now? Pure joy.
- 8
COOL YOUR LOAF: Remove the loaf from the pan immediately after baking and transfer it to a wire cooling rack. This is the hardest part — you must let it cool for at least 1–2 hours before slicing. As tempting as it is to cut in right away, the inside of the loaf is still finishing its bake through residual heat, and slicing too soon will leave the crumb gummy and compressed. Listen to it crackle and sing as it cools — those sounds are the crust settling and releasing steam, and they're one of the most satisfying sounds in baking. Once fully cooled, the crust will be crisp, the crumb will be tender and open, and every slice will be a little victory. Store at room temperature wrapped in a clean kitchen towel or bread bag for up to 3 days, or slice and freeze for up to 3 months.
Baker's Tips
- •Hydration matters: 350g water to 500g flour is a 70% hydration dough — approachable and workable, perfect for a sandwich loaf.
- •Bread flour is key here — its higher protein content builds the gluten strength needed for a well-structured loaf that holds its shape in the pan.
- •Your starter should be at or just past peak rise when you use it — the classic signs are a domed top, bubbles throughout, and a pleasant yeasty-tangy aroma.
- •Room temperature affects everything. In a warm kitchen (78°F+), bulk fermentation will move faster. In a cooler kitchen (68°F), it'll be slower. Use your senses and the visual cues more than the clock.
- •The cold overnight proof is a flavor investment — the slower the fermentation, the more complex and satisfying the tang in your finished loaf.
- •Scoring a cold loaf straight from the fridge is one of the great advantages of a cold proof — the firm surface holds its shape beautifully under the blade.
- •If your loaf comes out a little dense, the most common culprits are under-fermented dough, an inactive starter, or not enough gluten development during stretch and folds — all easy fixes next bake!
More Like This
Baker's Toolkit
Tools and ingredients we recommend for this recipe
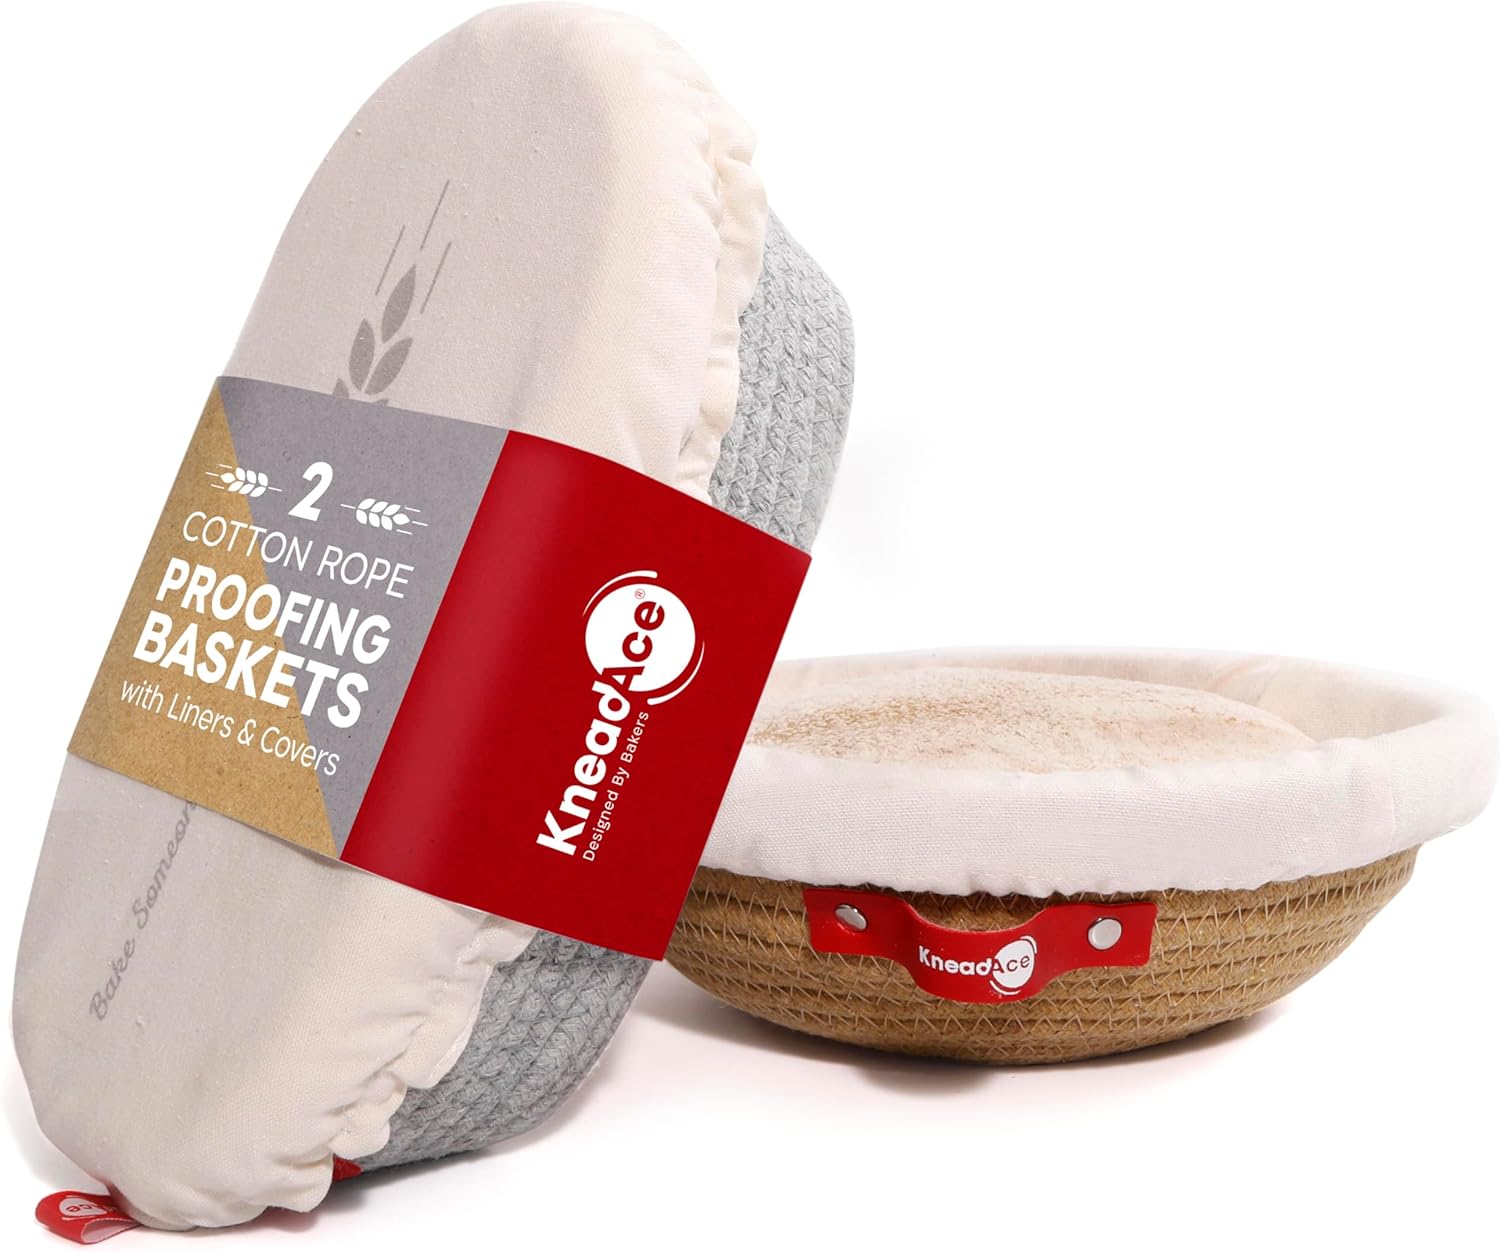
KneadAce Cotton Rope Banneton Bread Proofing Basket Set, Oval & Round Bread Baskets with Liners & Covers
View product
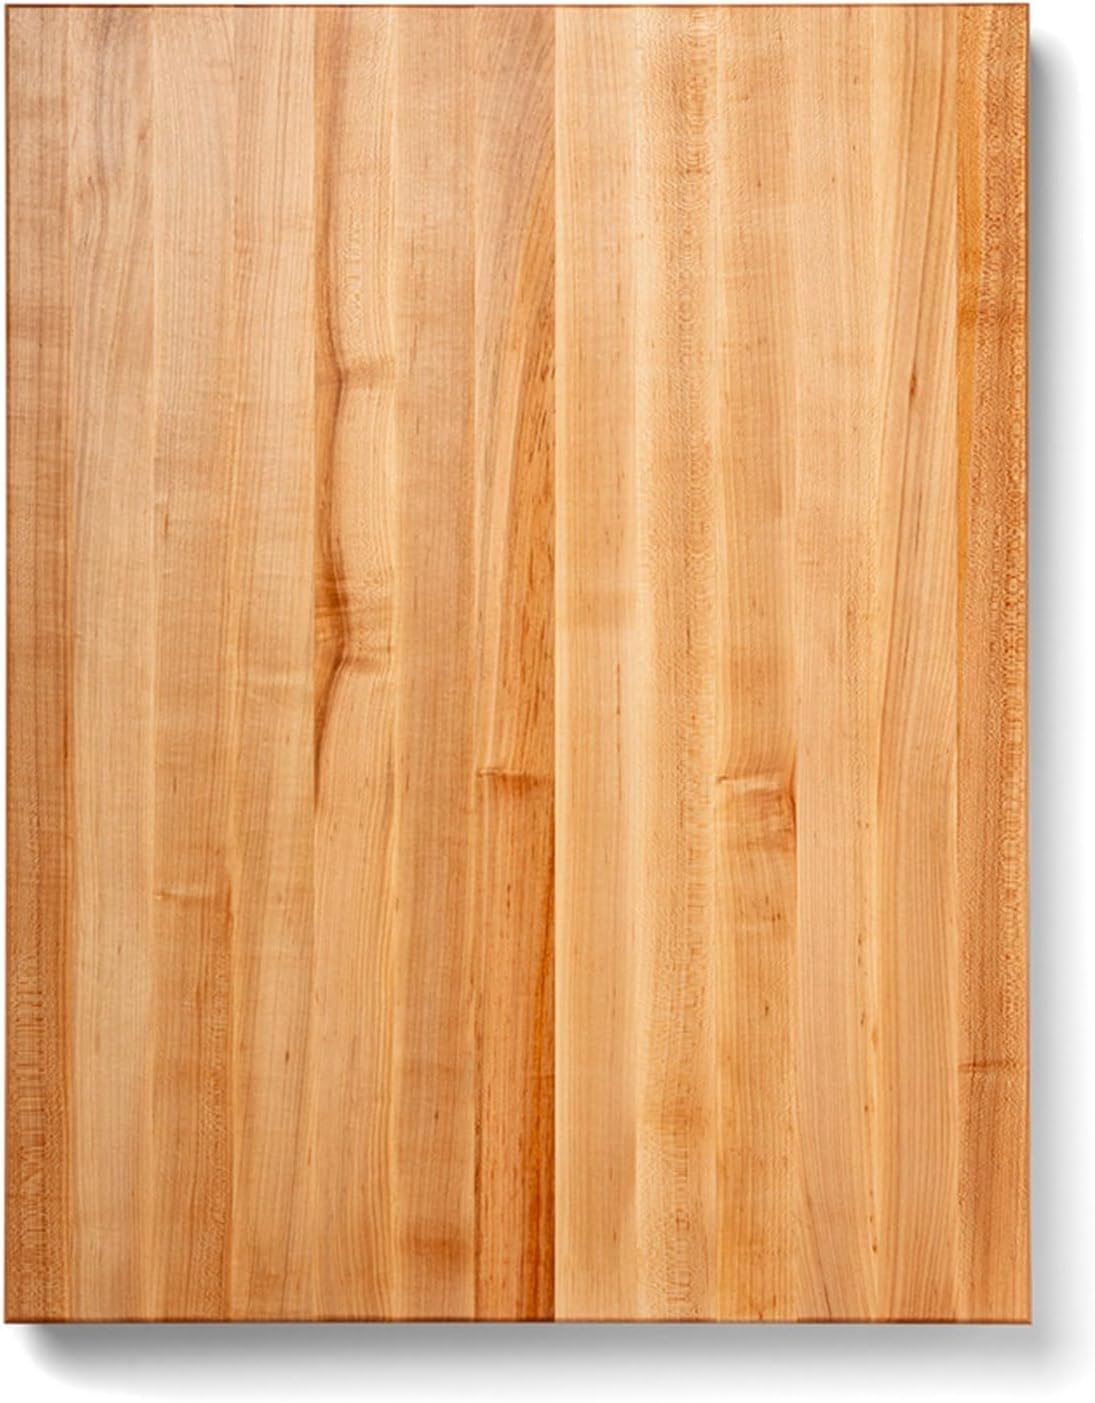
John Boos RA-Board Series Rectangular Wooden Maple Cutting Board 30”x23.25” – 2.25” Thick
View product
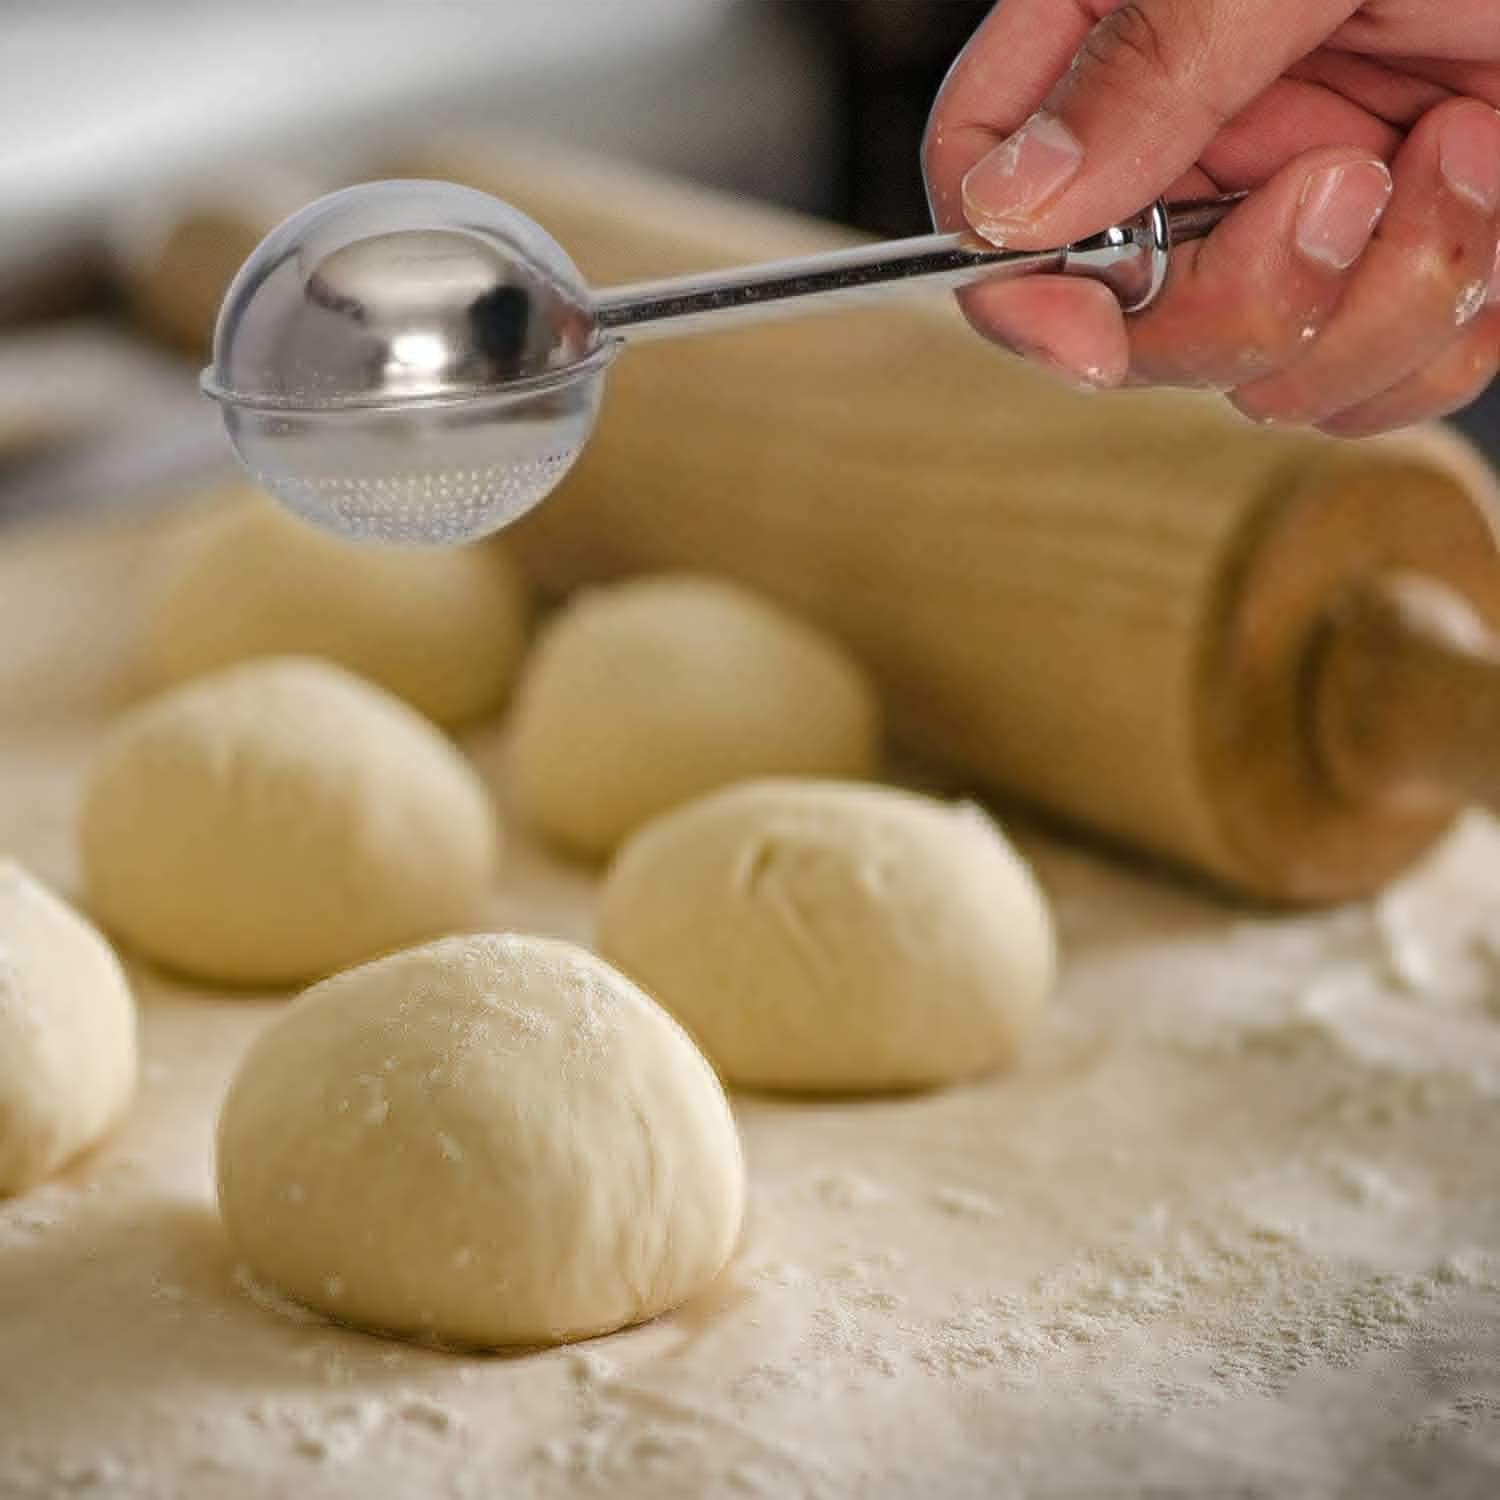
HULISEN Flour Duster for Baking, One-Handed Operation, 304 Stainless Steel Powdered Sugar Shaker Duster
View product
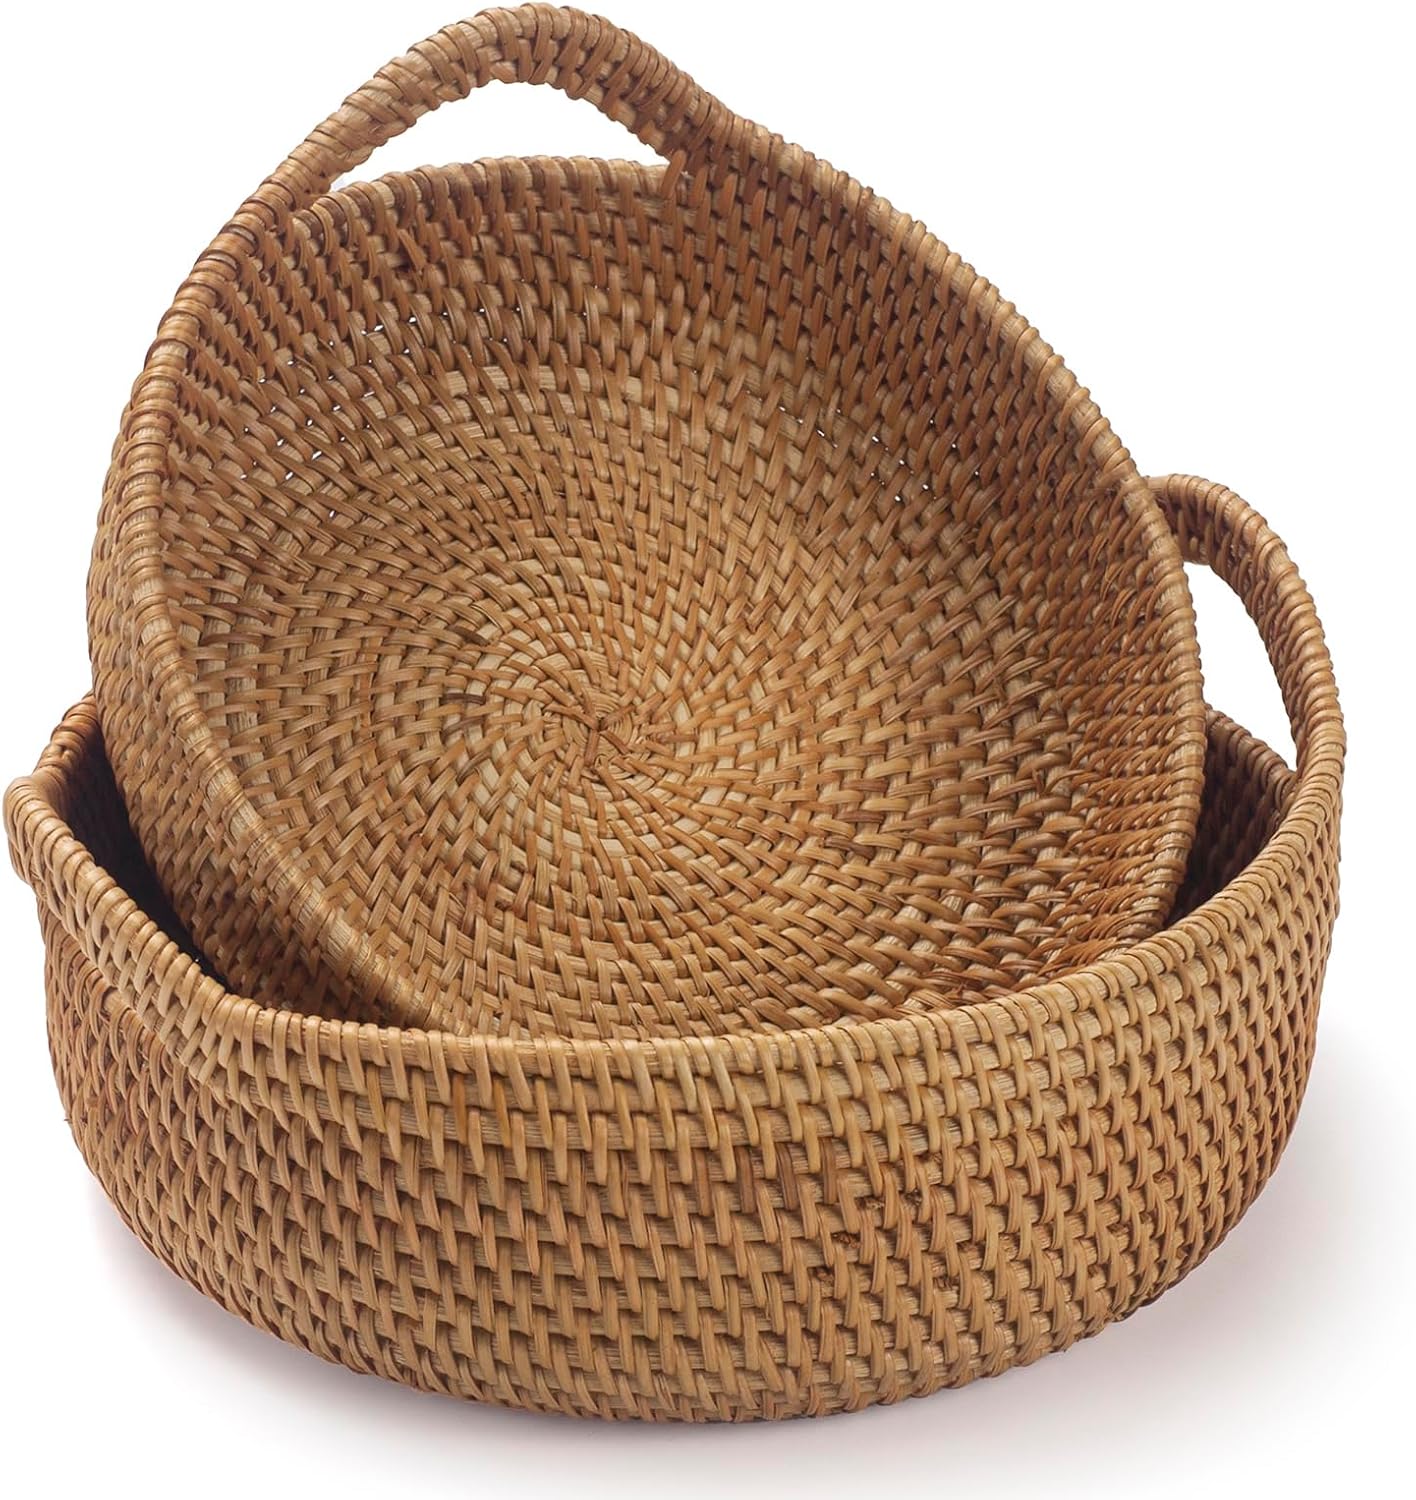
Rattan Storage Basket, Hand Woven Fruit Basket with Handles
View product
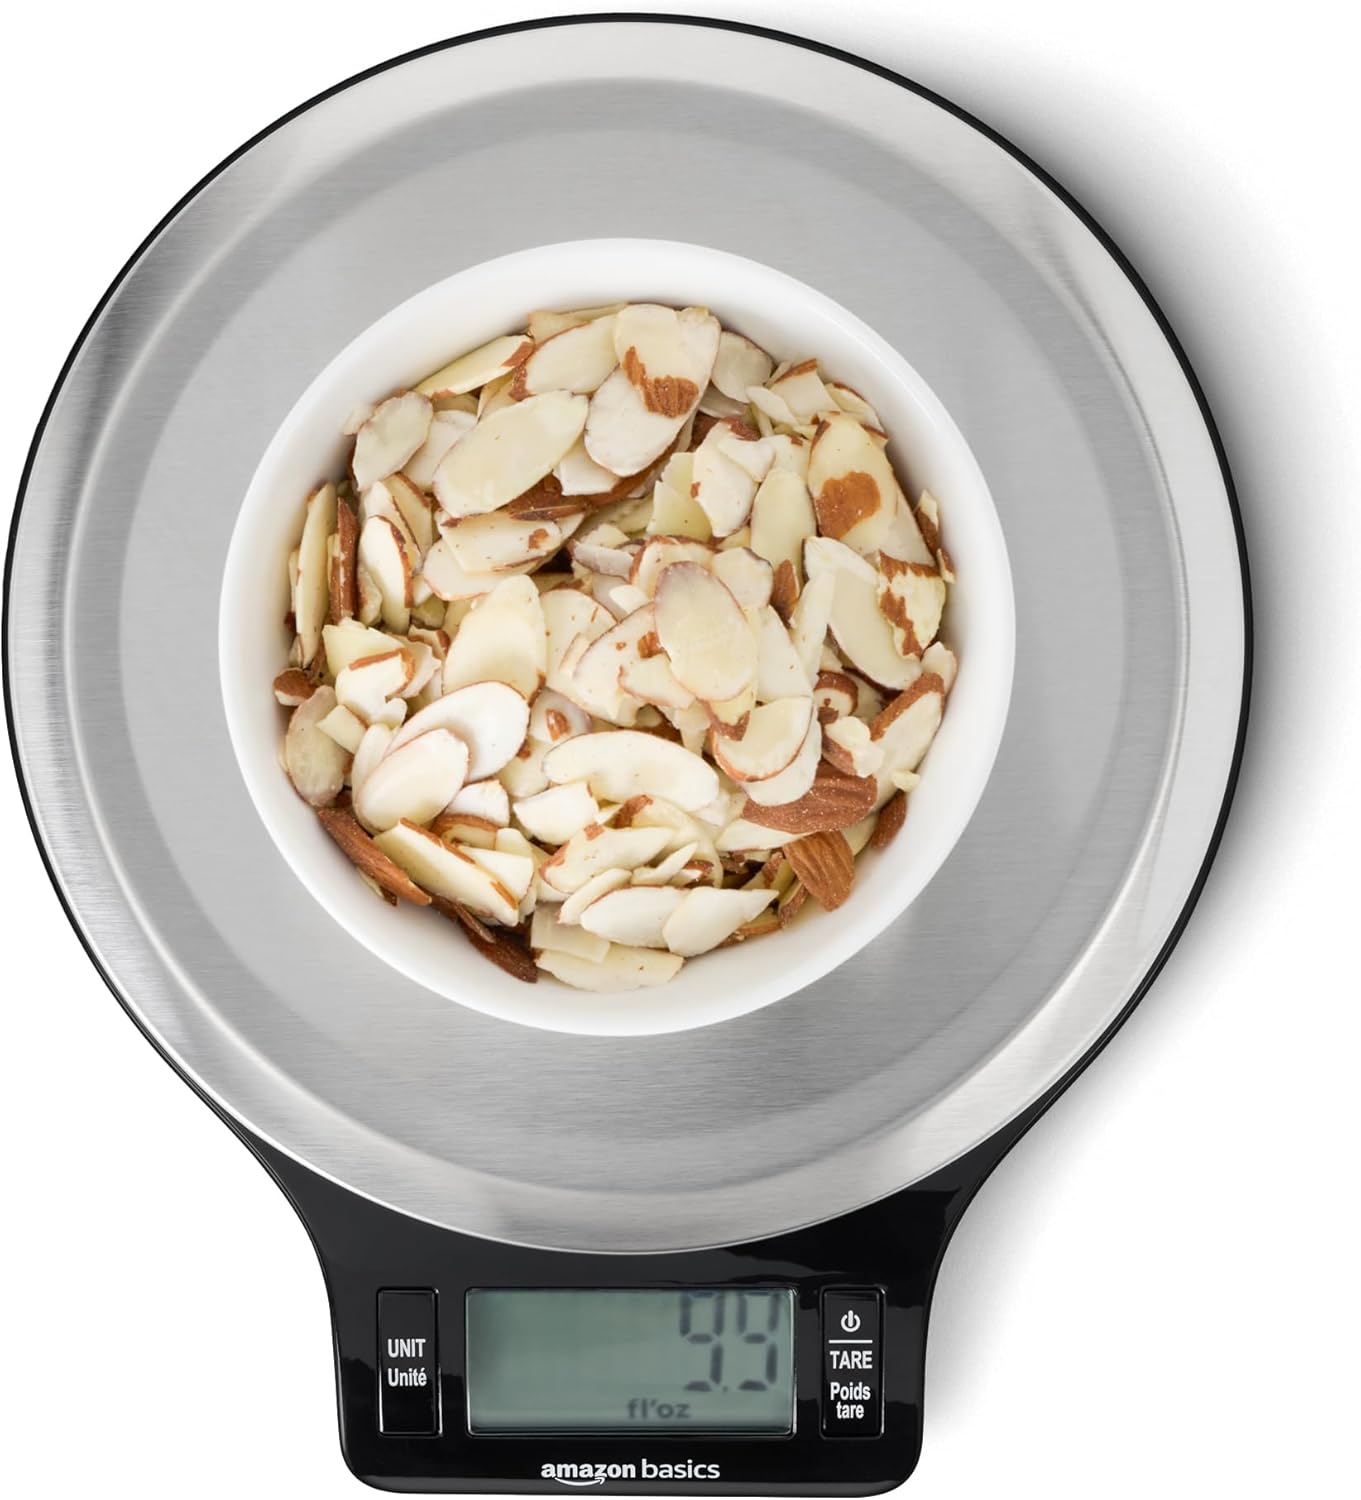
Amazon Basics Digital Kitchen Scale with LCD Display
View product
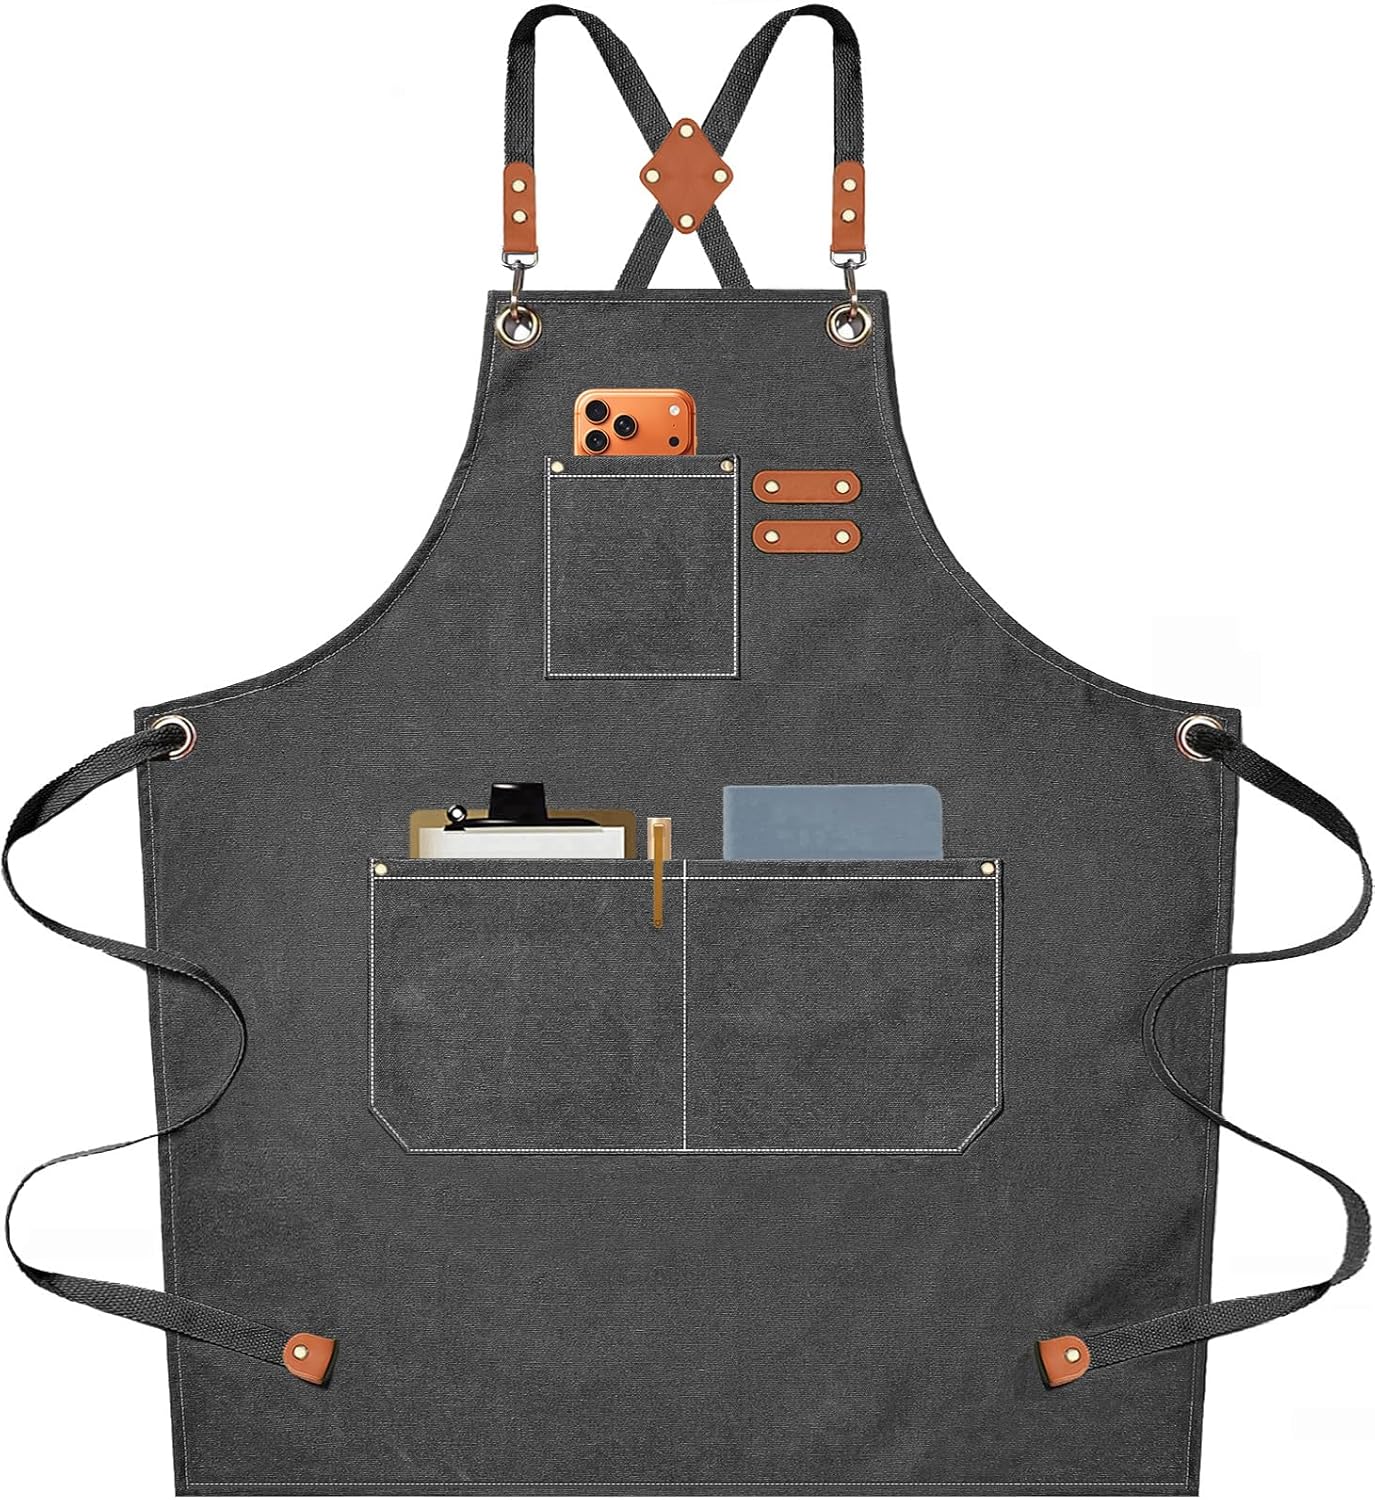
AFUN Chef Aprons for Men Women with Oversized Pockets
View product

PIZZA STONE | Rectangular Pizza Stone For Oven Baking
View product
Comments
Sign in to join the conversation
Sign In