Mixed Grain Sourdough Boule - Whole Wheat & Bread Flour
A beautifully balanced boule with earthy whole wheat and tender bread flour for complex flavor and perfect texture

Instructions
- 1
FEED YOUR STARTER: In a clean jar, combine 50g starter, 50g bread flour, and 50g room temperature water. Stir well until no dry flour remains and the mixture is smooth. Cover loosely and let rest at room temperature for 6-8 hours. Your starter is ready when it has doubled in size, smells pleasantly tangy, and passes the float test - a small spoonful should float in water. This active starter is the heart of your beautiful boule!
- 2
MIX DOUGH: In a large mixing bowl, combine 375g room temperature water and 120g of your active, bubbly starter. Stir well with a silicone spatula until the starter completely dissolves - the mixture should look cloudy but smooth. Add 10g salt and stir until dissolved. Now add both flours (250g whole wheat and 250g bread flour) all at once. Mix with your spatula until you have a shaggy dough with no dry flour pockets visible. The dough will look rough and feel sticky - this is exactly what we want! Don't worry about smoothness yet.
- 3
STRETCH & FOLDS: Perform 3 sets of stretch and folds, spaced 45-60 minutes apart. For each set: wet your hands, grab one side of the dough, stretch it up and fold it over to the opposite side. Rotate the bowl 90° and repeat 3 more times (4 folds total per set). You'll feel the dough transform from shaggy and loose to smooth and elastic with each set. After the first set, the dough will start holding its shape. By the third set, it should feel supple and slightly pillowy - a sign that gluten is developing beautifully!
- 4
COLD OVERNIGHT BULK FERMENT: After your final stretch and fold, cover the bowl tightly with plastic wrap or a damp kitchen towel. Transfer to the refrigerator for 8-16 hours. This cold fermentation is where the magic happens - the dough will slowly develop incredible flavor complexity while the whole wheat adds earthy, nutty notes. The dough should increase by about 50% in size and feel jiggly when gently shaken. Cold dough is much easier to handle, so don't worry if it feels firm when you take it out tomorrow!
- 5
PRE-SHAPE: Remove the dough from the refrigerator - it will feel firm and cold, which is perfect! Turn it out onto an unfloured work surface (the slight stickiness helps with tension). Using a bench scraper or your hands, gently shape the dough into a rough round by pulling the edges toward the center. Don't flour the surface - we want just enough stickiness to build surface tension. The dough should hold its shape but still feel relaxed. This pre-shape prepares your dough for the final beautiful boule shape!
- 6
BENCH REST: Lightly flour the top of your pre-shaped round, then cover tightly with plastic wrap and place a kitchen towel on top. Let rest for 20-30 minutes. This rest allows the cold dough to relax and warm slightly, making final shaping much easier. You'll notice the dough becomes more pliable and less resistant to shaping. The surface should look smooth and feel slightly less firm than when it first came out of the fridge.
- 7
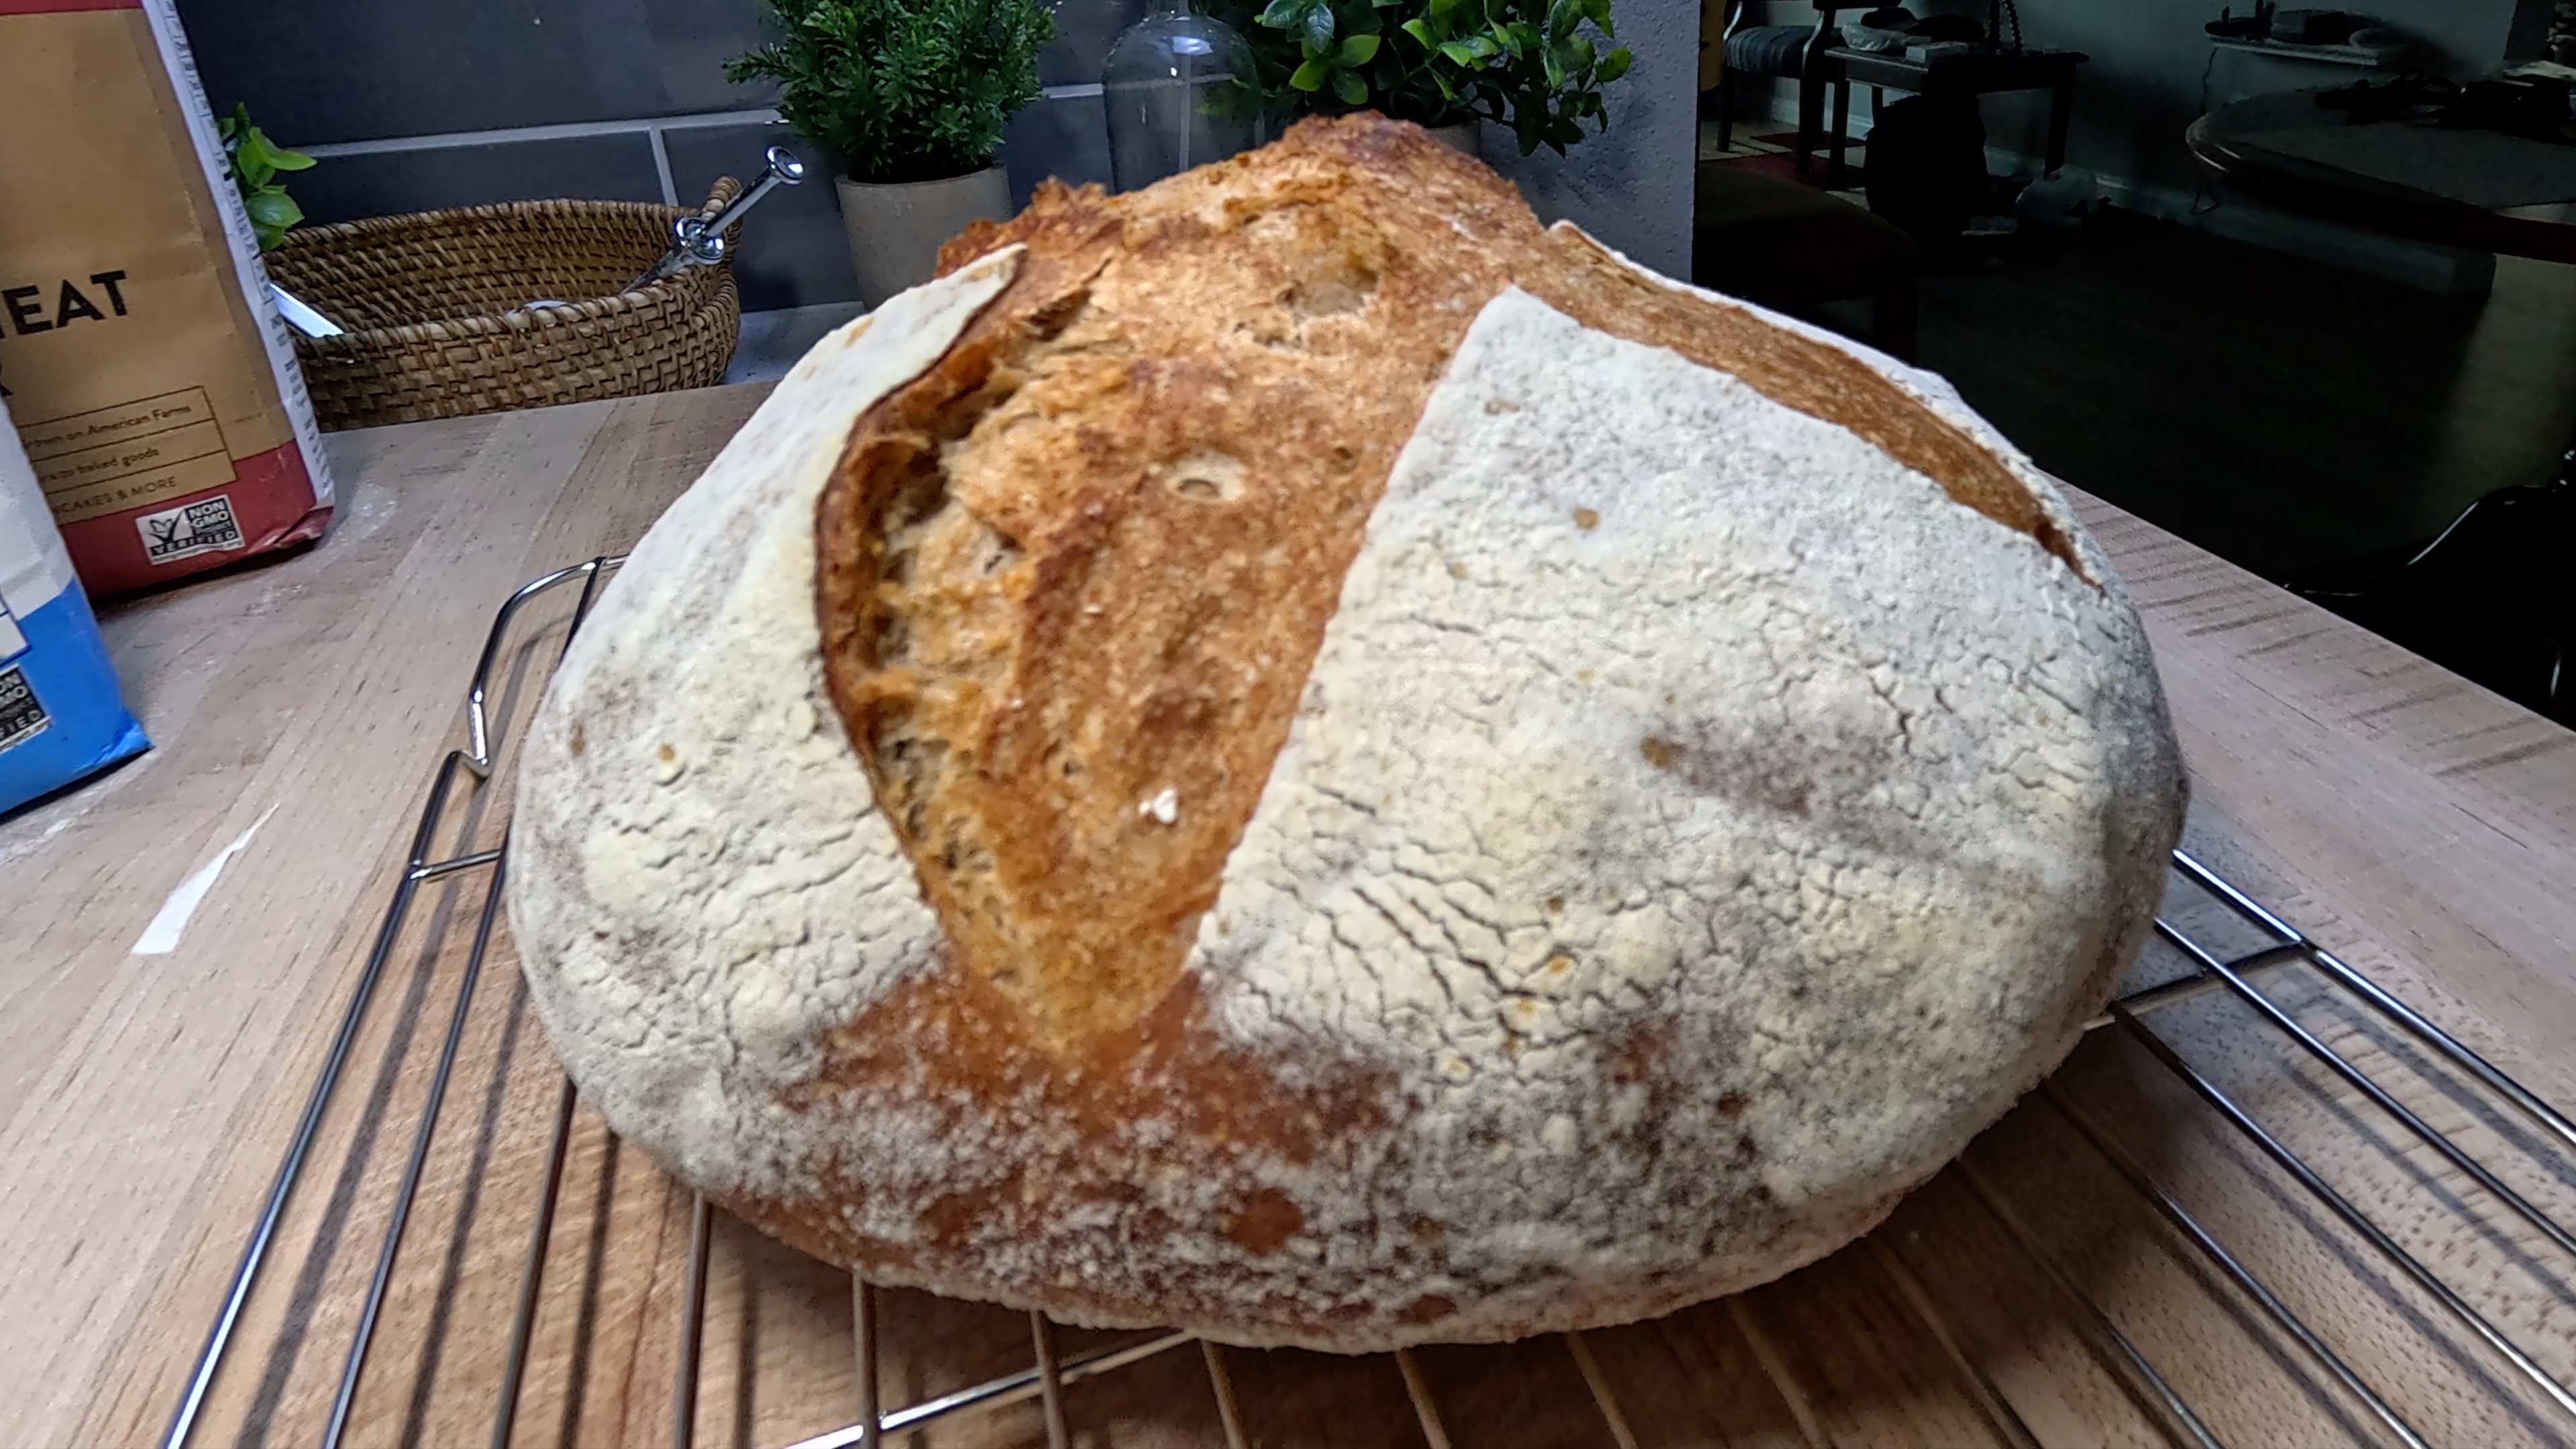
FINAL SHAPE: Remove the covers and flour the top of the dough generously. Using your bench scraper, flip the dough upside down so the floured side is on your work surface. Shape into a tight boule by pulling the edges toward the center, working in a circle. Flip seam-side down and use your hands to create tension by rotating the boule while gently pulling it toward you. Transfer seam-side up to a well-floured banneton. The seam should be centered on top. Your boule should look taut and proud - you're creating the foundation for a beautiful rise!
- 8
FINAL PROOF: Cover the banneton with a kitchen towel and let proof at room temperature for 1.5-2 hours, until the dough has nearly doubled in size. Gently poke the dough with a floured finger - it should slowly spring back halfway, leaving a small indentation. The dough will feel lighter and more airy than before. This room temperature proof allows the mixed grain dough to develop its final lift and creates the perfect texture for scoring and baking.
- 9
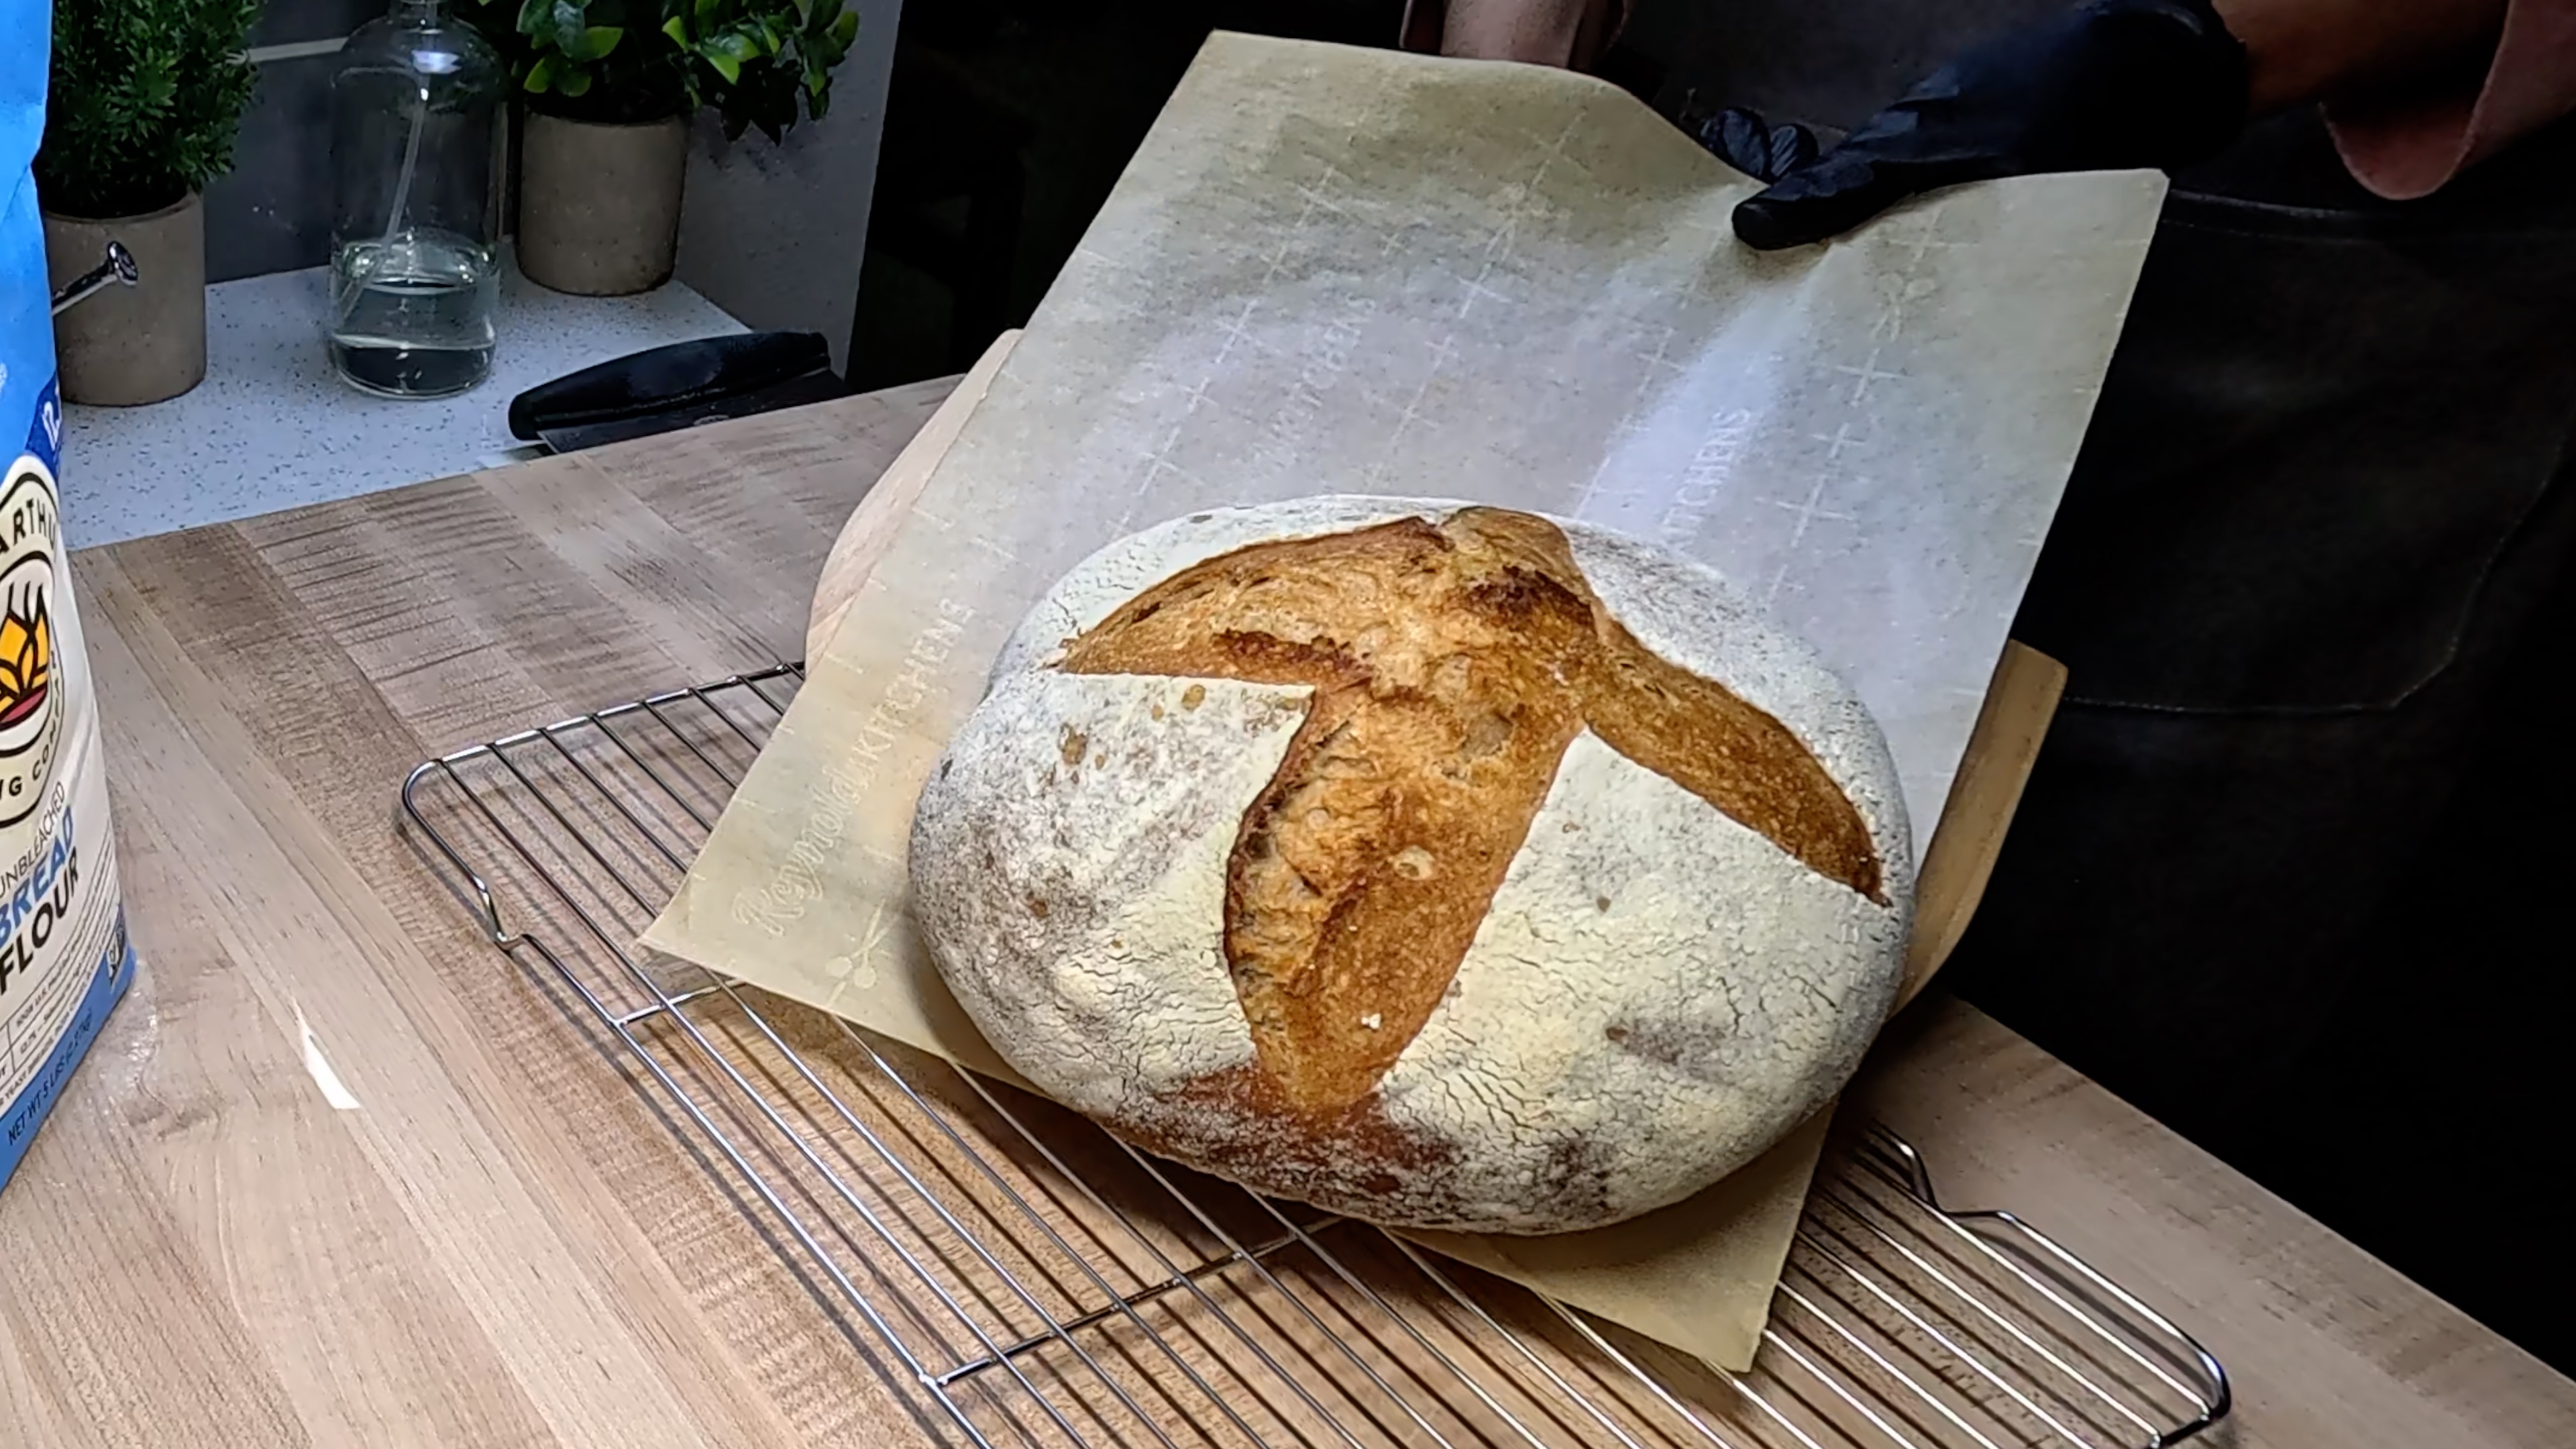
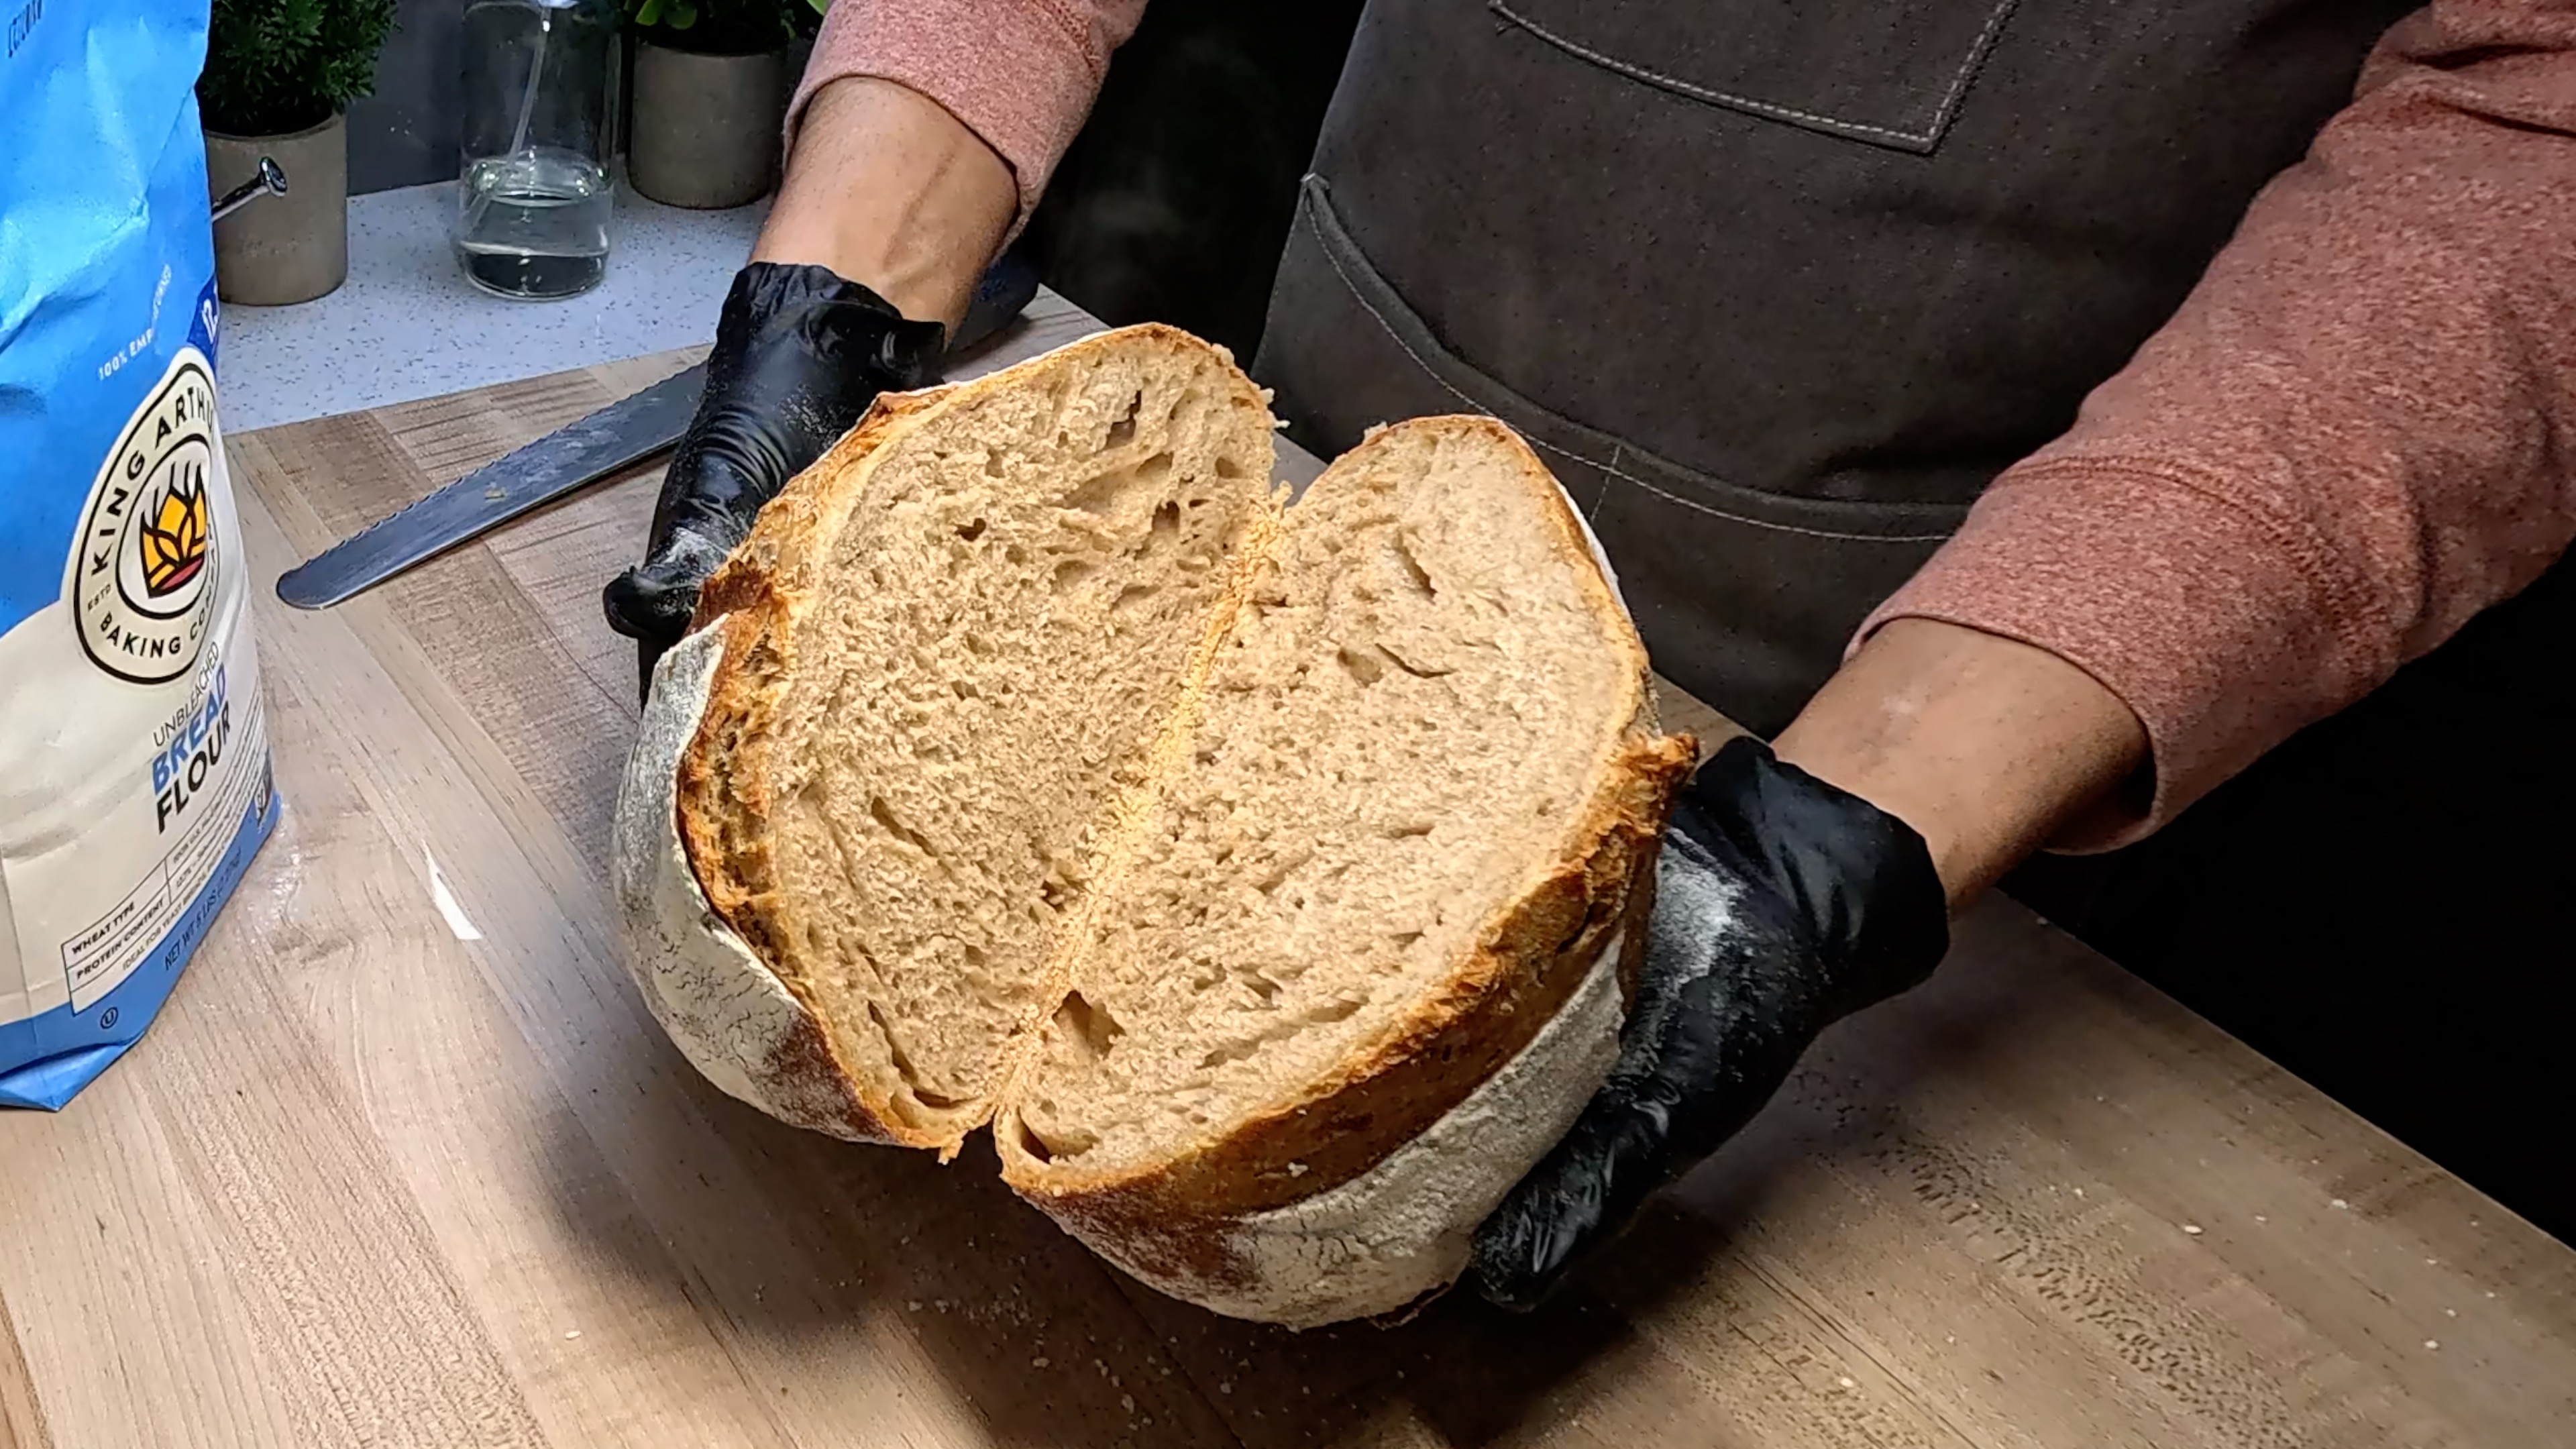
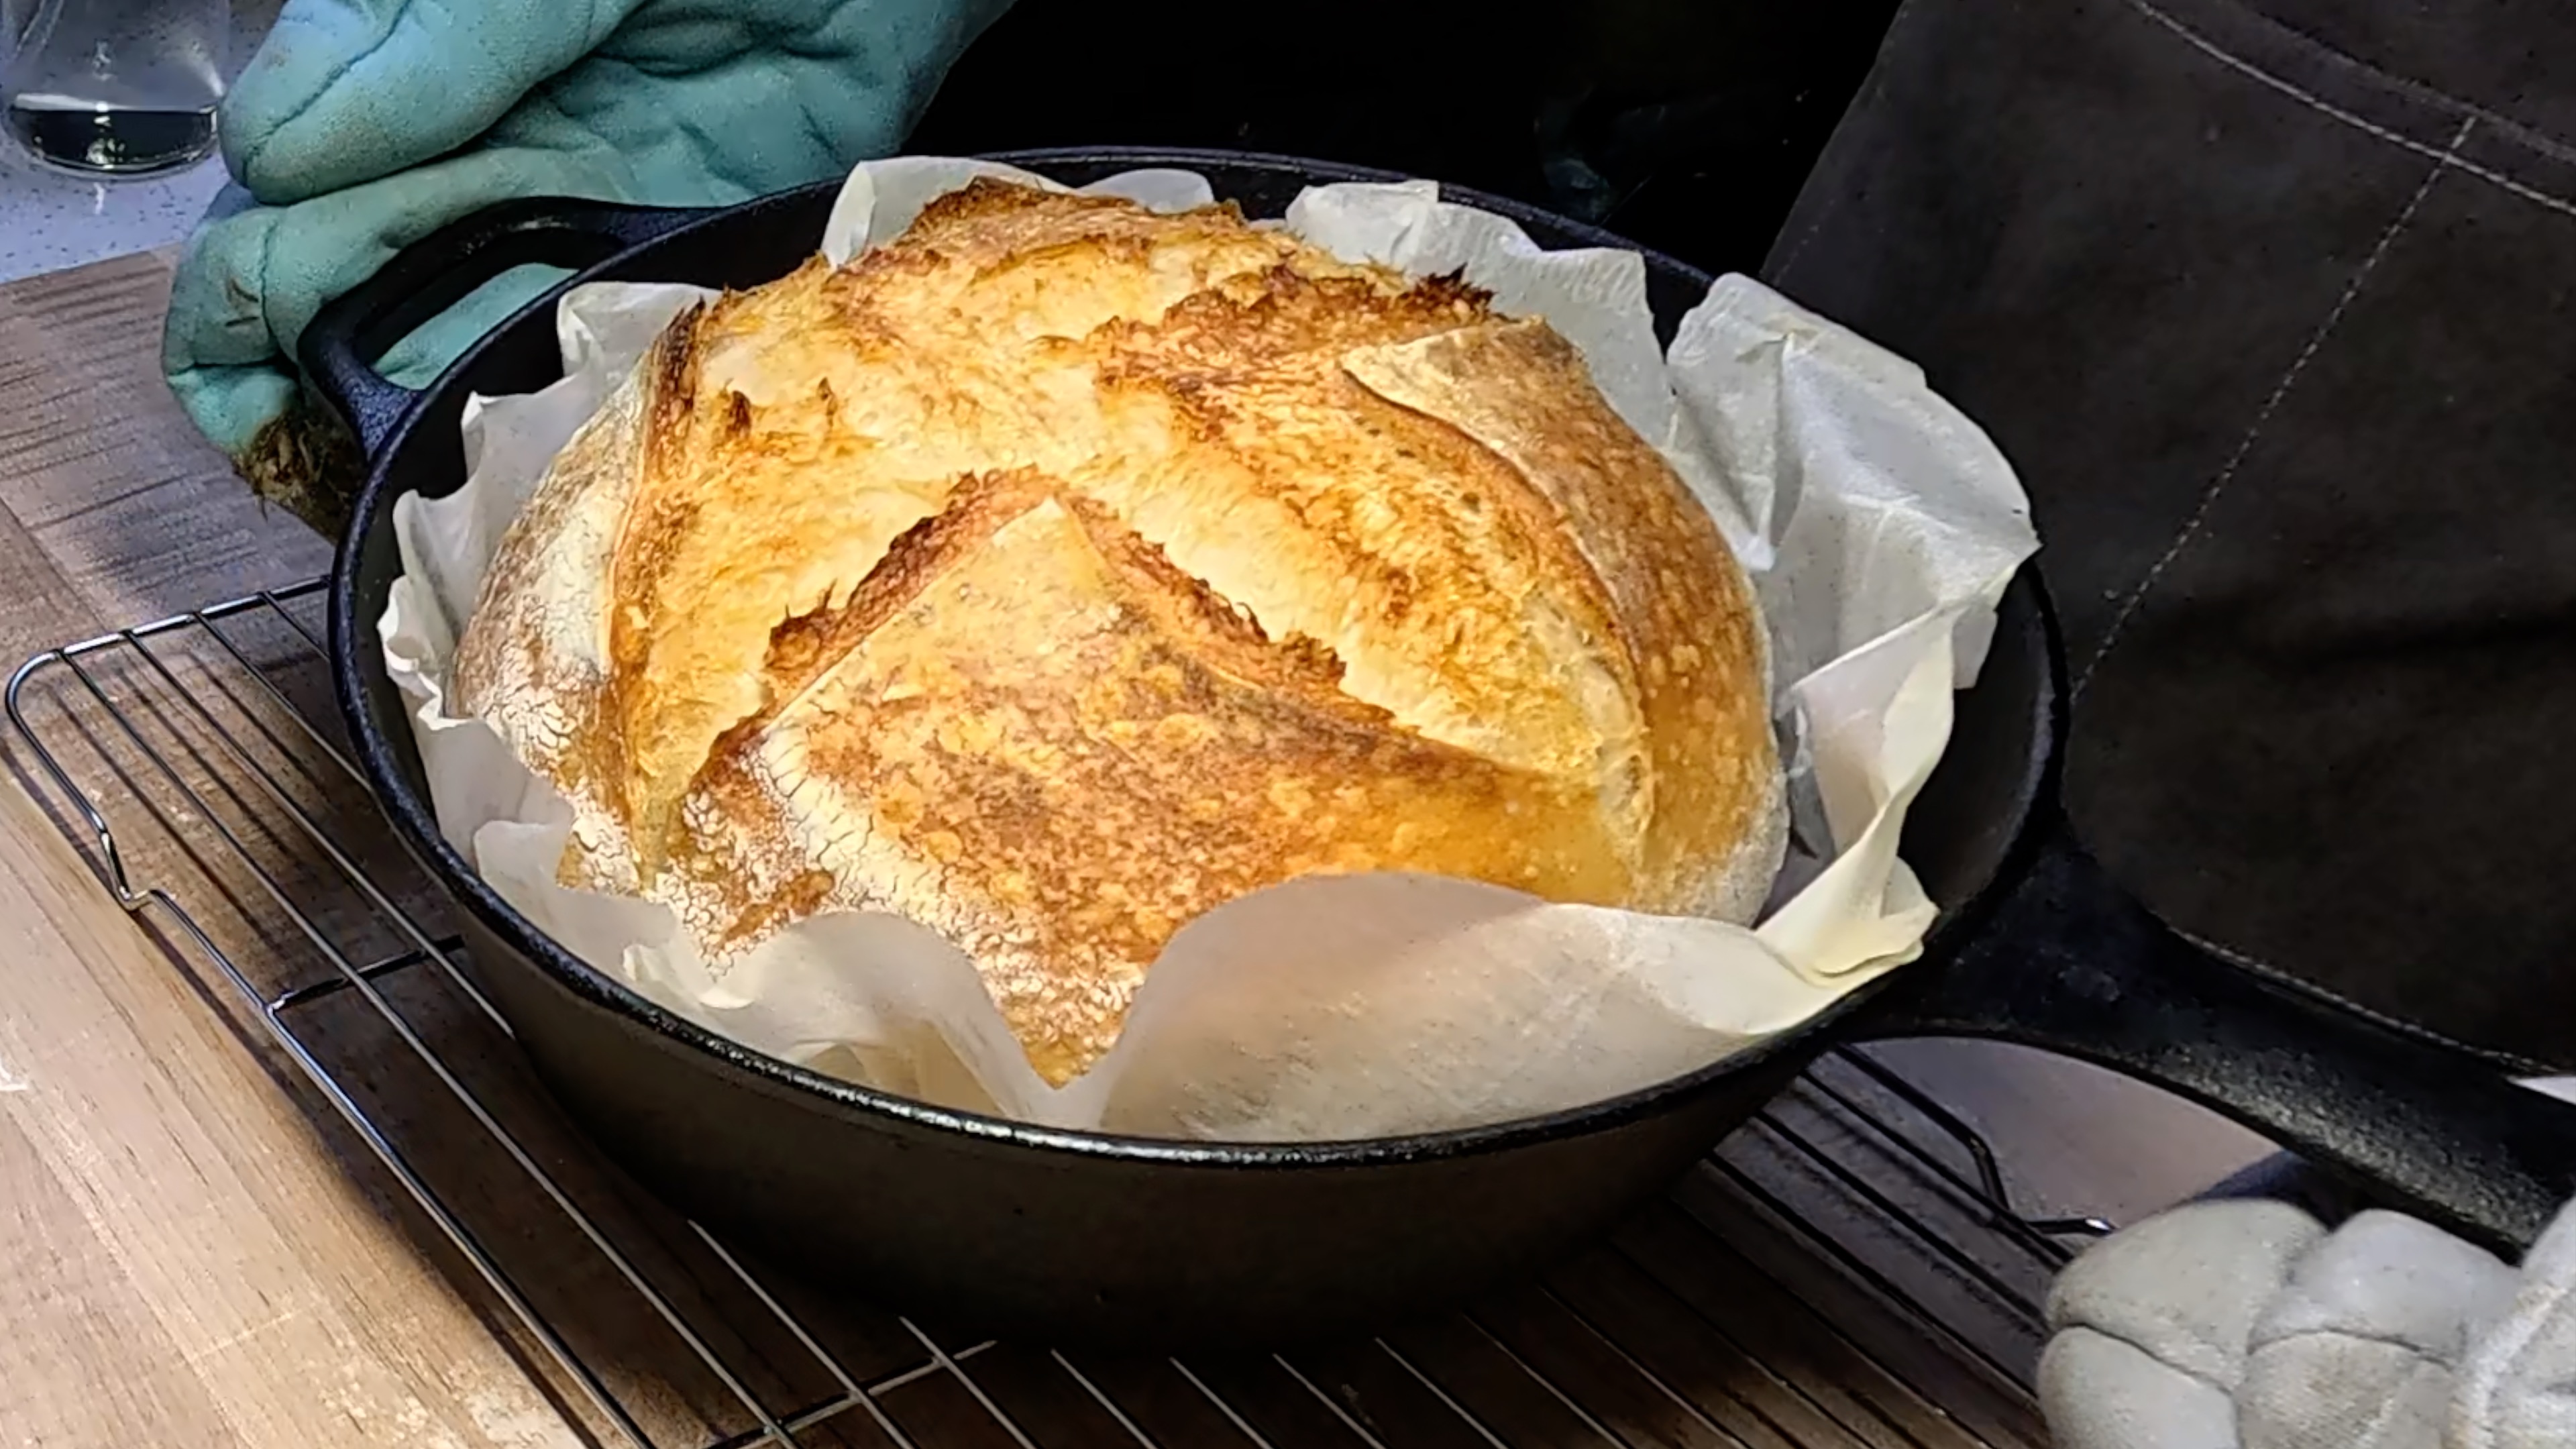
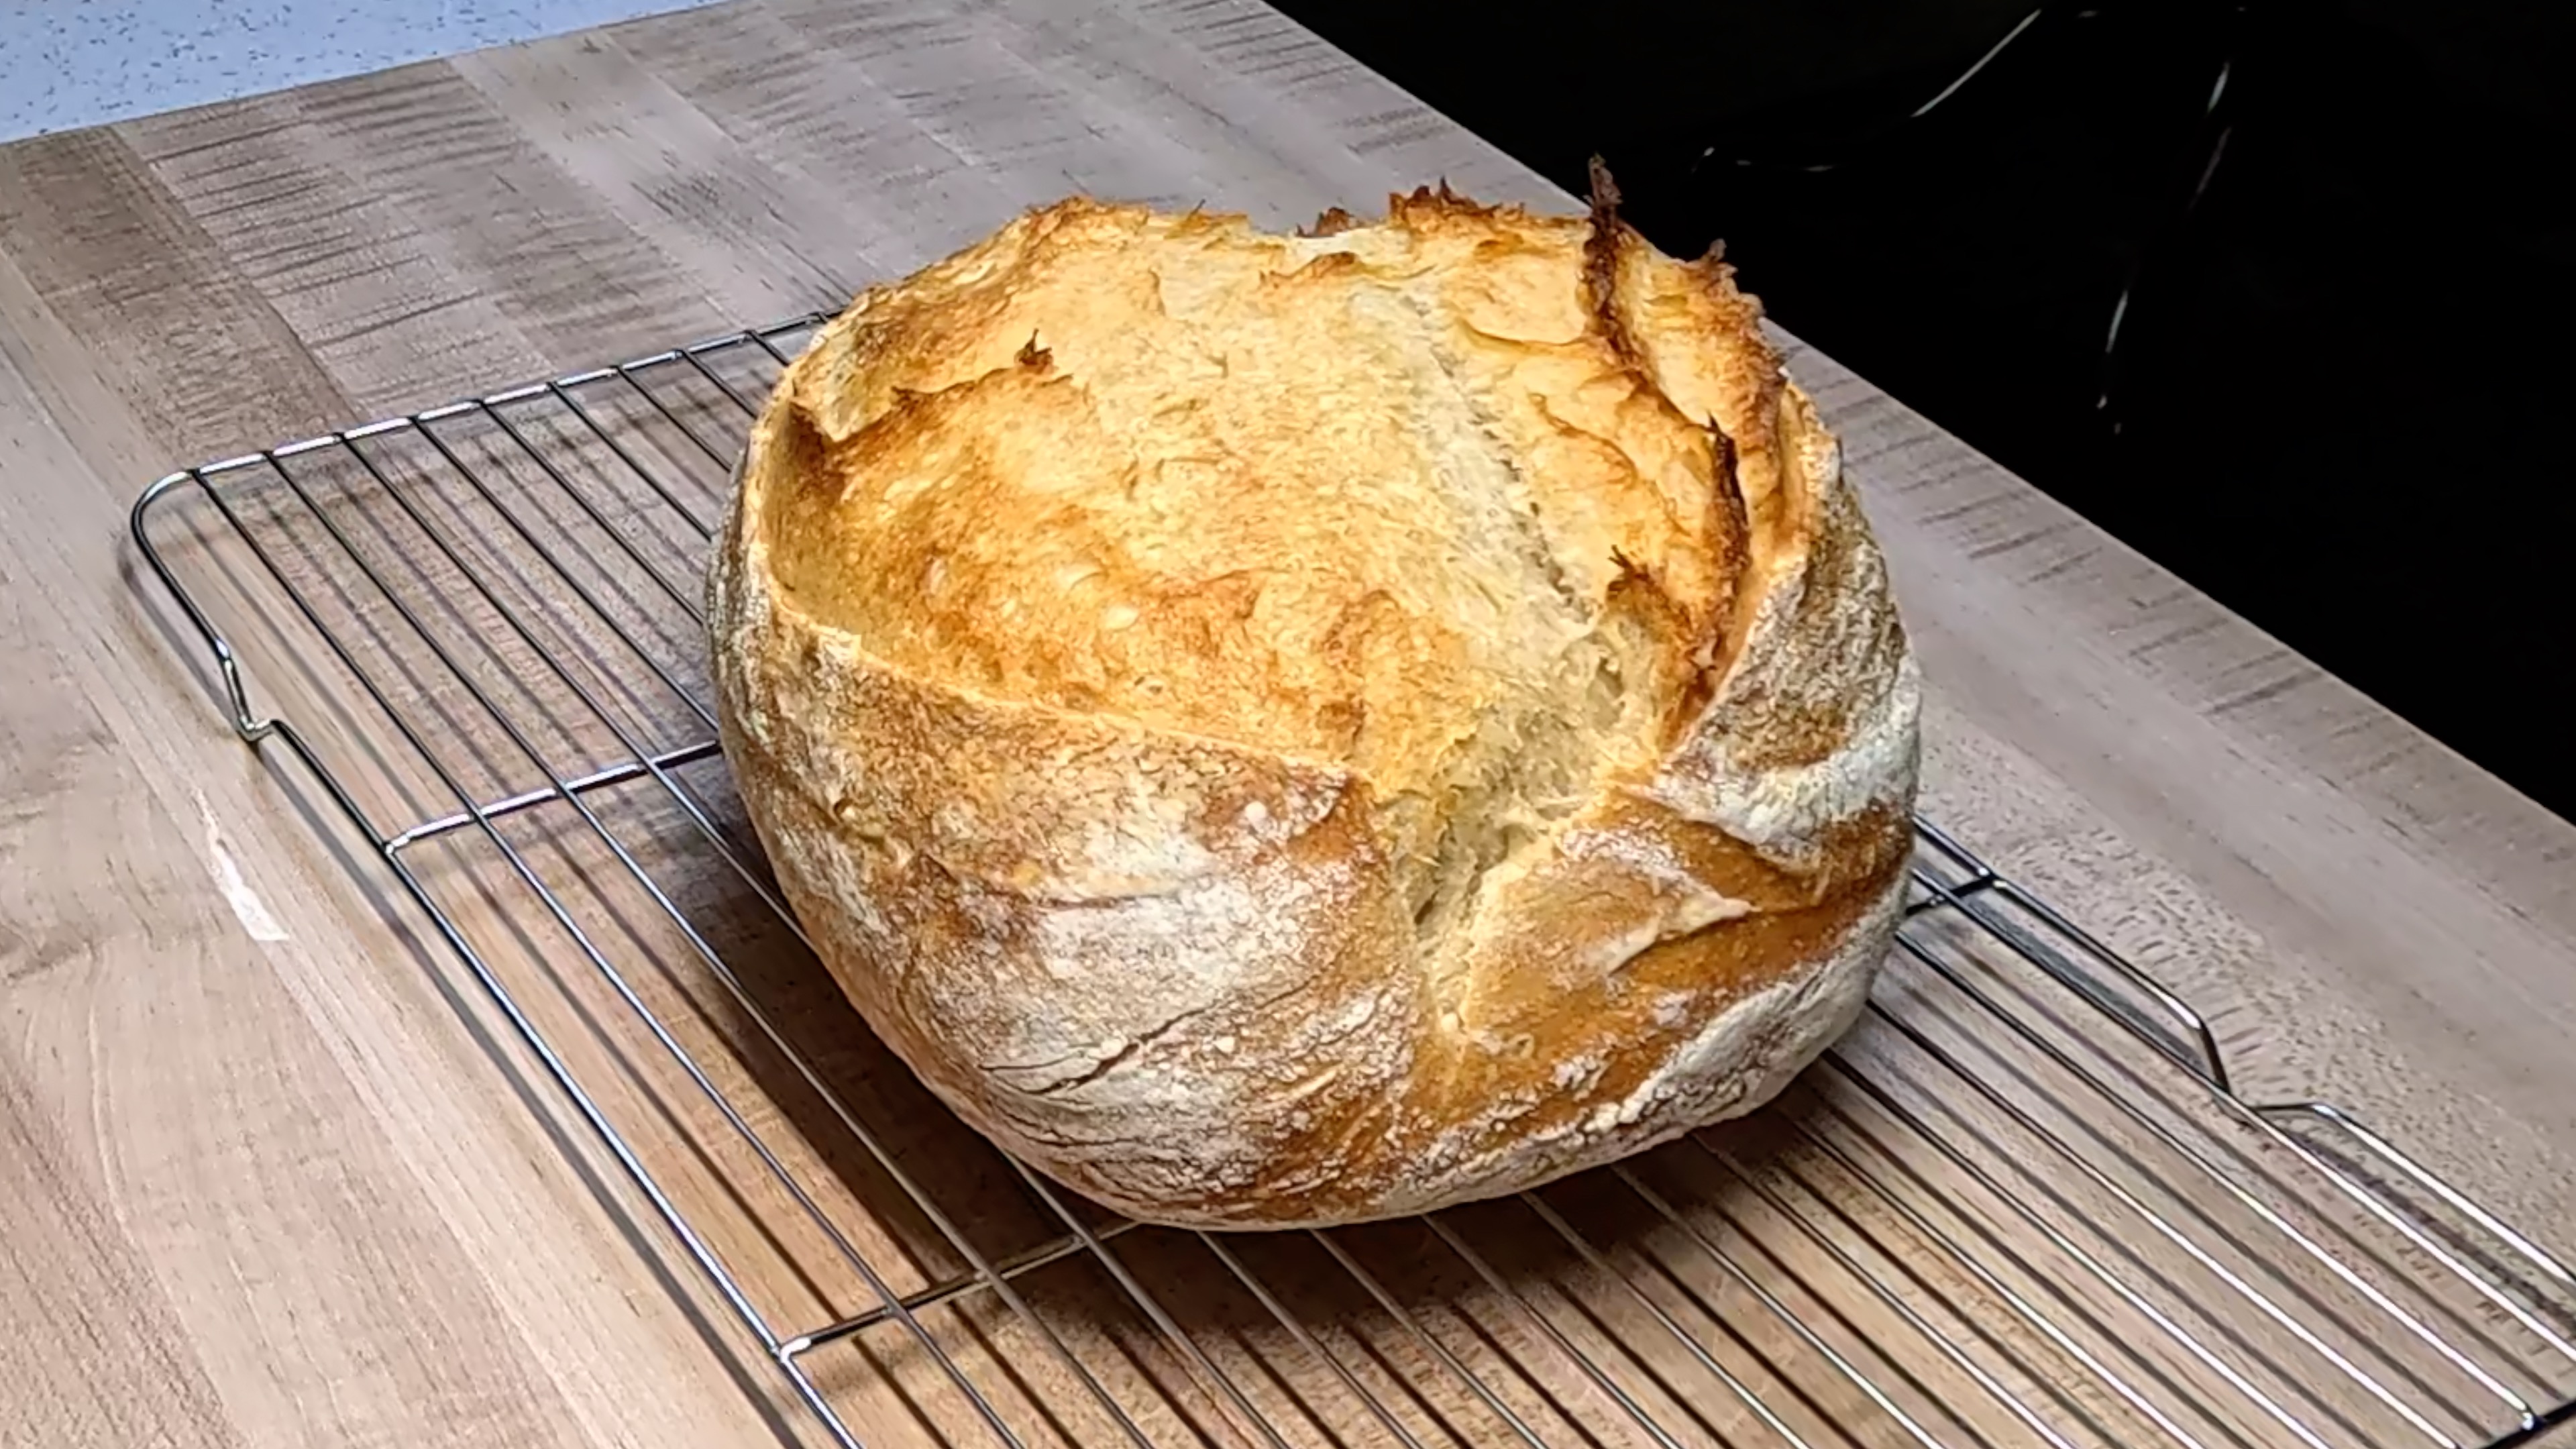
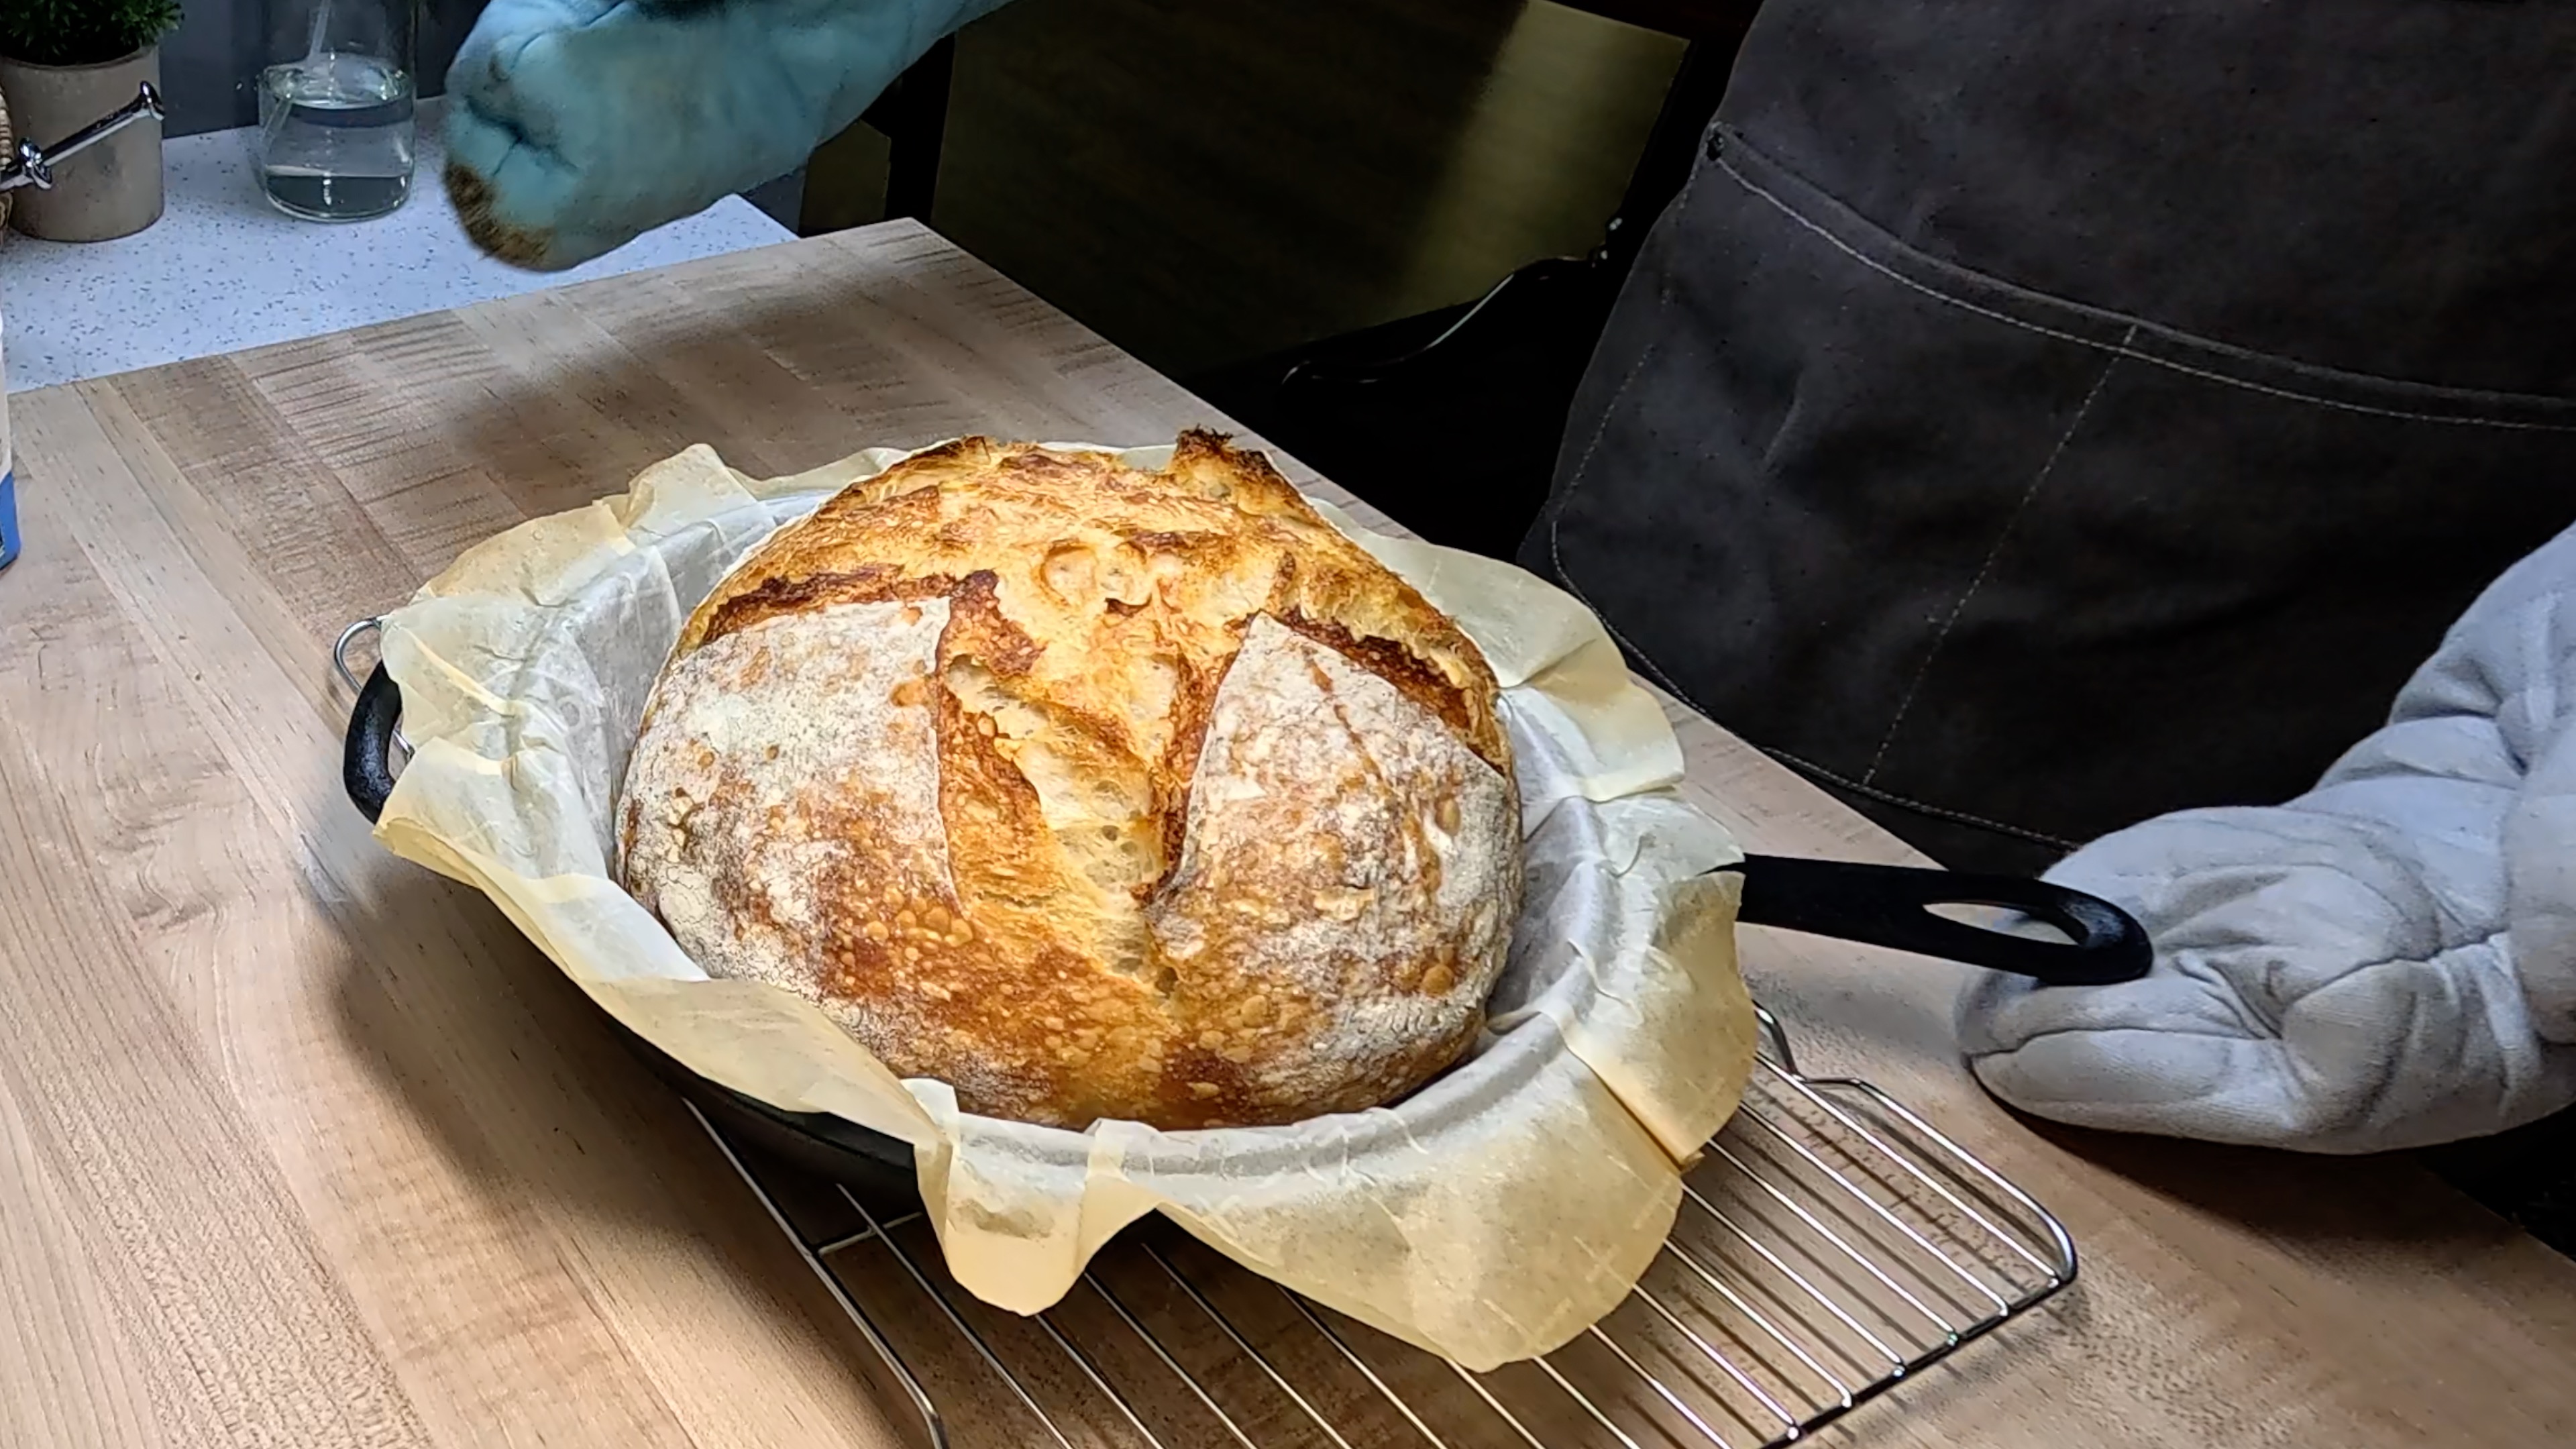
PREHEAT → SCORE & BAKE → COOL: Place your baking stone on the middle rack and a steam pan on the bottom rack. Preheat oven to 500°F (260°C) for at least 45 minutes. Turn the proofed boule onto parchment paper, score with a sharp blade or lame in your desired pattern - a simple cross or single slash works beautifully. Slide onto the hot stone, pour 1 cup hot water into the steam pan (stand back from the steam!), and immediately reduce temperature to 450°F (230°C). Bake for 20 minutes, then remove the steam pan and continue baking for 30 minutes until deep golden brown. The crust should sound hollow when tapped. Cool completely on a wire rack for at least 2 hours before slicing - this allows the crumb to set properly.
Baker's Tips
- •The combination of whole wheat and bread flour creates incredible flavor depth while maintaining good structure
- •Don't skip the cooling time - hot bread will be gummy inside
- •This loaf keeps well for 3-4 days wrapped in a kitchen towel
- •Save the heel for amazing toast - the mixed grains shine when toasted
More Like This
Baker's Toolkit
Tools and ingredients we recommend for this recipe

KneadAce Cotton Rope Banneton Bread Proofing Basket Set, Oval & Round Bread Baskets with Liners & Covers
View product

Sally's Organics® Empty Clear Glass Spray Bottles - Refillable 16 oz
View product
HULISEN Flour Duster for Baking, One-Handed Operation, 304 Stainless Steel Powdered Sugar Shaker Duster
View product
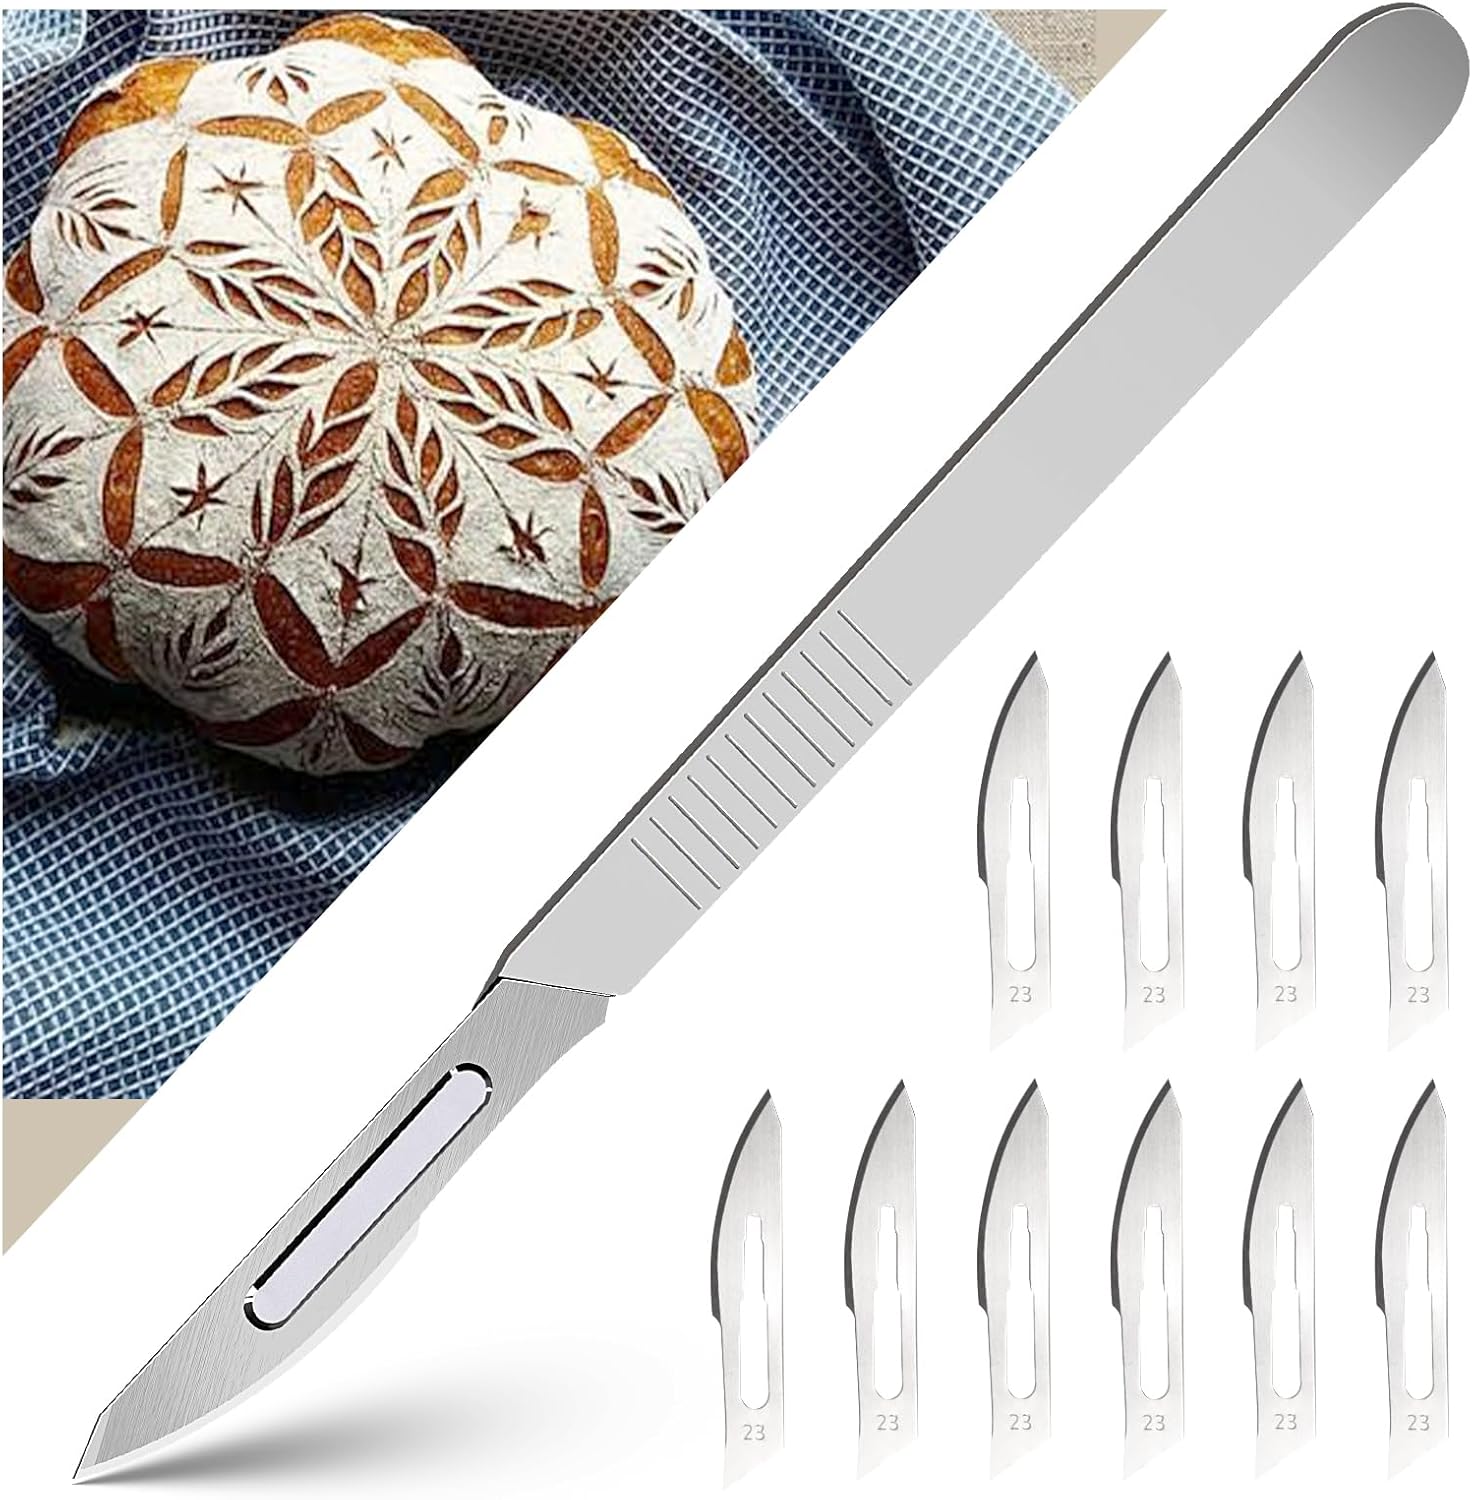
Bread Lame & Sourdough Scoring Tool - Professional Bread Scoring Tool with 10 Ultra-Sharp Blades
View product

SURDOCA Dough Scraper Bench Scraper - 3P 4.7x3.7" Plastic Flexible Bowl Scraper
View product
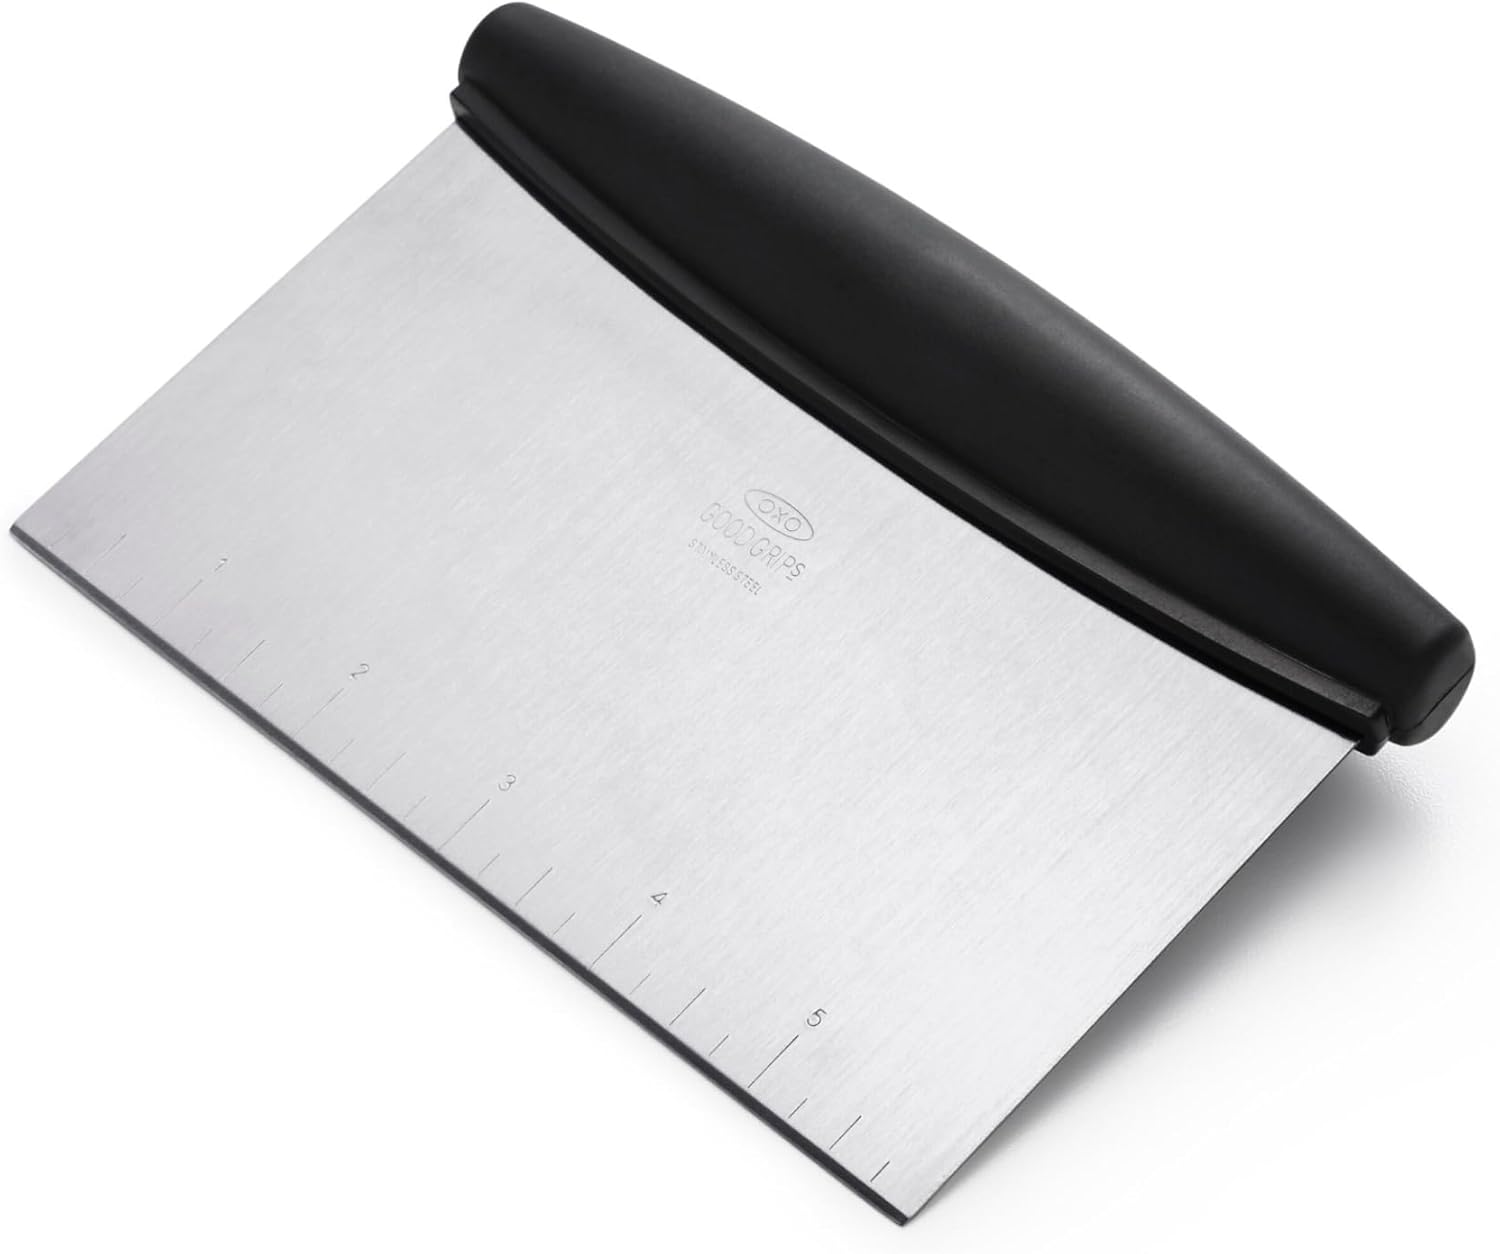
OXO Good Grips Stainless Steel Multi-Purpose Scraper & Chopper
View product
Comments
Sign in to join the conversation
Sign In