Autolyse Explained: The Secret to Silky Sourdough Dough
Discover how this simple 30-minute technique transforms your flour and water into silky, extensible dough that's easier to shape and bakes beautifully.
Published on February 19, 2026
Ever wondered why some sourdough bakers swear by letting their flour and water "rest" before adding anything else? That magical pause is called autolyse (pronounced "AUTO-lease"), and it's one of the most transformative techniques you can add to your bread-making arsenal.
If you've ever struggled with sticky, difficult-to-handle dough or dense loaves with tight crumb, autolyse might just be the game-changer you've been looking for. Let's dive into this simple yet powerful technique that can elevate your sourdough from good to absolutely sublime.
Recommended Product

Glad Cling N Seal Plastic Wrap for Food, Airtight Seal, 300 Square Foot Roll (Pack of 4)
What Exactly Is Autolyse?
Autolyse is a French term that literally means "self-digestion." In bread making, it refers to the resting period where flour and water are mixed together and left alone—no starter, no salt, just flour and water having a quiet conversation.
During this rest period, which typically lasts 20 minutes to several hours, enzymes naturally present in the flour begin breaking down proteins and starches. This creates a smoother, more extensible dough that's easier to work with and produces better results in your final loaf.
Think of it as giving your dough a head start before the real work begins.
Recommended Product
Glad Cling N Seal Plastic Wrap for Food, Airtight Seal, 300 Square Foot Roll (Pack of 4)
The Science Behind the Magic
When flour meets water, several fascinating processes kick into motion:
Gluten Development Without Kneading
The proteins in flour (glutenin and gliadin) begin forming gluten networks naturally, without any mechanical work from you. This means less kneading later and a more relaxed approach to dough handling.
Enzyme Activation
Naturally occurring enzymes in flour start breaking down starches into simple sugars. These sugars will later feed your sourdough starter and contribute to better fermentation flavors.
Improved Hydration
Flour particles have time to fully absorb water, creating a more cohesive dough mass. What might feel impossibly wet at first gradually becomes manageable and smooth.
Recommended Product
Glad Cling N Seal Plastic Wrap for Food, Airtight Seal, 300 Square Foot Roll (Pack of 4)
Benefits That Will Transform Your Baking
Easier Dough Handling
Autolysed dough feels noticeably different—silkier, less sticky, and more cooperative during shaping. If you've ever wrestled with unruly sourdough, this technique will feel like a revelation.
Better Gluten Development
With autolyse doing some of the heavy lifting, you'll need fewer folds and less manipulation to achieve strong dough structure. This is particularly helpful for high-hydration doughs.
Improved Fermentation
The enzymes activated during autolyse create food for your sourdough starter, leading to more active fermentation and better flavor development.
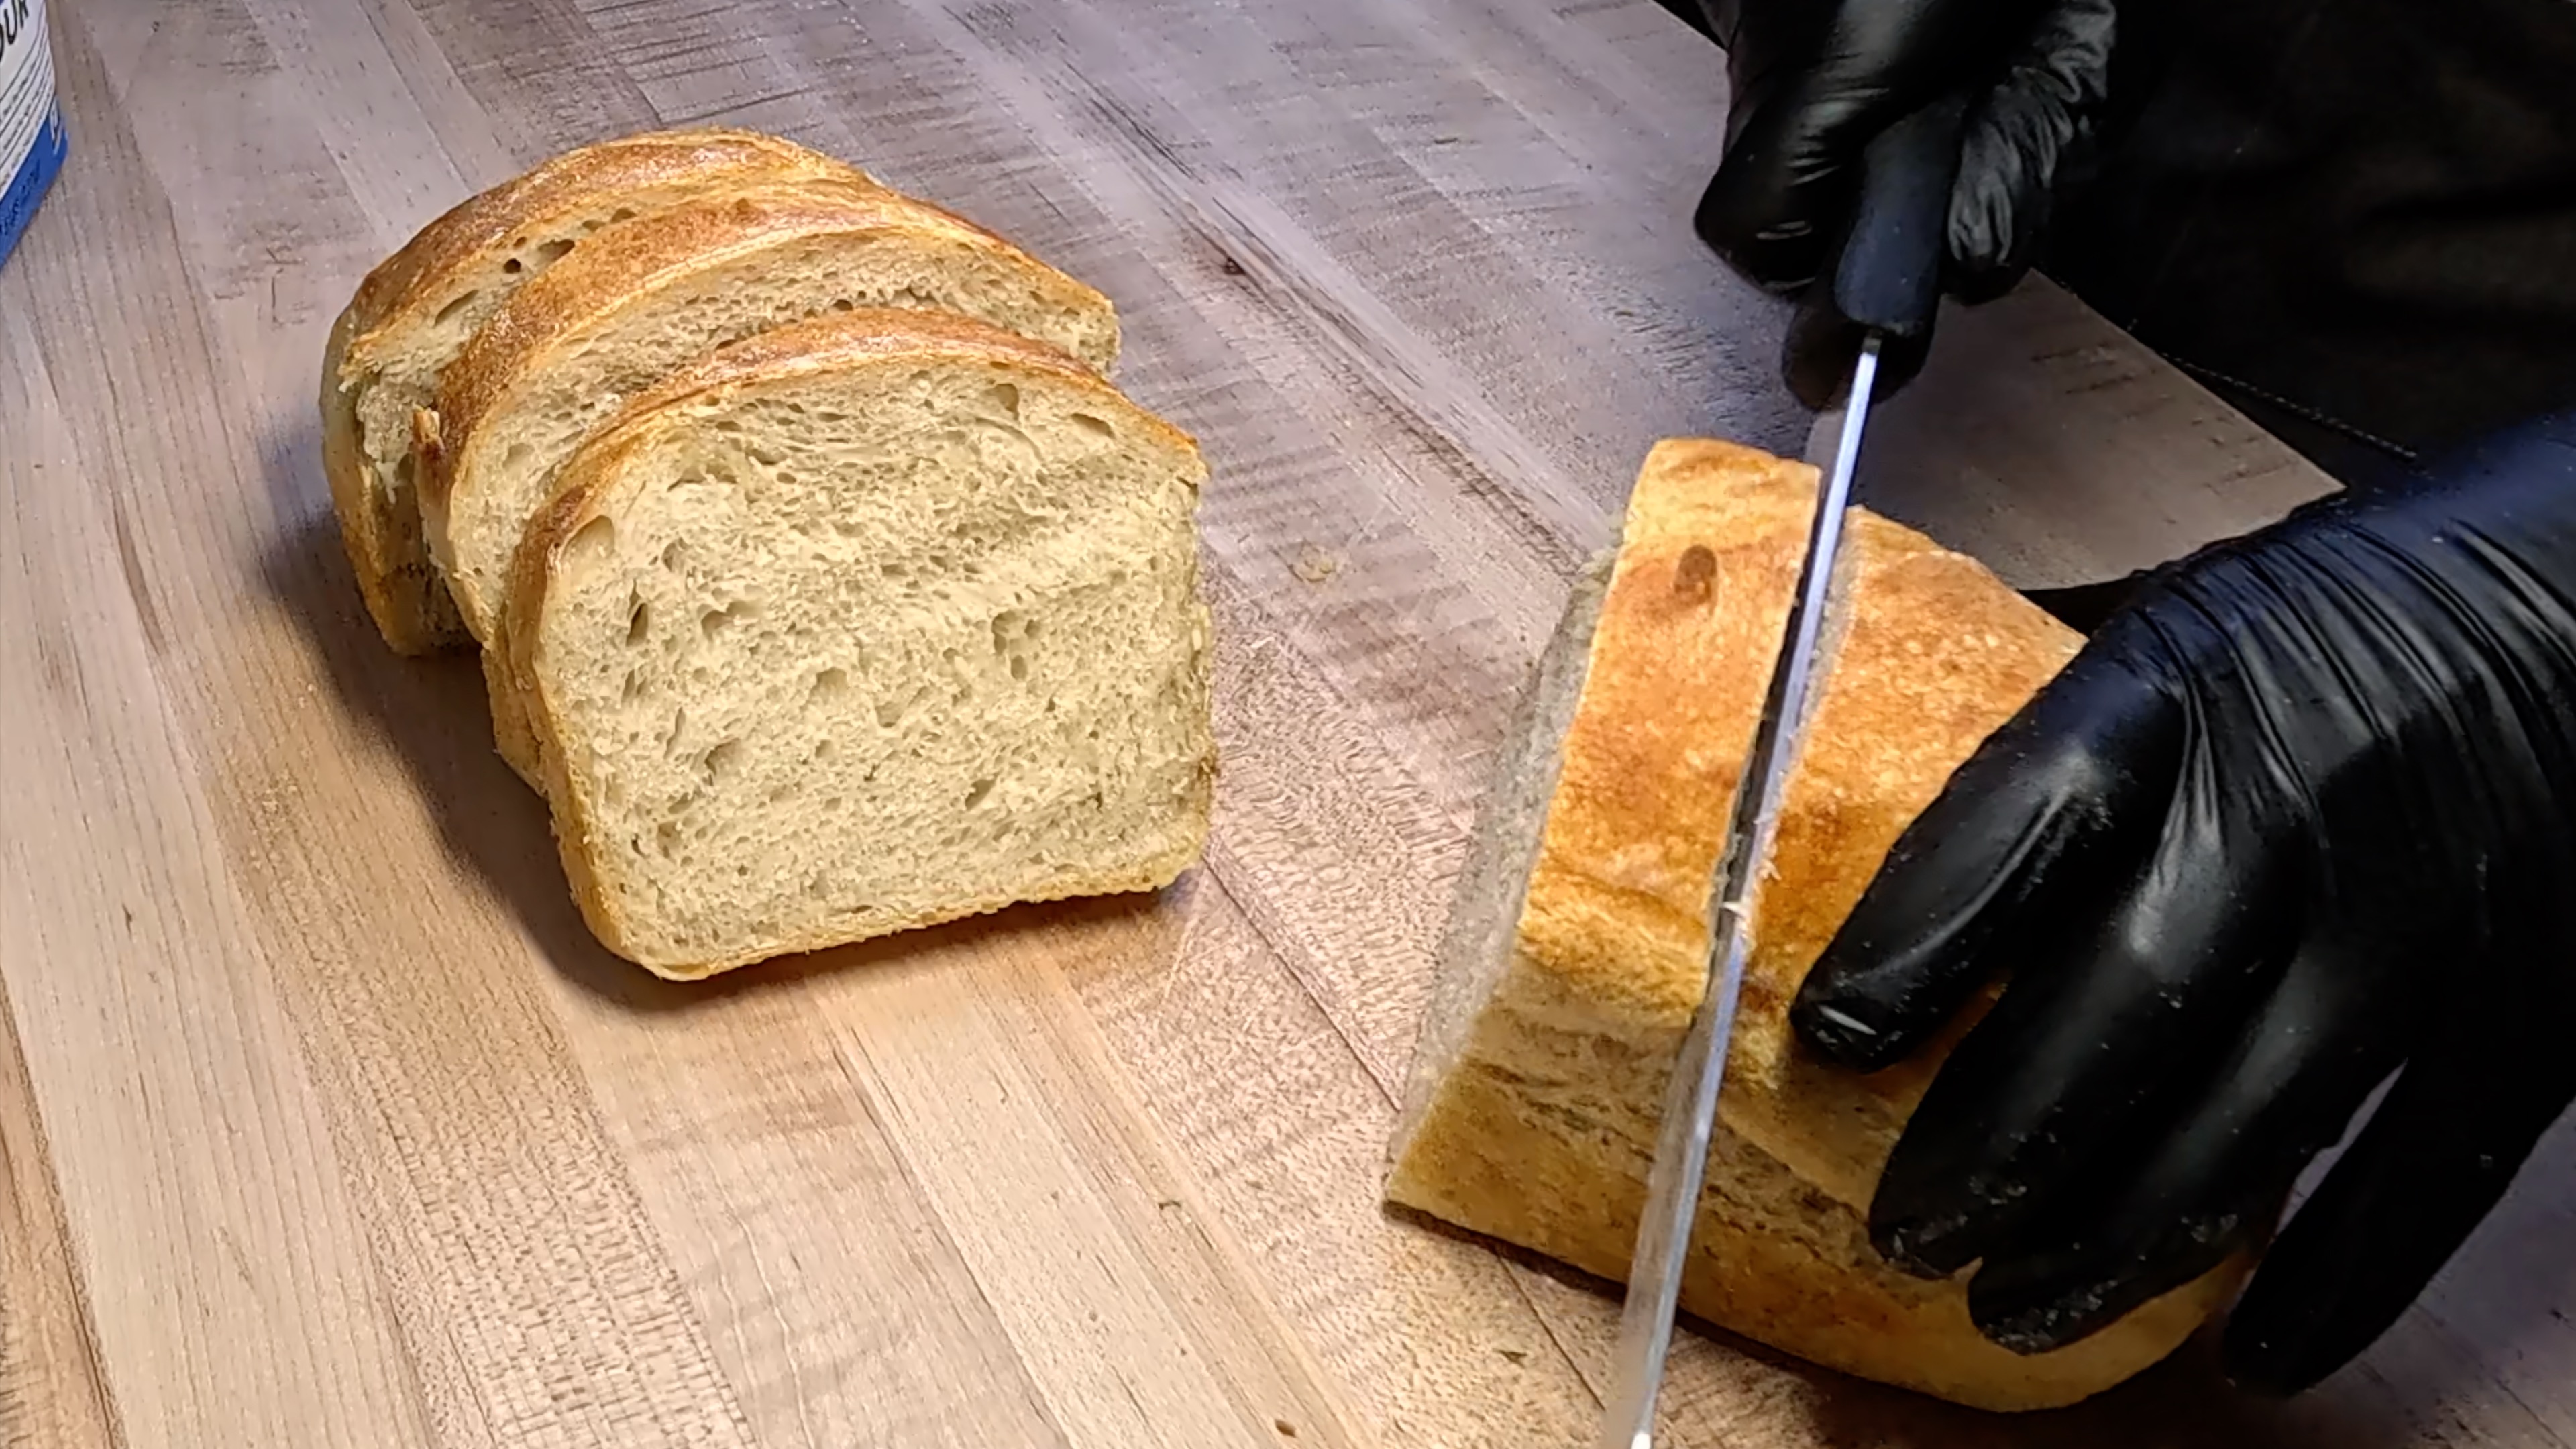
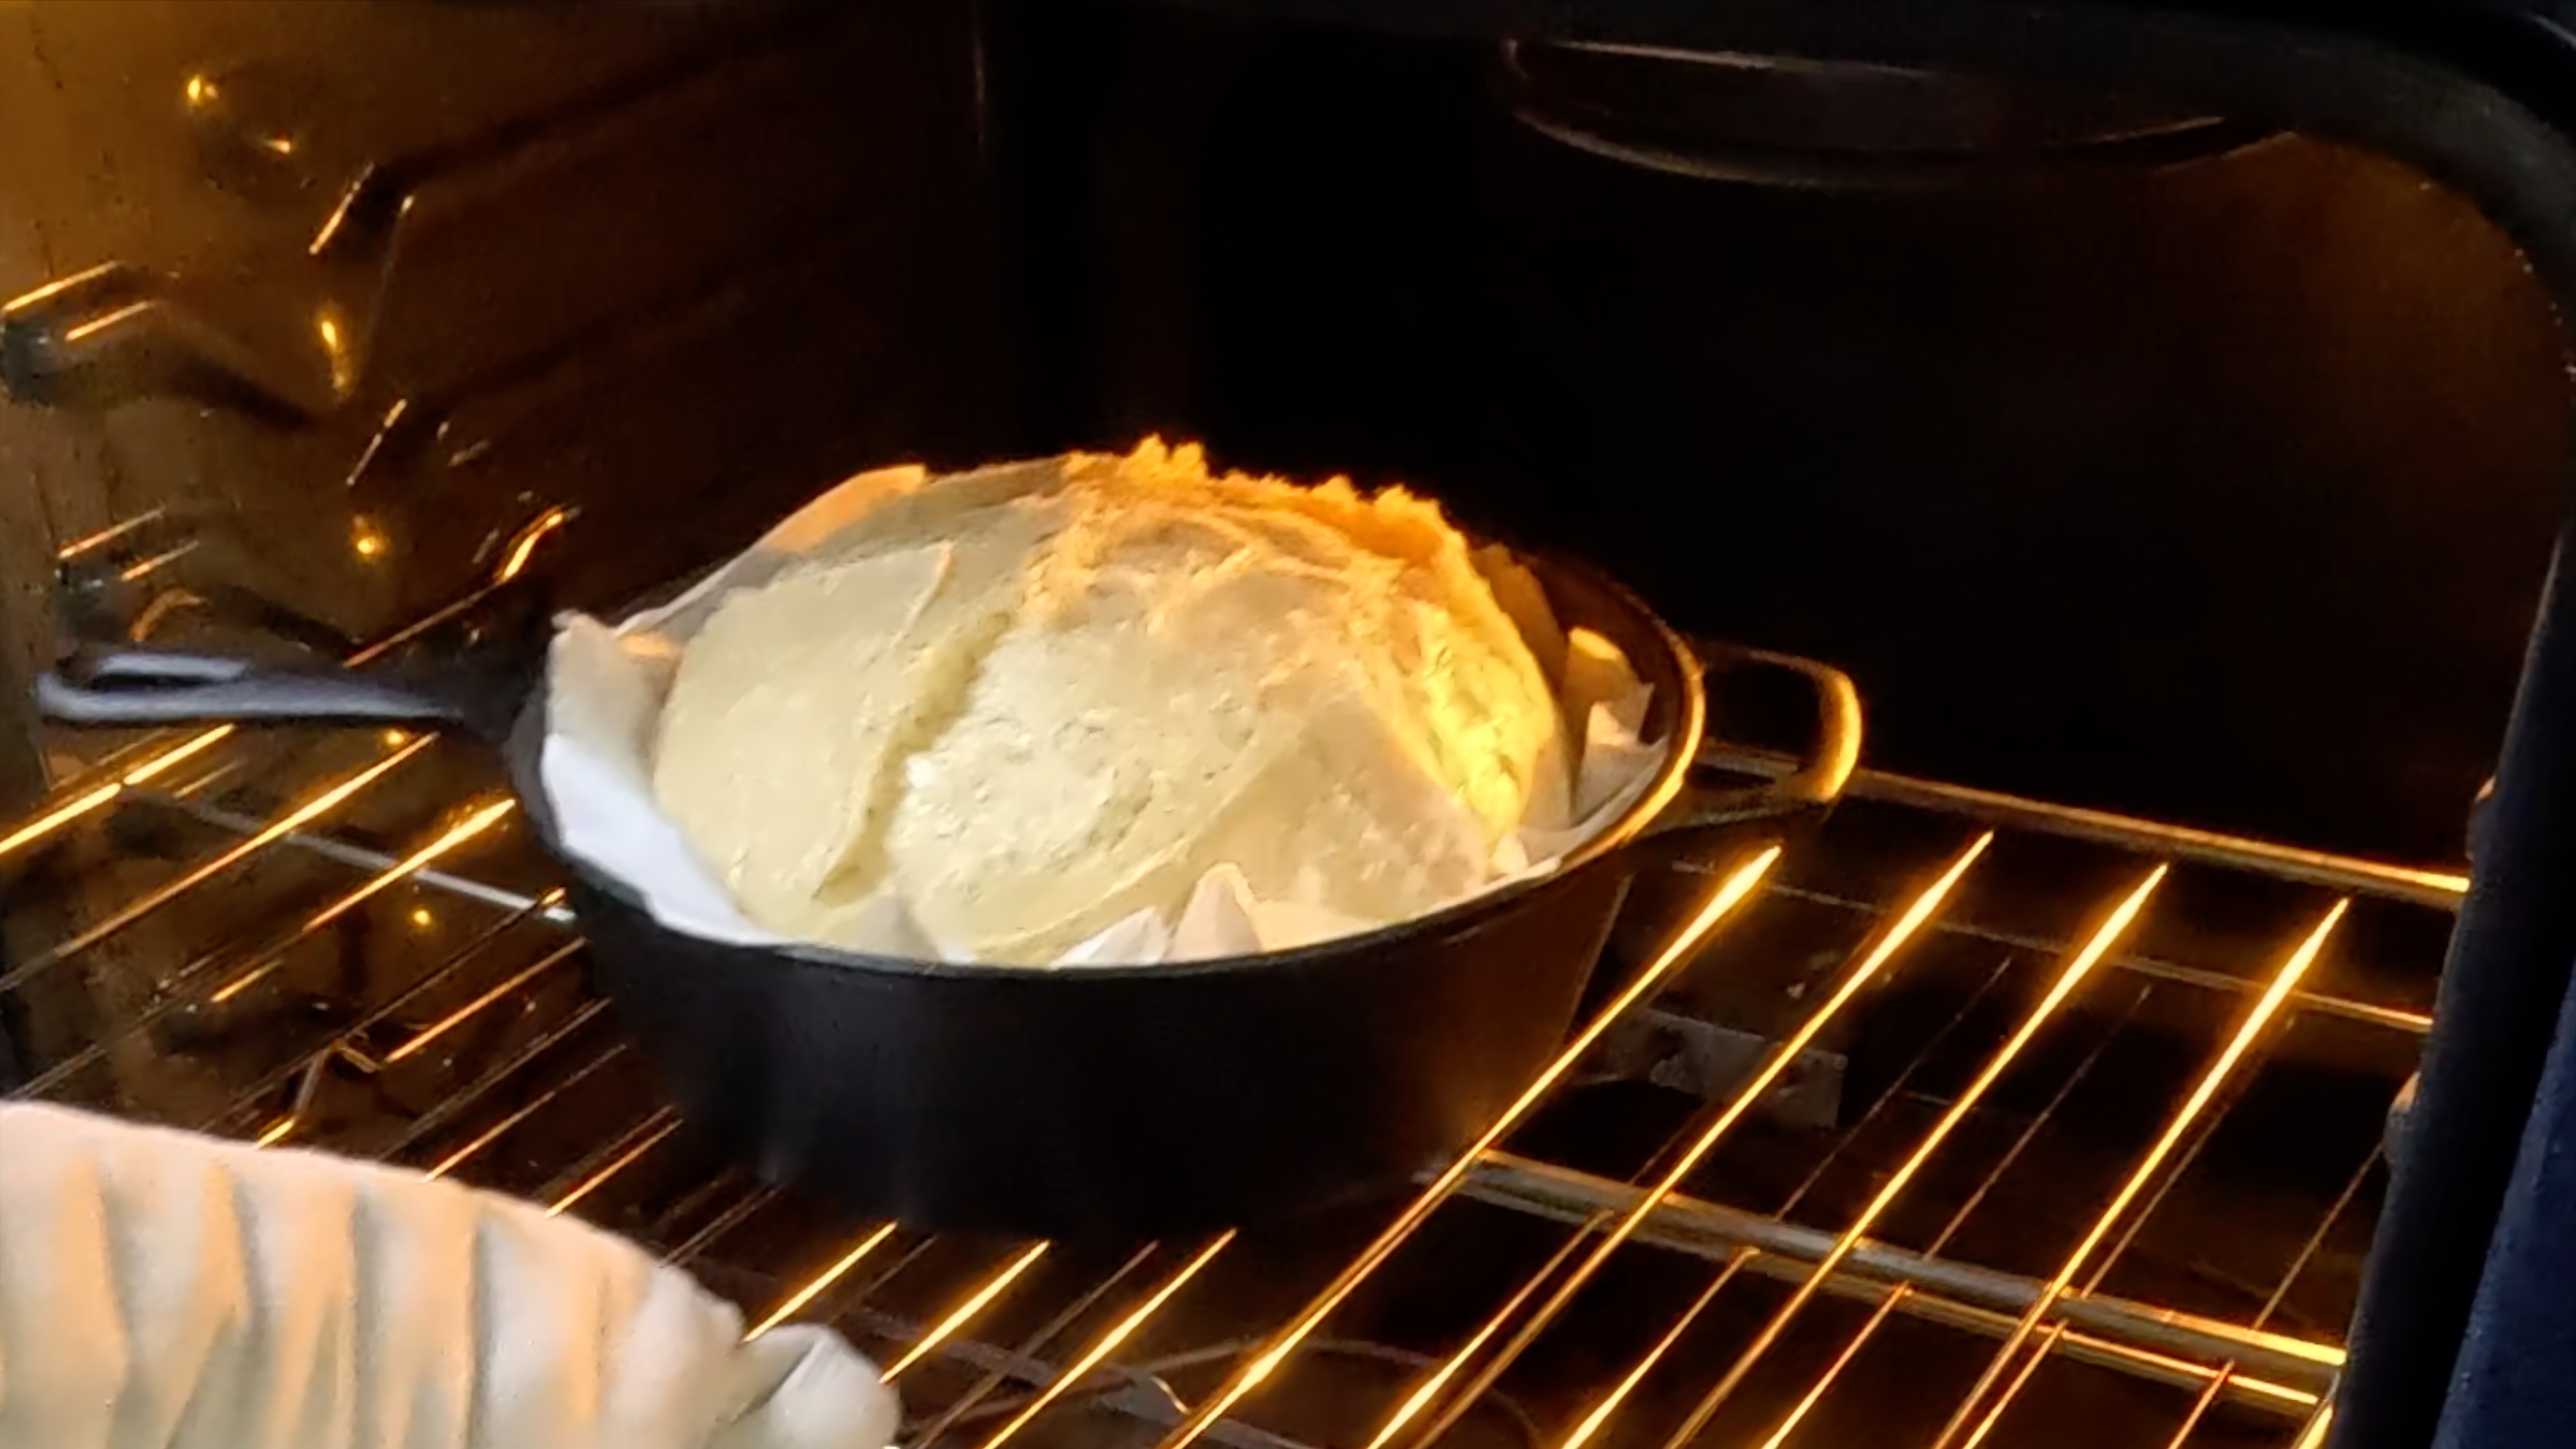
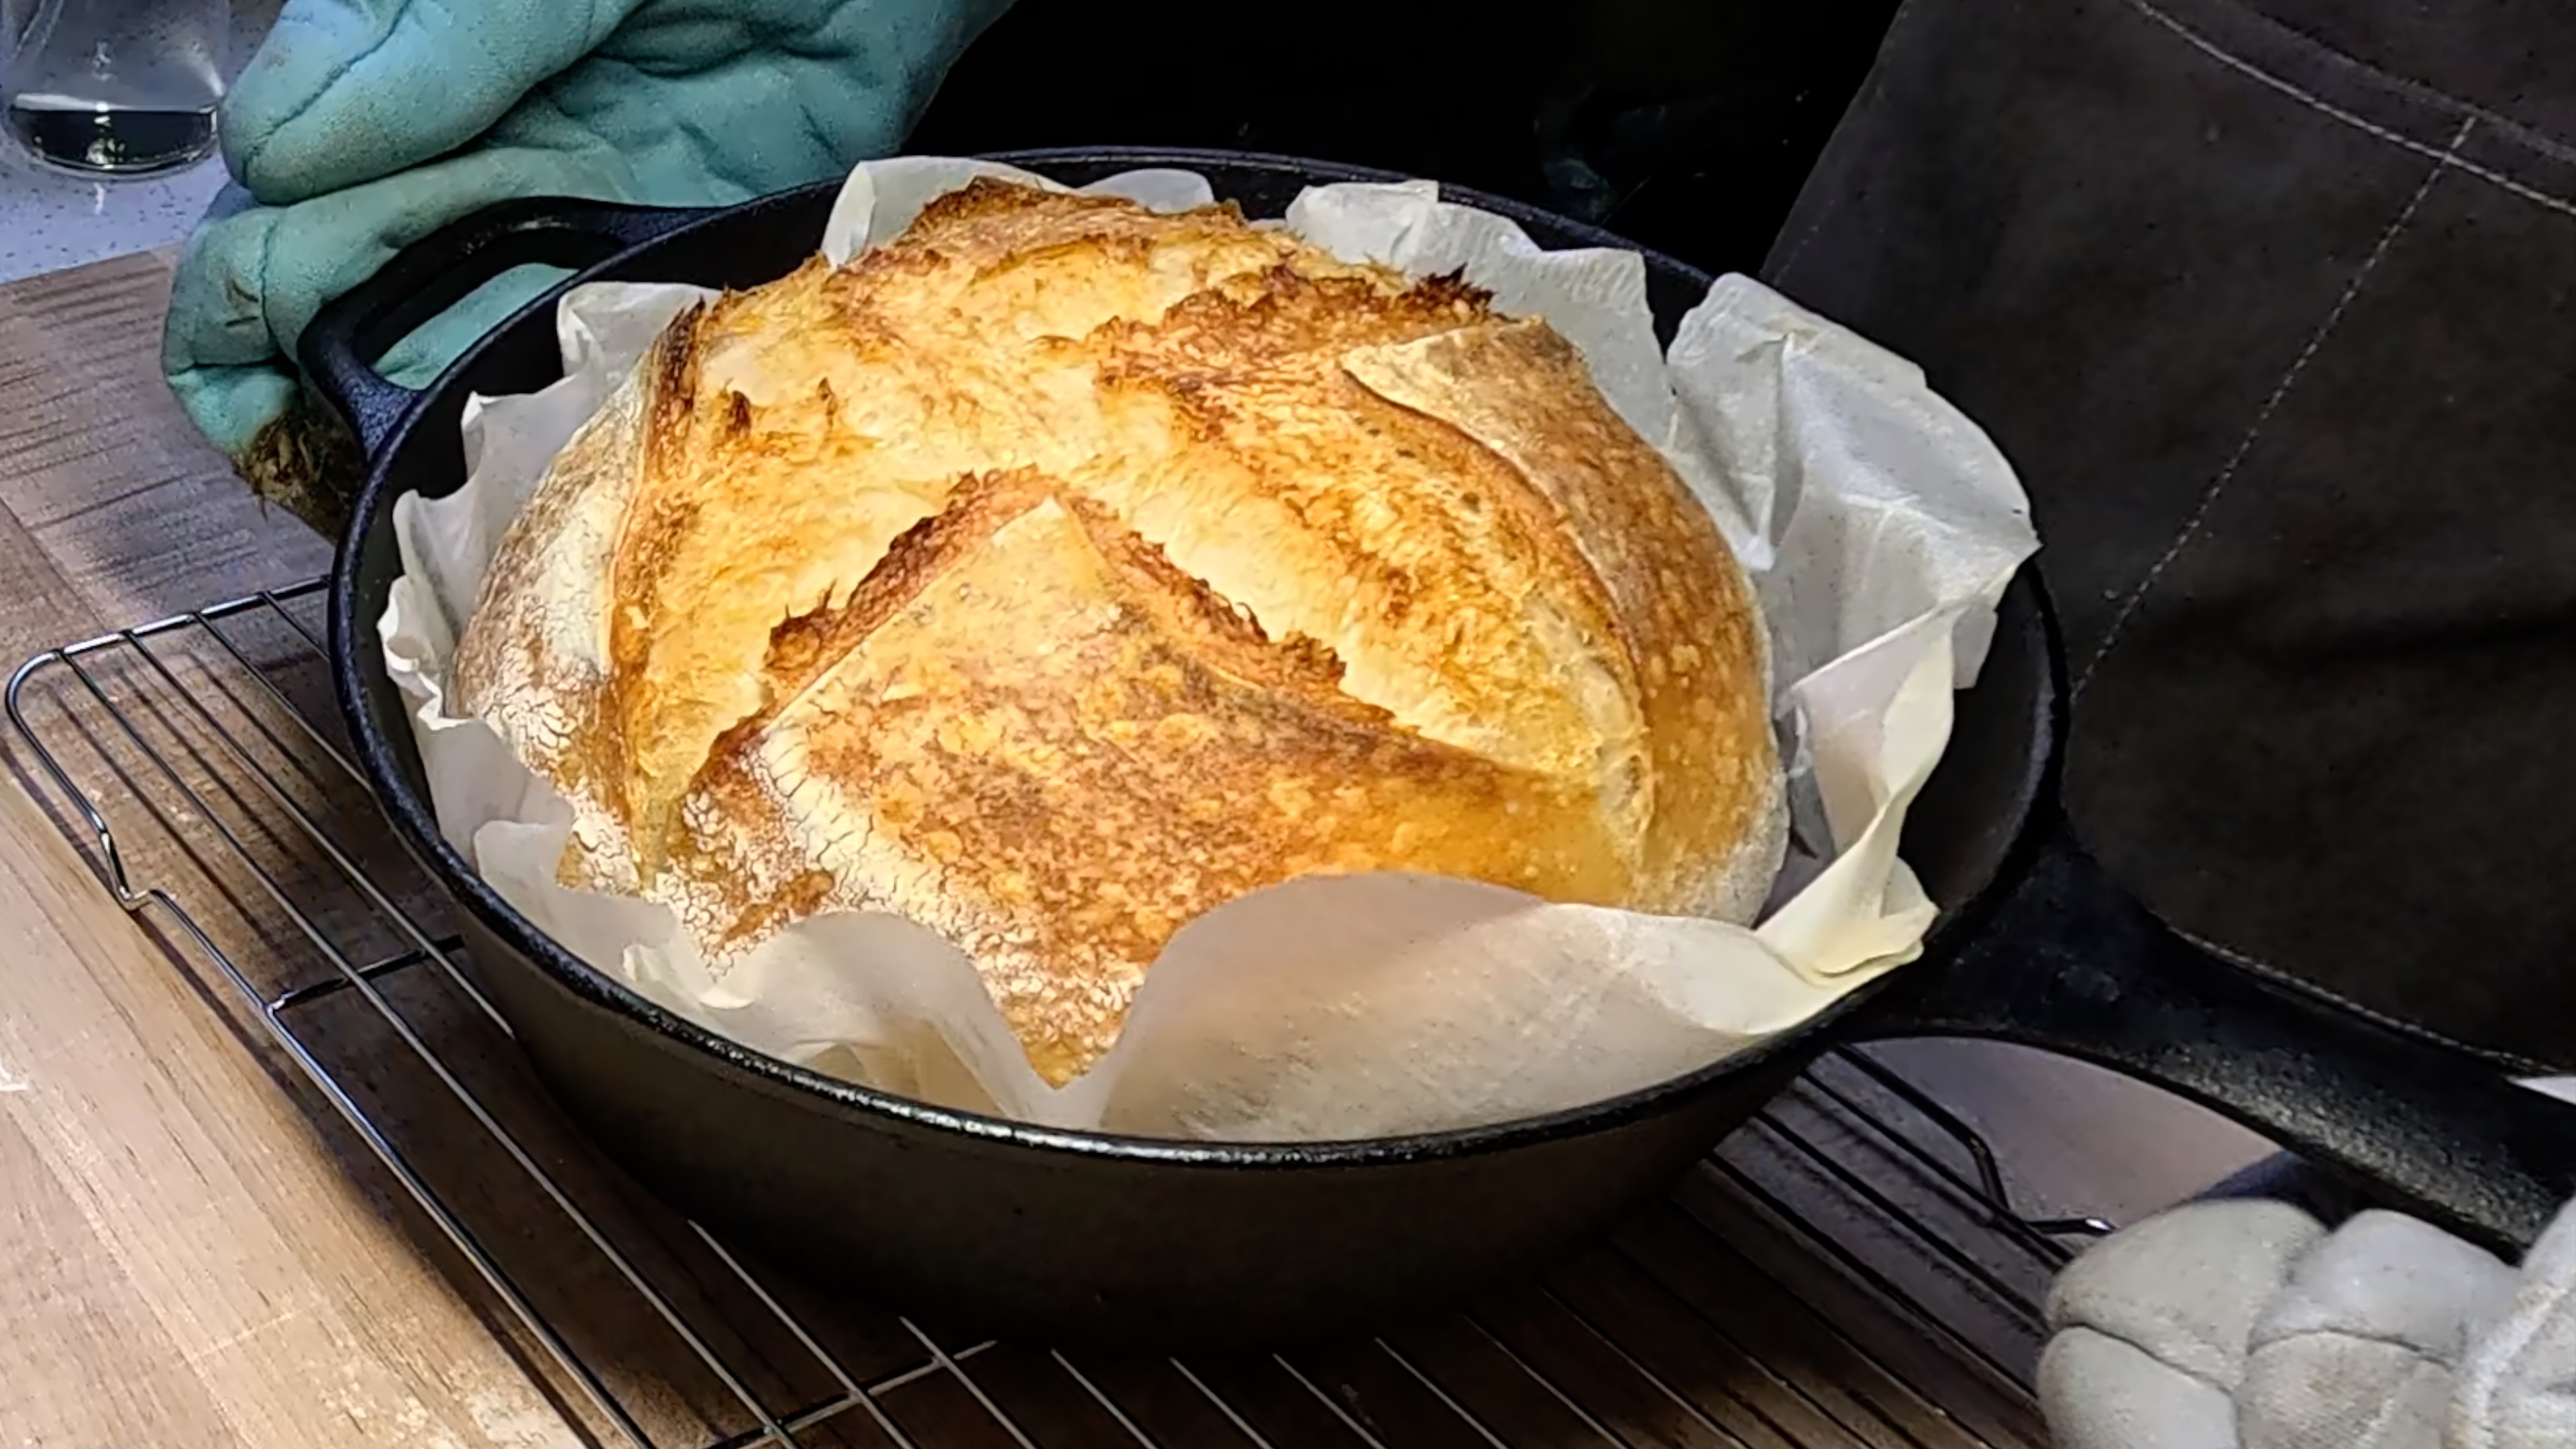
Superior Bread Quality
Loaves made with autolysed dough often have more open crumb structure, better oven spring, and improved keeping qualities.
Recommended Product
Glad Cling N Seal Plastic Wrap for Food, Airtight Seal, 300 Square Foot Roll (Pack of 4)
How to Perform Autolyse: Step-by-Step
The Basic Method
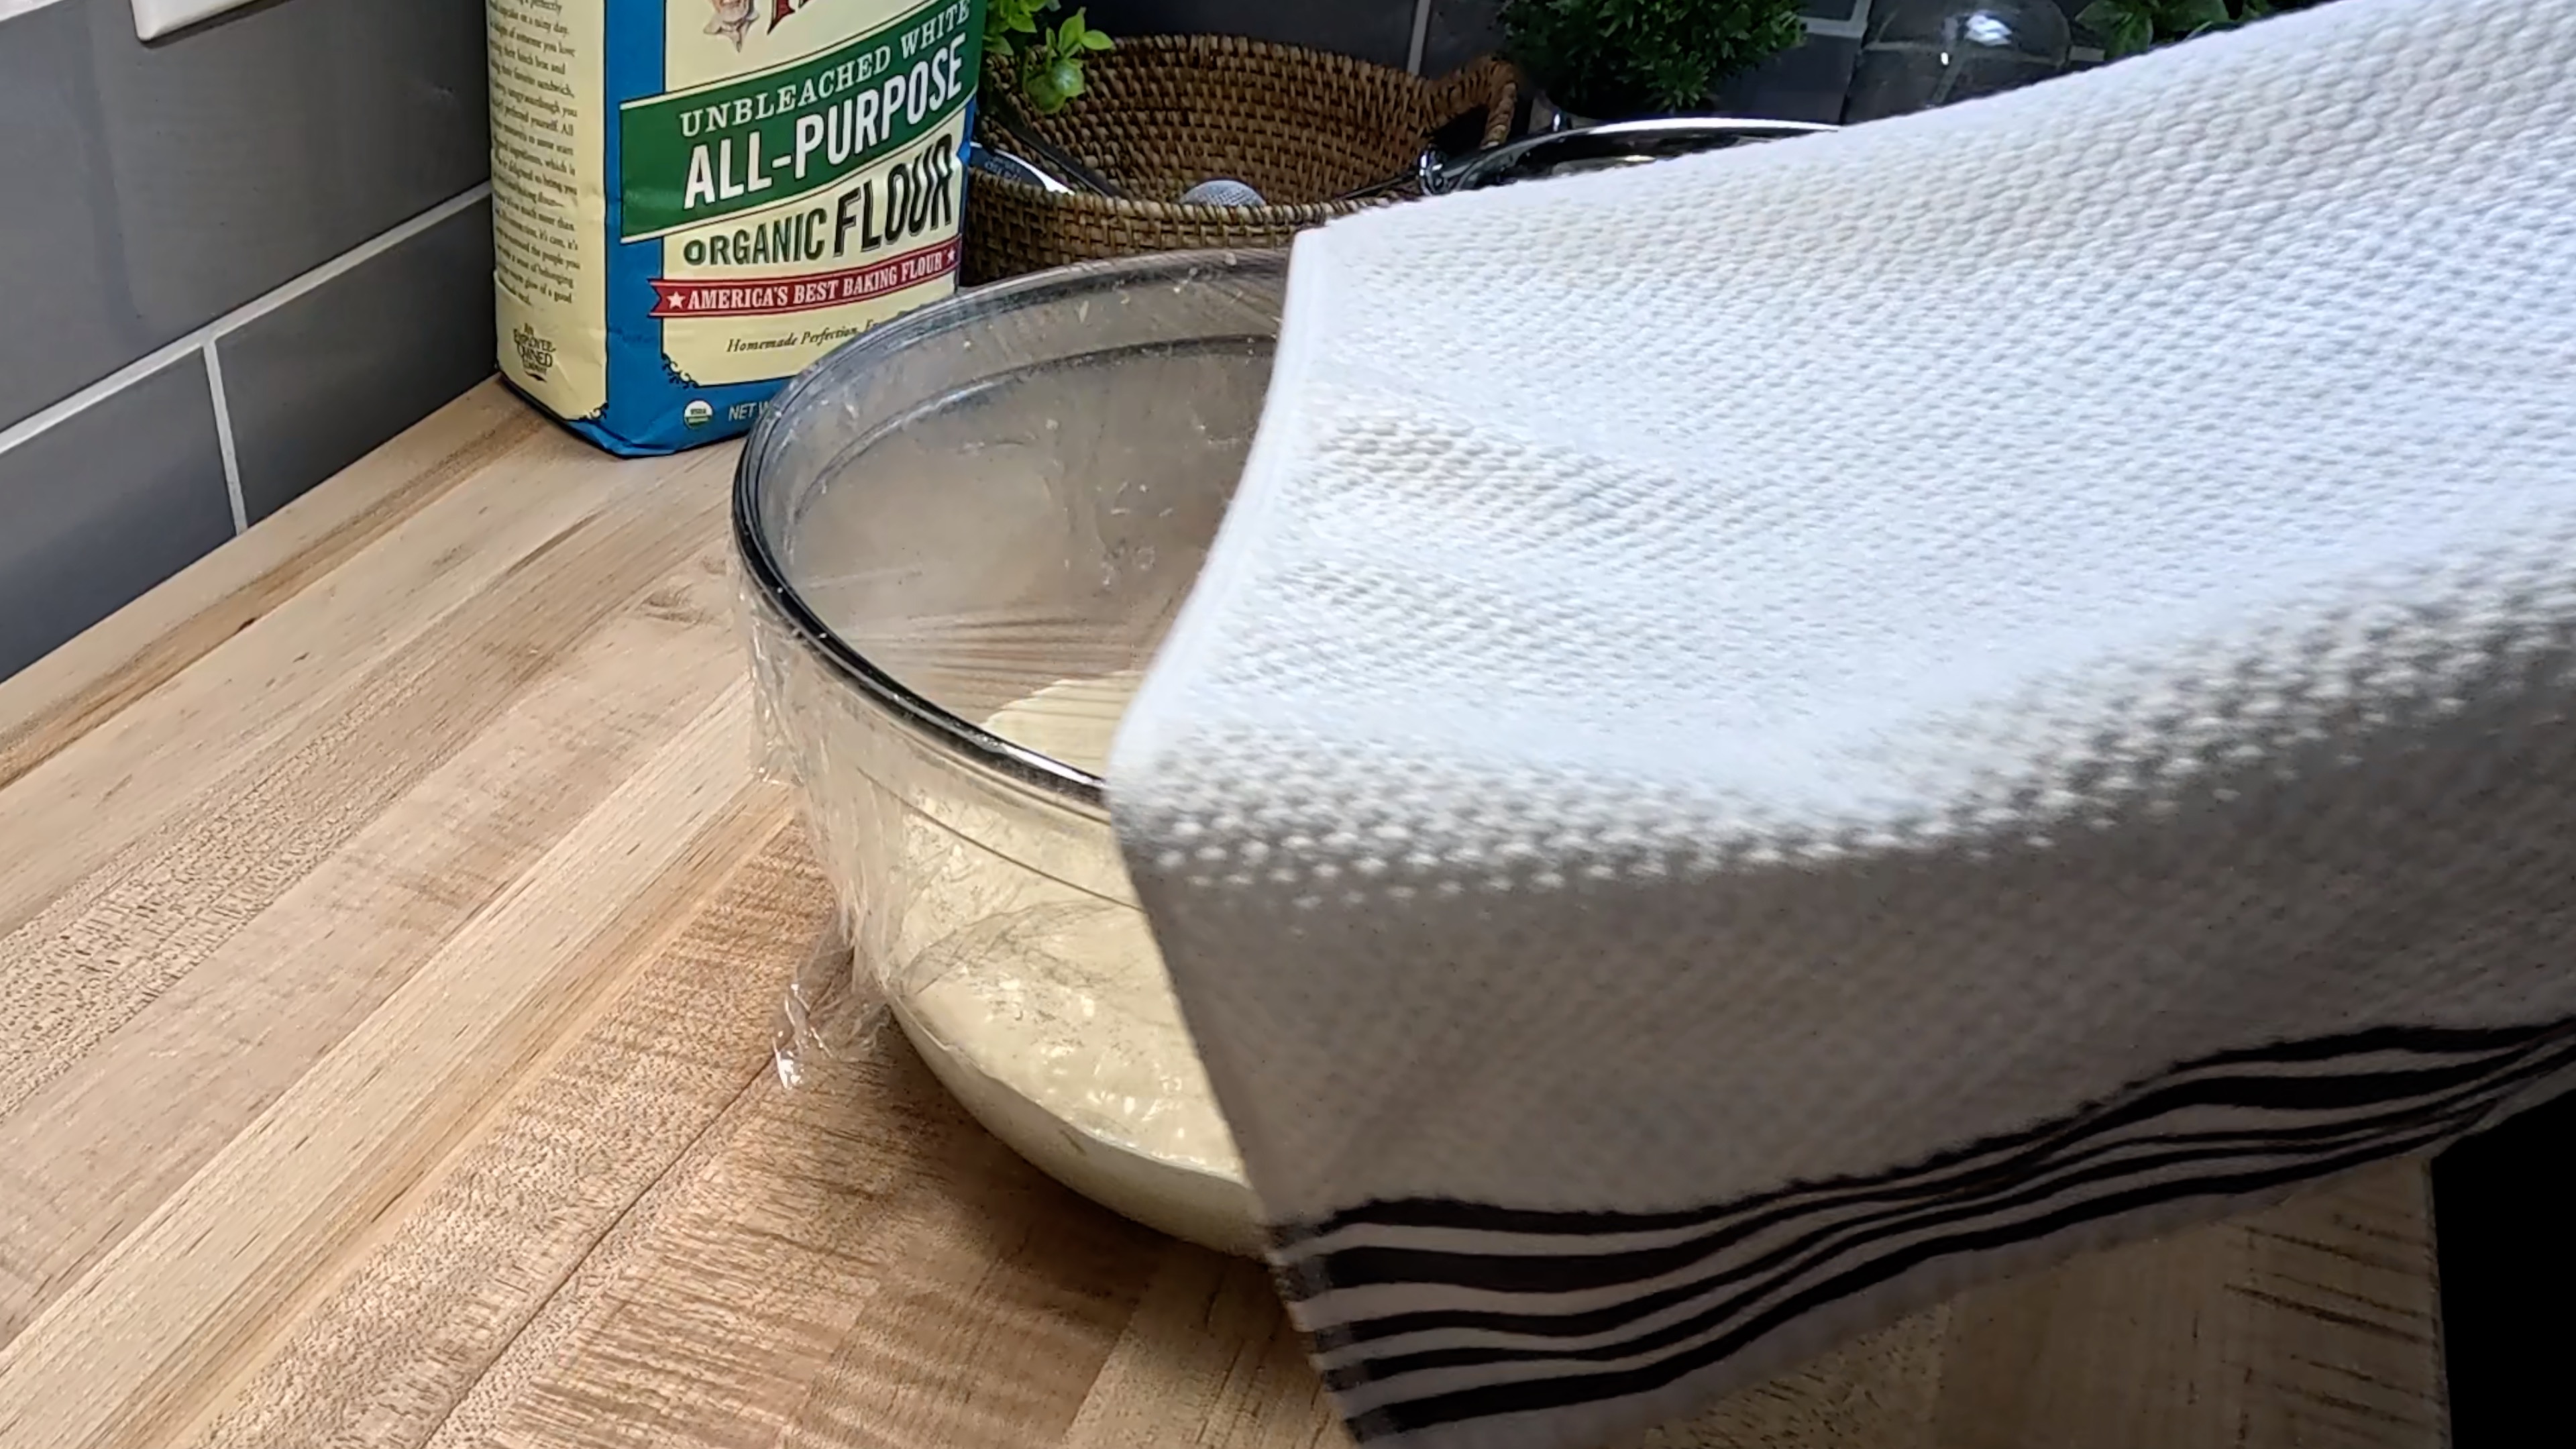
Mix flour and water only: Combine your recipe's flour and water in a bowl until no dry flour remains. The mixture will look shaggy—that's perfect.
Cover and rest: Place a damp towel or plastic wrap over the bowl and let it rest at room temperature.
Time it right: For most sourdough recipes, 30 minutes to 1 hour is ideal. Longer periods (up to 4 hours) can provide additional benefits for whole grain flours.
Add remaining ingredients: After autolyse, add your sourdough starter and salt, then proceed with your recipe as normal.
Pro Tips for Success
- Use the exact water temperature called for in your recipe—autolyse doesn't change hydration needs
- Don't worry if the dough looks rough initially; transformation happens gradually
- For whole grain flours, consider longer autolyse periods (2-4 hours) for maximum benefit
Recommended Product
Glad Cling N Seal Plastic Wrap for Food, Airtight Seal, 300 Square Foot Roll (Pack of 4)
Autolyse in Action: Real Recipe Applications
This technique works beautifully in nearly every sourdough recipe. In our Classic Sourdough Bread, adding a 45-minute autolyse step transforms the initial shaggy mixture into a smooth, workable dough that shapes like a dream.
For no-knead methods like our No-Knead Sourdough Bread: No Dutch Oven (AP Flour Edition), autolyse is particularly valuable since you're relying on time rather than mechanical mixing to develop gluten structure.
Recommended Product
Glad Cling N Seal Plastic Wrap for Food, Airtight Seal, 300 Square Foot Roll (Pack of 4)
Common Autolyse Questions Answered
Can I Autolyse Too Long?
For basic white flour, 4-6 hours is generally the maximum before diminishing returns set in. Whole grain flours can handle longer periods due to their enzyme activity.
What About Salt?
Traditionally, salt is added after autolyse since it can interfere with enzyme activity. However, some bakers include it—experiment to find what works for your schedule and taste preferences.
Does Temperature Matter?
Warmer temperatures speed up enzymatic activity, while cooler temperatures slow it down. Room temperature (70-75°F) is ideal for most autolyse periods.
Recommended Product
Glad Cling N Seal Plastic Wrap for Food, Airtight Seal, 300 Square Foot Roll (Pack of 4)
Troubleshooting Your Autolyse
If your dough seems too wet after autolyse, resist the urge to add flour immediately. The texture will continue improving as you add starter and salt, then perform your first set of folds.
For dough that feels too stiff, check your hydration levels—you may need slightly more water than your recipe suggests, especially with thirsty whole grain flours.
Recommended Product
Glad Cling N Seal Plastic Wrap for Food, Airtight Seal, 300 Square Foot Roll (Pack of 4)
Taking It Further
Once you've mastered basic autolyse, try experimenting with different timing. Some bakers love overnight autolyse for deeply complex flavors, while others prefer shorter periods for more neutral taste profiles.
Consider the technique with different flour types too. Our No-Knead Sourdough Baguette! (80% Hydration) showcases how autolyse helps manage high-hydration doughs that might otherwise seem impossible to handle.
Recommended Product
Glad Cling N Seal Plastic Wrap for Food, Airtight Seal, 300 Square Foot Roll (Pack of 4)
Your Autolyse Journey Starts Now
Autolyse isn't just a fancy French technique—it's a practical tool that makes sourdough baking more forgiving and enjoyable. The best part? It requires no special equipment, no additional ingredients, and minimal extra time.
Start incorporating autolyse into your next bake and feel the difference for yourself. Your dough will thank you with easier handling, and your finished loaves will reward you with improved texture and flavor. Once you experience the silky smoothness of properly autolysed dough, you'll wonder how you ever baked without it.
Ready to give it a try? Choose one of your favorite sourdough recipes and add a simple 30-minute autolyse step. Your journey to more professional-feeling dough starts with this one small change!
Comments
Sign in to join the conversation
Sign In