Sourdough Starter Gone Wrong? 5 Signs & How to Fix Them
Is your sourdough starter acting up? Learn to identify 5 common warning signs and discover simple fixes to get your starter back to peak performance.
Published on February 18, 2026
Nothing breaks a baker's heart quite like opening your sourdough starter jar to find something that looks (or smells) completely wrong. Trust me, I've been there – staring at what was once a bubbly, fragrant starter wondering if I've somehow killed my precious culture.
The good news? Most starter "disasters" are completely fixable. Your sourdough starter is remarkably resilient, and with the right approach, you can nurse it back to health and get back to baking those gorgeous, crusty loaves you love.
Let's dive into the five most common signs that your starter needs some TLC, and exactly how to fix them.
Sign #1: Your Starter Smells Like Nail Polish or Acetone
What's Happening
That sharp, chemical smell means your starter is producing excess acetone – a byproduct of hungry yeast and bacteria. This typically happens when your starter hasn't been fed in a while or is being kept too warm.
The Fix
Don't panic! This is one of the easiest problems to solve:
- Feed your starter immediately with a 1:1:1 ratio (starter:flour:water)
- Move it to a cooler location (around 70-75°F is ideal)
- Increase feeding frequency to twice daily until the smell disappears
- Discard half before each feeding to maintain proper ratios
Within 2-3 feedings, that acetone smell should transform back into the pleasant, yogurt-like tang you're looking for.
Sign #2: Liquid (Hooch) on Top – But It's Dark or Fuzzy
What's Happening
A clear or light brown liquid layer (hooch) is normal – it's just alcohol from fermentation. But if that liquid is dark gray, black, or has any fuzz growing on it, you've got unwanted mold or harmful bacteria.
The Fix
For dark hooch without mold:
- Stir the hooch back in or pour it off (your choice)
- Feed as usual – your starter should bounce back quickly
For any sign of mold or fuzzy growth:
- Discard the entire starter – it's not worth the risk
- Start fresh with a new culture
- Clean your jar thoroughly with hot, soapy water before starting over
Sign #3: No Rise or Activity After Several Feedings
What's Happening
A sluggish starter that won't bubble or rise usually means the yeast population is weak or dormant. This often happens with neglected starters or those kept in temperatures that are too cool.
The Fix
Time to wake up those sleepy microorganisms:
- Switch to whole grain flour temporarily – the extra nutrients help boost activity
- Use slightly warm water (around 80-85°F) for feedings
- Find a warmer spot like the top of your refrigerator or near a heating vent
- Feed twice daily with a higher flour ratio (try 1:2:2 starter:flour:water)
- Be patient – it can take 5-7 days to see strong activity return
Once your starter is doubling reliably, you can switch back to your regular flour and feeding schedule.
Sign #4: Starter Rises But Collapses Quickly
What's Happening
If your starter shoots up beautifully but then deflates within a few hours, it's likely over-fermenting. This means it's either too warm, being overfed, or the yeast is consuming the flour too quickly.
The Fix
Slow things down to build strength:
- Reduce feeding frequency to once daily
- Use cooler water and find a slightly cooler location
- Adjust your ratios to 1:1:1 or even 1:2:3 for more food
- Try a different flour – bread flour creates more structure than all-purpose
A healthy starter should take 4-8 hours to peak, then hold that peak for several hours before gradually deflating.
Sign #5: Pink or Orange Streaks
What's Happening
Pink or orange coloring is a serious red flag – it indicates harmful bacteria that can make you sick. This contamination often occurs when starters are exposed to unclean utensils or kept in unsanitary conditions.
The Fix
Unfortunately, there's only one safe solution:
- Discard immediately – don't try to save any portion
- Thoroughly sanitize all equipment and containers
- Start over with fresh flour and water
- Review your hygiene practices to prevent recontamination
Always use clean utensils and wash your hands before handling your starter. It's better to be safe than sorry with bacterial contamination.
Prevention: Keeping Your Starter Healthy
The best fix is prevention! Here are my top tips for maintaining a robust starter:
- Maintain consistent feeding ratios and timing
- Use filtered or dechlorinated water if your tap water is heavily treated
- Keep equipment scrupulously clean
- Monitor temperature – consistency is key
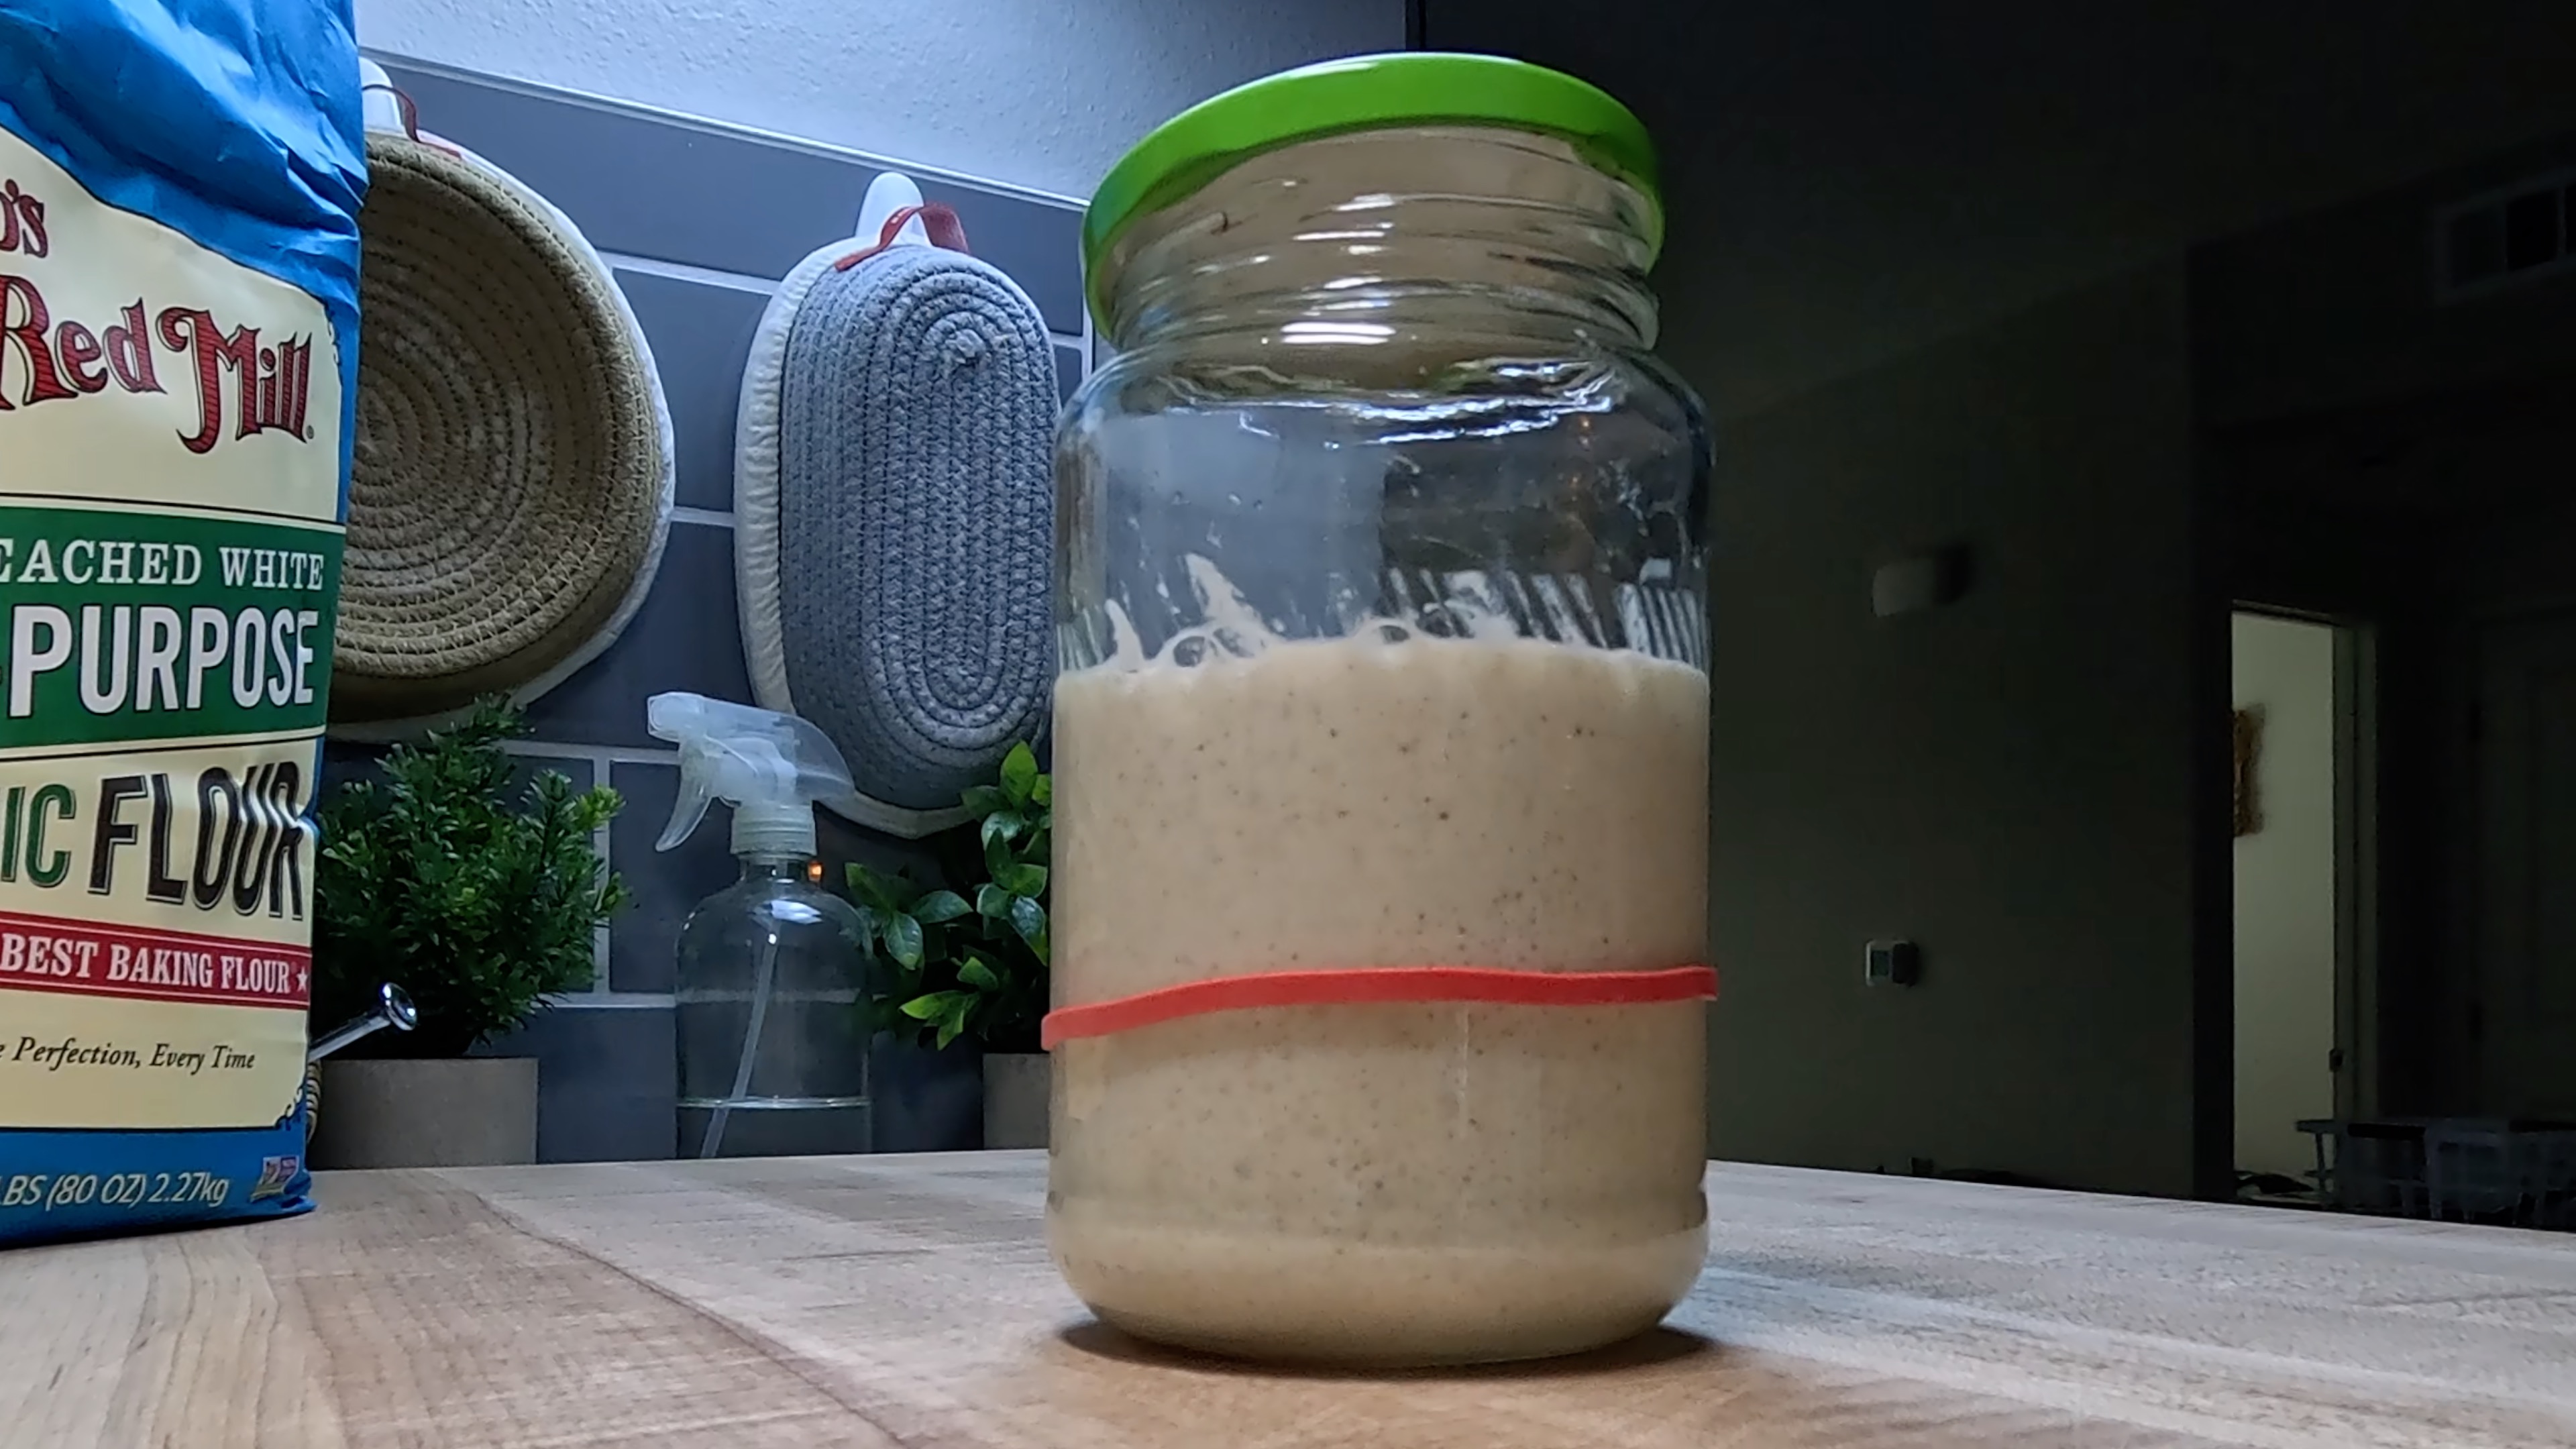
- Mark your jar to track rise and fall patterns
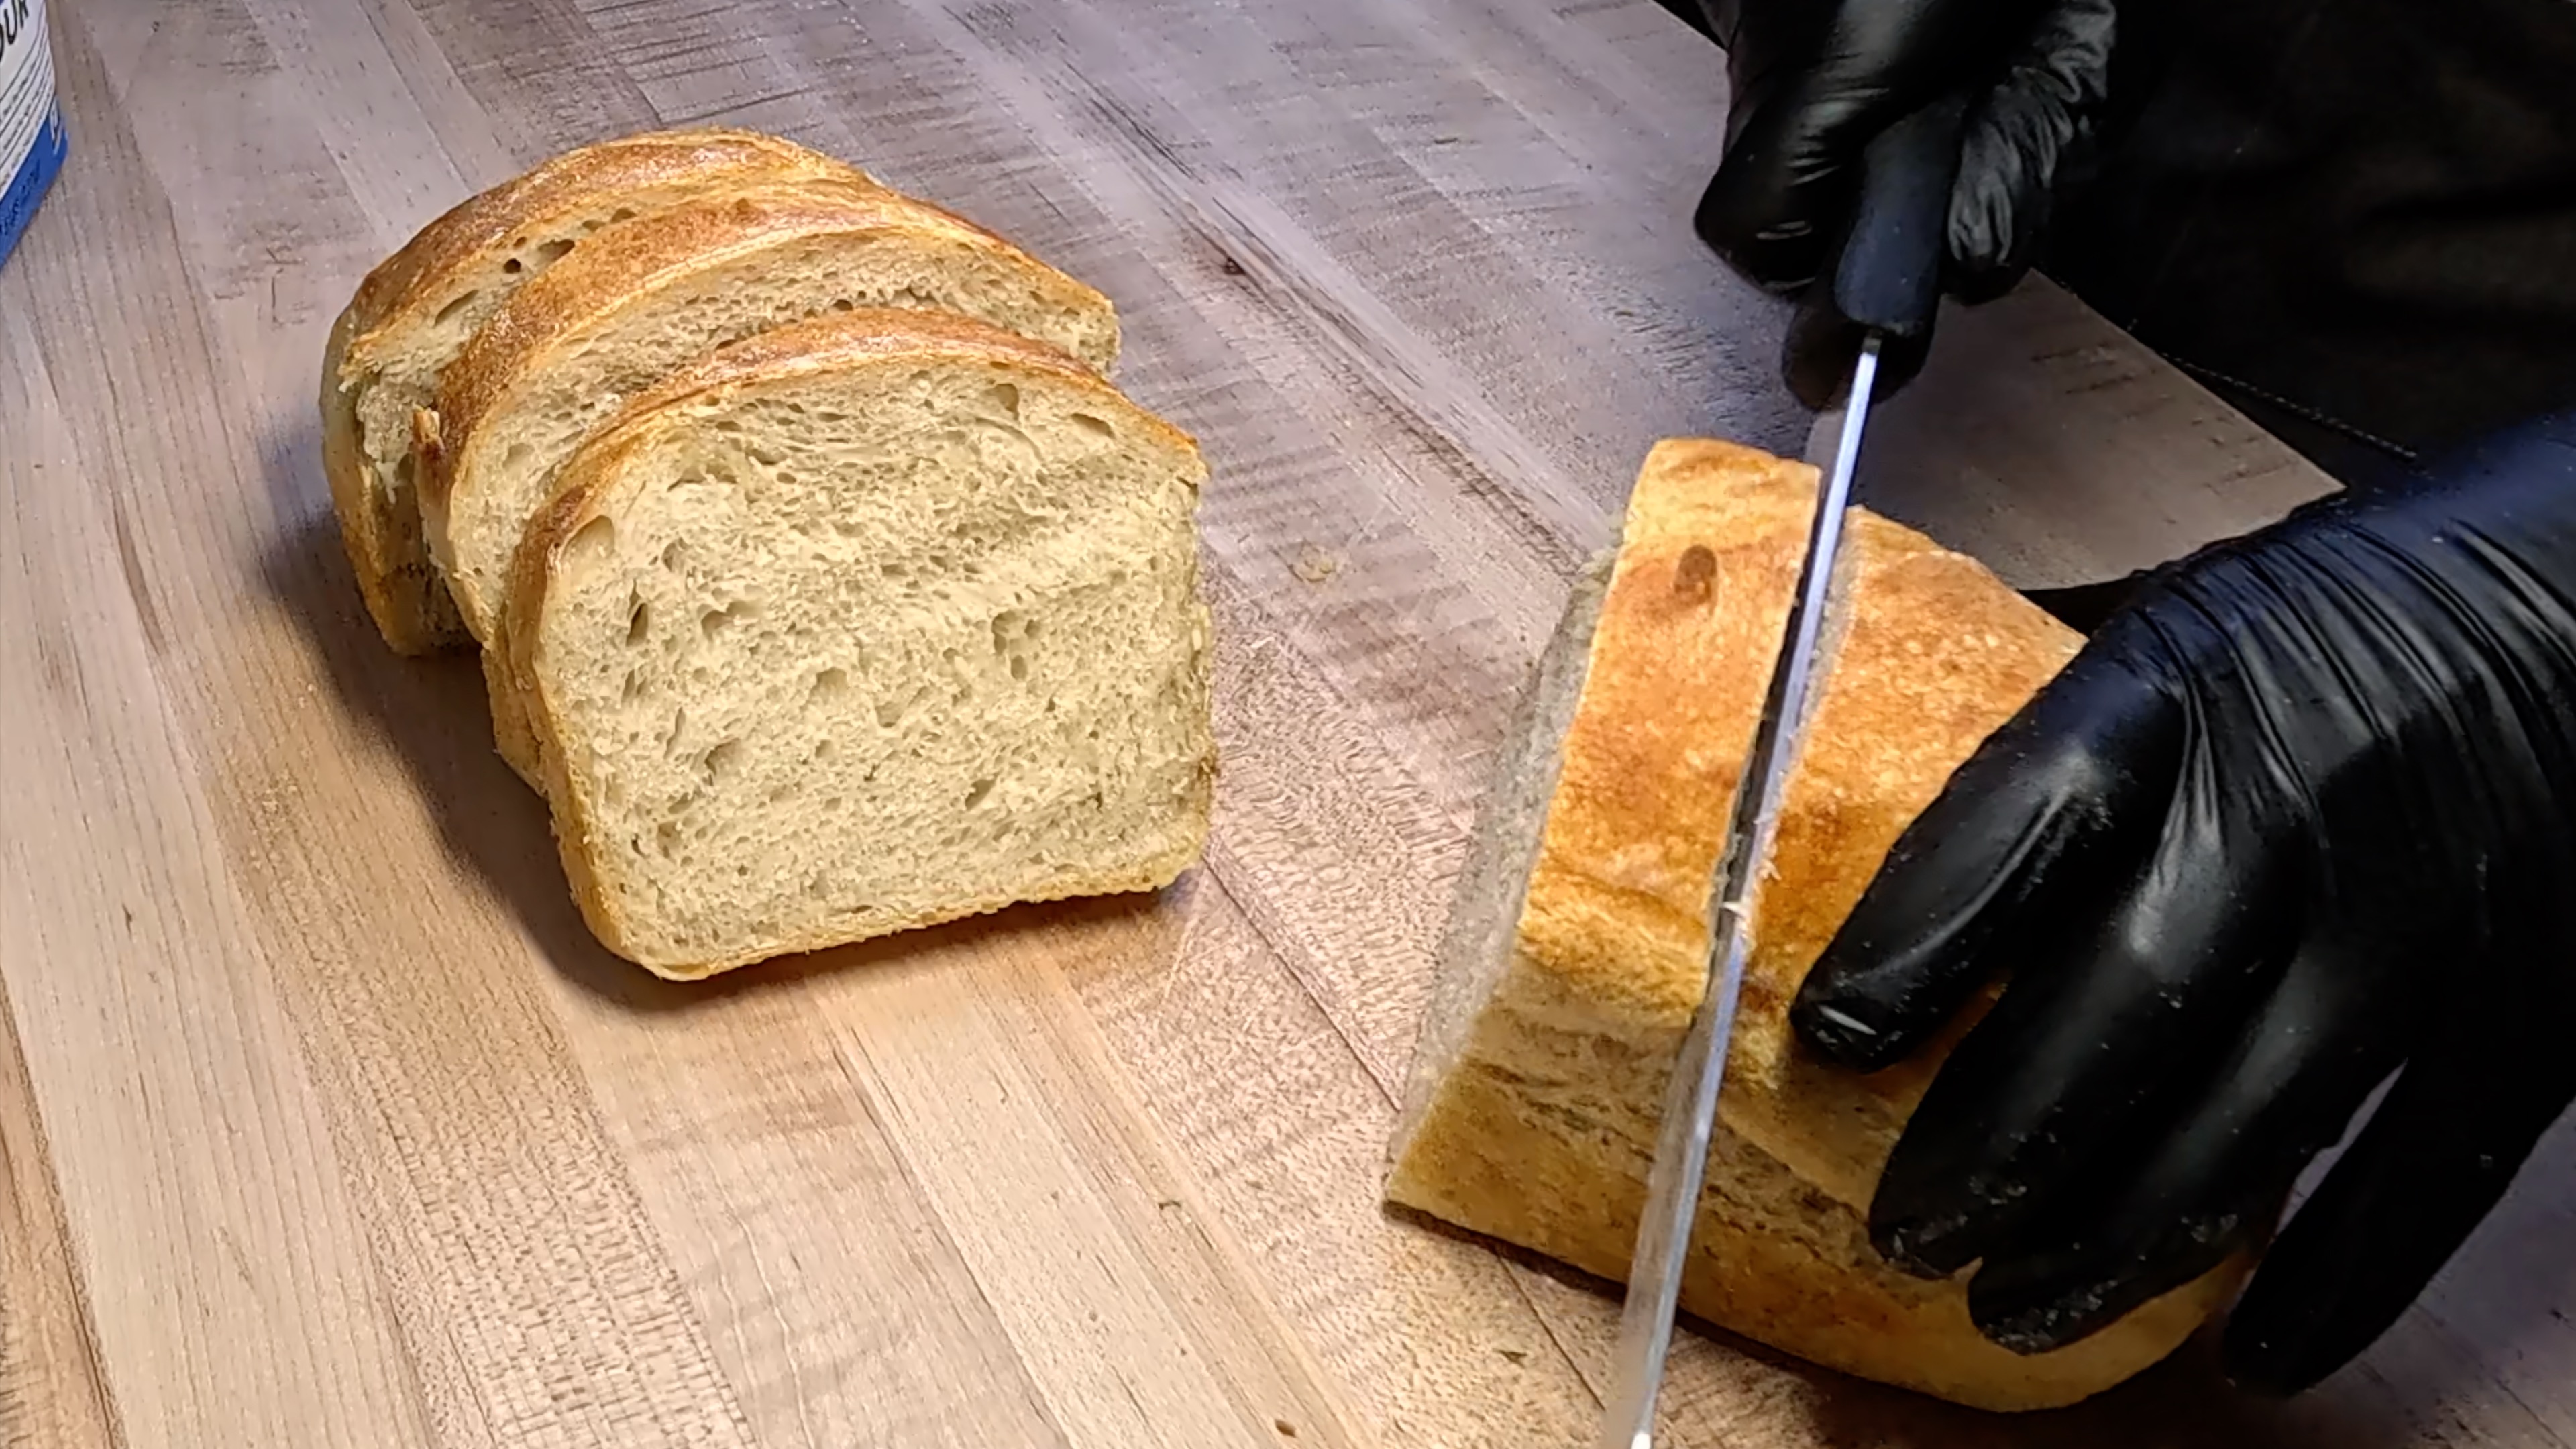
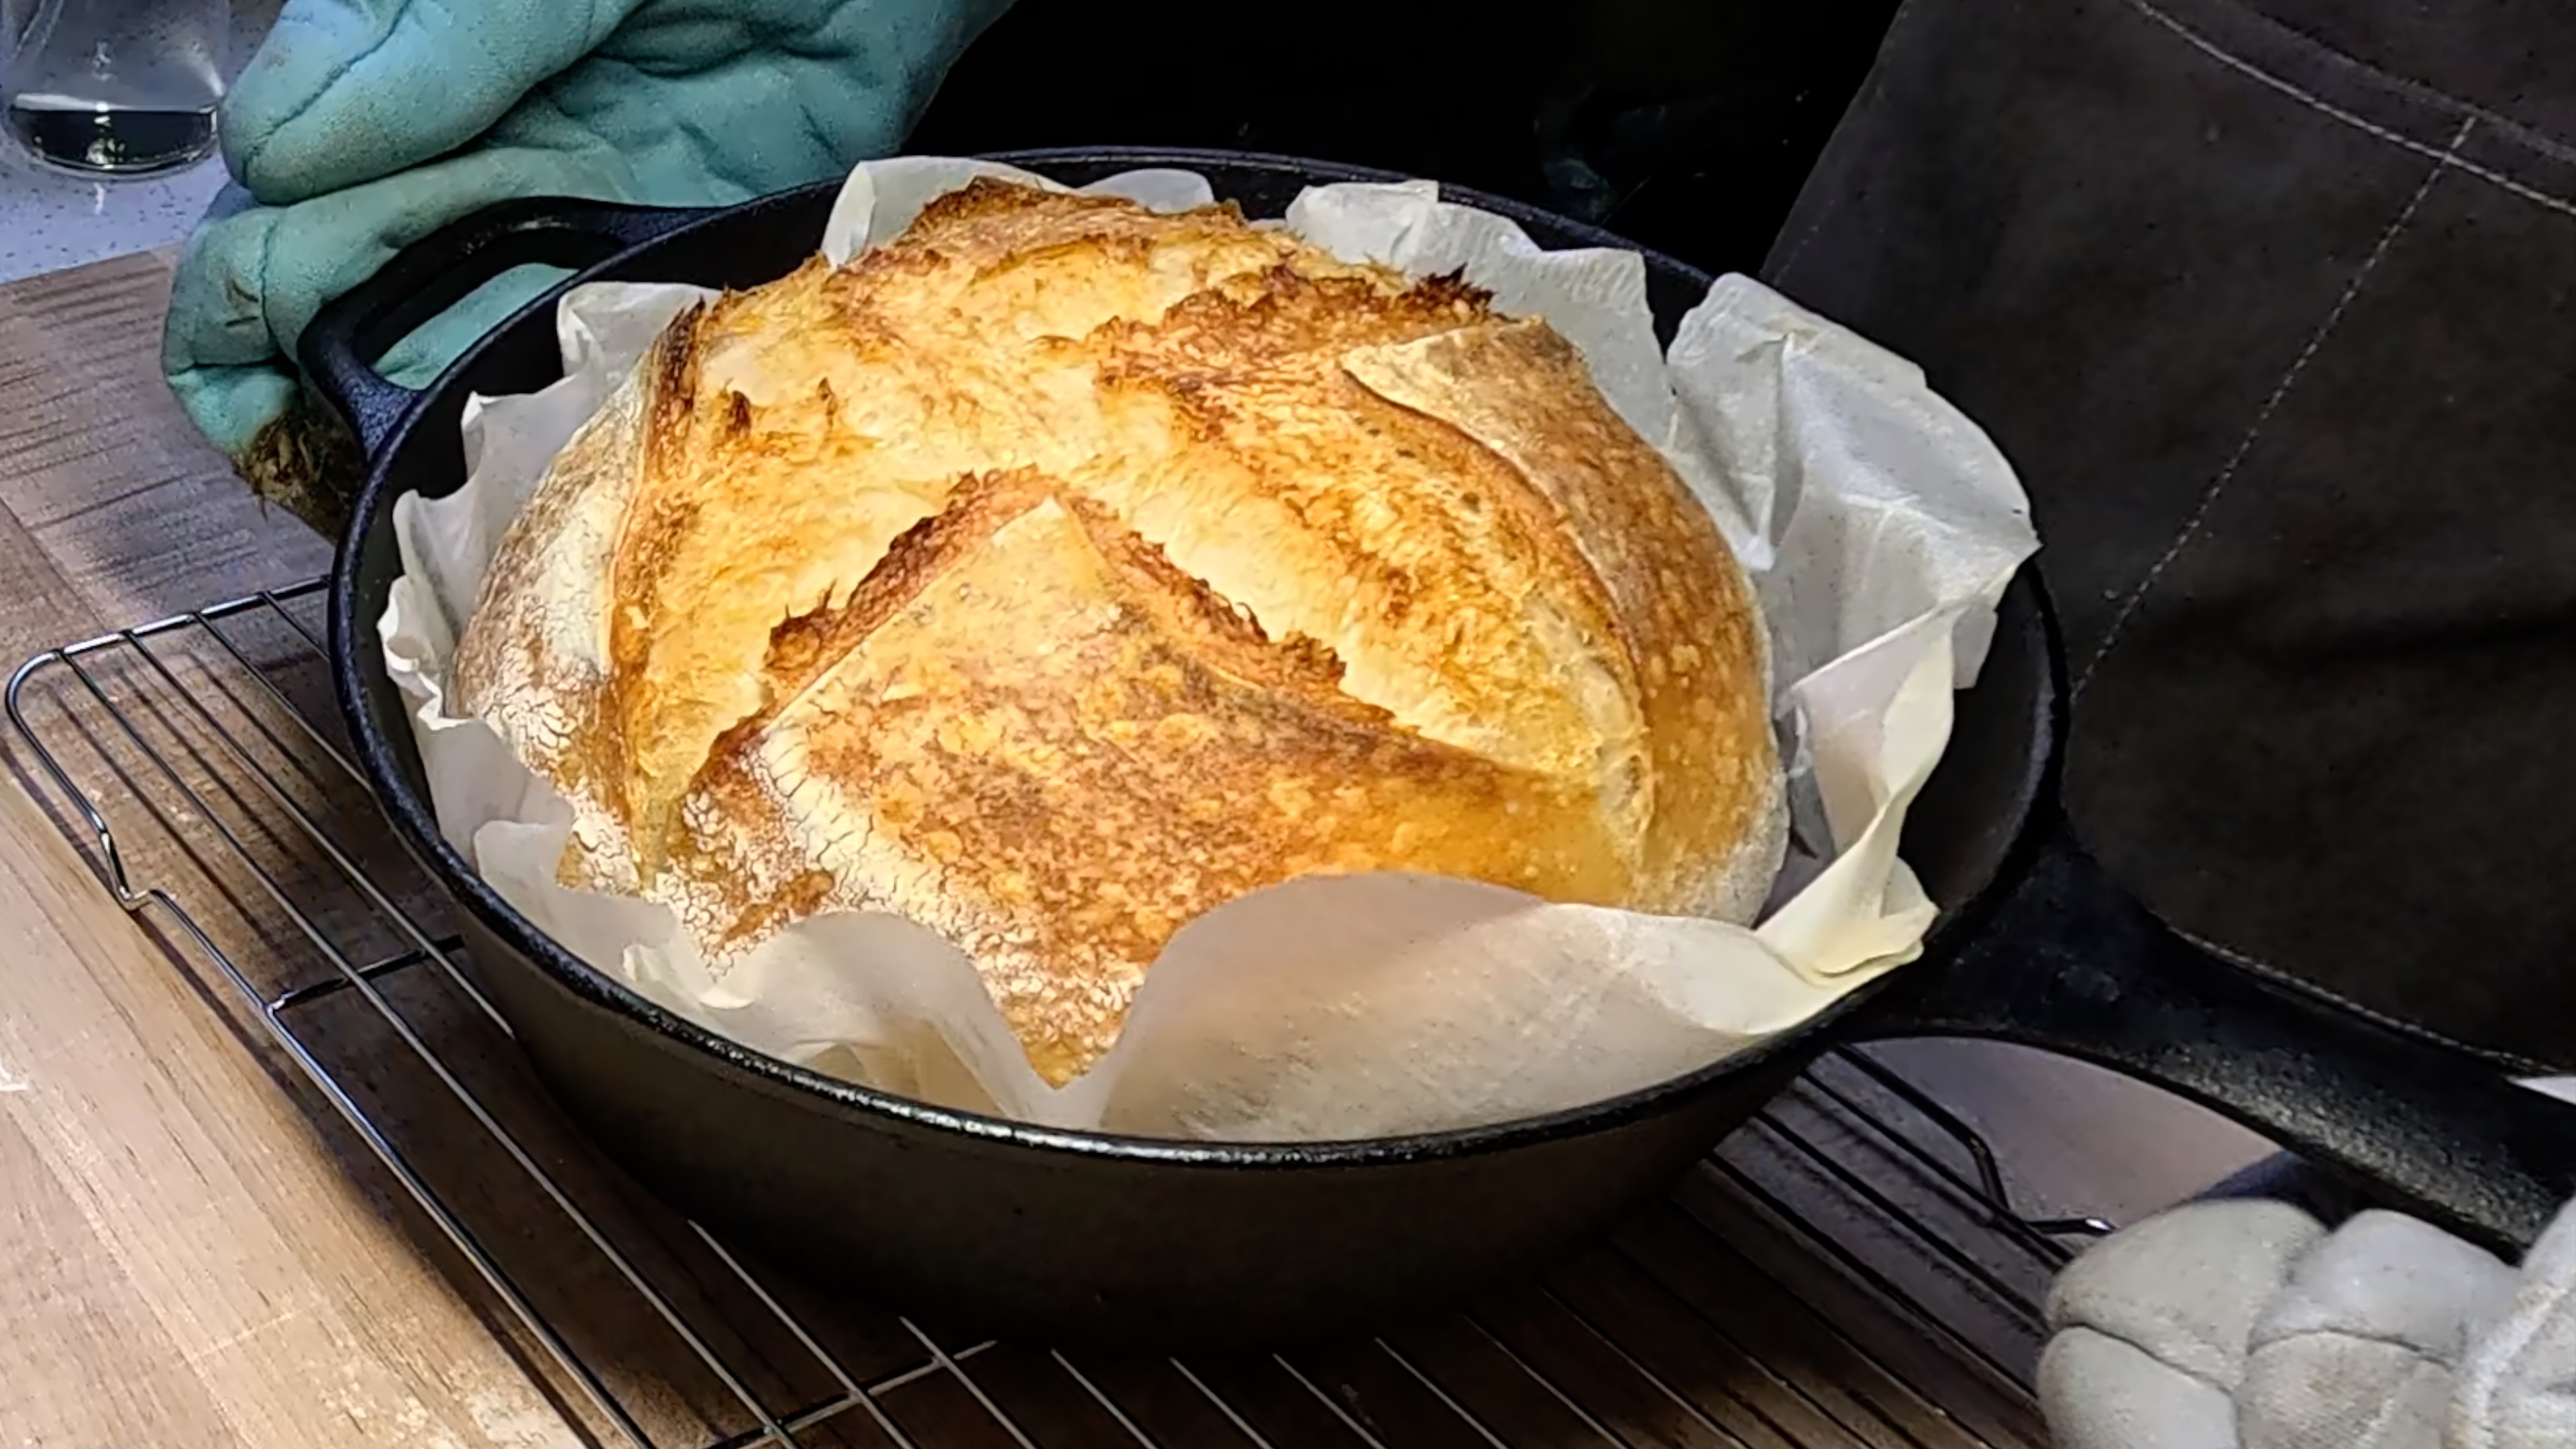
When your starter is healthy and active, it's ready to create incredible loaves like our Classic Sourdough Bread or our beginner-friendly No-Knead Sourdough Bread (No Dutch Oven).
Trust the Process
Remember, sourdough starters have been thriving in kitchens for thousands of years, long before we understood the science behind them. Your culture wants to succeed – sometimes it just needs a little guidance to get back on track.
Most starter problems resolve themselves within a week of consistent care. Stay observant, stay consistent, and don't be afraid to adjust your approach based on what you're seeing (and smelling!).
Have you dealt with any of these starter issues? I'd love to hear about your experiences and any additional tips you've discovered in your sourdough journey. Drop a comment below and let's keep this conversation going – after all, we're all in this delicious, bubbly adventure together!
Comments
Sign in to join the conversation
Sign In