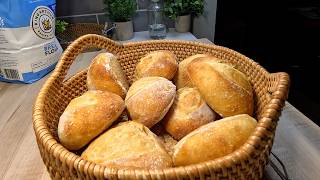
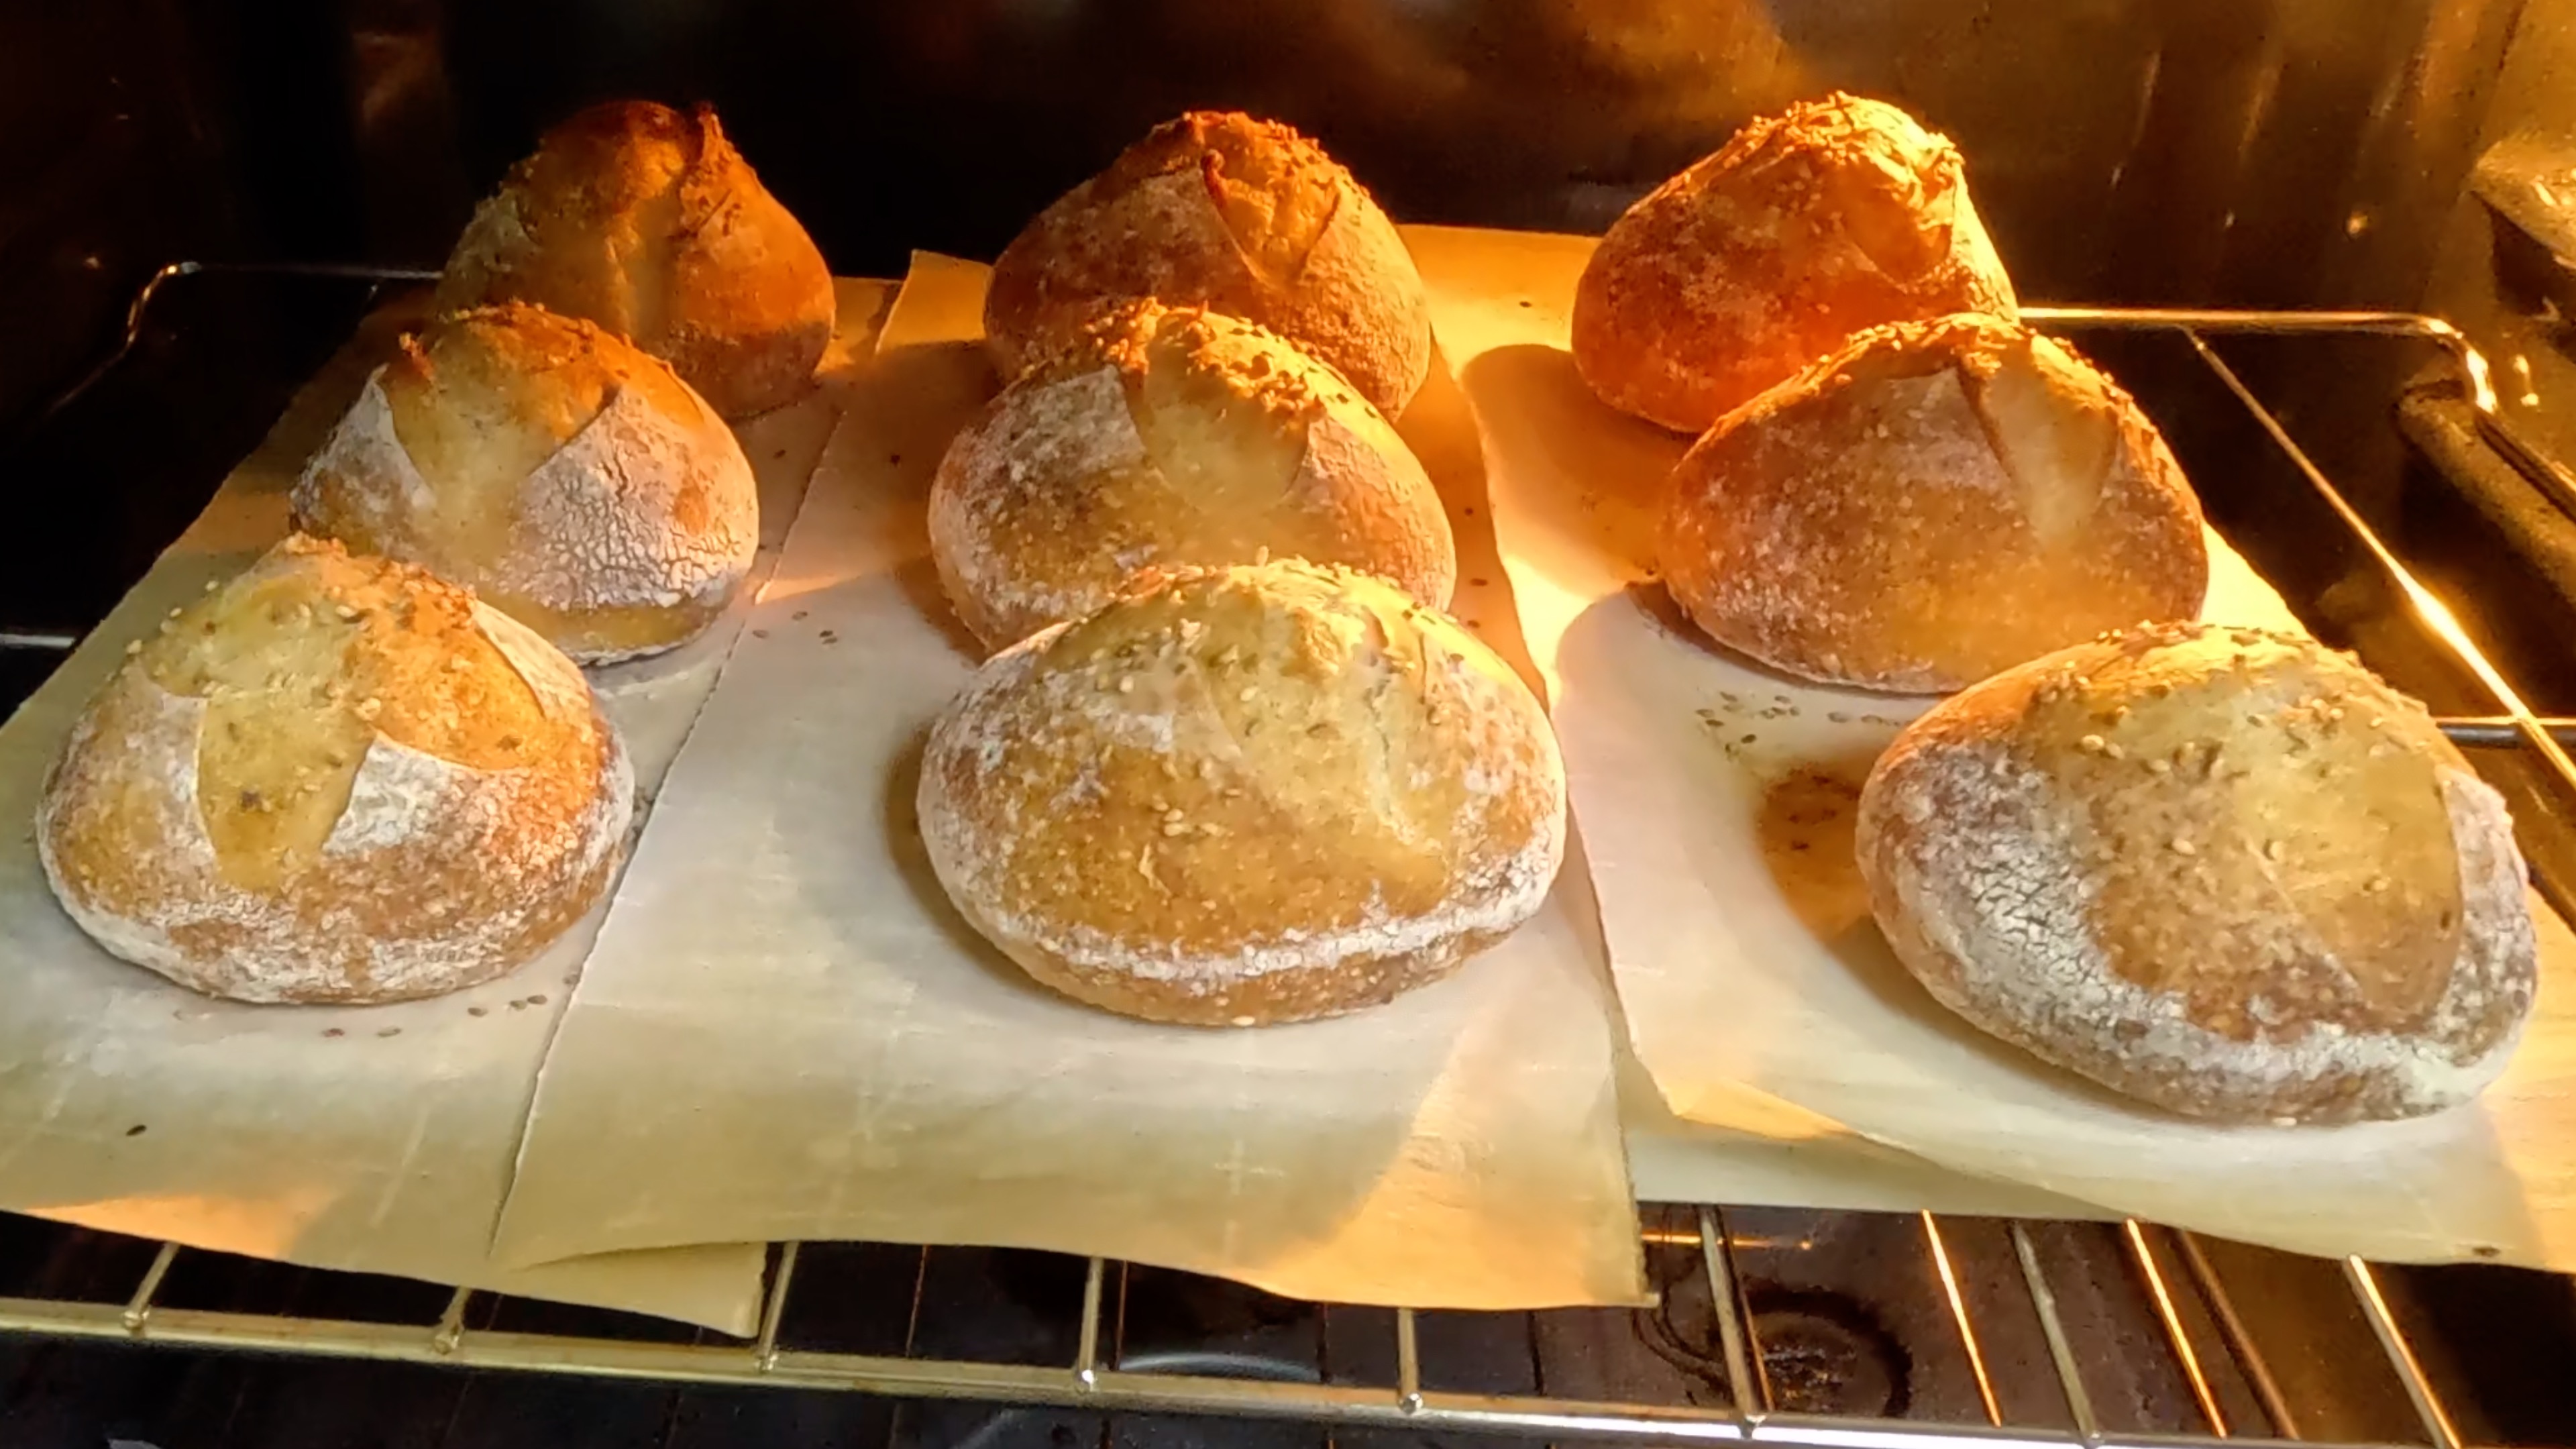
Golden Sourdough Dinner Rolls with Overnight Cold Ferment (No-Knead)
Crusty Sourdough Dinner Rolls with incredible flavor from overnight cold fermentation - perfect for special meals

Instructions
- 1
FEED YOUR STARTER: In a clean jar, combine 50g starter, 50g bread flour, and 50g room temperature water. Stir well until no dry flour remains and the mixture is smooth. Cover loosely and let rest at room temperature for 6-8 hours. Your starter is ready when it has doubled in size, smells pleasantly tangy, and passes the float test - a small spoonful should float in water when it's at peak activity.
- 2
MIX THE DOUGH: In a large mixing bowl, combine 360g room temperature water with 120g of your active starter. Stir vigorously until the starter completely dissolves - the mixture should look milky and smooth. Add 10g salt and stir until dissolved. Add all 500g bread flour at once and mix with a silicone spatula until you have a shaggy, rough dough with no dry flour visible. The dough will look messy and uneven - that's perfect! Don't worry about smoothness yet.
- 3
STRETCH & FOLDS: Perform 3 sets of stretch and folds, spaced 45-60 minutes apart. For each set: wet your hands, grab one side of the dough, stretch it up and fold it over to the opposite side. Rotate the bowl 90° and repeat 3 more times. The dough will transform from shaggy to smooth and strong with each set. After the first set, you'll notice the dough becoming more cohesive. By the third set, it should feel springy and hold its shape beautifully.
- 4
COLD OVERNIGHT BULK FERMENT: Cover your bowl tightly with plastic wrap and refrigerate for 8-16 hours. This slow, cold fermentation develops incredible flavor complexity and makes the dough easier to handle. The dough will continue to rise slowly in the refrigerator, increasing by about 50% in size. Don't worry if it doesn't look dramatically different - the magic is happening inside!
- 5
PRE-SHAPE: Remove the cold dough from the refrigerator and turn it out onto a lightly floured surface. The dough will feel cool and slightly firm. Gently stretch it into a large rectangle, then divide into 9 equal portions using a bench scraper. Working with one piece at a time, cup your hands around each portion and gently roll it on the unfloured surface in a circular motion to create surface tension. You should feel the dough tighten slightly under your palms.
- 6
BENCH REST: Arrange the pre-shaped balls on your work surface and dust the tops lightly with flour. Cover tightly first with plastic wrap, then place a kitchen towel on top. Let rest for 20-30 minutes to allow the cold dough to relax and come closer to room temperature. The dough should feel noticeably softer and more pliable when ready for final shaping.
- 7
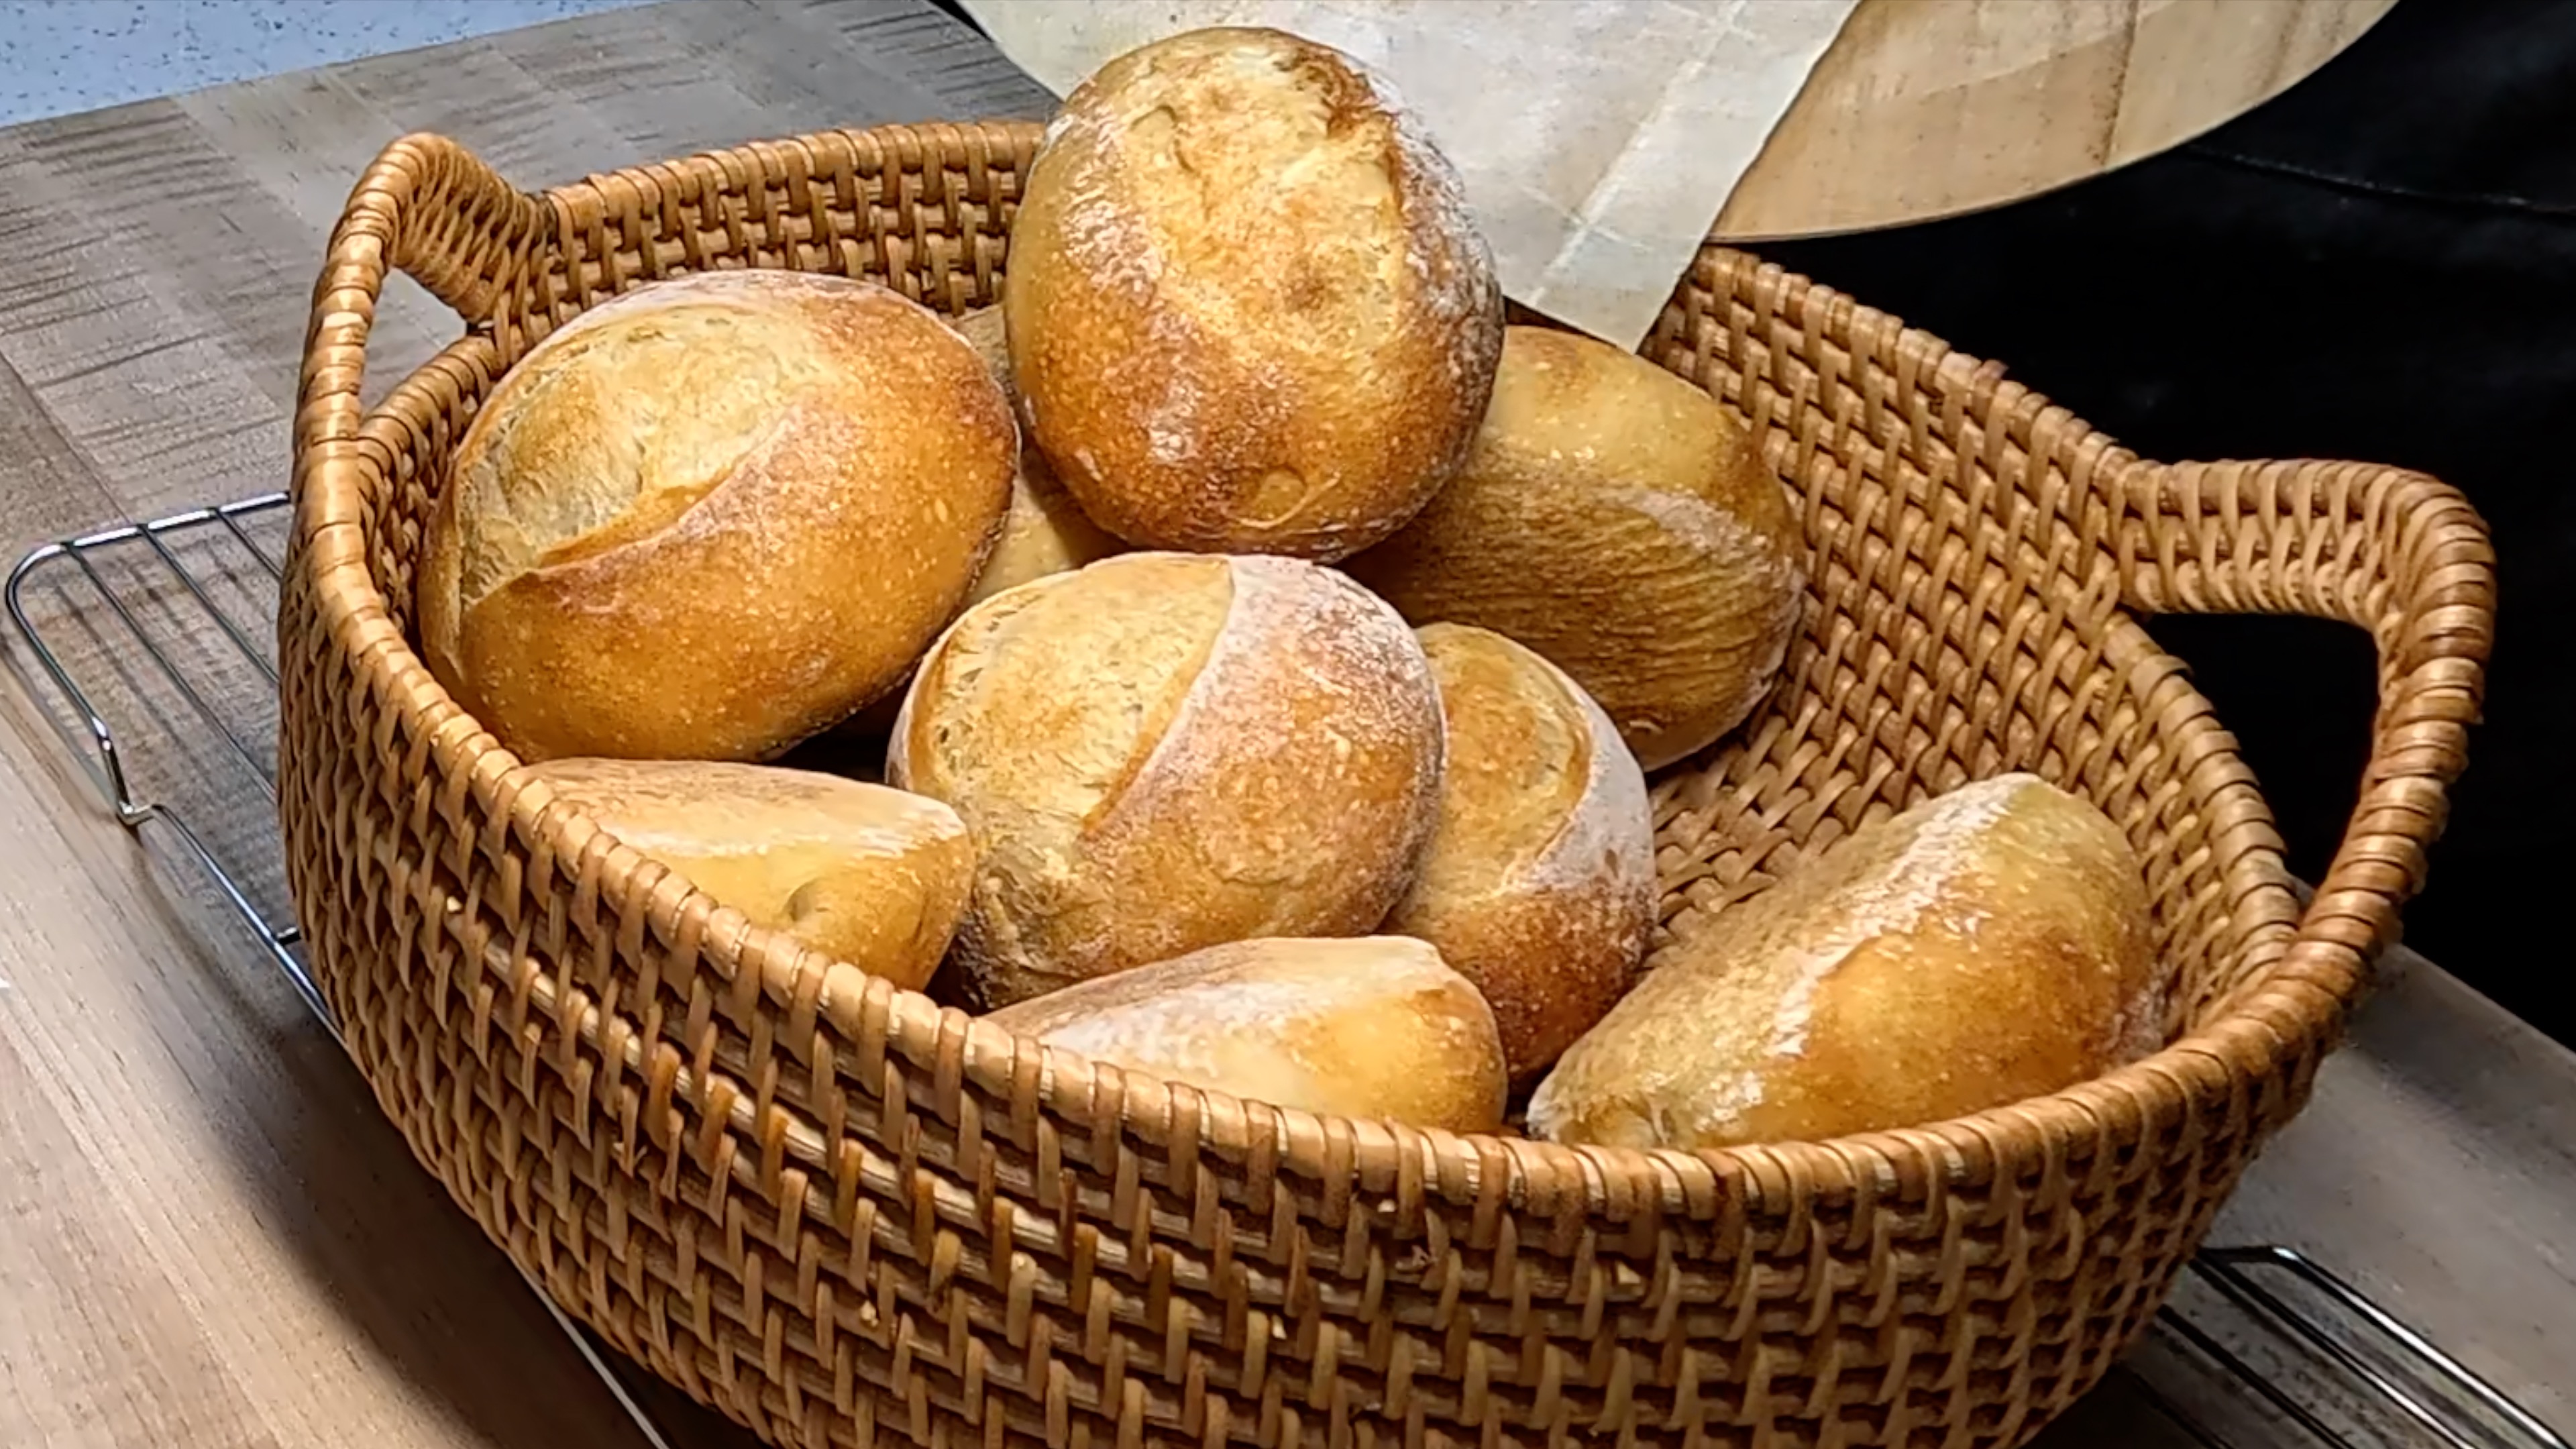
FINAL SHAPE: Working with one piece at a time, gently deflate each ball by patting it lightly. Using your palms, roll each portion into a mini log about 3-4 inches long, applying gentle pressure to create a smooth, tight surface. The logs should feel firm but not tight. Arrange them on a parchment-lined baking sheet or oiled sheet pan, leaving about 2 inches between each roll for expansion.
- 8
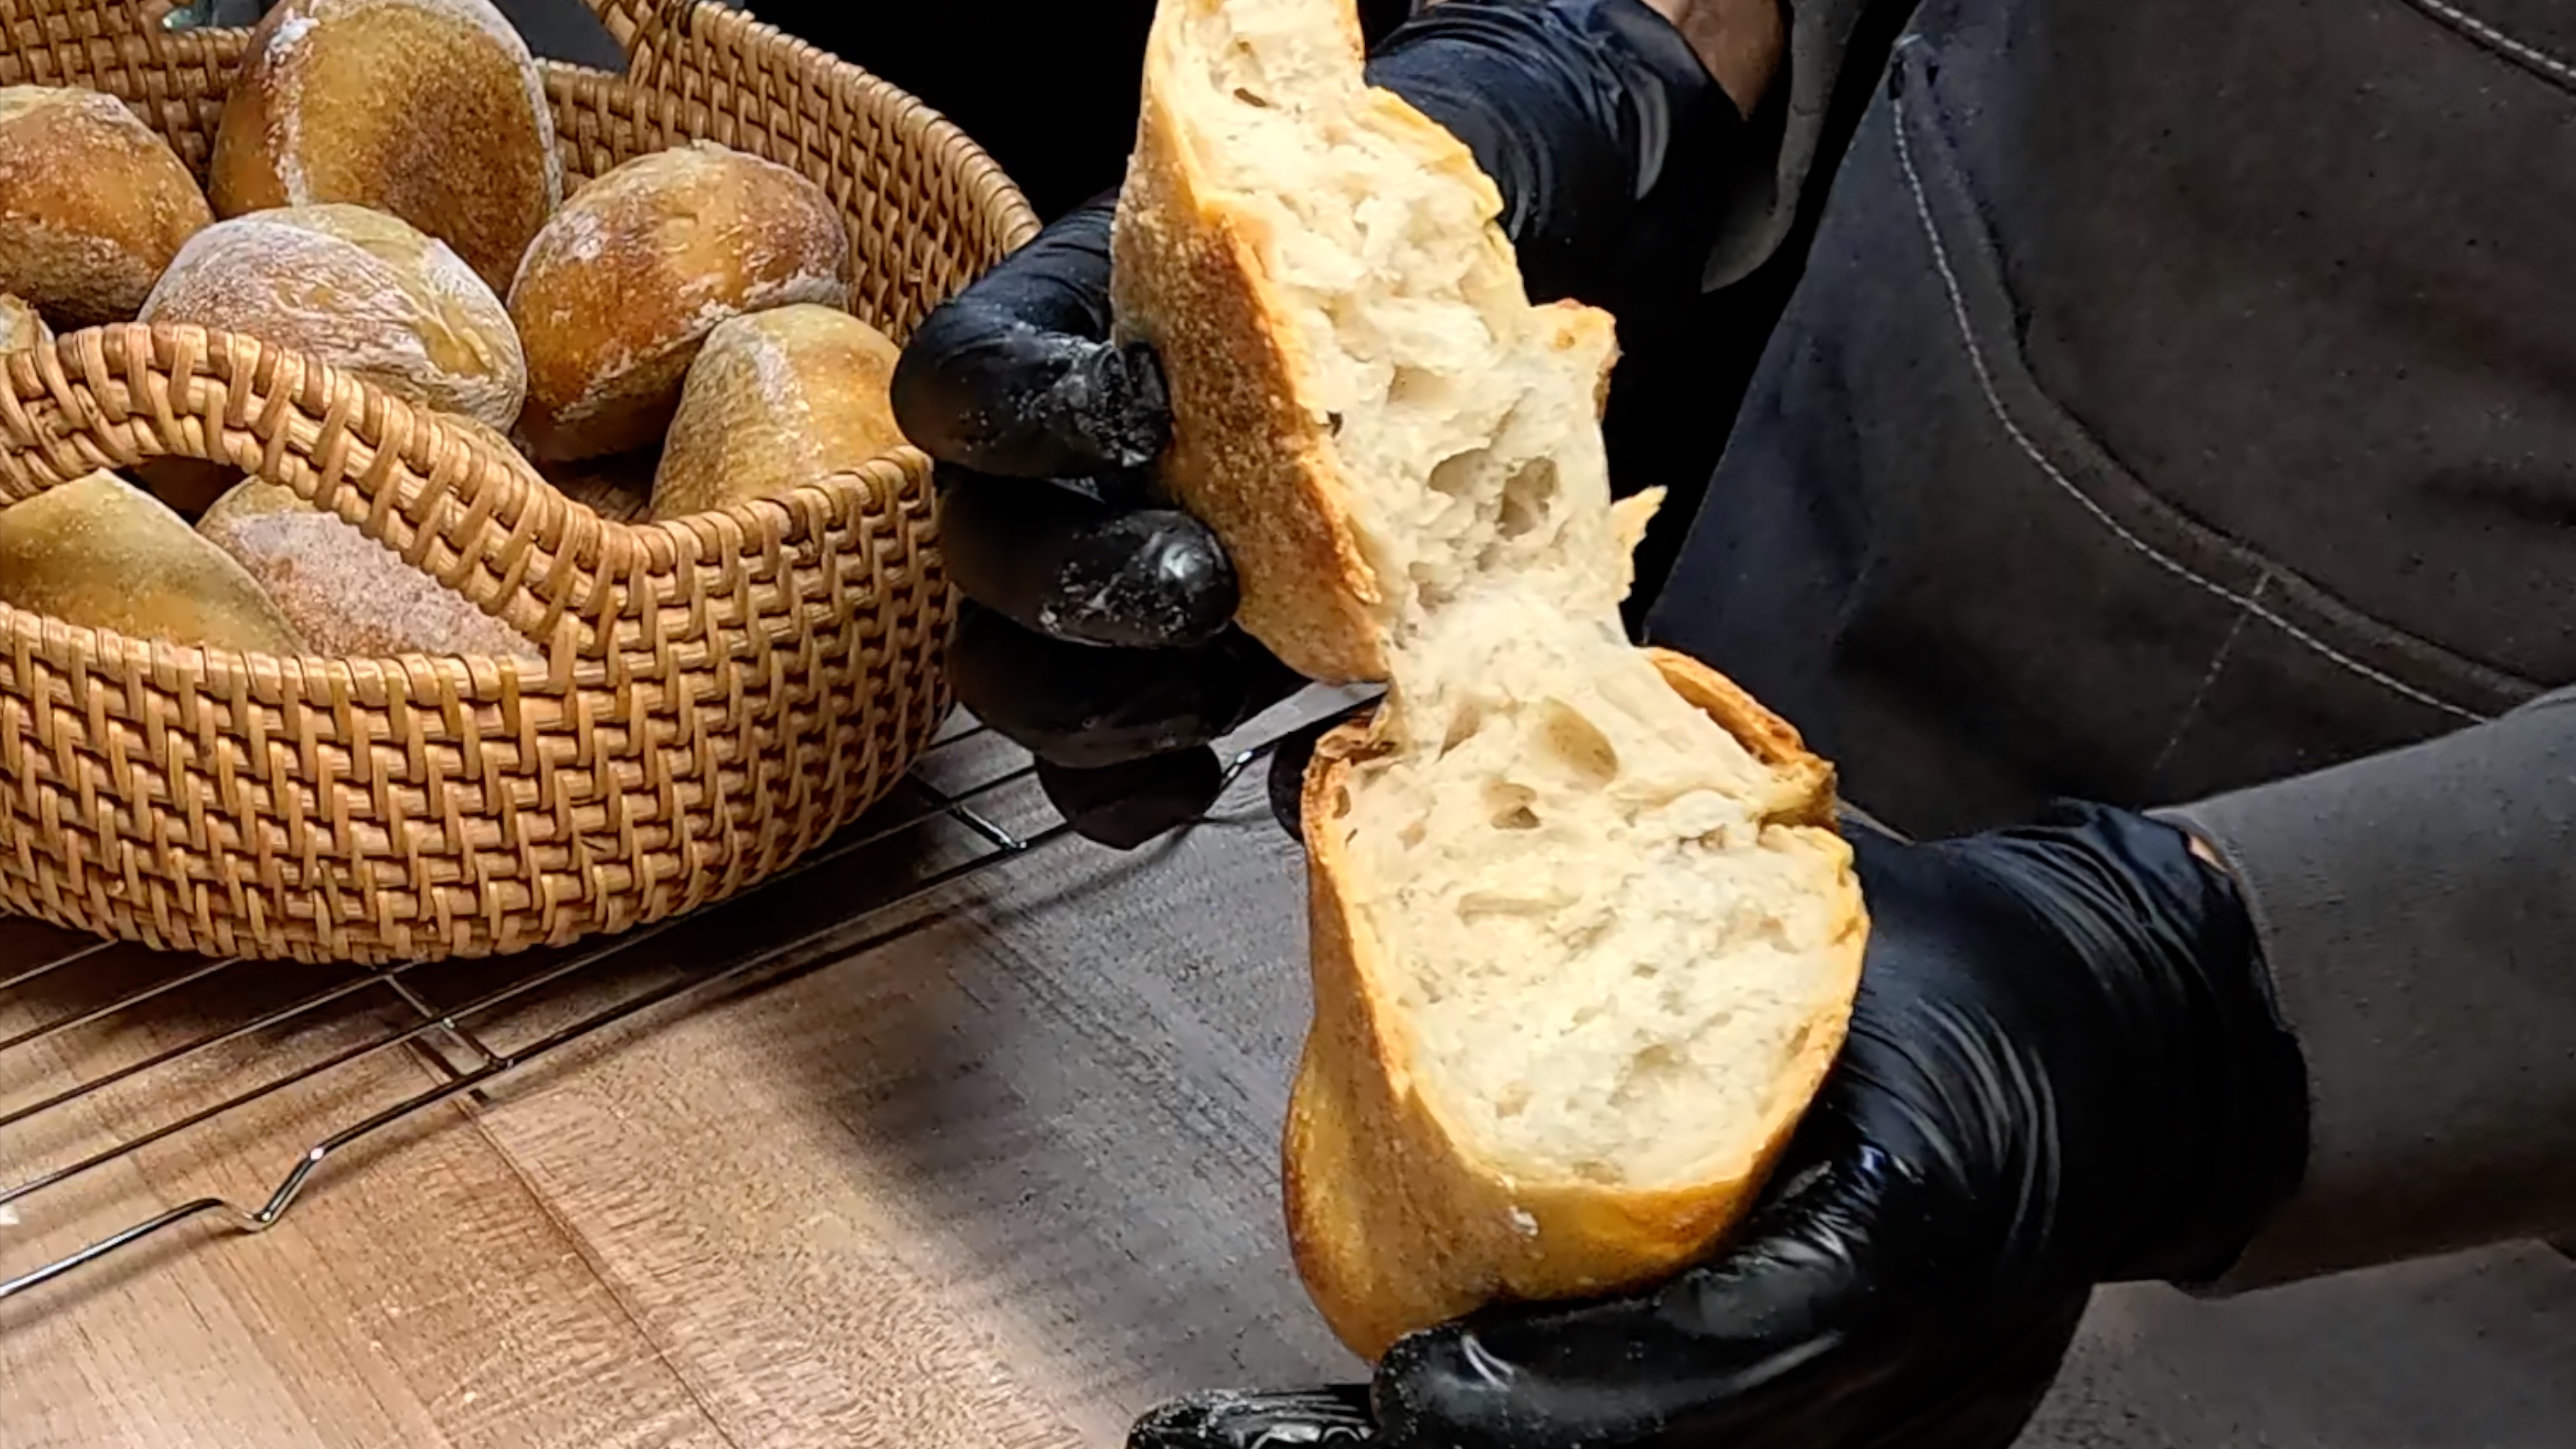
FINAL PROOF: Cover the shaped rolls lightly with a damp kitchen towel and let proof at room temperature for 1.5-2 hours, until nearly doubled in size. The rolls are ready when they feel pillowy to the touch and hold a gentle indent when poked with your finger. They should look puffy and connected if placed close together.
- 9
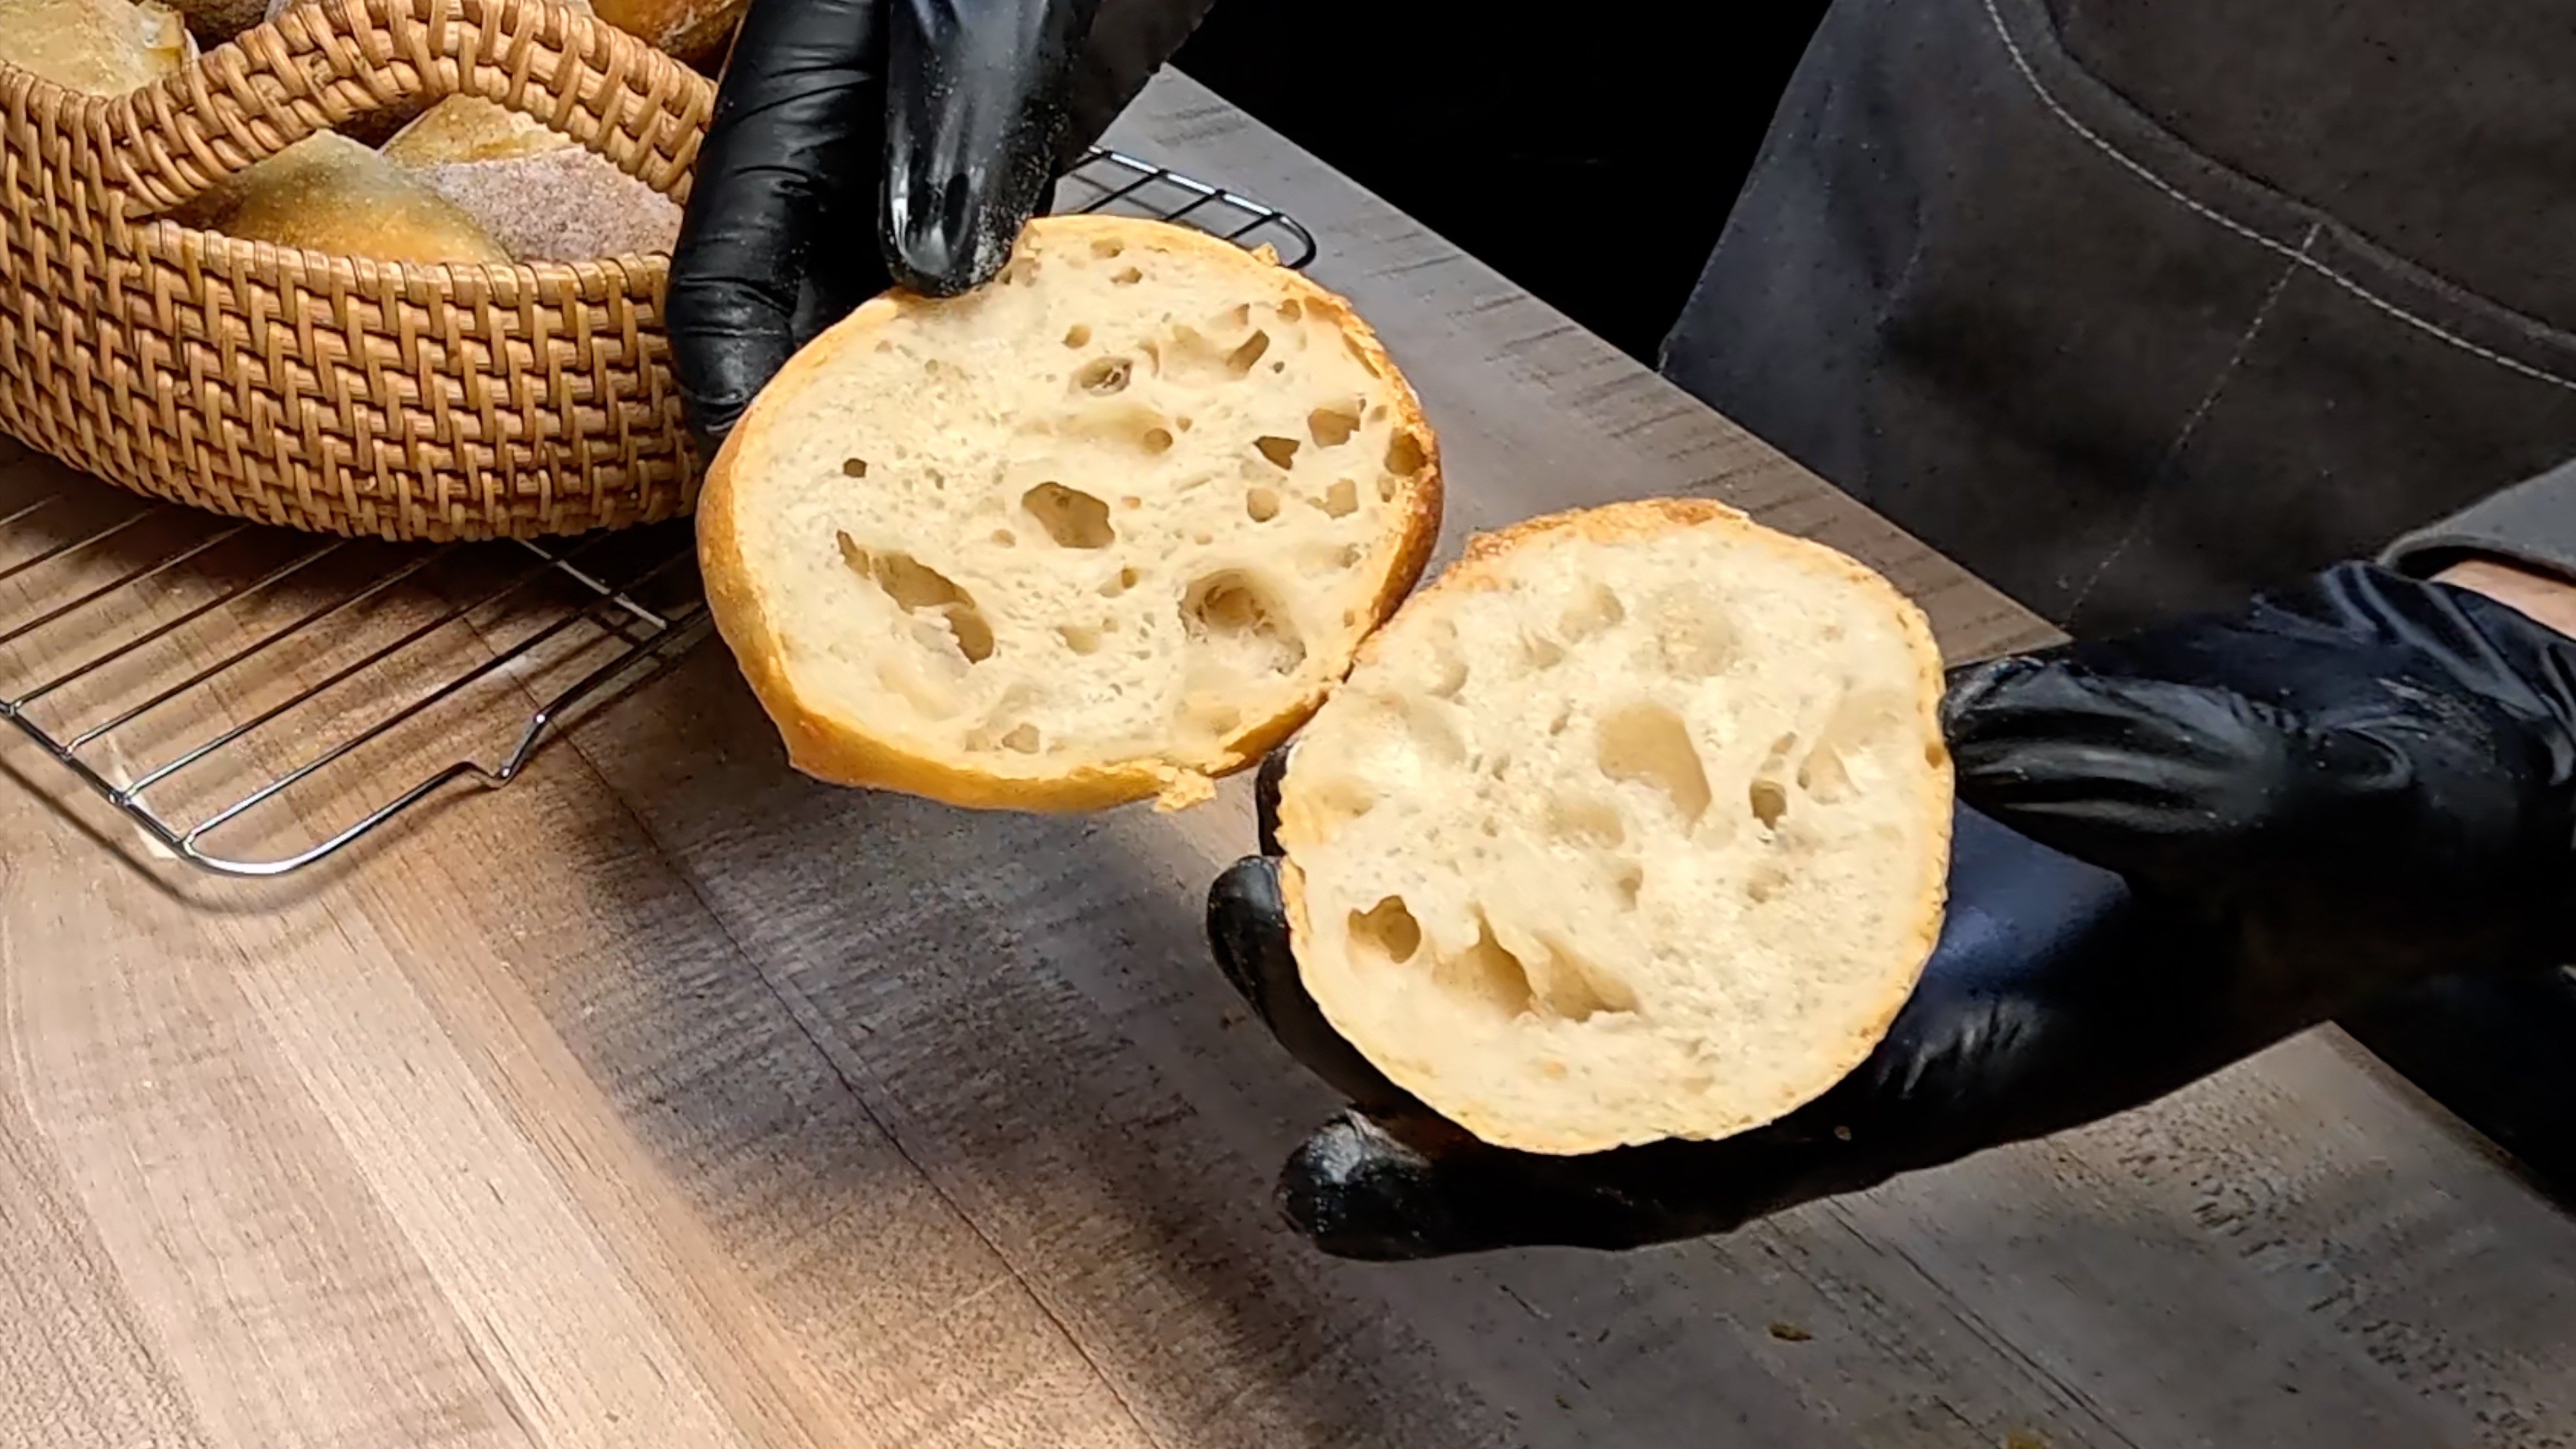
PREHEAT, BAKE & COOL: Place your baking stone in the oven and preheat to 500°F with a steam pan on the bottom rack. When ready to bake, reduce temperature to 450°F. Quickly slide the parchment with rolls onto the stone and pour 1 cup of hot water into the steam pan. Bake for 20 minutes with steam, then carefully remove the steam pan and continue baking 20-30 minutes until the rolls are golden brown and sound hollow when tapped. Cool on a wire rack for at least 15 minutes before serving.
Baker's Tips
- •The overnight cold ferment is what makes these rolls special - don't skip it!
- •These rolls freeze beautifully after cooling completely
- •Brush with melted butter while still warm for extra richness
More Like This
Baker's Toolkit
Tools and ingredients we recommend for this recipe
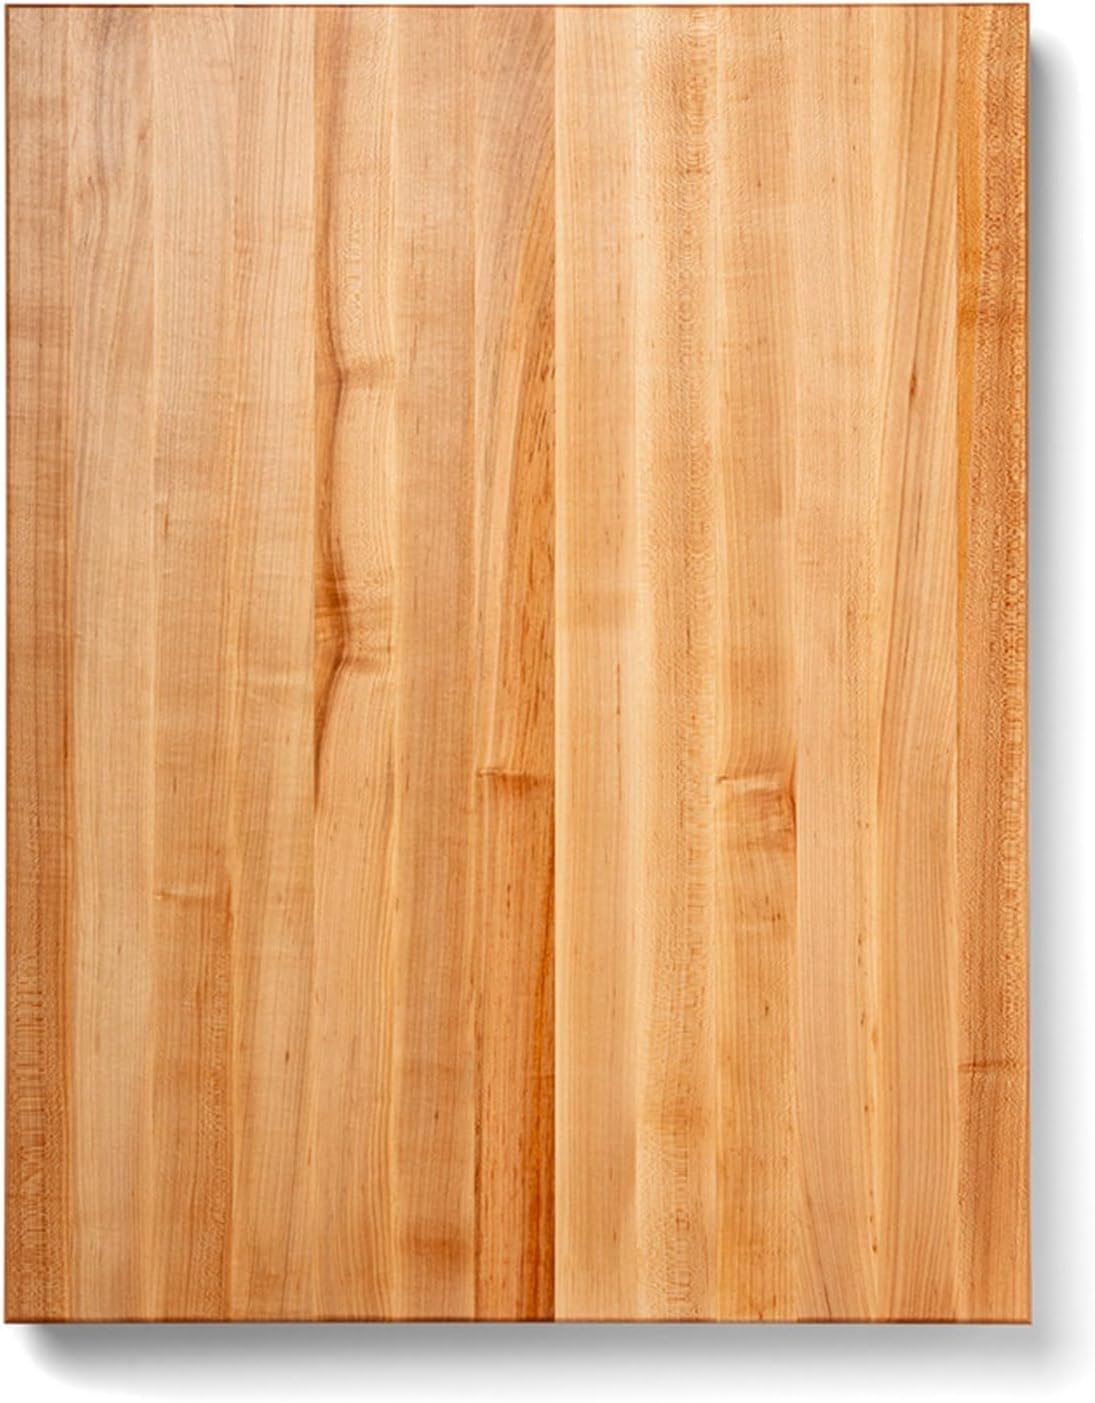
John Boos RA-Board Series Rectangular Wooden Maple Cutting Board 30”x23.25” – 2.25” Thick
View product

Sally's Organics® Empty Clear Glass Spray Bottles - Refillable 16 oz
View product
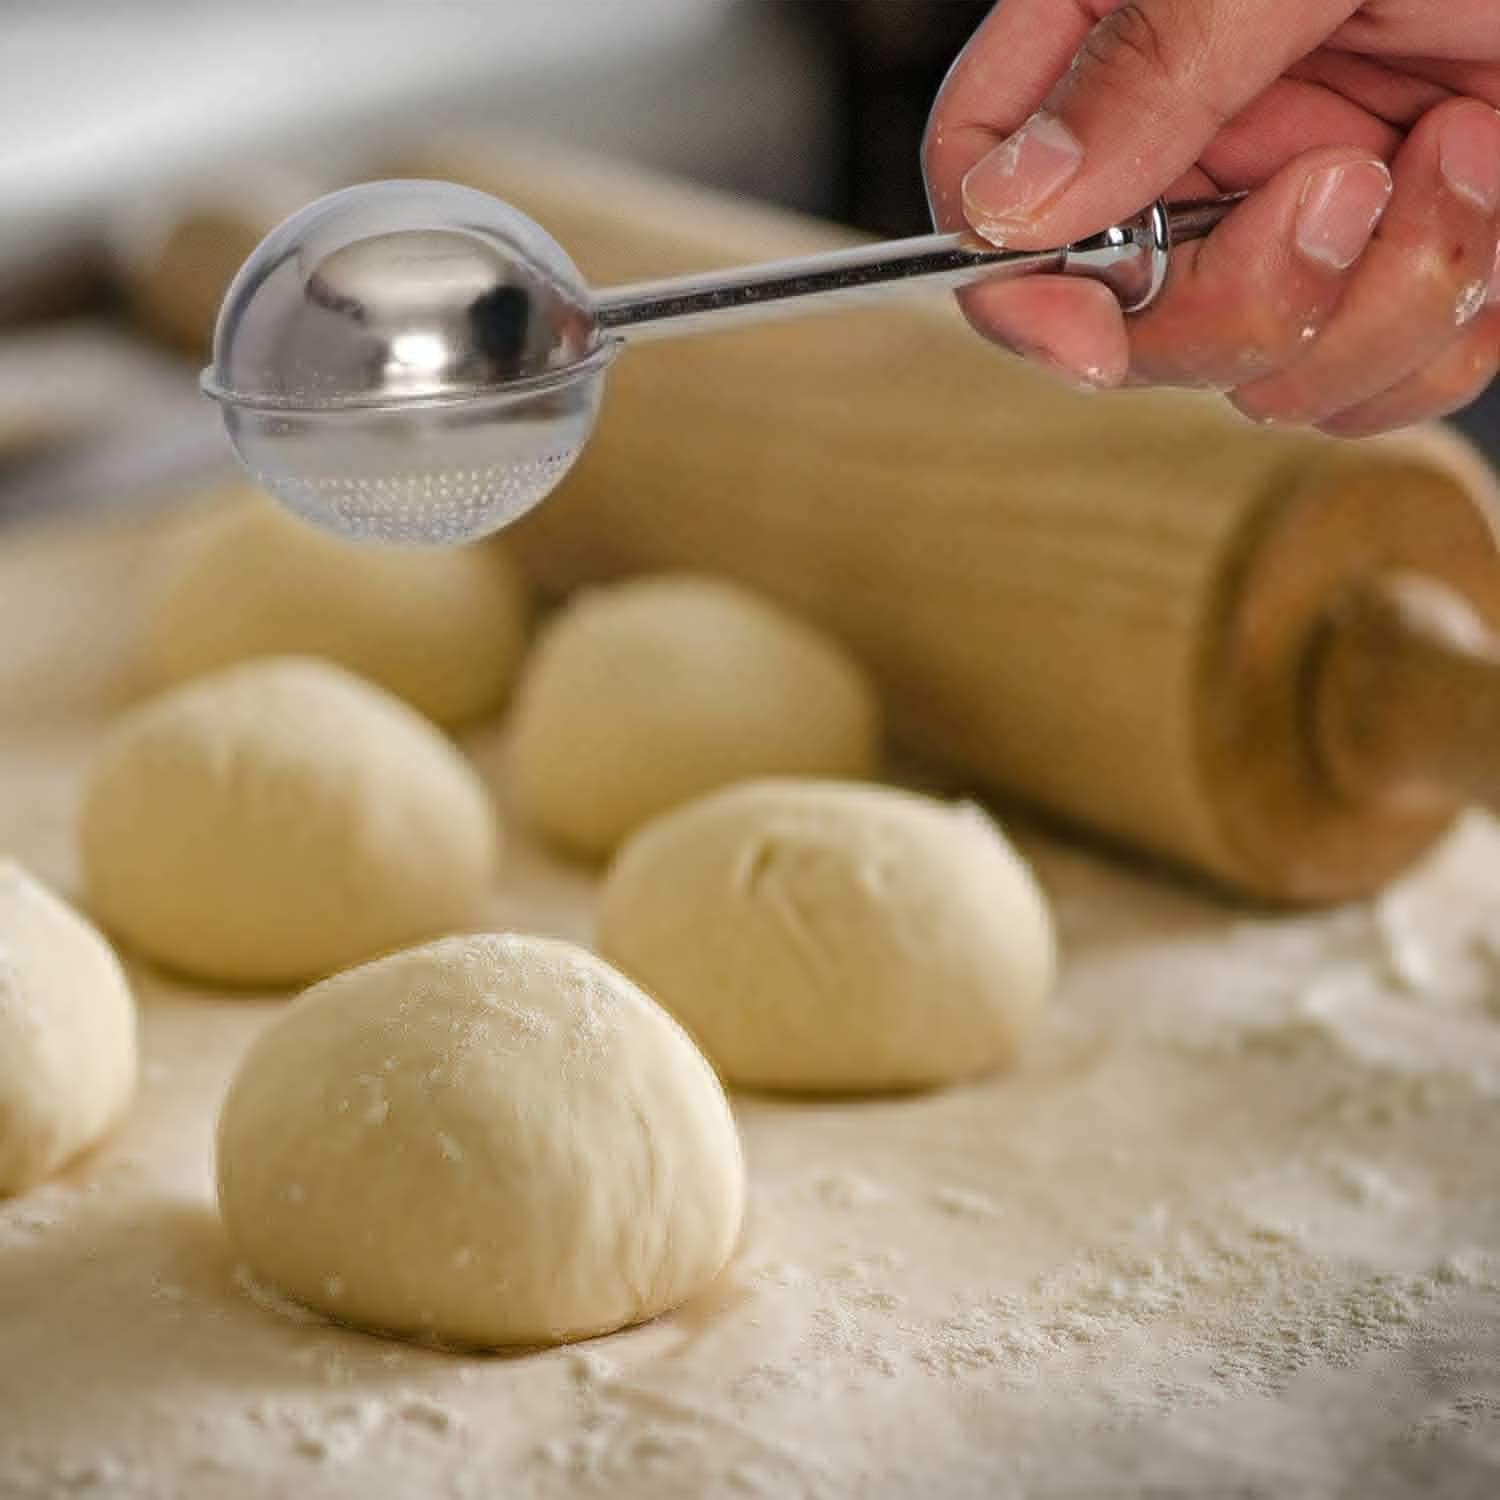
HULISEN Flour Duster for Baking, One-Handed Operation, 304 Stainless Steel Powdered Sugar Shaker Duster
View product
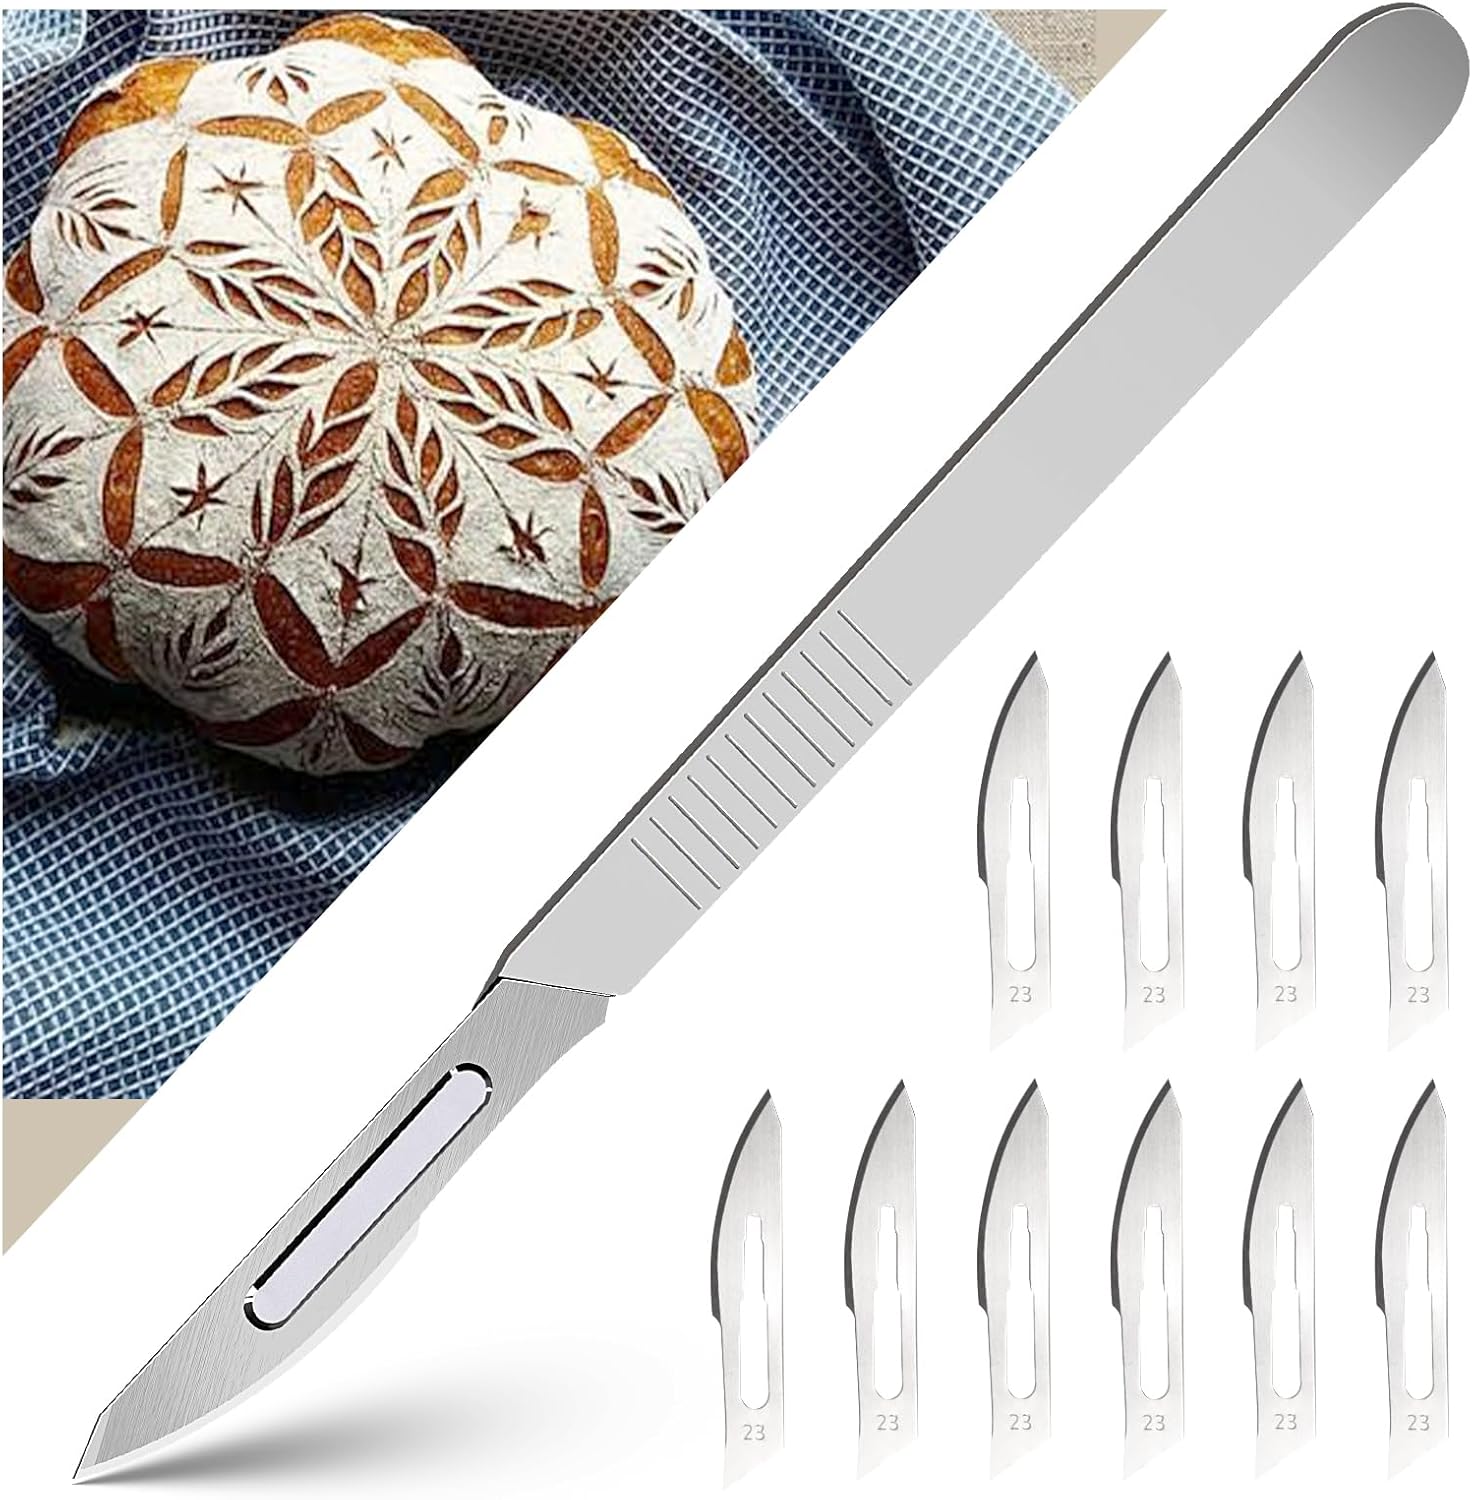
Bread Lame & Sourdough Scoring Tool - Professional Bread Scoring Tool with 10 Ultra-Sharp Blades
View product
OXO Good Grips Stainless Steel Multi-Purpose Scraper & Chopper
View product

Cooling Rack and Baking Rack with Stainless Steel, 2 - Pack 10 x 15 Inches
View product
Organic Bread Flour
View product

Glad Cling N Seal Plastic Wrap for Food, Airtight Seal, 300 Square Foot Roll (Pack of 4)
View product
Amazon Basics Digital Kitchen Scale with LCD Display
View product
AFUN Chef Aprons for Men Women with Oversized Pockets
View product
![Glass Measuring Cup - [Insulated Handle | V-Shaped Spout]](/uploads/products/1771386842639-glass-measuring-cup.jpg)
Glass Measuring Cup - [Insulated Handle | V-Shaped Spout]
View product
Comments
Sign in to join the conversation
Sign In