No-Knead Sourdough Dinner Rolls | Beginner Friendly
Wondering how to make sourdough rolls without the hassle of kneading? This is the ultimate, fool-proof, no-knead sourdough roll recipe for beginners! These rolls are incredibly fluffy, slightly tangy, and topped with toasty sesame seeds. Perfect for Sunday dinner or holiday meals.

Instructions
- 1
Activate Starter: Ensure your sourdough starter has been recently fed and is active/bubbly before you begin.
- 2
Combine Ingredients: In a large bowl, whisk the active starter into 360g of water until roughly dissolved and then add salt and whisk again.
- 3
Add flour: Add the bread flour to the wet mixture. Use your hands or a dough whisk to mix everything until a shaggy, rough dough forms and no dry bits of flour remain. Avoid vigorous kneading; gentle mixing is enough.
- 4
Autolyse/Rest: Cover the bowl with a damp towel or plastic wrap and let it rest for 30 minutes to 1 hour.
- 5
Bulk Fermentation (with gentle folds): Over the next 3-4 hours, perform a few sets of "stretch and folds" every 30-60 minutes to build strength.
- 6
Cold Proof: After the last stretch and folds, cover and place in the refrigerator for 12-15 hours (overnight).
- 7
Preshape: The next morning, gently scrape the dough onto a floured surface. Divide into 8 or 9 equal pieces. Shape each piece into a tight ball by tucking the edges underneath. Cover and let them rest for about 30–45 minutes
- 8
Shaping: With your fingers, gently press the dough, fold, seal the seam and roll into a ball. Place the rolls seam-side up on a floured parchment paper. Cover and let them rise for 1-2 hours until puffy and touching each other
- 9
Preheat: Preheat your oven to 500°F (260°C) with a heavy baking sheet or pizza stone inside. Place a separate metal tray (like a cast-iron skillet) on the bottom rack.
- 10
Prepare: Transfer the balls to parchment paper and perform quick cross score using a razor
- 11
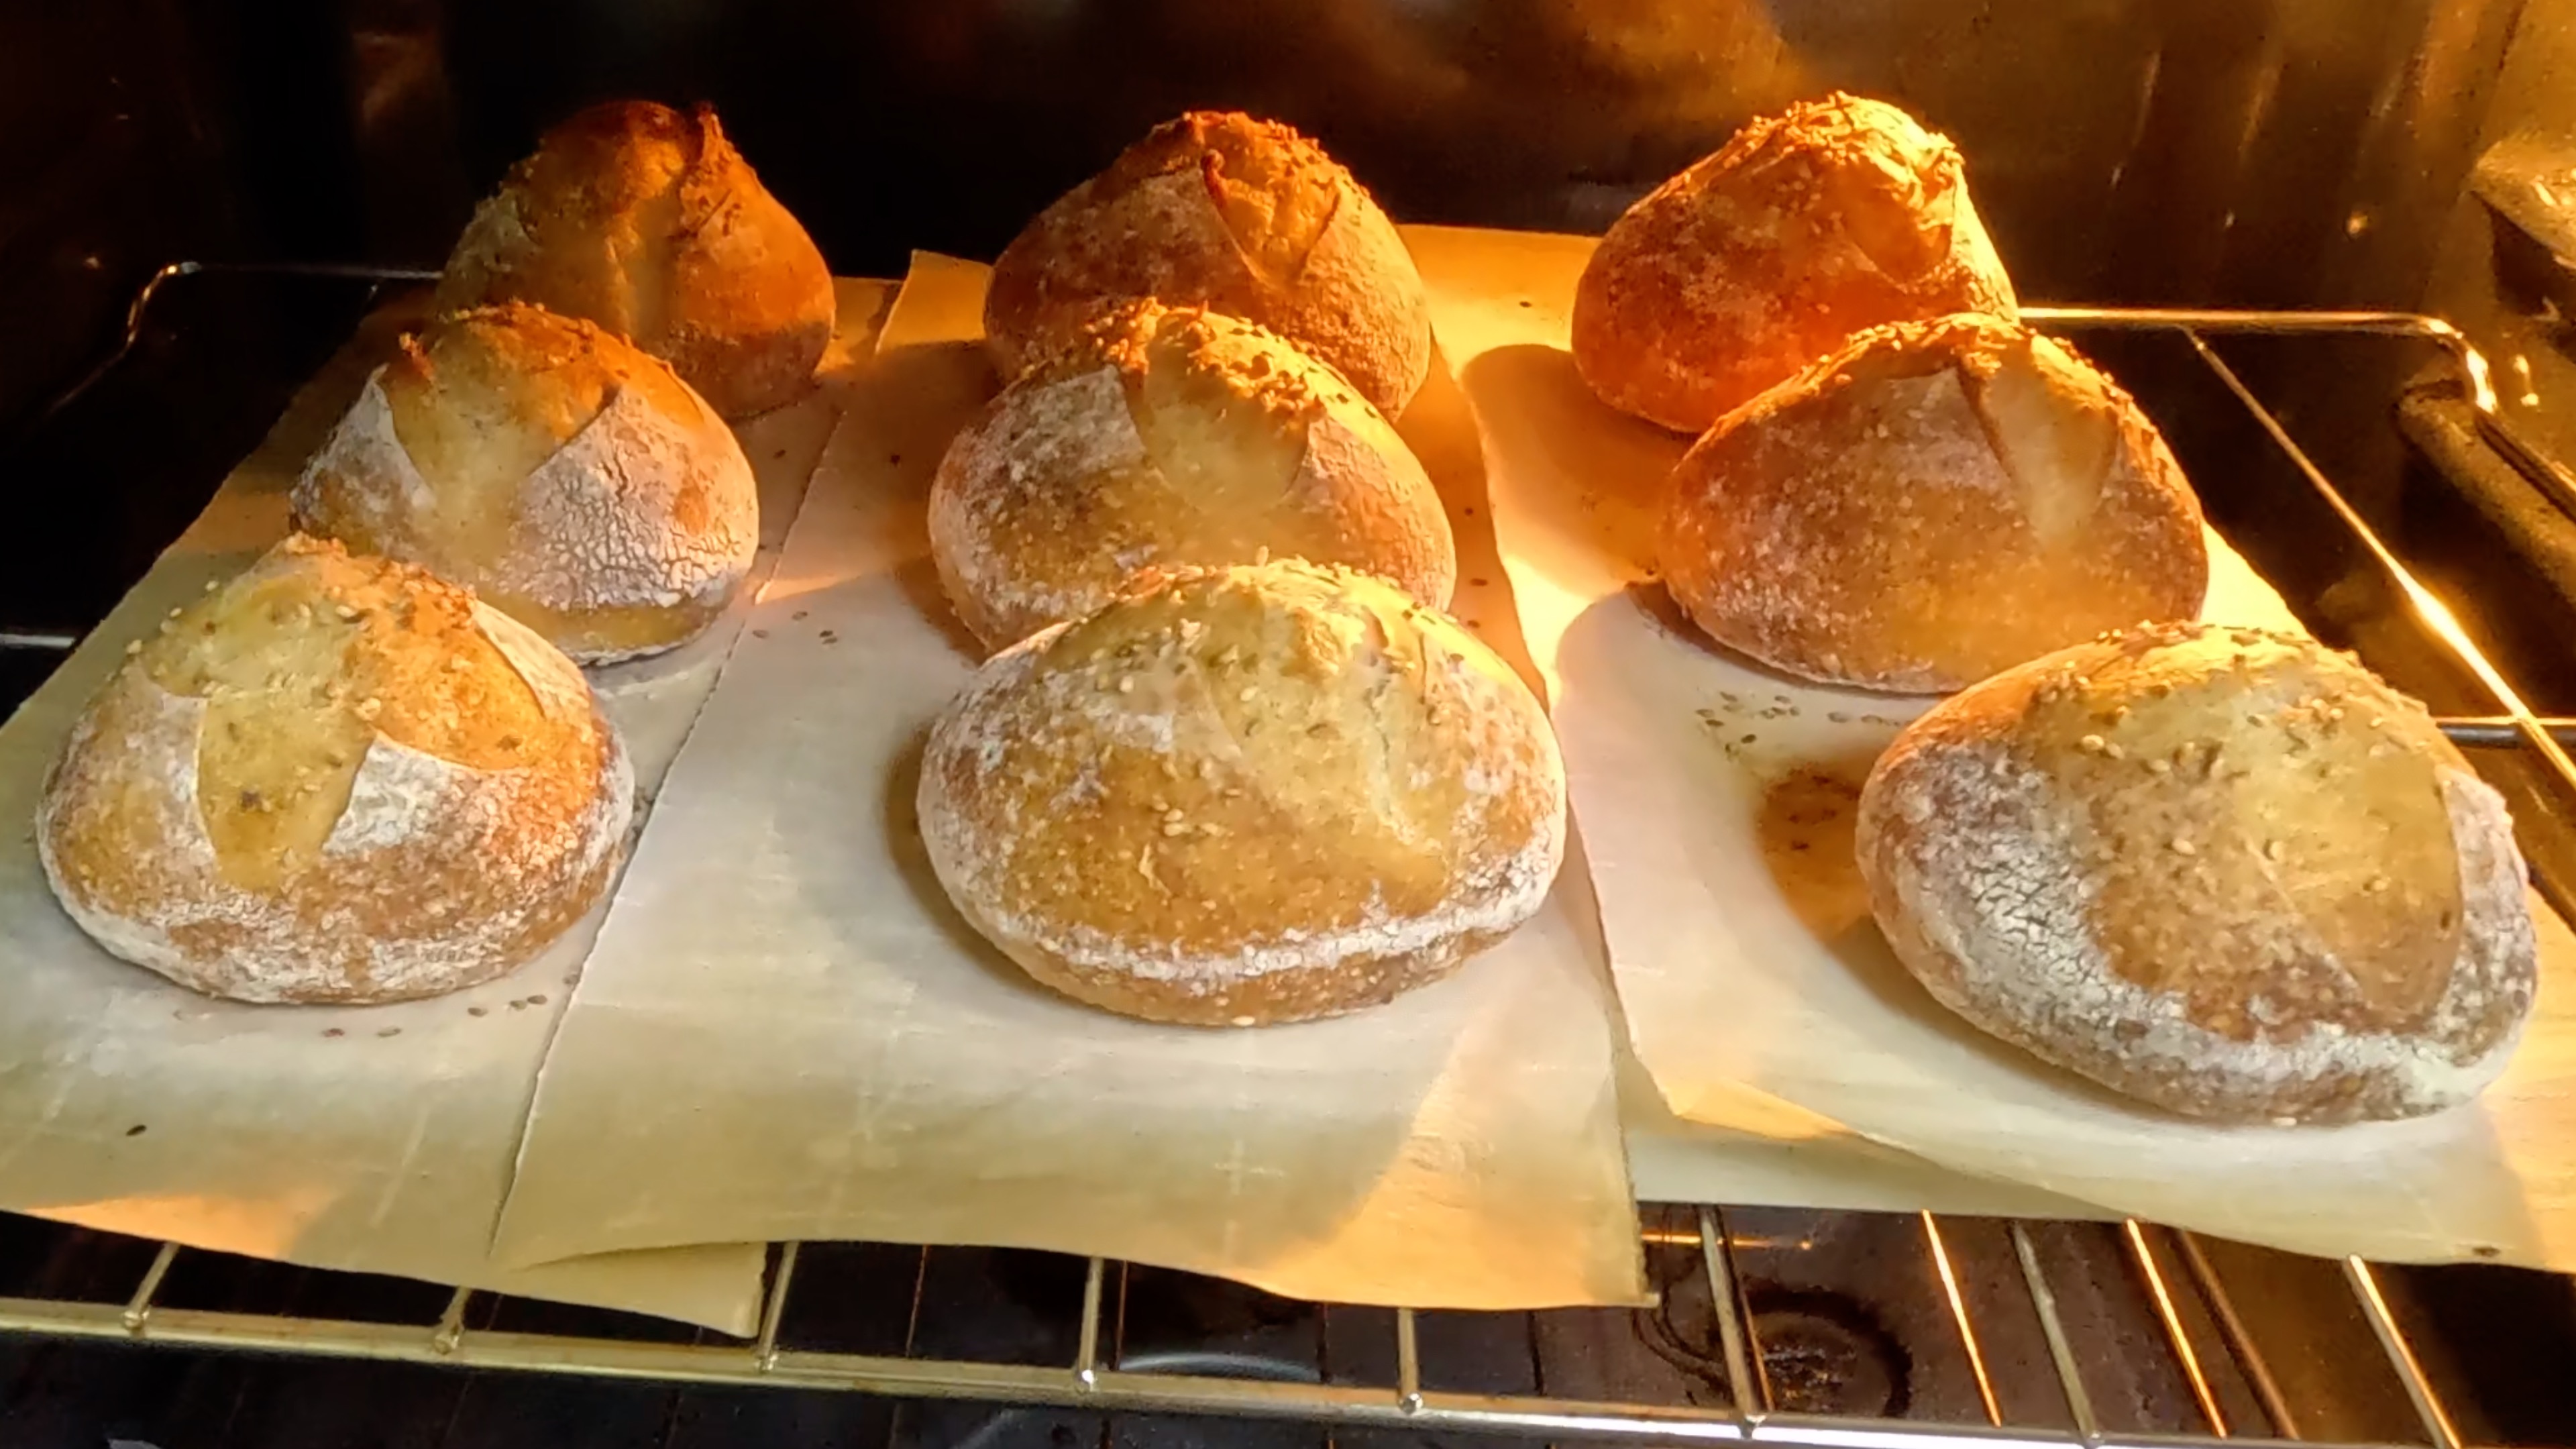
Bake & Steam: Slide onto the hot stone. Immediately dump 1 cup of boiling water into the bottom pan to create steam. Lower temperature to 450°F (232°C).
- 12
Bake for 20 minutes at 450°F (after an initial high heat burst if you prefer). The steam will help the bread rise.
- 13
Remove the steam pan/water tray (be very careful, it's hot!).
- 14
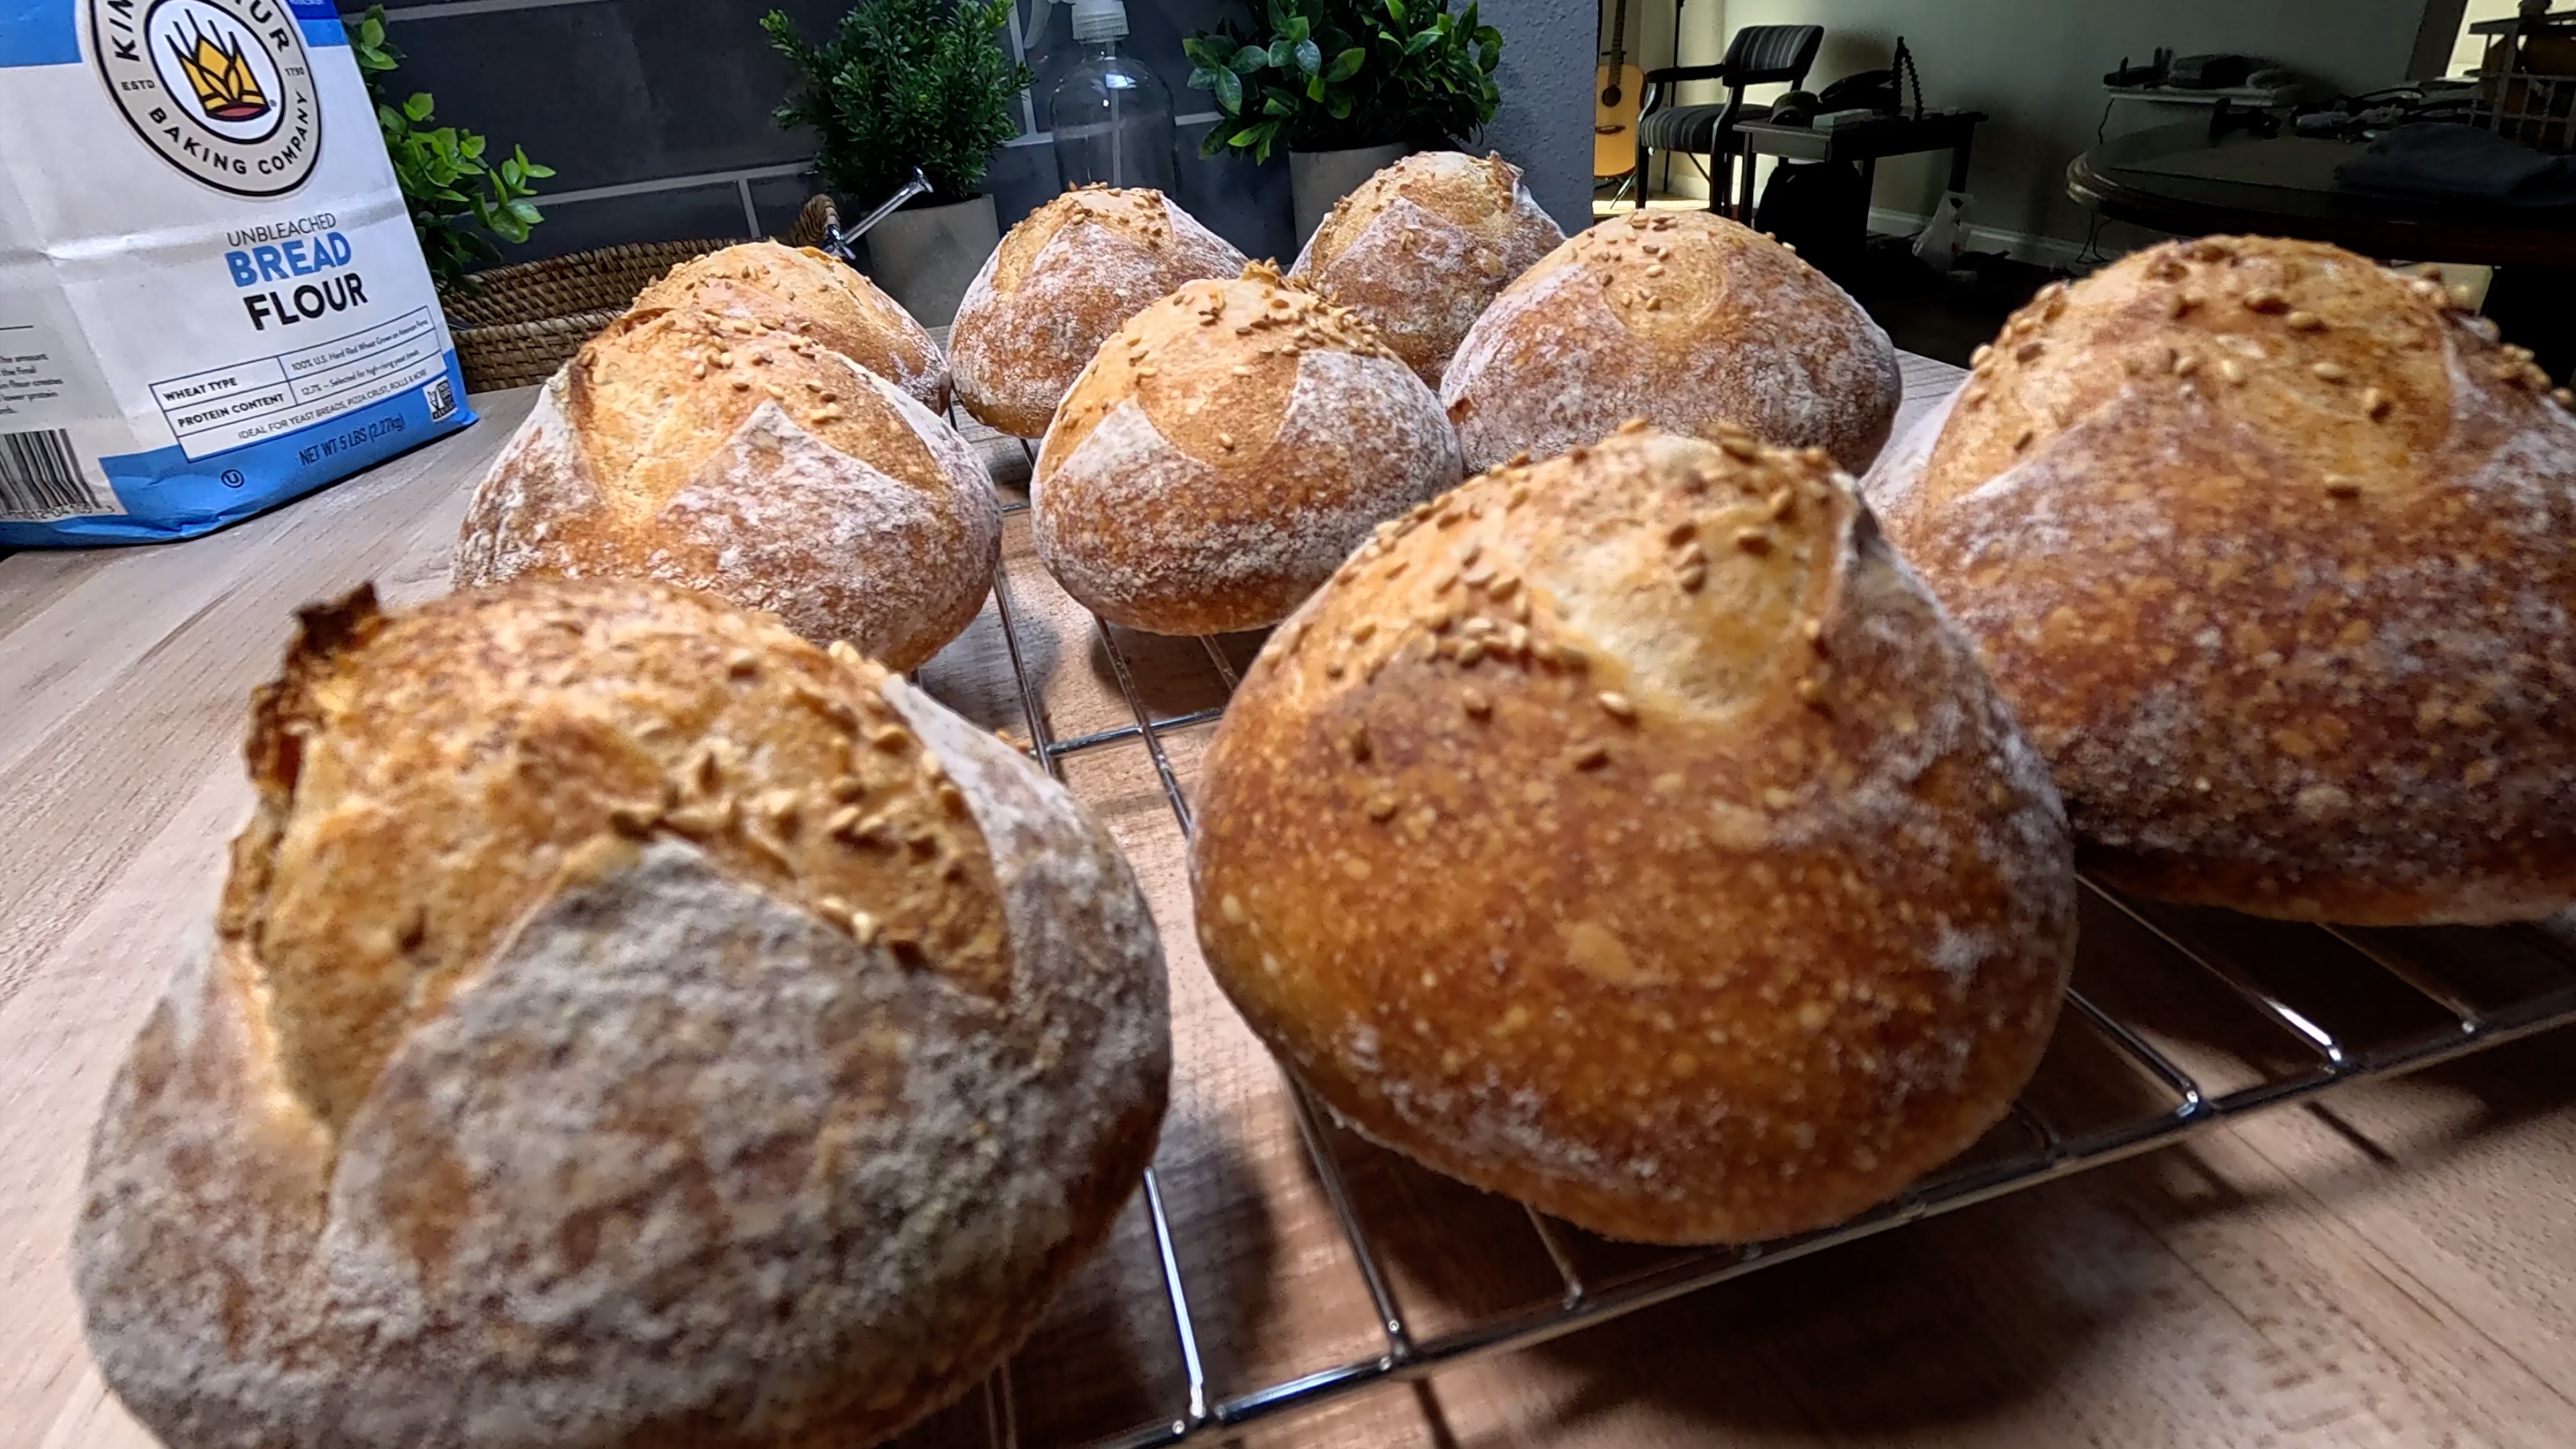
Bake for an additional 25-30 minutes or until the crust is golden brown .
- 15
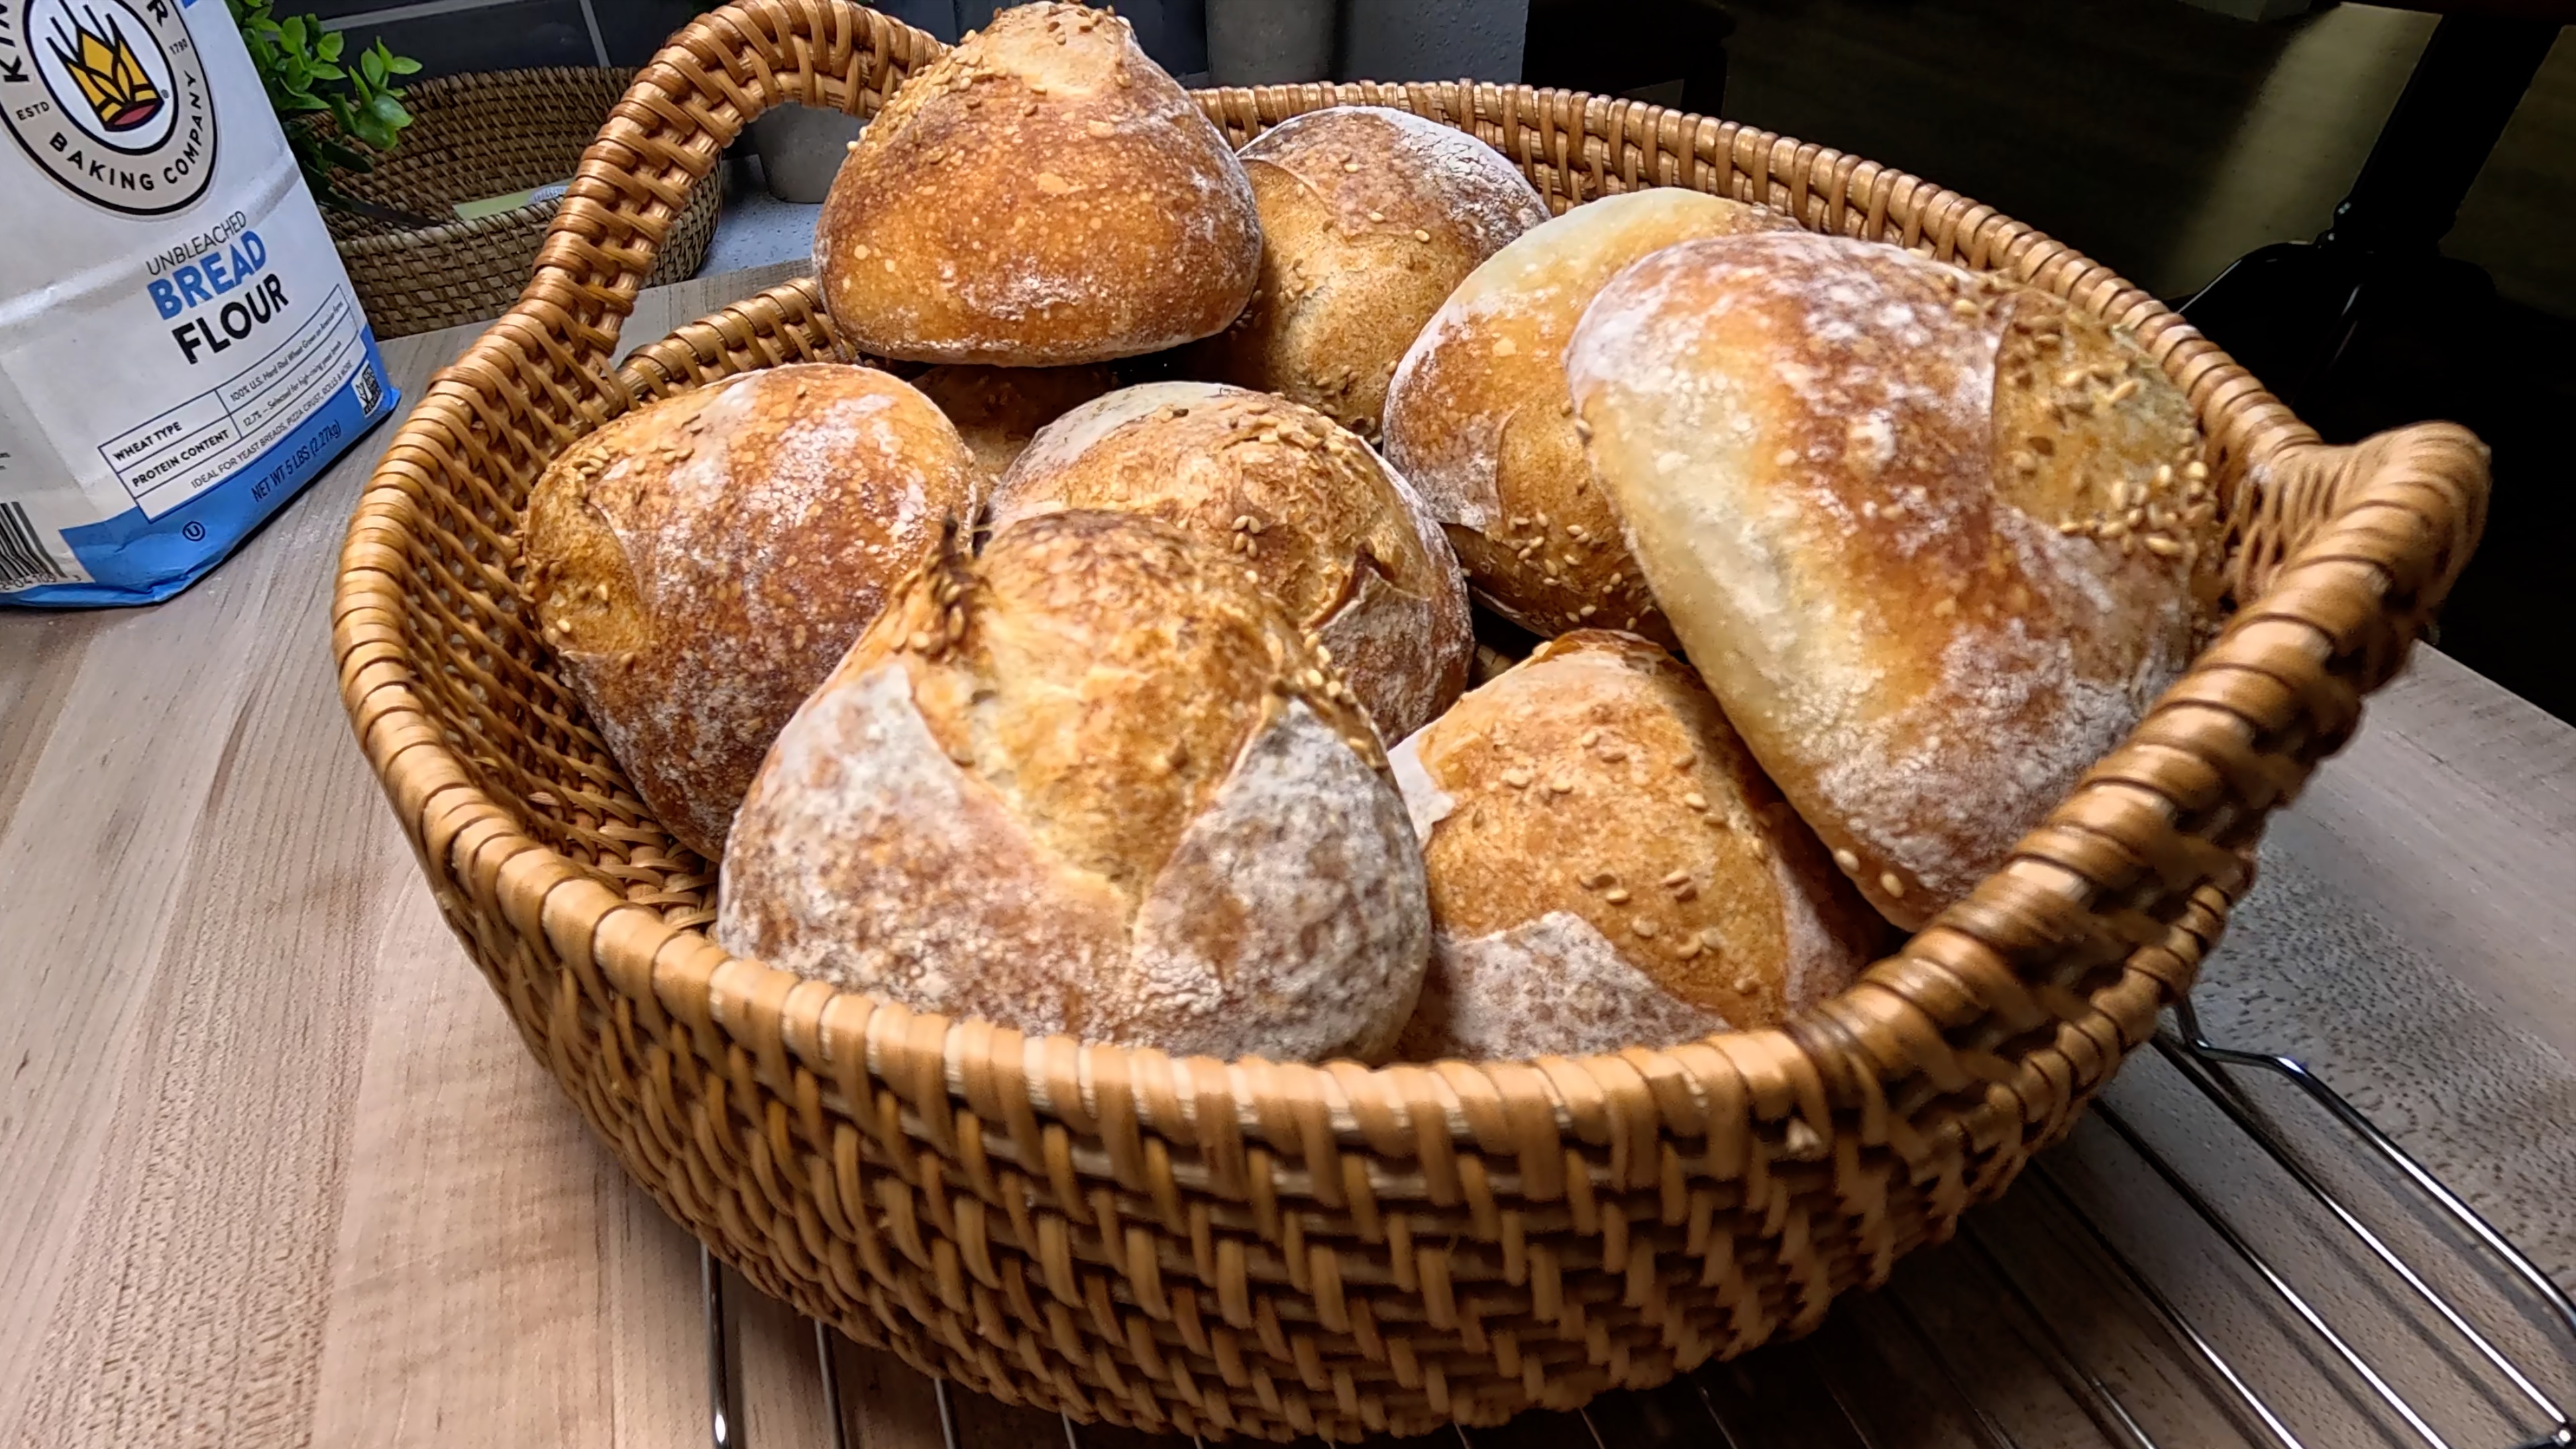
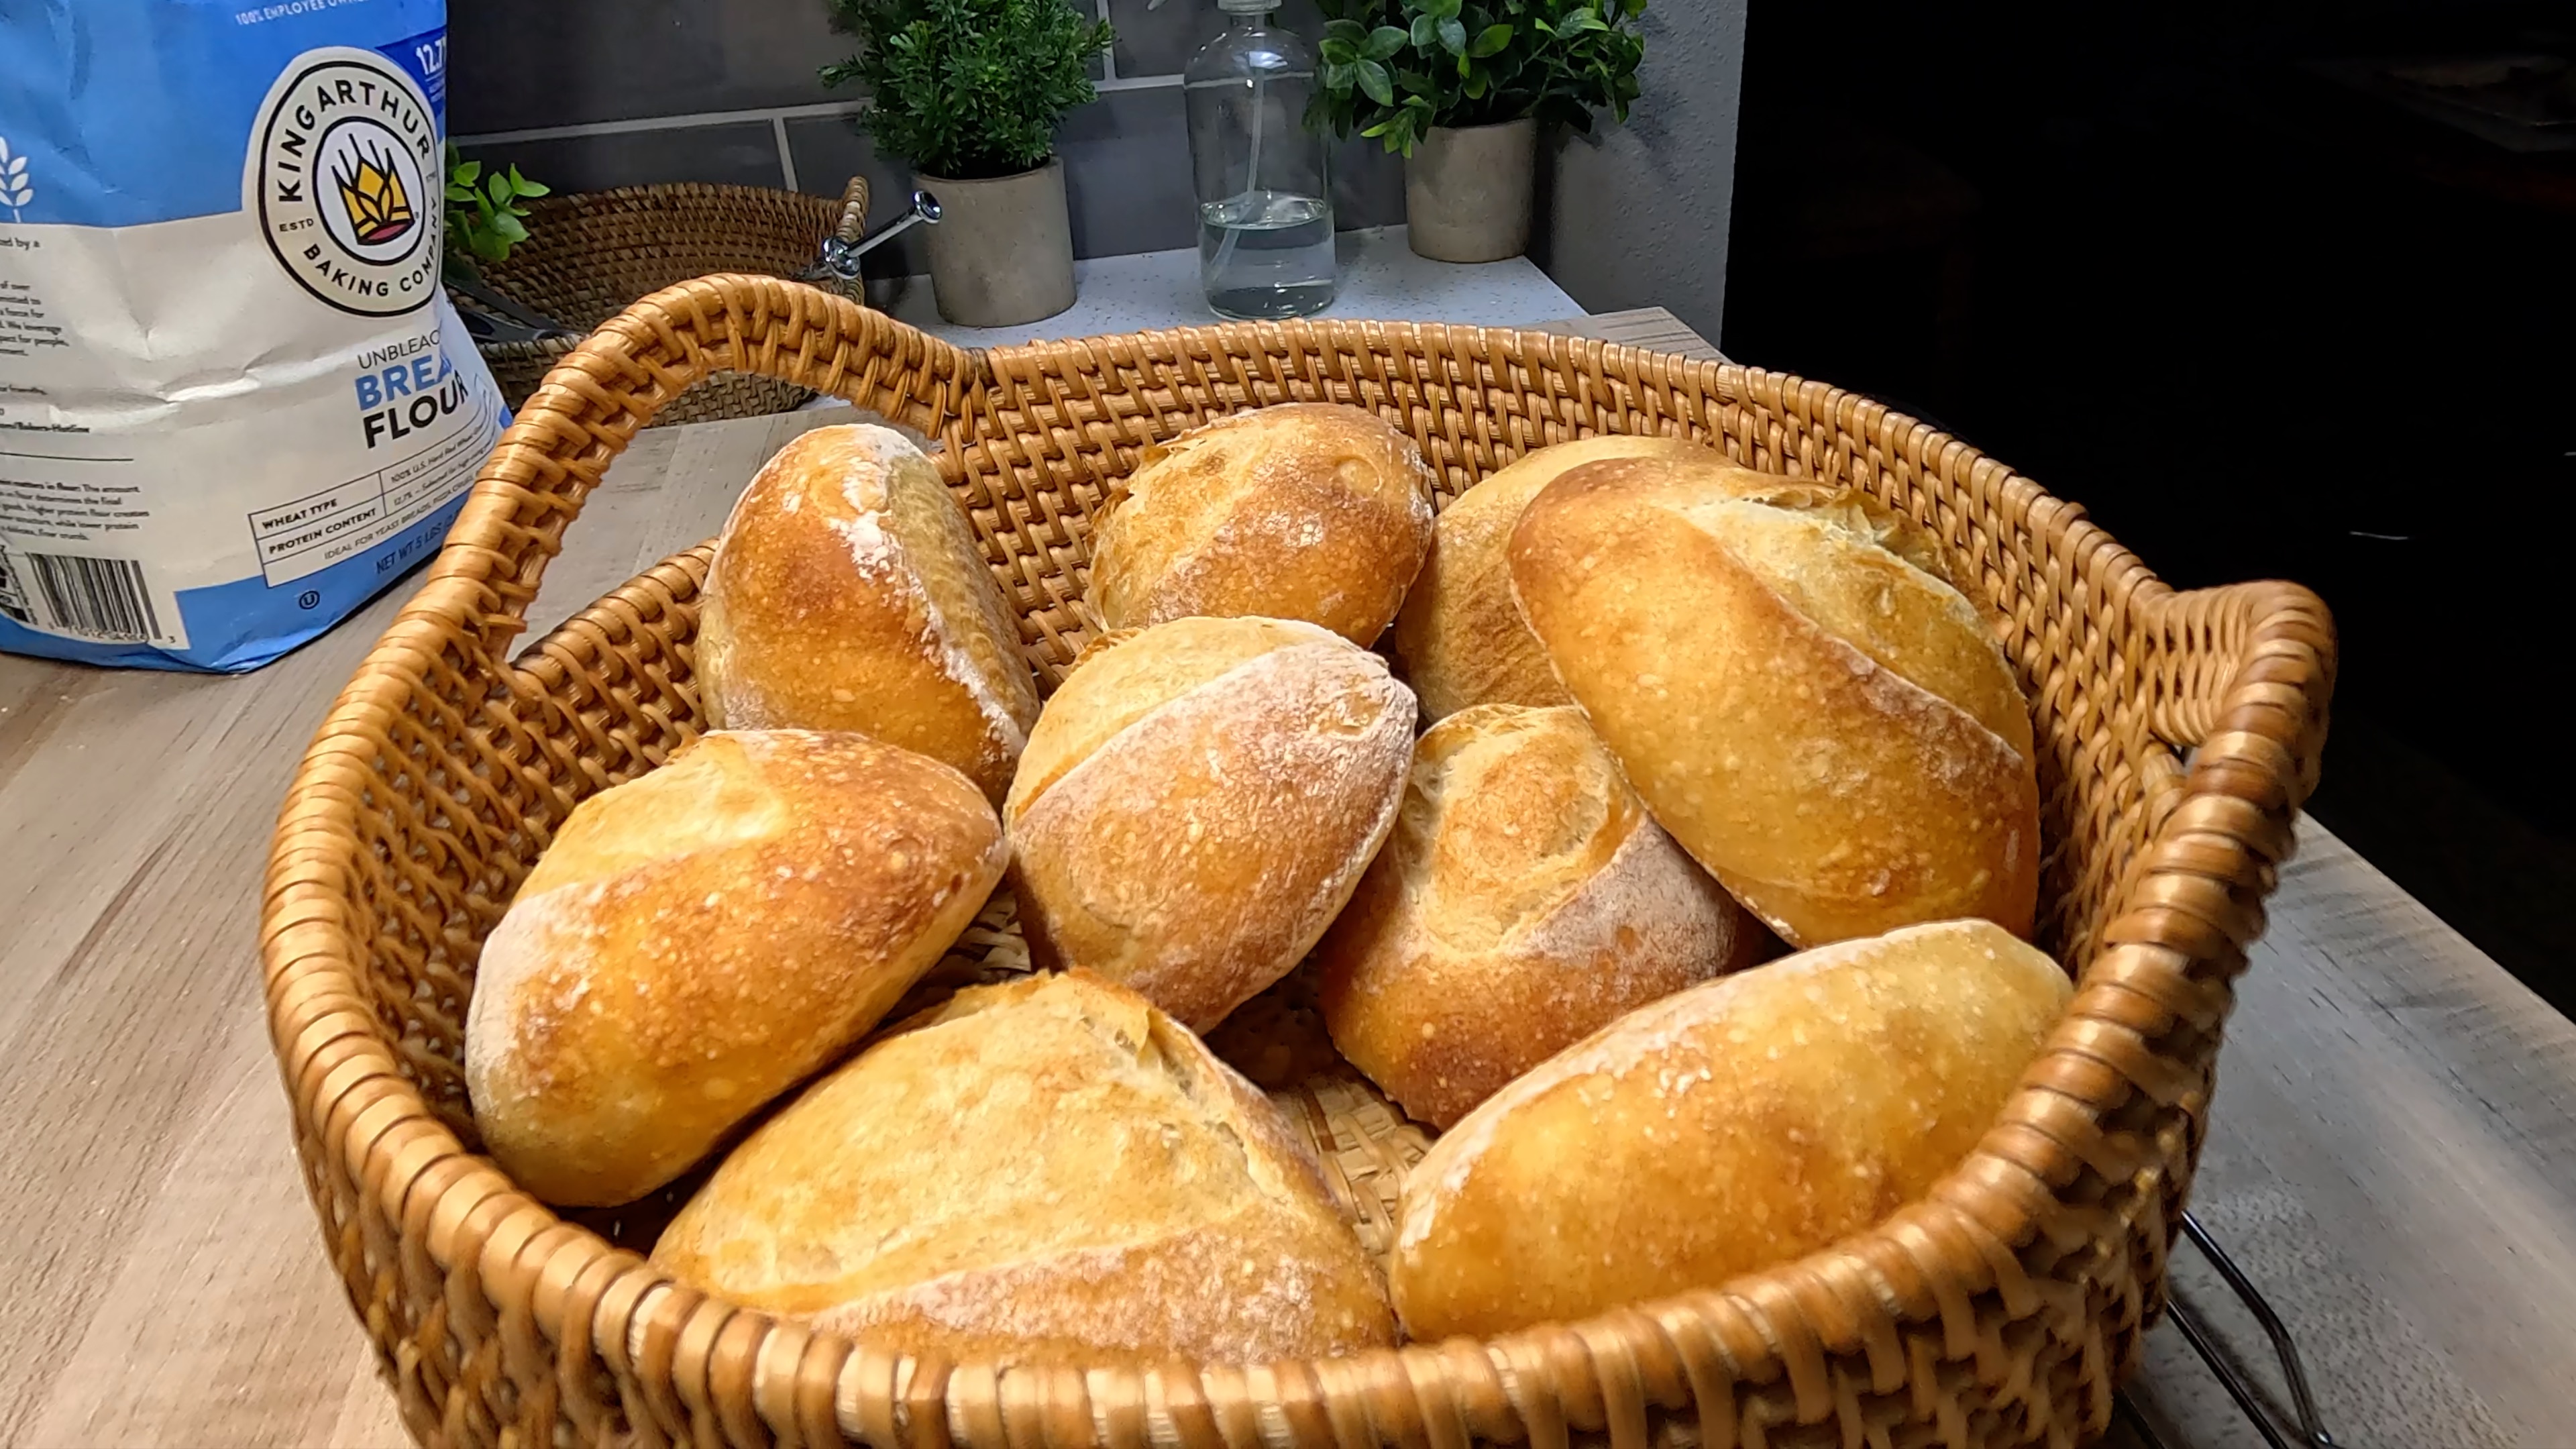
Cool: Transfer the finished rolls to a wire rack or basket and let it cool completely for at least 1-2 hours.
Baker's Tips
- •Use a lame or sharp razor blade for scoring — a serrated knife will drag.
- •Let the bread cool completely on a wire rack before slicing for the best crumb.
- •The float test: drop a small piece of starter in water — if it floats, it's ready.
Comments
Sign in to join the conversation
Sign In