
High-Rise Sourdough Batard Recipe; Shaped for Explosive Oven Spring
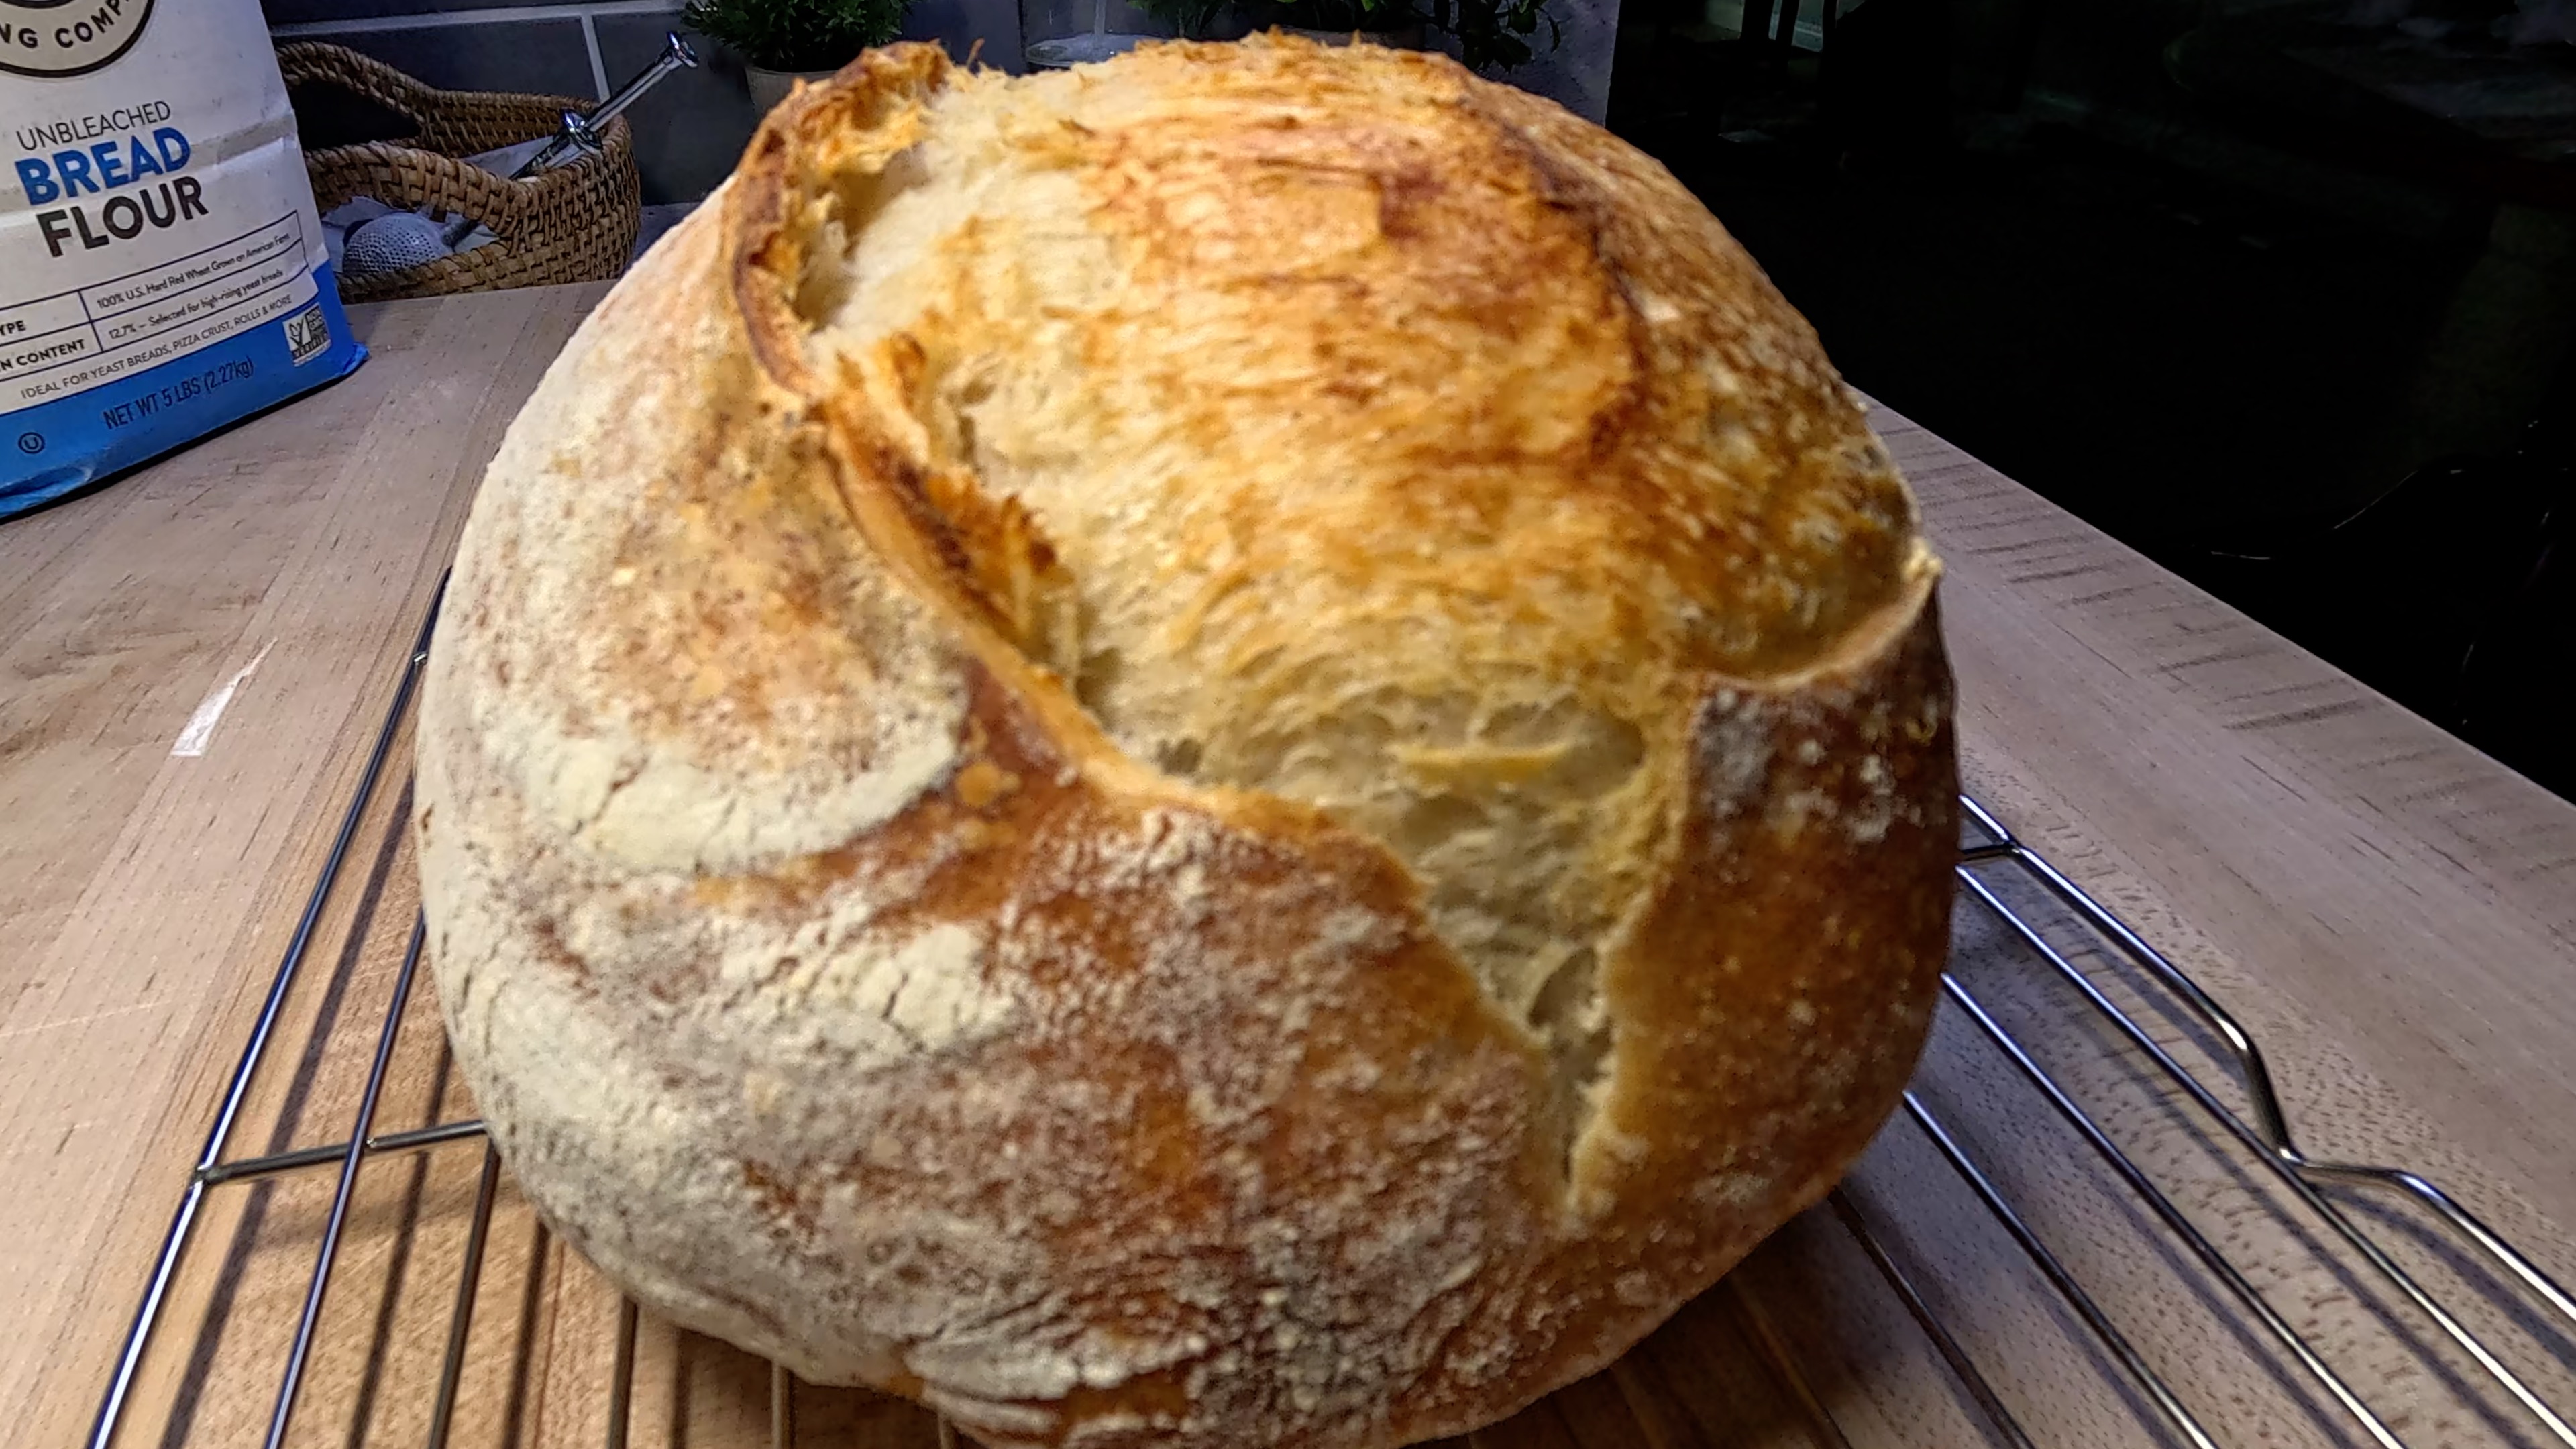
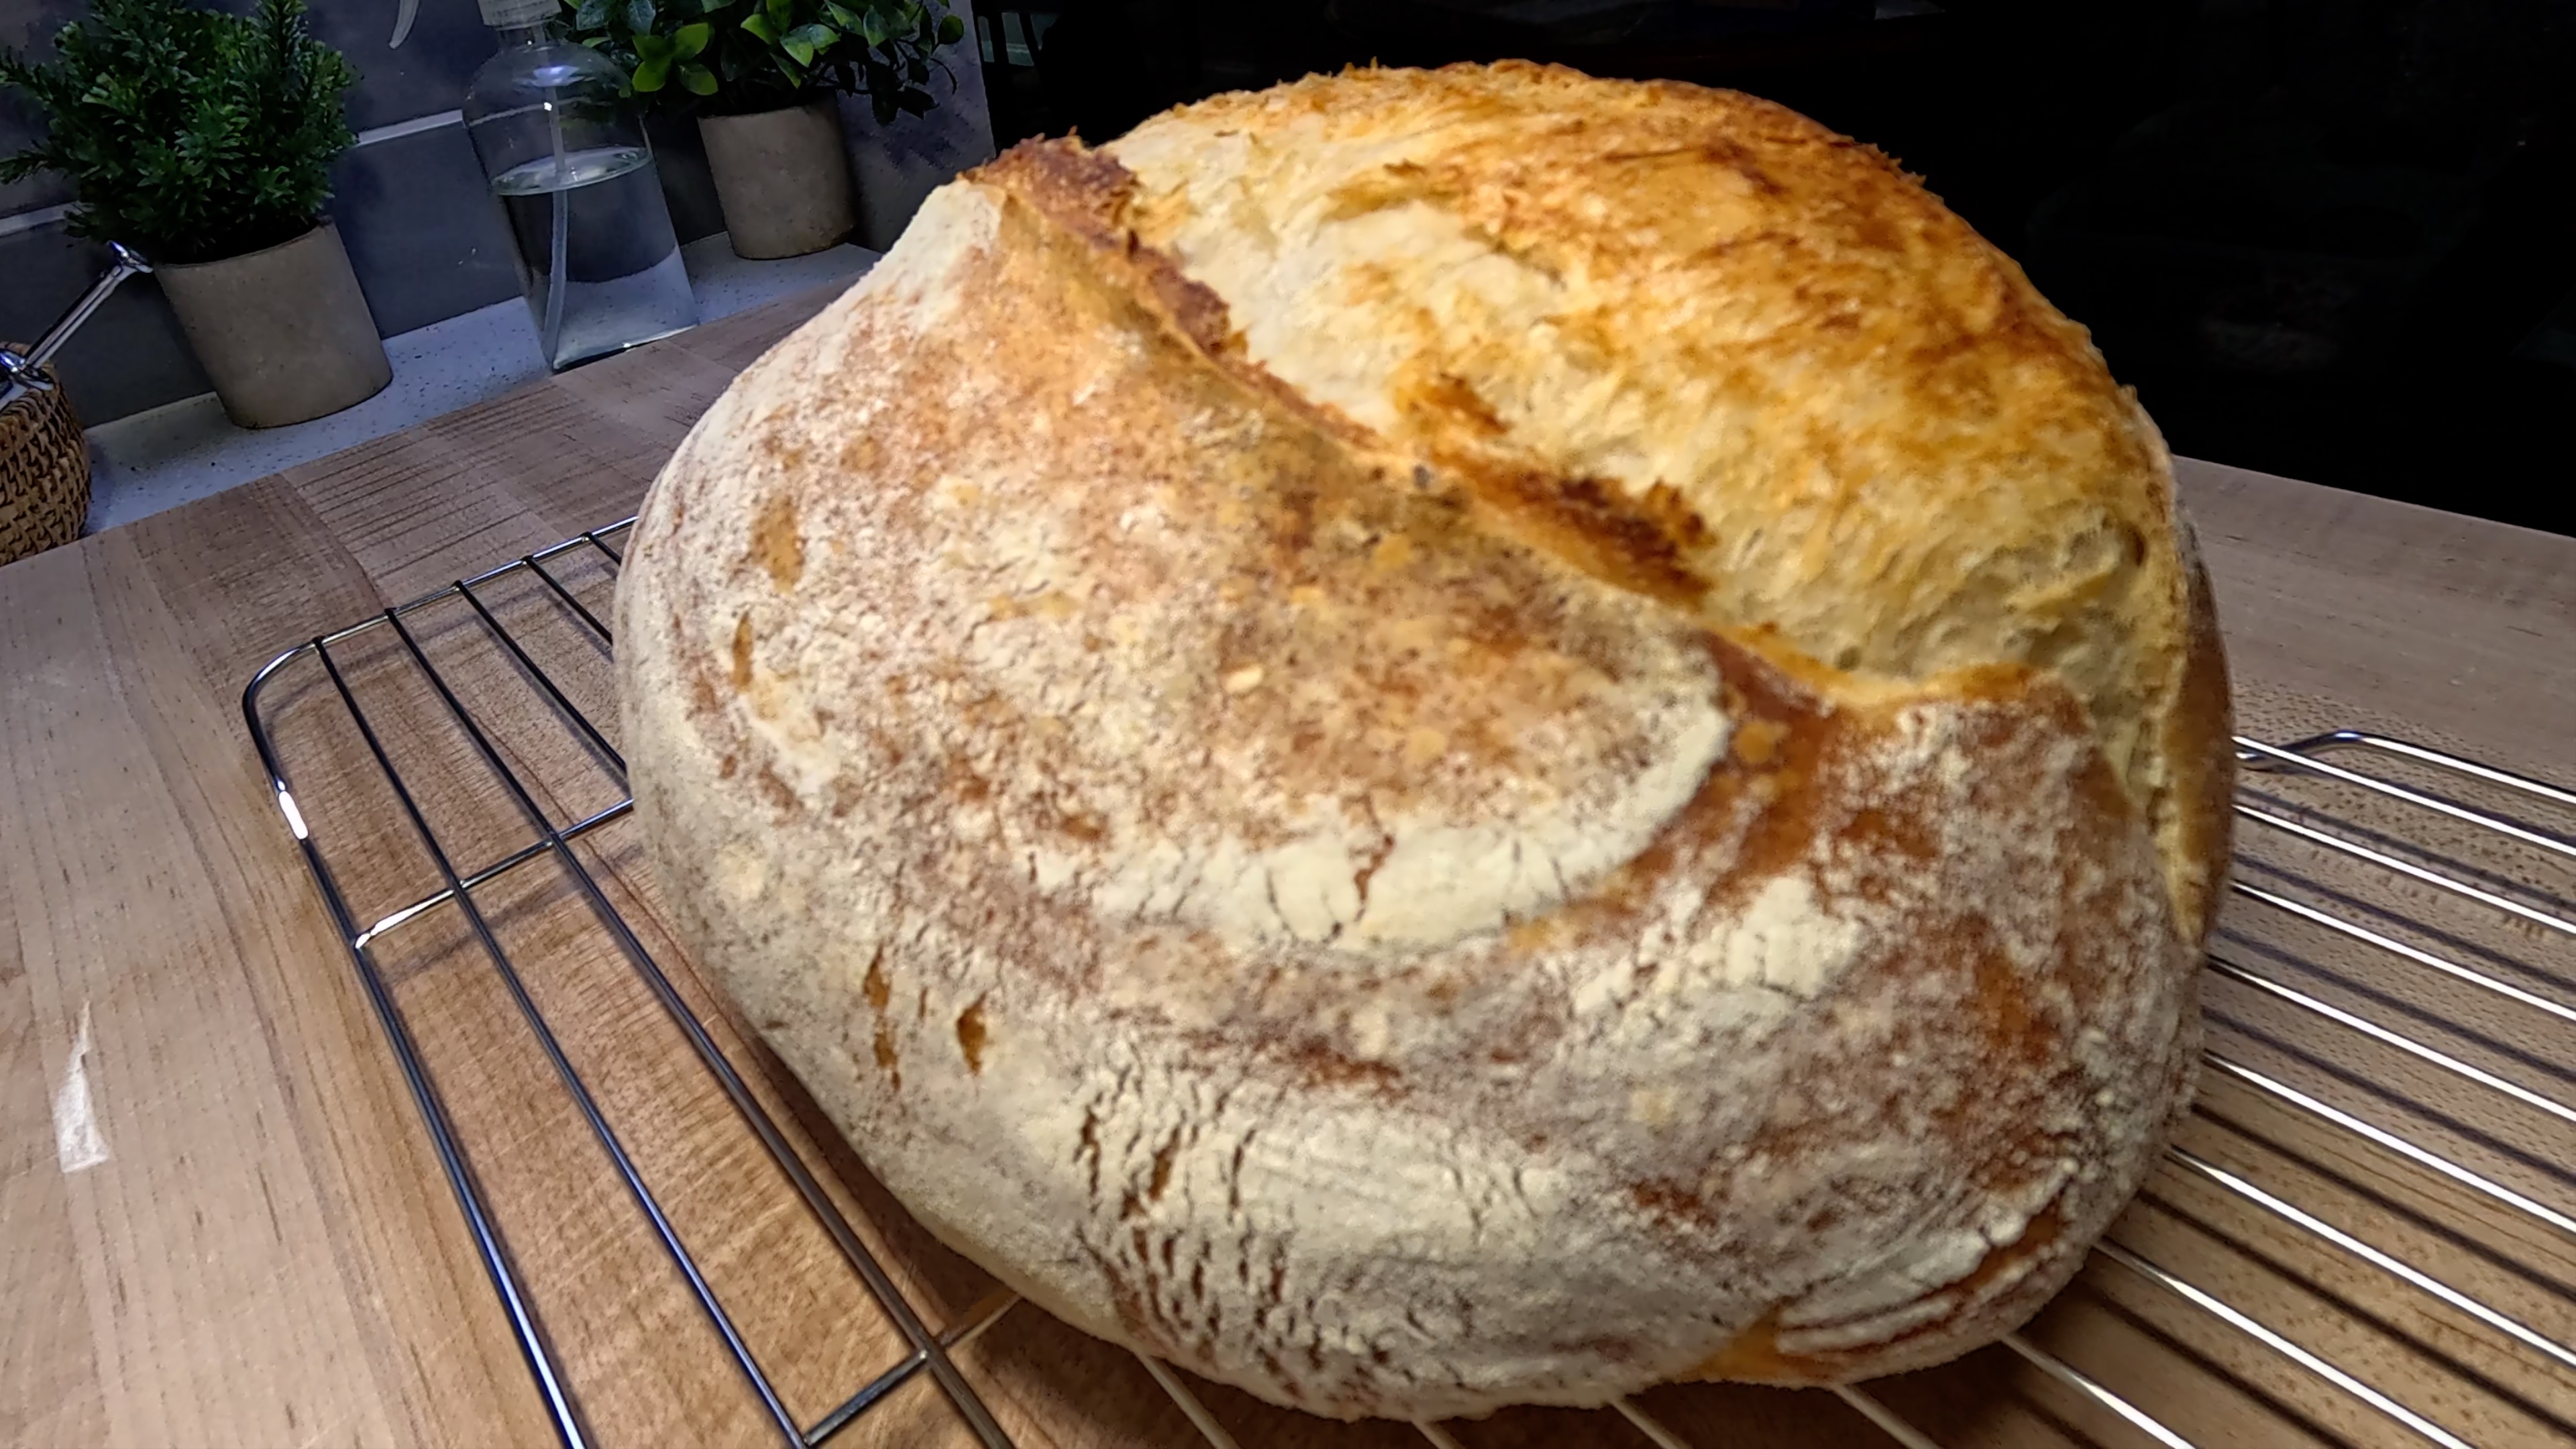
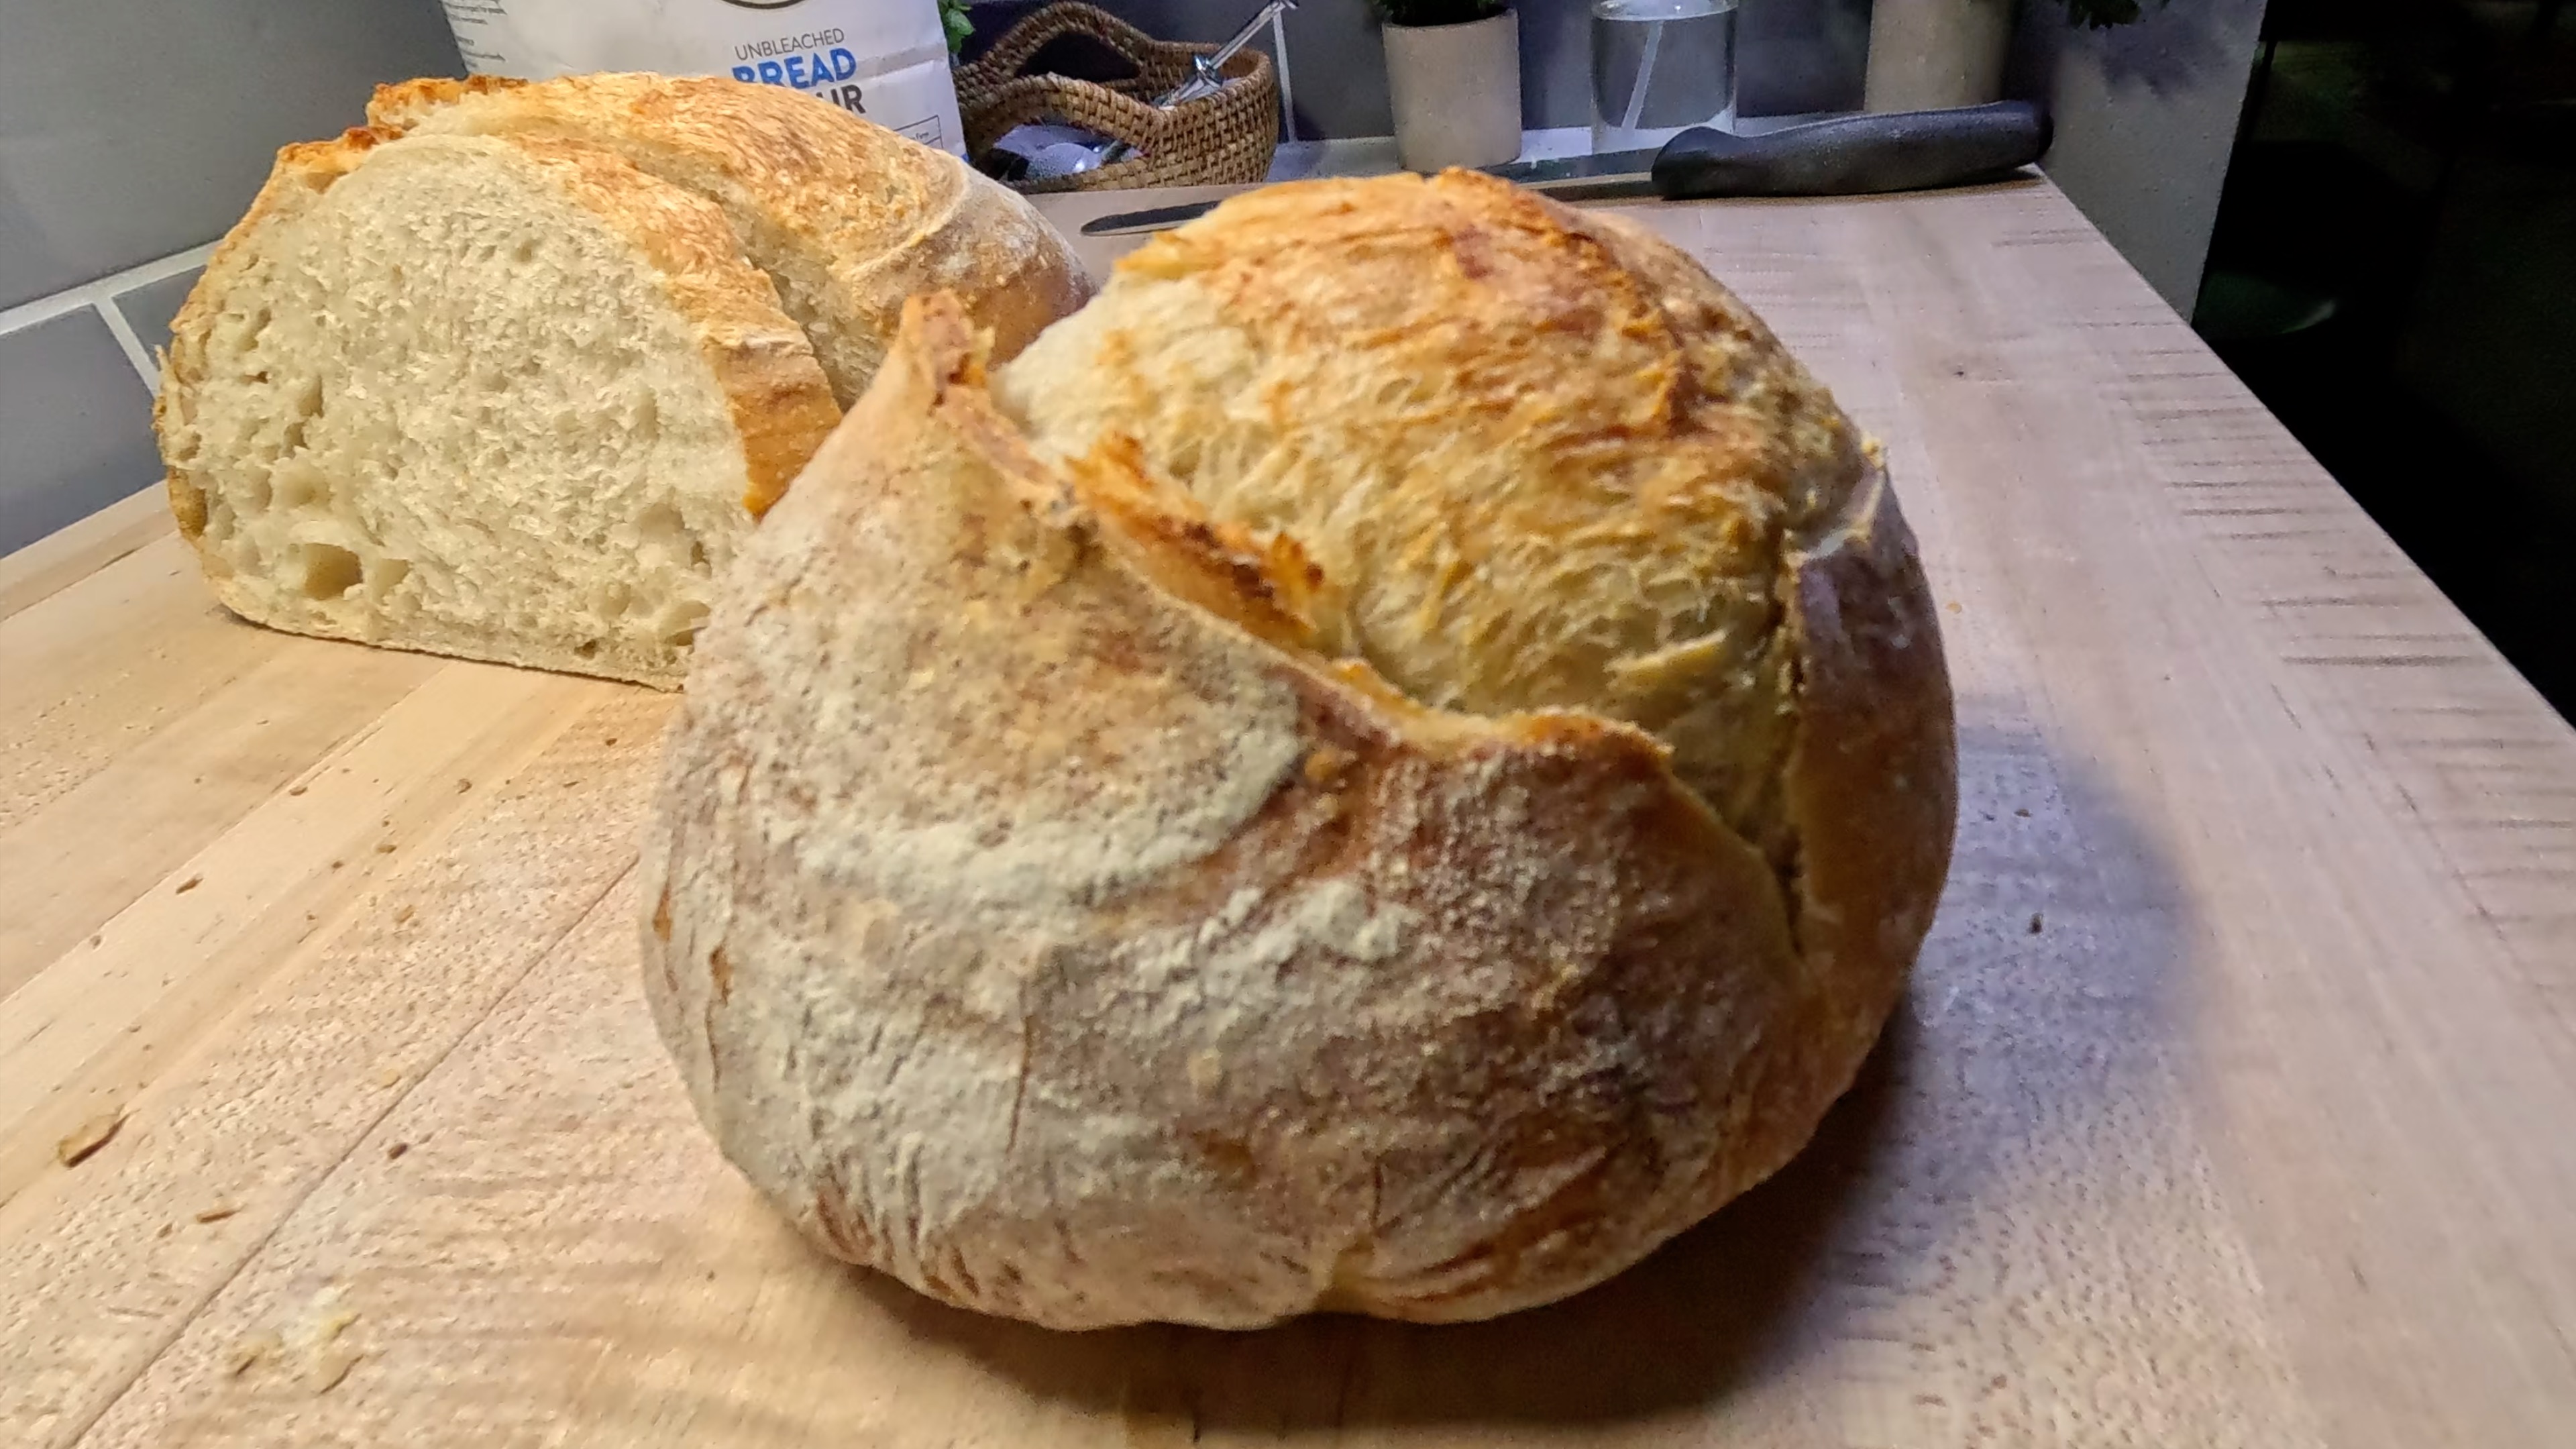
A beautifully open-crumbed batard with a dramatic ear and crackling crust, from gluten development to one precise shaping move that locks in explosive oven spring.
Instructions
- 1
FEED YOUR STARTER: Discard all but 50g of your starter and feed it with 50g of bread flour and 50g of room temperature water. Stir vigorously until fully combined and no dry flour remains. The mixture should look smooth and slightly thick, like a loose pancake batter. Cover loosely and leave at room temperature for 4 to 6 hours. You are looking for your starter to have at least doubled in size, be domed at the top, and full of bubbles throughout. A ripe starter smells gently tangy and yeasty, almost like yogurt with a hint of fruit. This is the foundation of everything, so give it the time it needs and it will reward you.
- 2
MIX YOUR DOUGH: Once your starter is active and at peak, it is time to mix your dough. Pour 350g of room temperature water into a large mixing bowl, then add 120g of your active starter. Stir well until the starter is fully dissolved into the water; the mixture should look cloudy and slightly foamy. Next, add 10g of fine sea salt and stir again until dissolved. Now add all 500g of bread flour at once. Using a silicone spatula, fold and press the mixture together until a shaggy dough forms with no dry flour remaining at the bottom of the bowl. The dough will look rough and feel stiff at this stage; that is completely normal and exactly what you want. Cover the bowl with a clean kitchen towel and let it rest for 45 to 60 minutes before your first stretch and fold. This rest gives the flour time to fully hydrate and begins building the gluten network.
- 3
STRETCH AND FOLD: You will complete 3 sets of stretch and folds spaced 40 to 60 minutes apart, and the dough continues to bulk ferment at room temperature the entire time. For each set, wet your hand lightly to prevent sticking. Grab one side of the dough, stretch it upward as high as it will go without tearing, then fold it over the center of the mass. Rotate the bowl a quarter turn and repeat until you have completed all four sides. That is one set. After your third and final set, resist the urge to rush. Cover the bowl and allow the dough to continue bulk fermenting at room temperature for 3 to 4 more hours. By the end of bulk ferment, the dough should have grown 50 to 75 percent in volume, feel airy and pillowy when you gently shake the bowl, and have a smooth, slightly domed surface with visible bubbles. The dough should jiggle like Jell-O when you move the bowl; that wobble is a sign of a healthy, well-fermented dough.
- 4
SHAPE AND COLD PROOF: Once your bulk ferment is complete and your dough has that beautiful pillowy, jiggly quality, it is time to shape. Lightly flour your work surface and gently turn the dough out. Working with confidence and care, use your hands to guide the dough into an oval shape. To build surface tension, fold the left and right sides in toward the center, then roll the dough toward you while using your hands to tuck the bottom edge under. Use a bench scraper in your other hand to help drag the dough gently along the surface, creating a tight, smooth outer skin. The dough should feel taut but not torn. Meanwhile, generously dust your oval banneton basket with a 50/50 mix of rice flour and all-purpose flour, making sure to coat every crevice of the spiral. Place your shaped batard seam side up into the prepared banneton. The seam will open slightly as the dough settles into the basket; this is perfectly fine. Cover the banneton loosely with a shower cap or plastic wrap and transfer it directly to the refrigerator for an overnight cold proof of 8 to 12 hours. The cold slows fermentation and firms the dough, making scoring cleaner and more precise.
- 5
PREHEAT YOUR OVEN AND BAKING STONE: When you are ready to bake, place your baking stone on the center rack and a shallow metal pan or cast iron skillet on the rack below it. Preheat your oven to 500°F (260°C) for at least 45 to 60 minutes. The stone needs to be fully saturated with heat for the best oven spring. Do not rush this step; a properly preheated stone is what gives your batard that dramatic lift and beautifully blistered crust. While the oven preheats, keep your shaped dough in the refrigerator right up until the moment you are ready to score and load. Cold dough scores more cleanly, holds its shape better when transferred, and benefits from the dramatic temperature shock of a screaming hot oven.
- 6
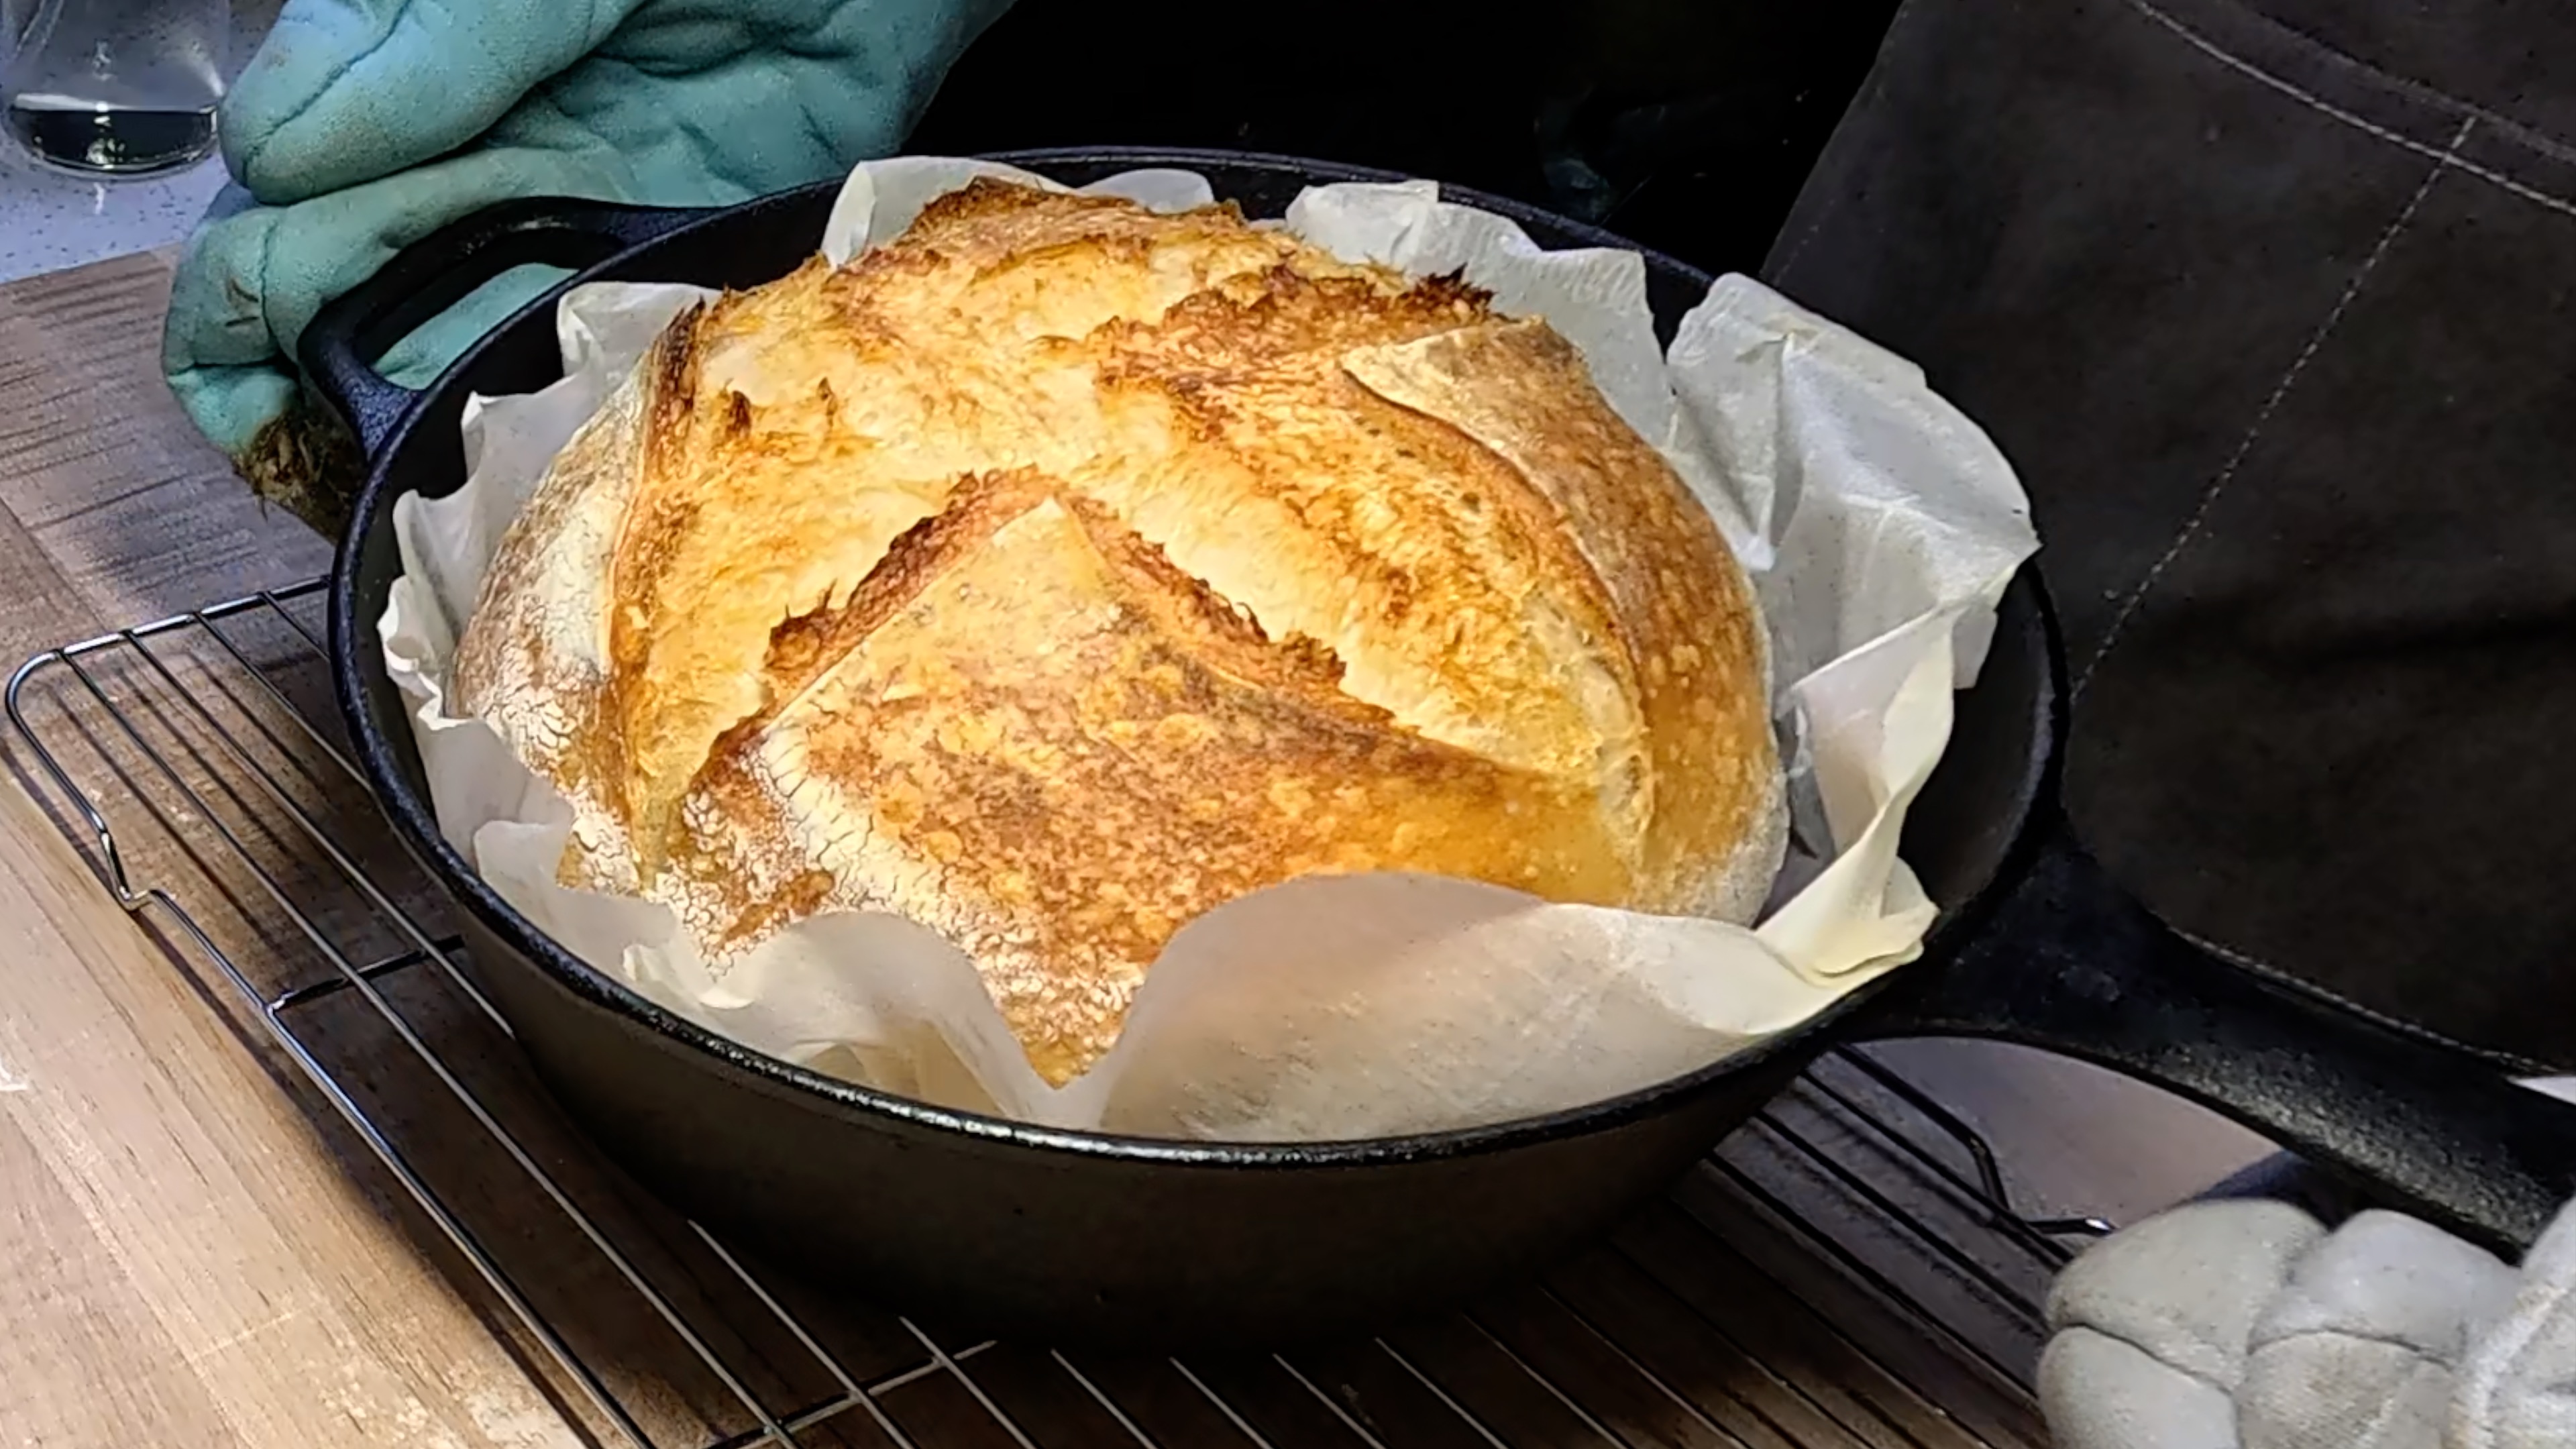
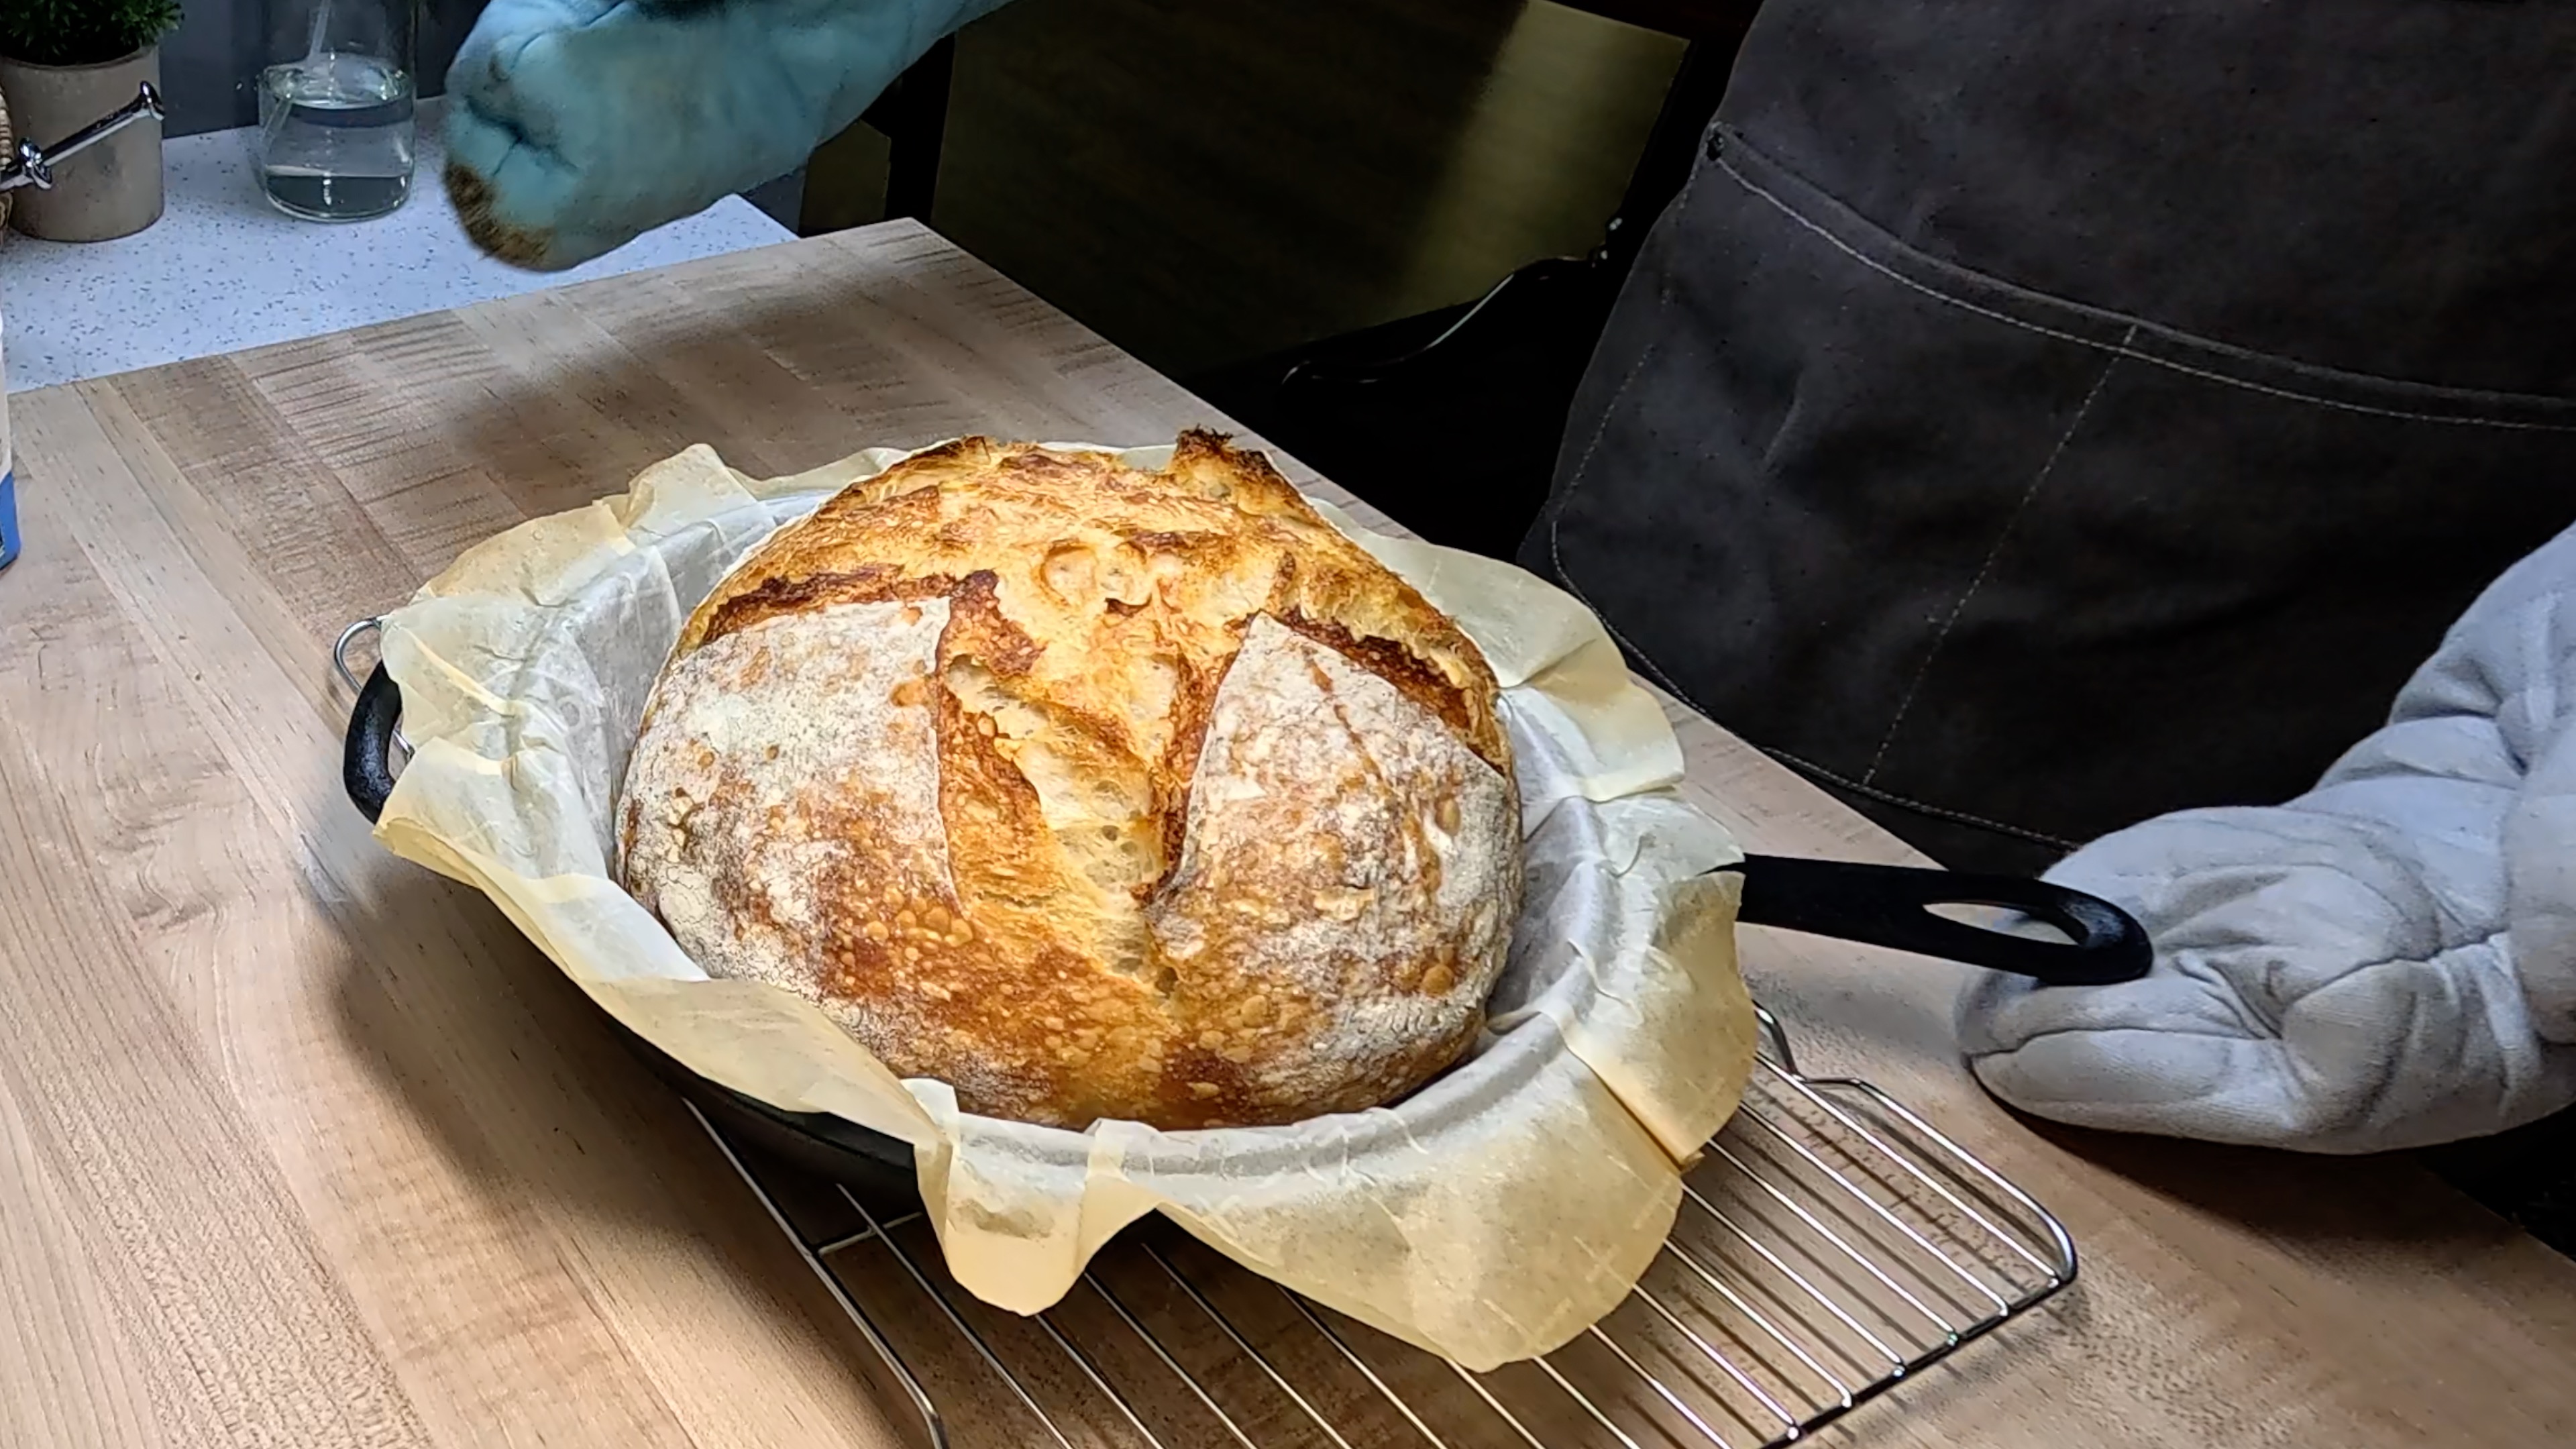
SCORE AND BAKE: When your oven and stone are fully preheated, remove your dough from the refrigerator. Place a sheet of parchment paper over the banneton, then flip it over onto a pizza peel or the back of a flat baking sheet. Carefully lift away the banneton; the dough should release cleanly and hold its oval shape. Working quickly, use a sharp lame or razor blade to score the dough. For a batard, a single confident diagonal slash along the length of the loaf at a shallow 30 to 45 degree angle is classic and beautiful. You can also add a second parallel score for a more dramatic ear. The key is one decisive motion; hesitation creates ragged edges. Now, open the oven and slide the dough on the parchment directly onto the hot baking stone. Pour about one cup of hot water into the preheated pan below to create a burst of steam, then quickly close the oven door. Bake with steam at 500°F for 20 minutes. After 20 minutes, carefully remove the steam pan, reduce the oven temperature to 450°F (230°C), and continue baking for 25 to 30 minutes until the crust is a deep mahogany brown. The loaf should feel hollow when you tap the bottom and register an internal temperature of 205 to 210°F on an instant-read thermometer.
- 7
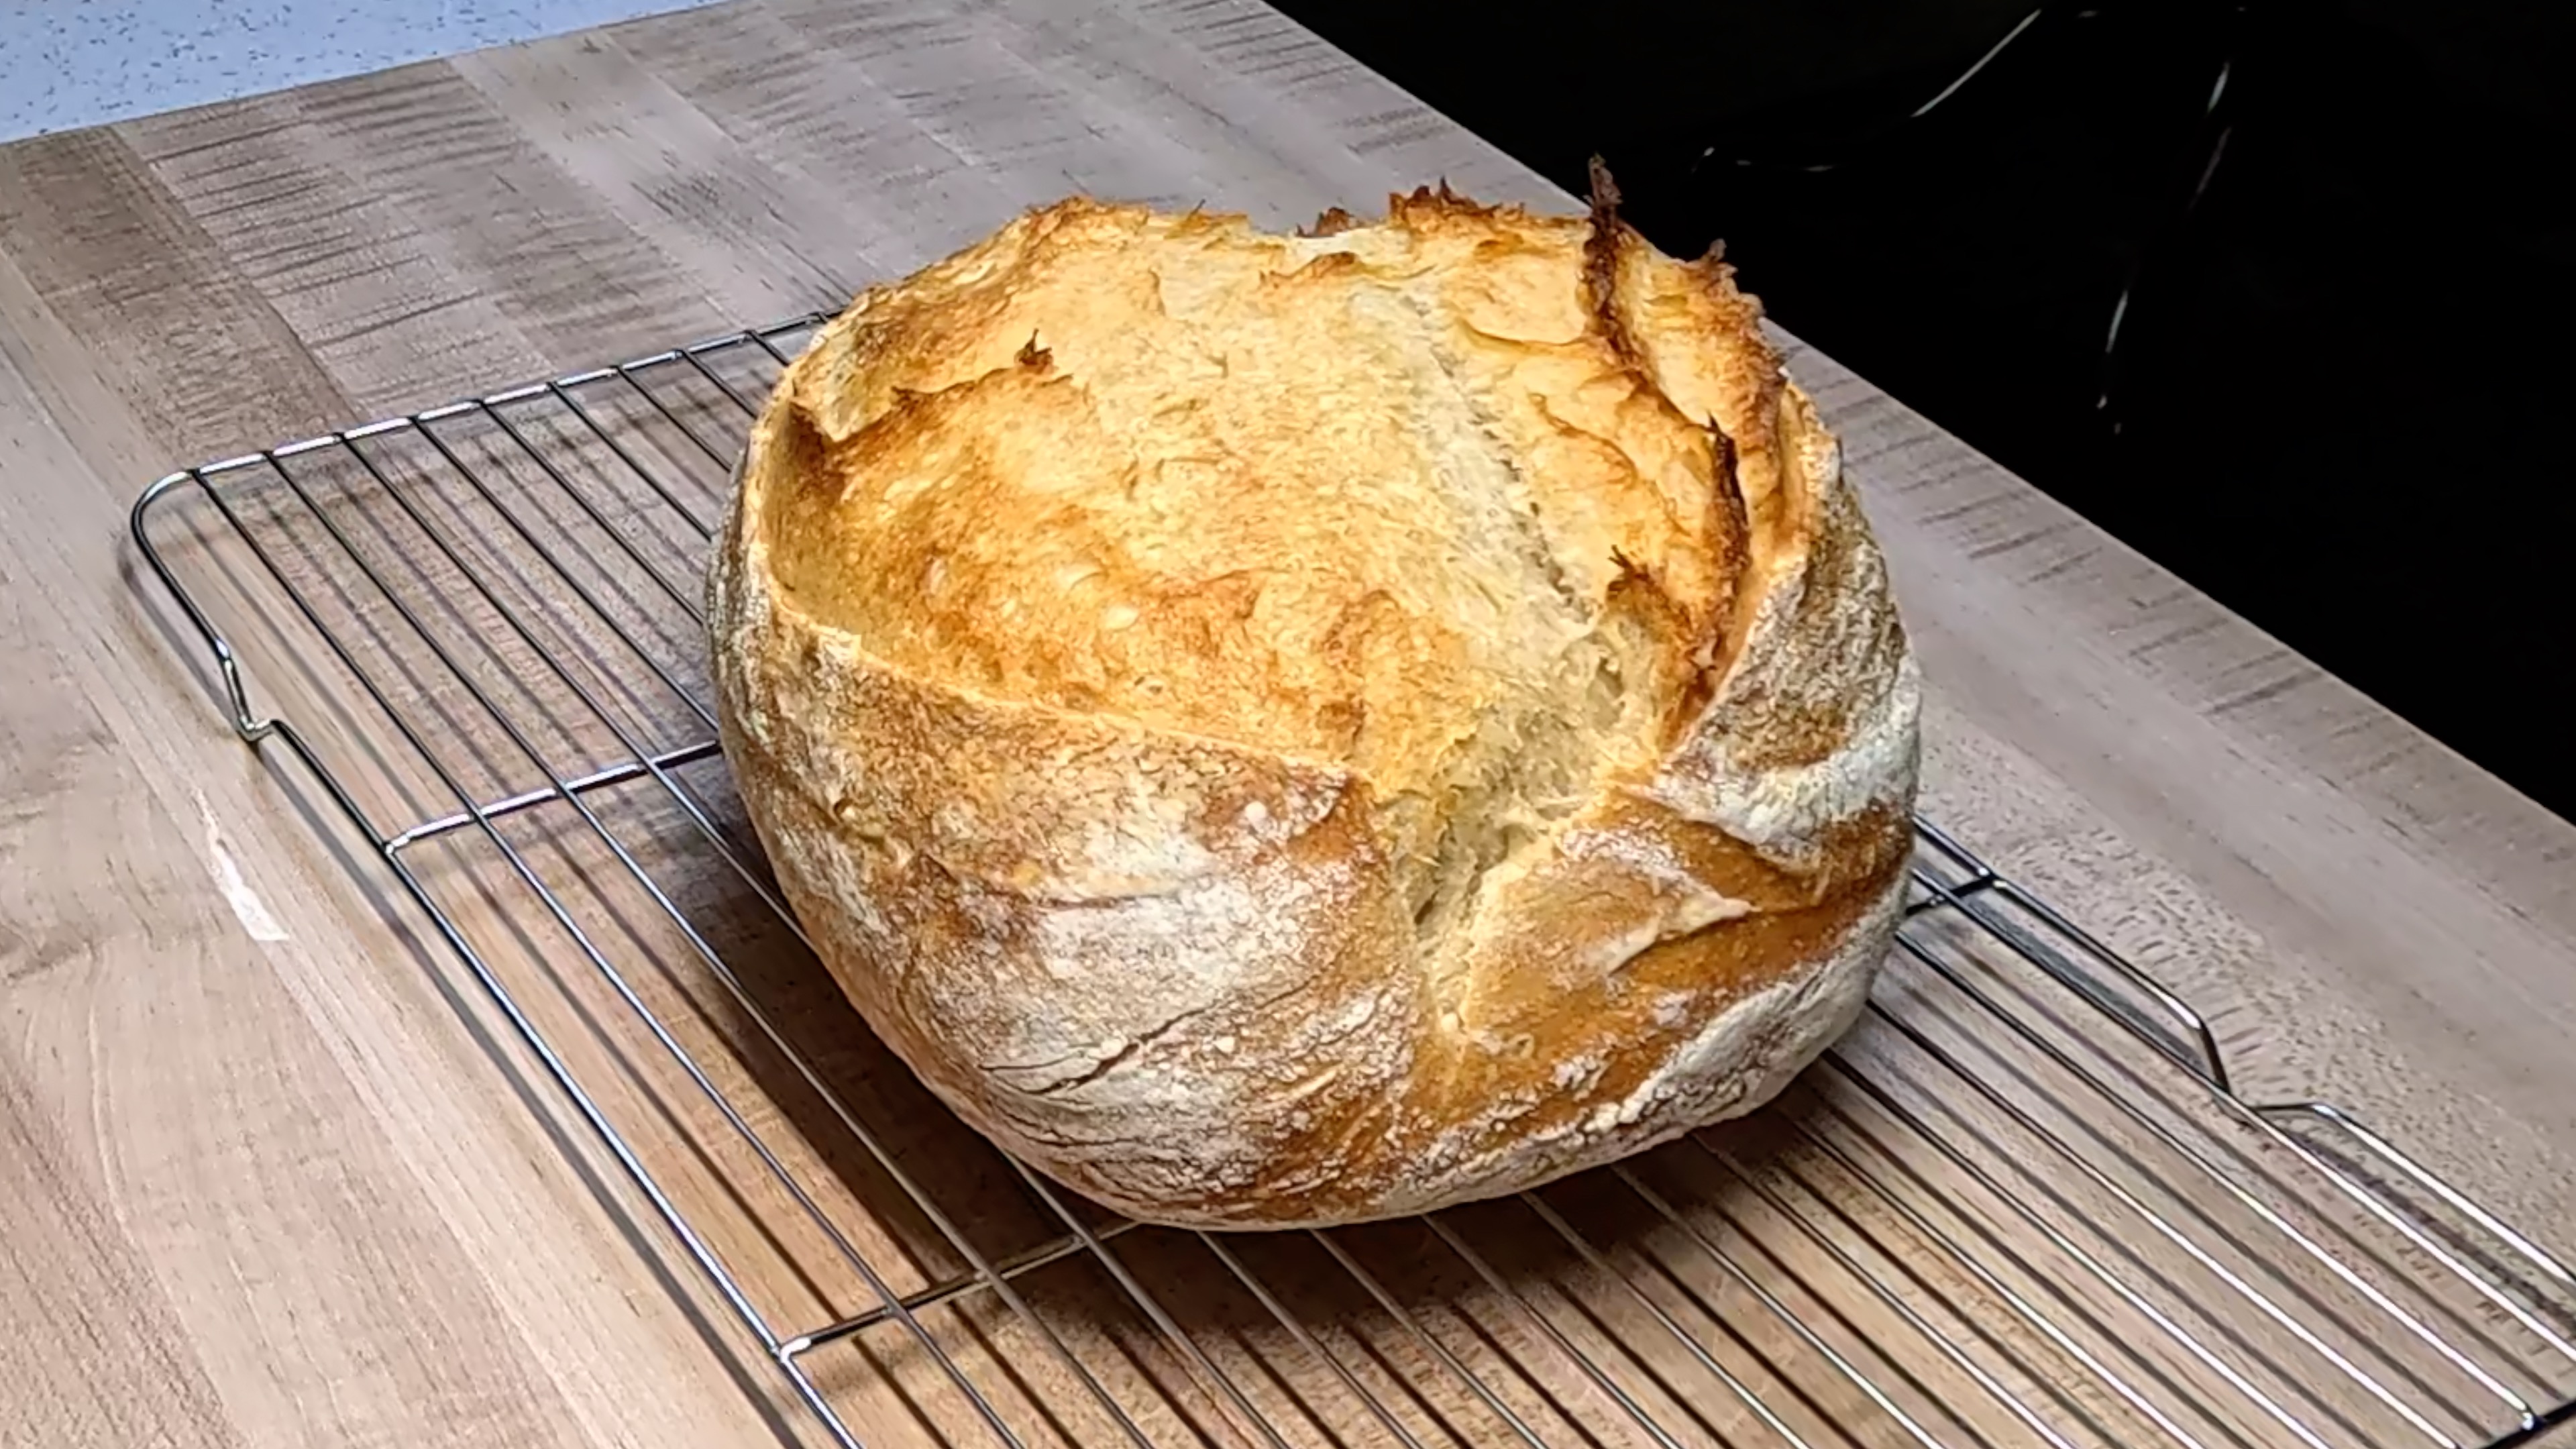
COOL YOUR LOAF: Transfer your finished batard to a wire cooling rack and place it somewhere with good airflow. This is arguably the hardest part of the entire process, but please let your loaf cool for at least 1 to 2 hours before slicing. As the loaf cools, the internal crumb is still setting and steam is redistributing throughout the bread. Cutting too early will give you a gummy, undercooked-looking crumb even if the loaf is perfectly baked. Listen closely as it cools; that gentle crackling and singing sound is the crust contracting as steam escapes, and it is one of the most satisfying sounds in all of baking. When you finally slice into it and see that open, honeycomb crumb and hear the crunch of that crust, know that you earned every single bite.
Baker's Tips
- •Consistency is everything in sourdough. Try to mix your dough at the same time each day so your starter and fermentation schedule stays predictable.
- •Hydration matters: 70% hydration in this dough produces a moderately open crumb that is manageable to shape. If you want a more open crumb, you can increase water by 10 to 20g once you are comfortable with the process.
- •Rice flour is the gold standard for dusting bannetons. It will not absorb into the dough surface and guarantees a clean release every time.
- •A kitchen scale is non-negotiable for sourdough. Volume measurements simply are not accurate enough when grams make all the difference.
- •If your kitchen is warmer than 78°F, your bulk ferment will move faster. Keep an eye on the dough rather than the clock, and trust your senses over the timer.
- •A well-developed dough after stretch and folds should feel smooth and slightly tacky but not sticky. If it is tearing easily, it needs more rest between sets.
More Like This
Baker's Toolkit
Tools and ingredients we recommend for this recipe

KneadAce Cotton Rope Banneton Bread Proofing Basket Set, Oval & Round Bread Baskets with Liners & Covers
View product

Sally's Organics® Empty Clear Glass Spray Bottles - Refillable 16 oz
View product
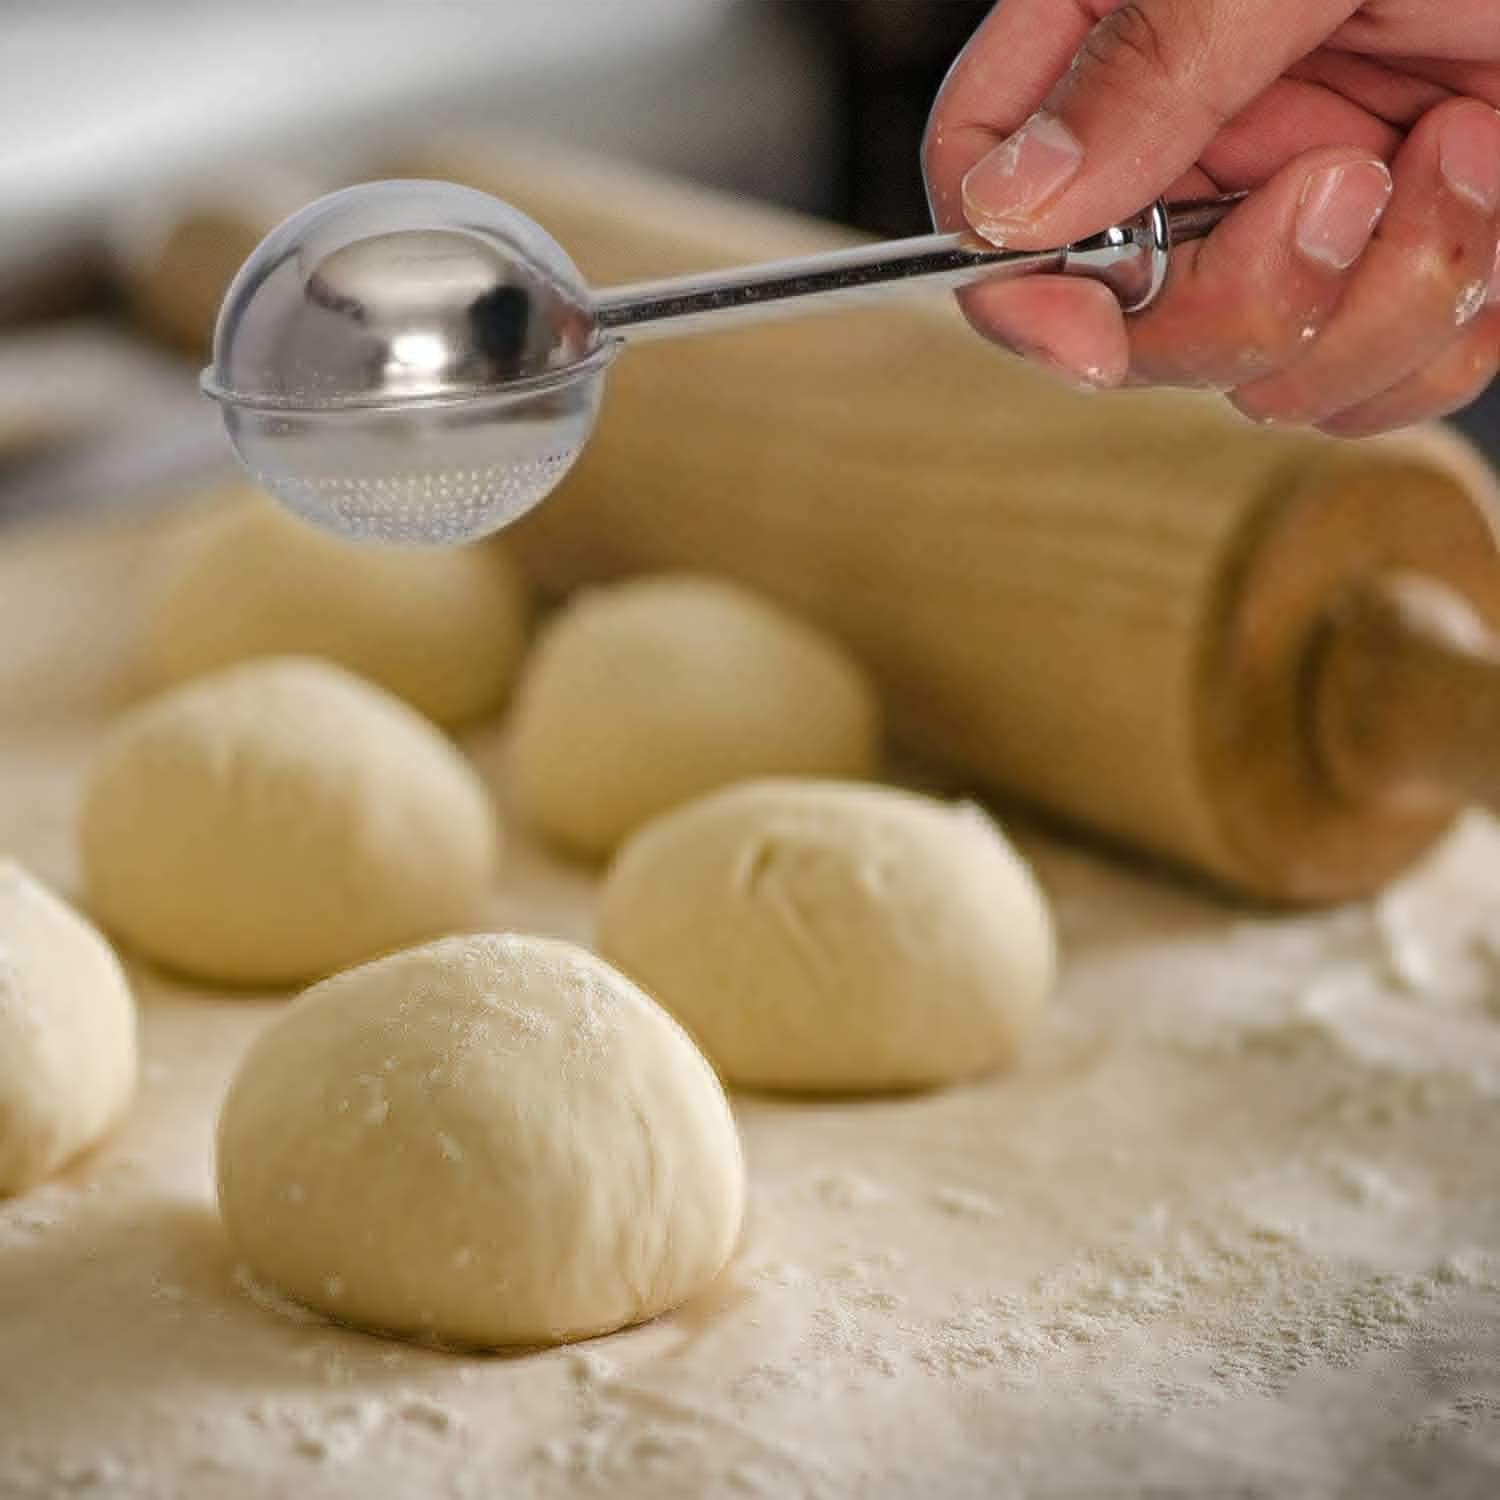
HULISEN Flour Duster for Baking, One-Handed Operation, 304 Stainless Steel Powdered Sugar Shaker Duster
View product
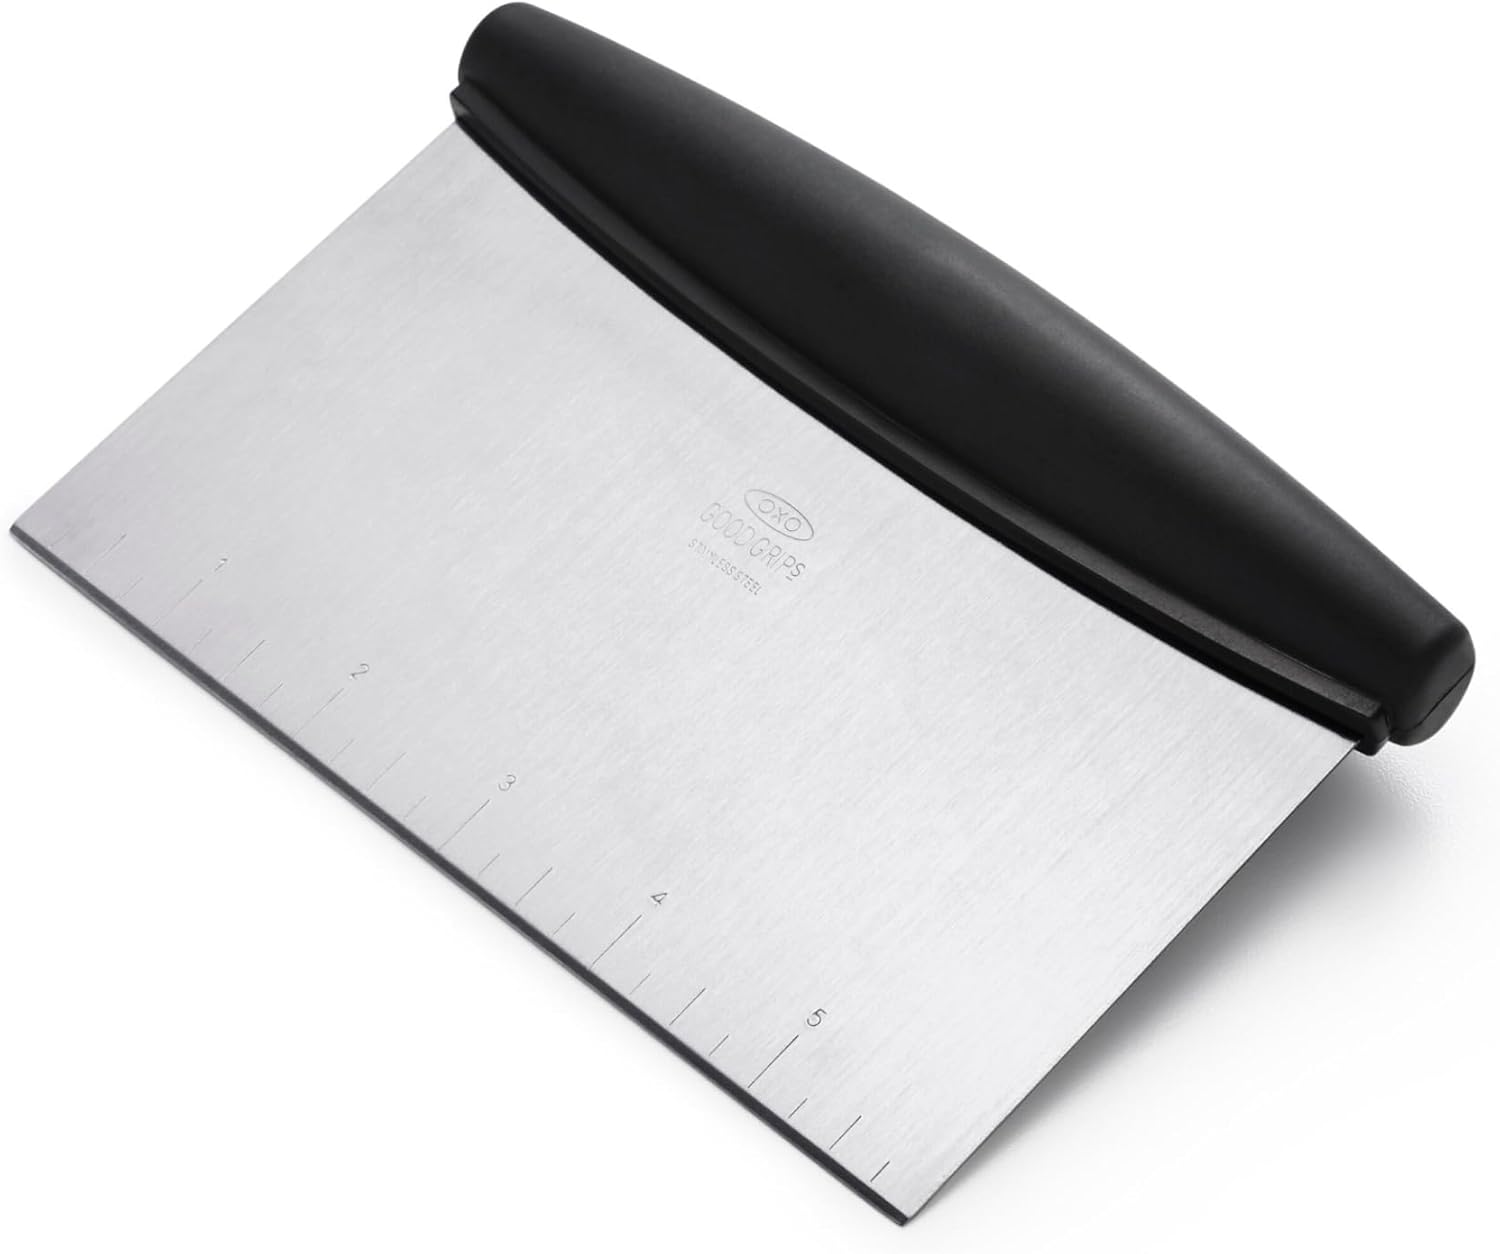
OXO Good Grips Stainless Steel Multi-Purpose Scraper & Chopper
View product
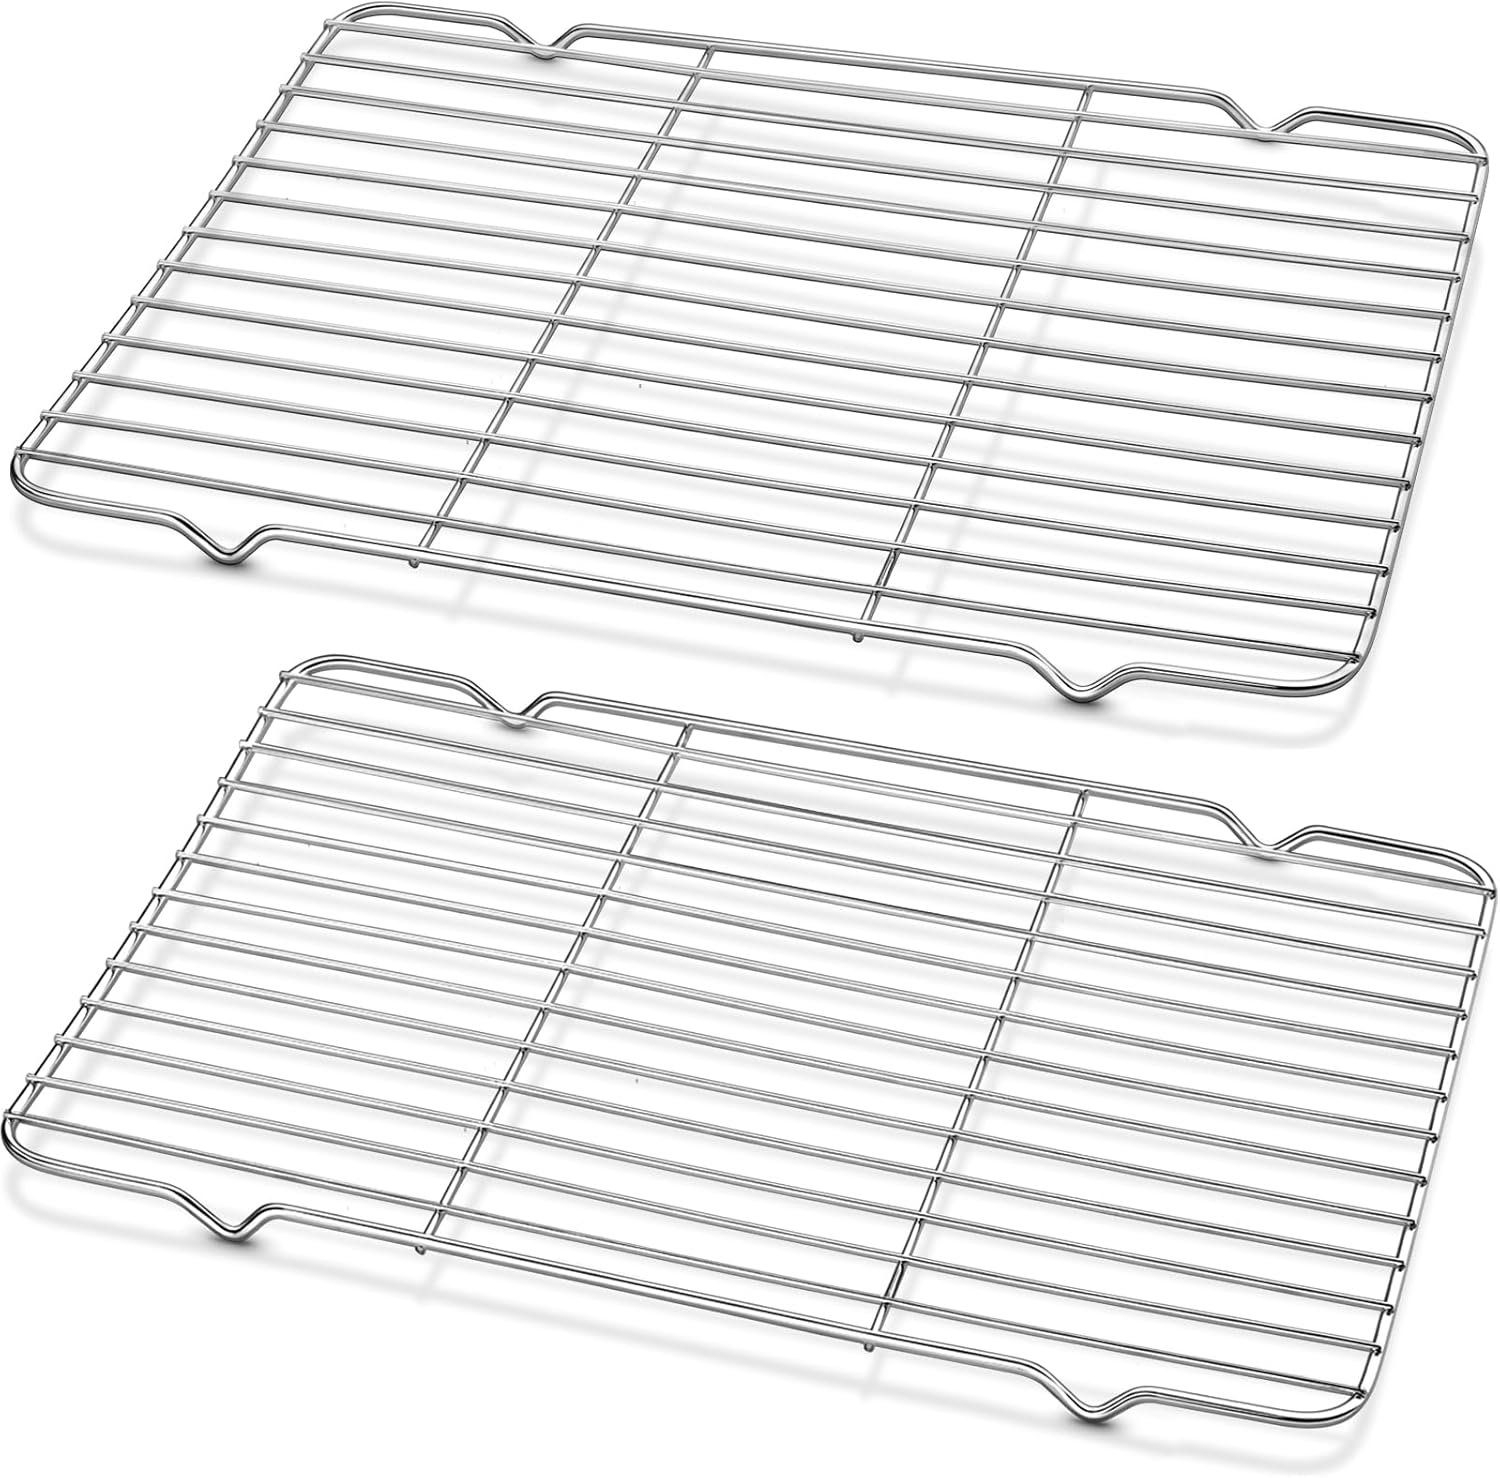
Cooling Rack and Baking Rack with Stainless Steel, 2 - Pack 10 x 15 Inches
View product
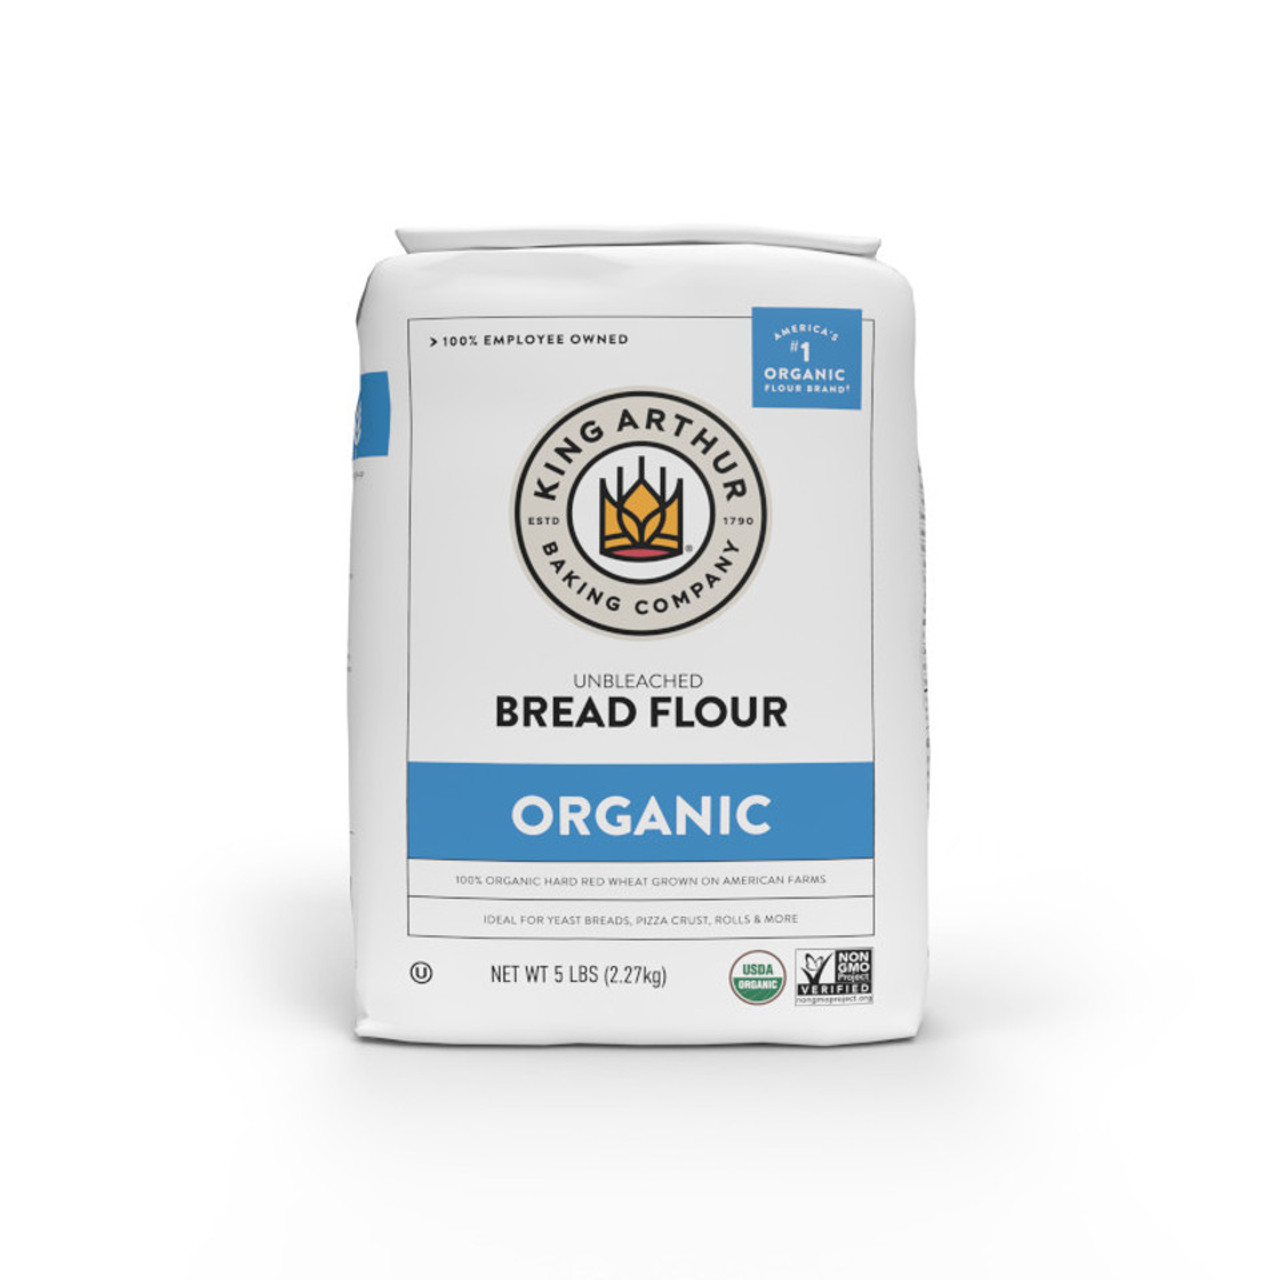
Organic Bread Flour
View product
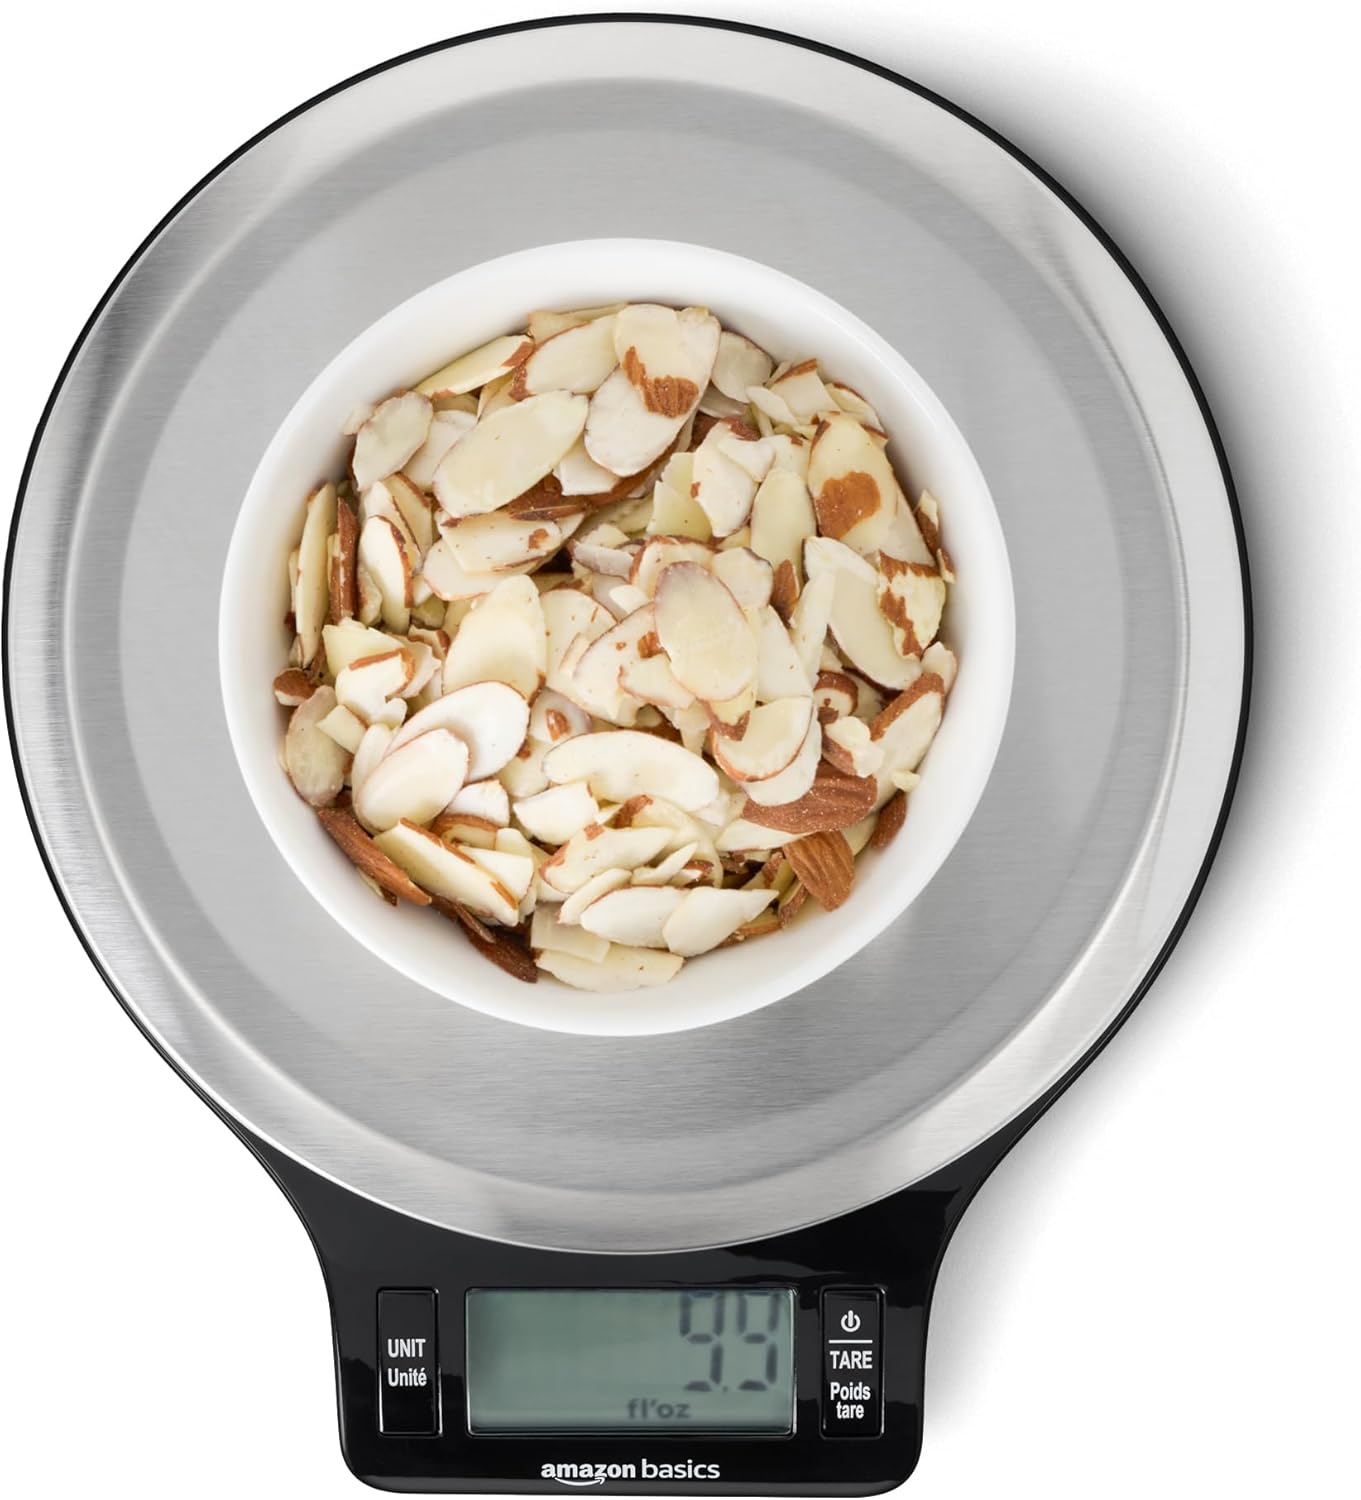
Amazon Basics Digital Kitchen Scale with LCD Display
View product
Comments
Sign in to join the conversation
Sign In