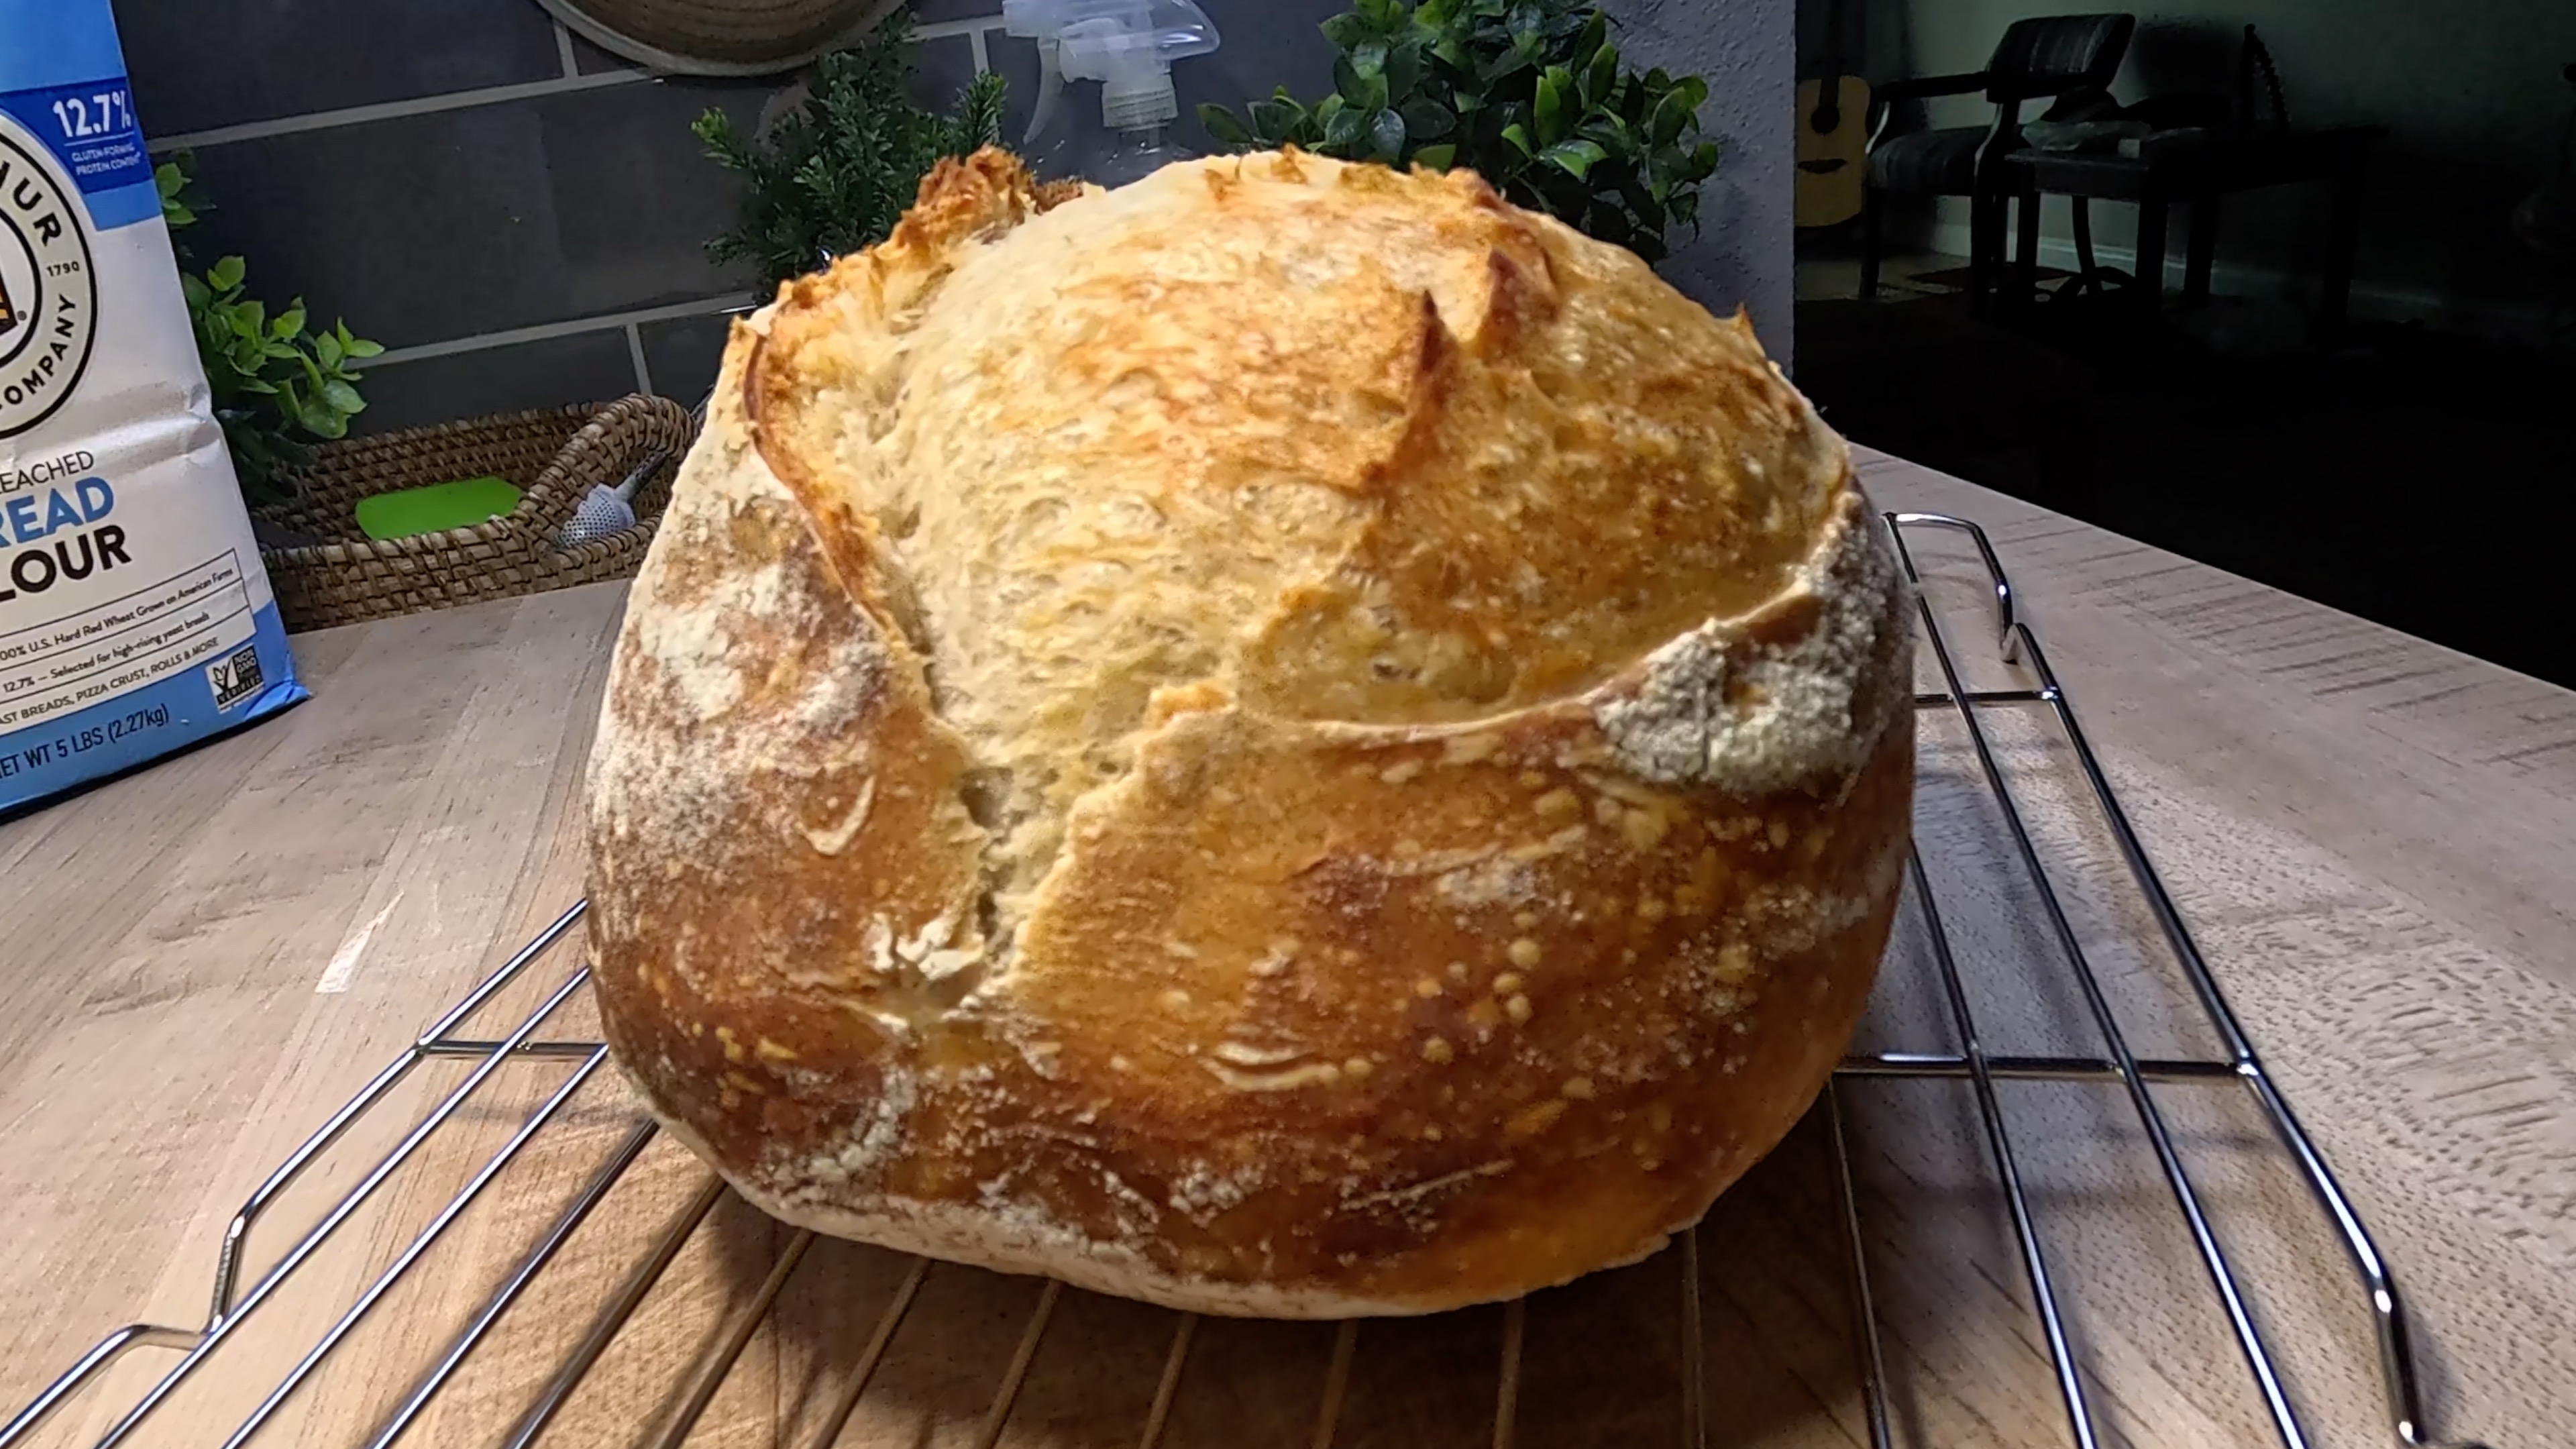
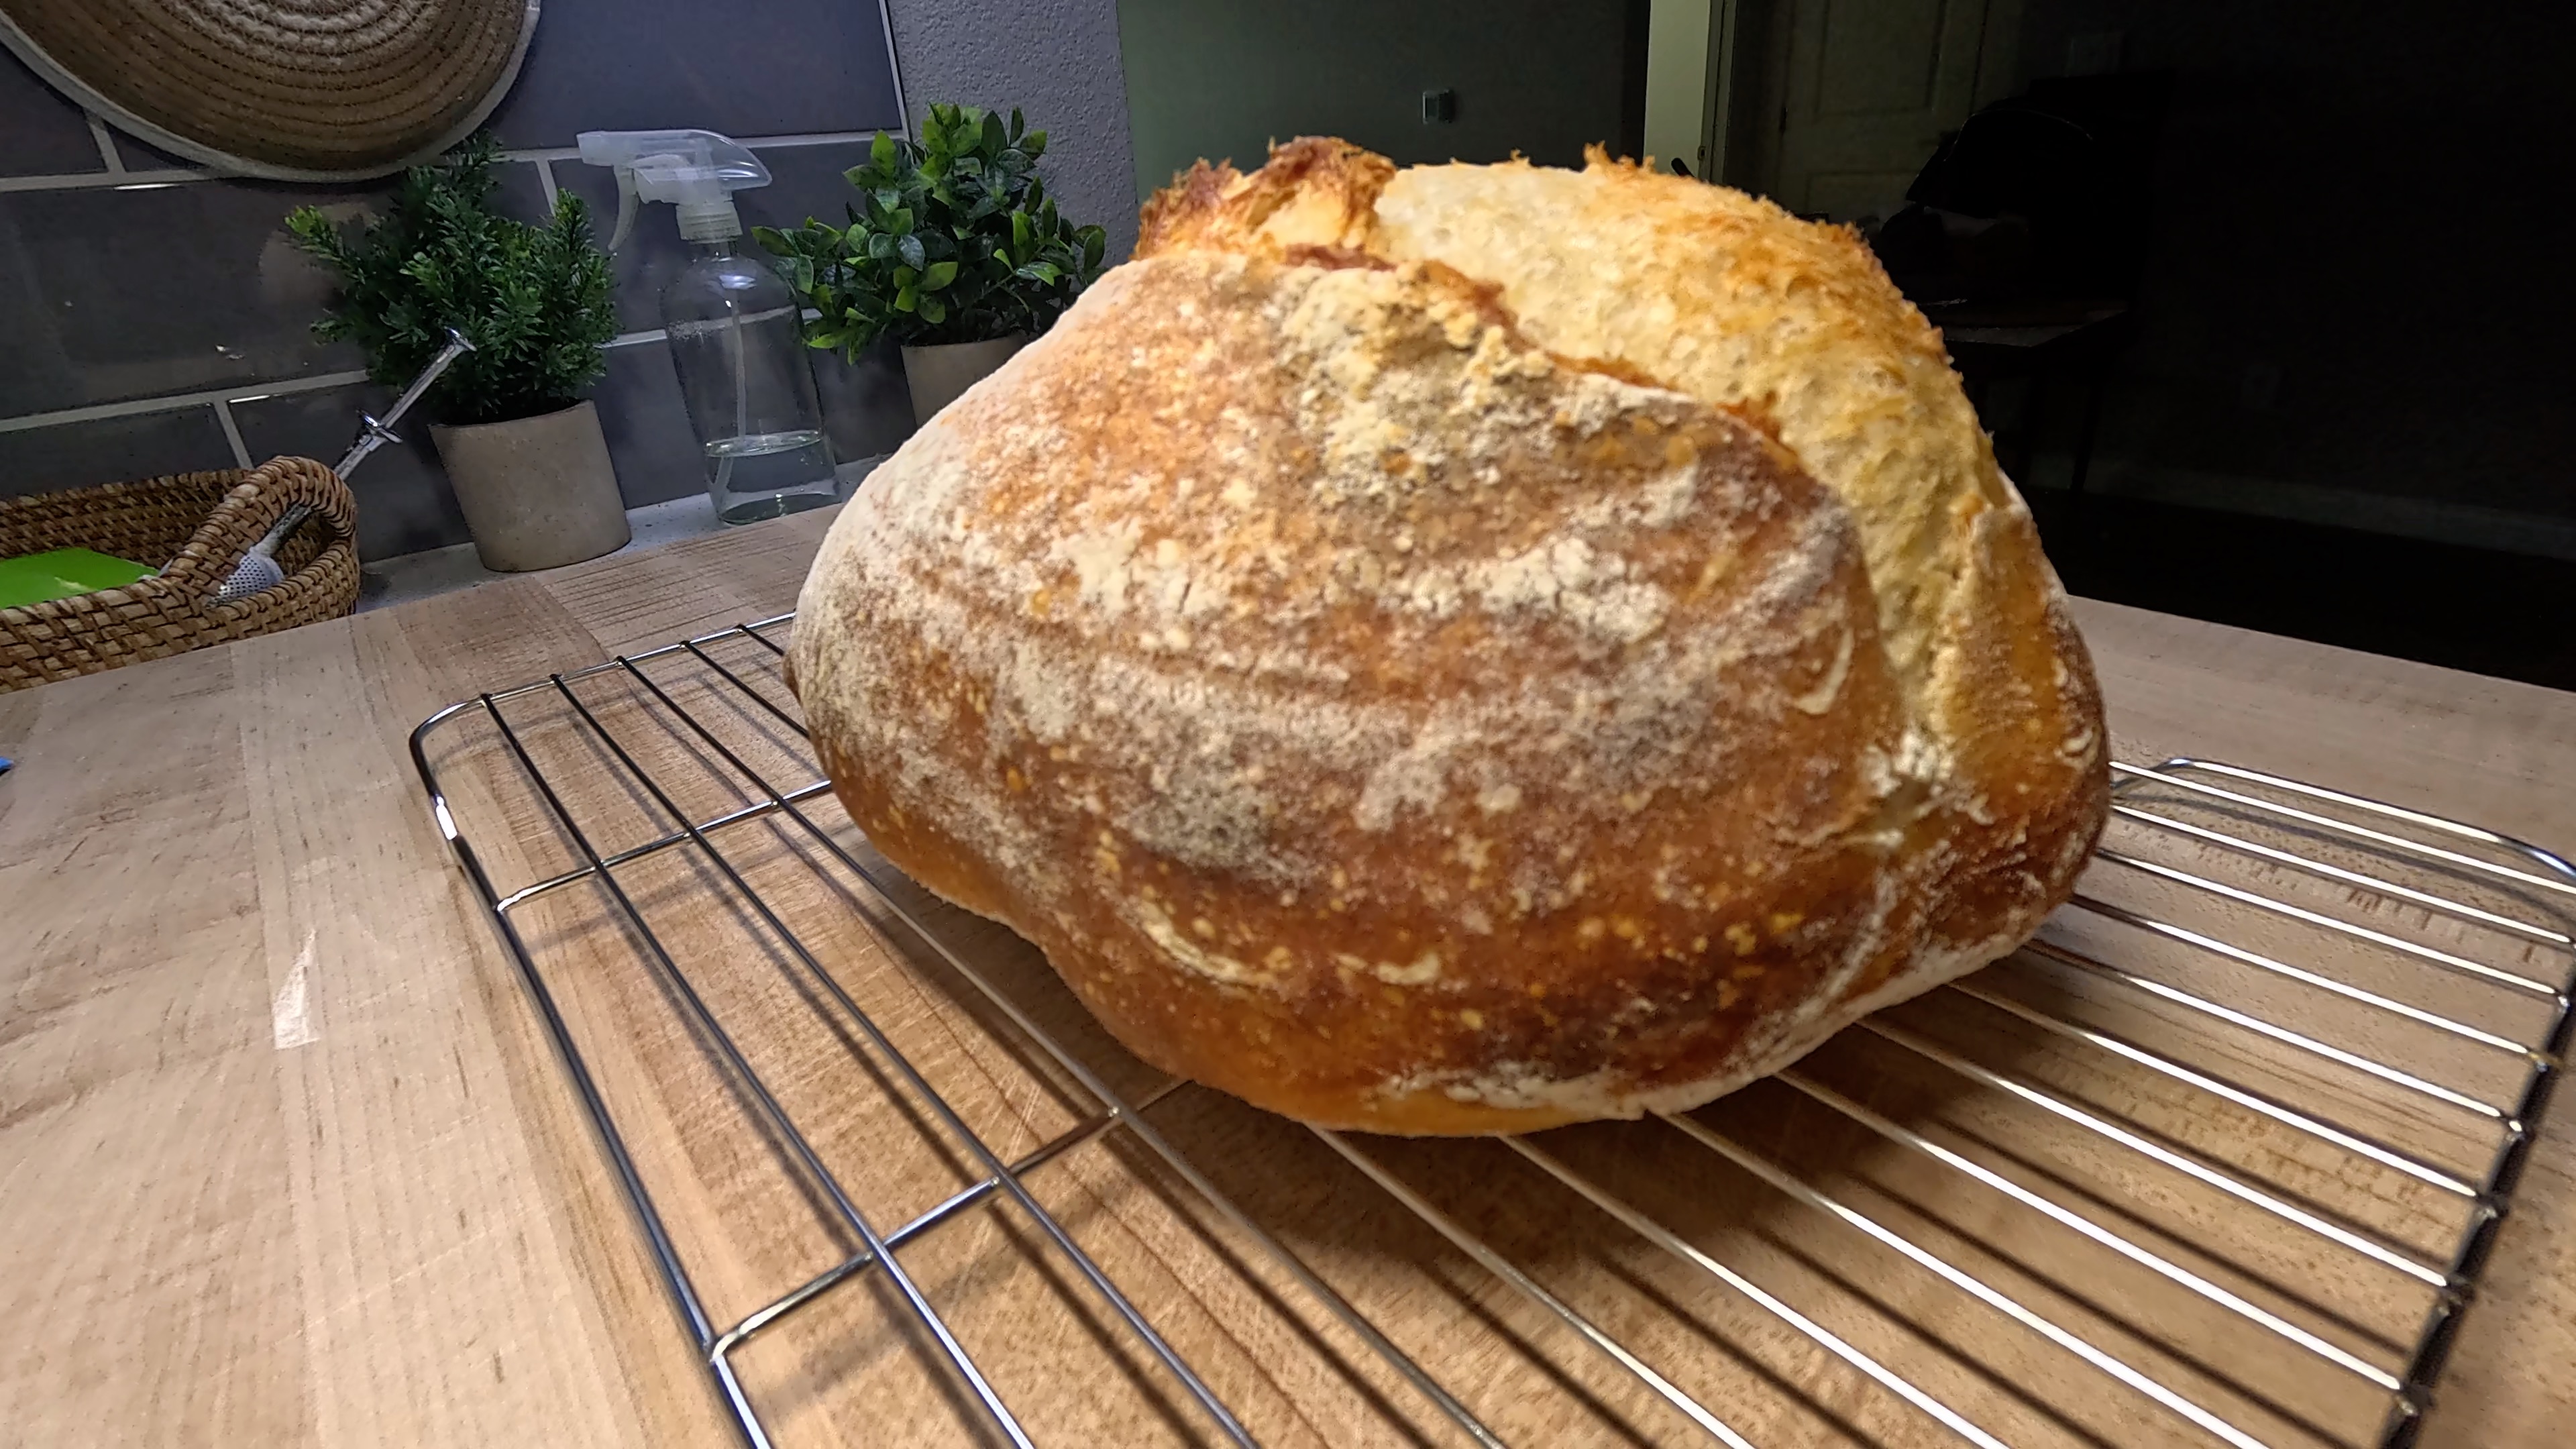
Maximum Oven Spring Sourdough Batard
A cold-proofed oval loaf engineered for explosive oven spring, a dramatic ear, and an open, airy crumb.
Instructions
- 1
FEED YOUR STARTER: In a clean jar, combine 80g of your starter with 40g bread flour and 40g room-temperature water. Stir vigorously until fully combined with no dry flour remaining — give it a good 30-second mix. Mark the jar with a rubber band so you can track the rise. Set it in a warm spot (ideally 75–78°F) and let it do its thing for 4–6 hours. Your starter is ready when it has at least doubled, looks domed on top, and smells pleasantly tangy and yeasty. To double-check, drop a small spoonful into a glass of water — if it floats, you're good to go!
- 2
MIX YOUR DOUGH: In a large bowl, combine 360g room-temperature water and 120g of your active, bubbly starter. Stir well until the starter is fully dissolved and the water looks milky. Add 10g of salt and stir again to dissolve. Now add all 500g of bread flour at once. Using a silicone spatula, mix firmly until a shaggy dough forms with no dry flour remaining — it will look rough and feel stiff, and that's perfectly normal. Cover the bowl and let it rest for 20–30 minutes before your first stretch and fold. You've just laid the foundation for a spectacular loaf!
- 3
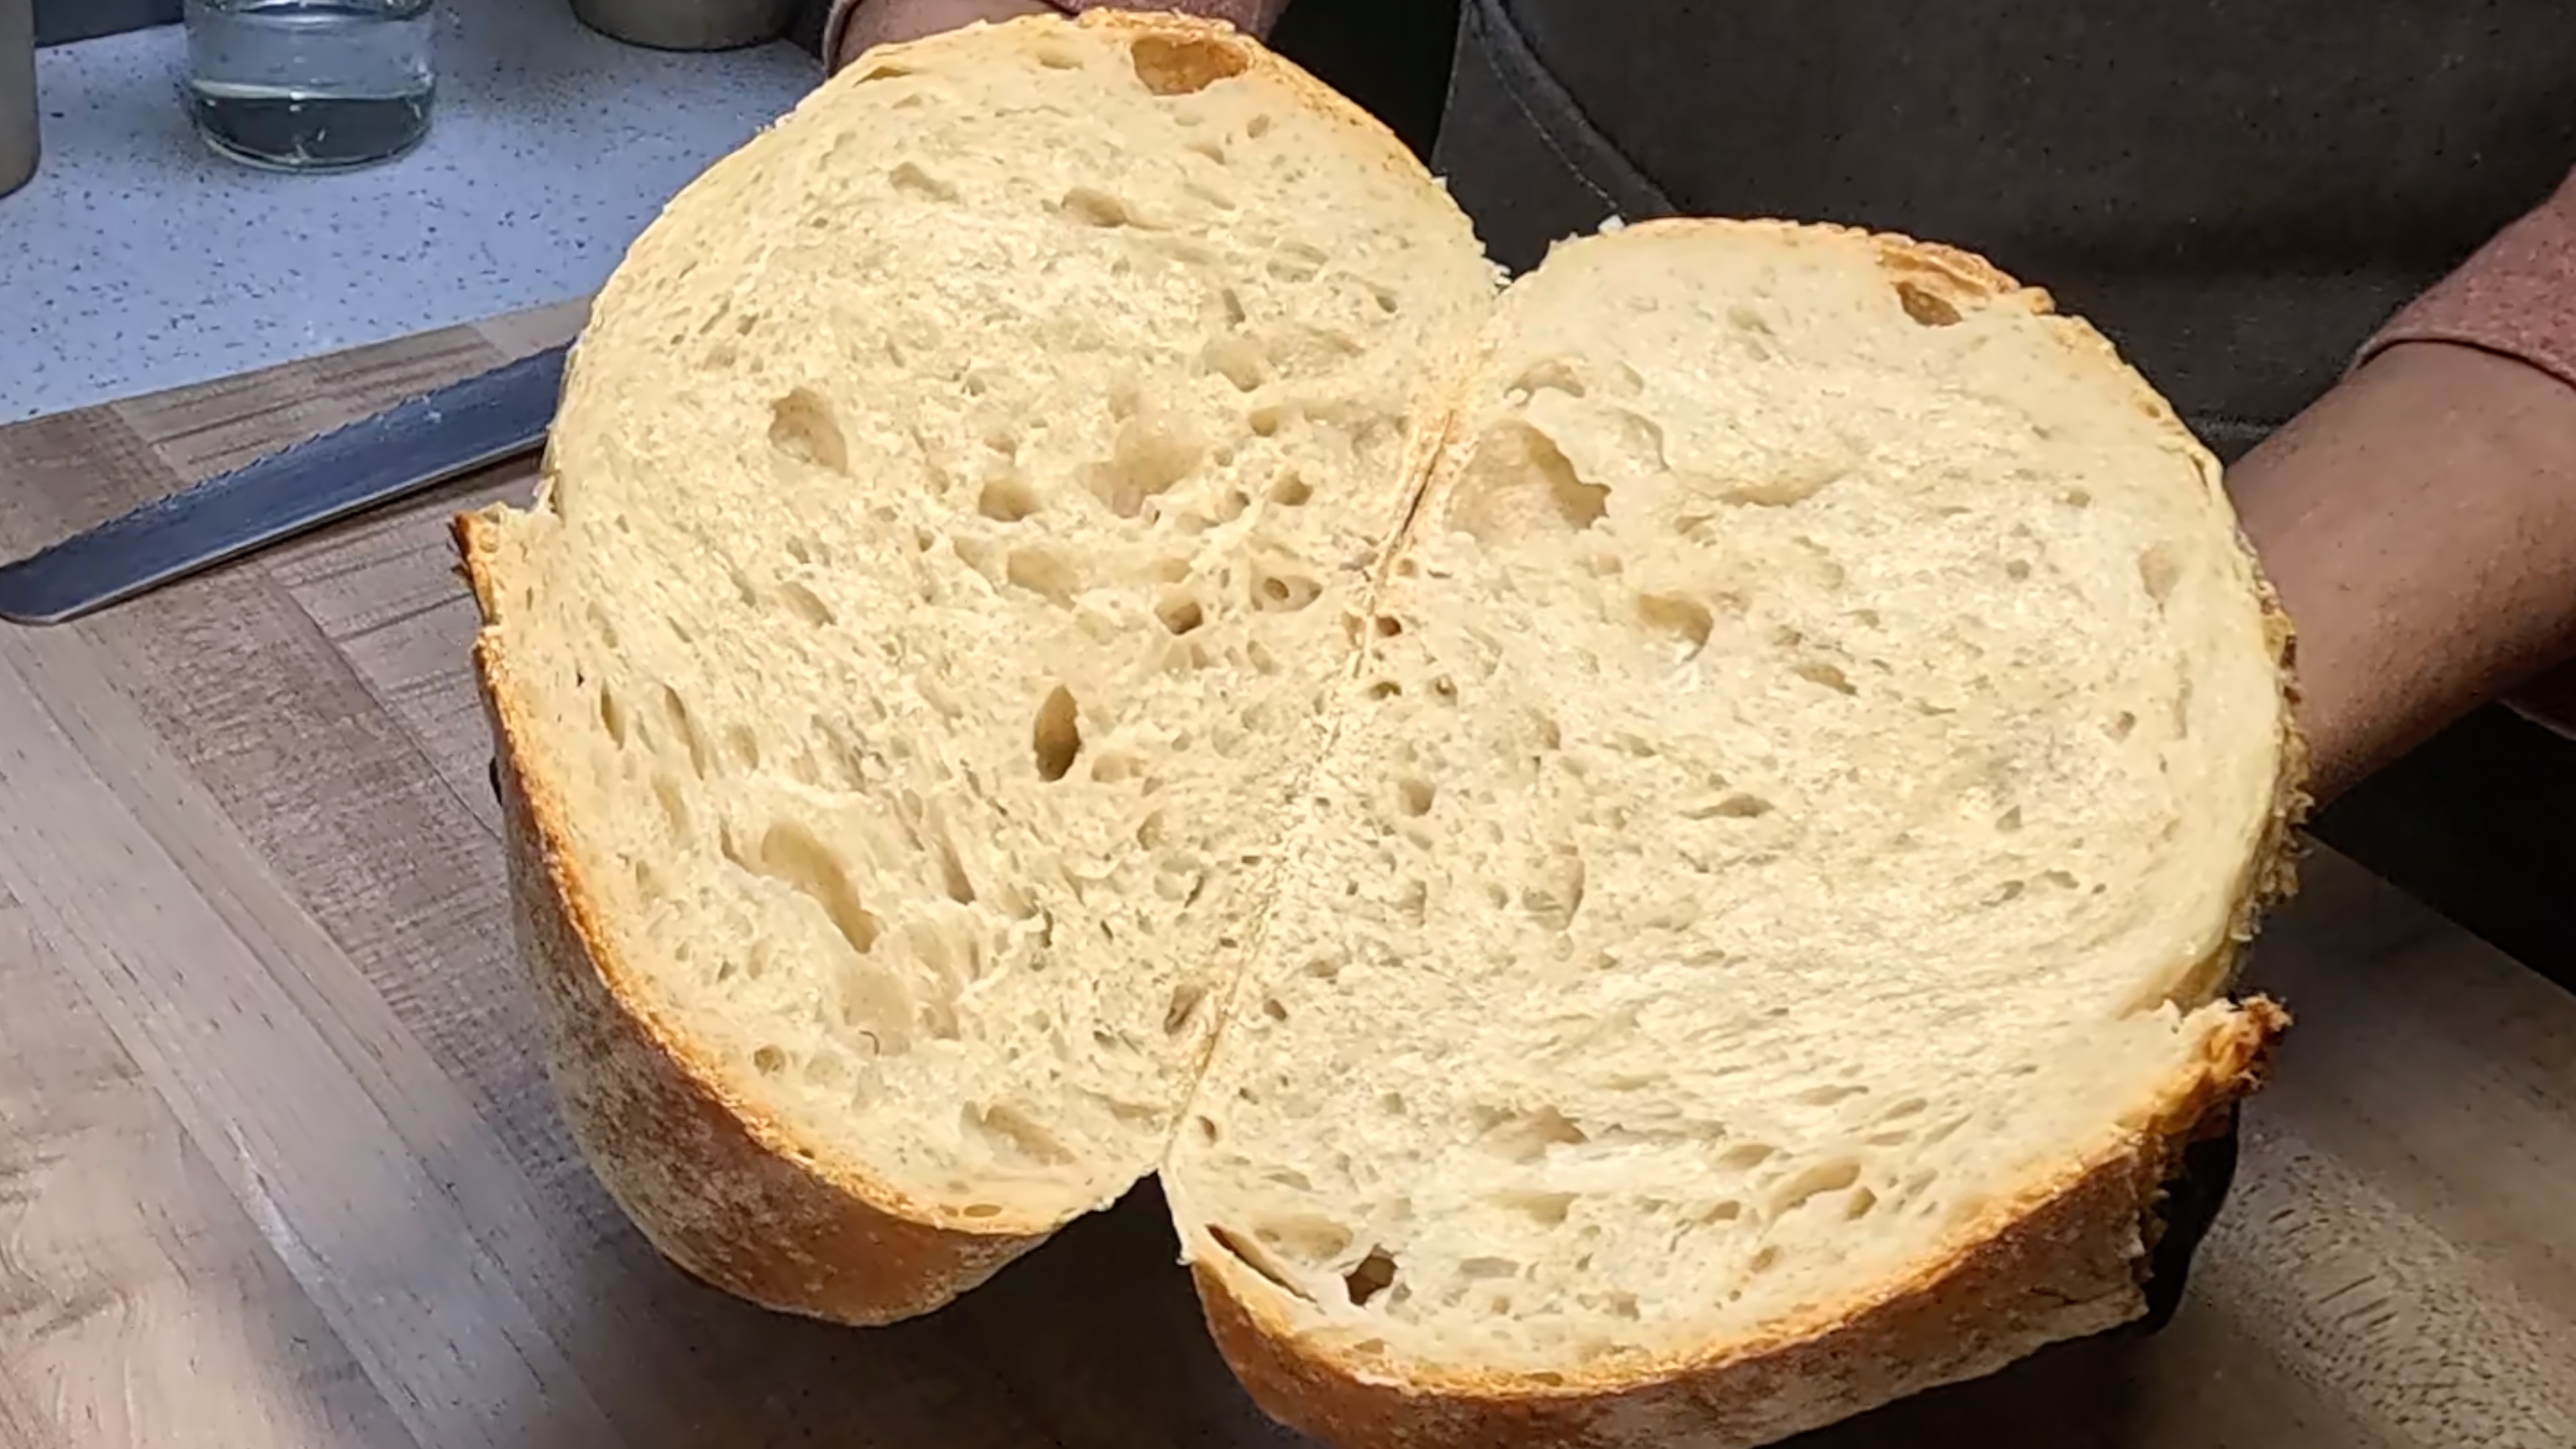
STRETCH & FOLDS + ROOM-TEMP BULK FERMENT: Over the next 3–4 hours, perform 3 sets of stretch and folds, spaced about 45–60 minutes apart. For each set, wet your hand slightly, grab one side of the dough, stretch it up as high as it will go without tearing, then fold it over the center. Rotate the bowl 90° and repeat — 4 folds per set total. After Set 1, the dough will still feel slack and shaggy. After Set 2, you'll notice it tightening up and holding its shape better. After Set 3, the dough should feel smooth, pillowy, and almost silky — it will hold a gentle dome when you leave it alone. Between sets, keep the bowl covered at room temperature. Bulk ferment is complete when the dough has grown 50–75%, feels airy when you gently shake the bowl, and you can see bubbles on the sides and surface.
- 4
FINAL SHAPE INTO BANNETON: Lightly flour your work surface and gently turn the dough out. Because you've fermented at room temperature, the dough is already relaxed — no pre-shape or bench rest needed. To shape a batard, press the dough into a rough rectangle. Fold the top third down and the bottom third up like a letter, then roll it gently toward you into a tight oval log, using your hands to build surface tension as you go. The surface should feel taut, almost like the skin of a drum. Dust an oval banneton generously with rice flour (or a 50/50 mix of rice and bread flour) and place the dough seam-side up. Pinch the seam gently to seal. The dough should sit snugly and hold its oval shape.
- 5
COLD PROOF — OVERNIGHT IN THE FRIDGE: Cover your shaped banneton loosely with a shower cap or plastic wrap and place it in the refrigerator. Let it cold proof for 16–24 hours (overnight is ideal). The cold slows fermentation to a crawl, allowing the dough to develop deep flavor while firming up the structure — a cold, firm loaf is dramatically easier to score and delivers maximum oven spring when it hits the heat. When you're ready to bake, go straight from the fridge to the oven — do not let it warm up first. That temperature shock is your secret weapon for an explosive rise.
- 6
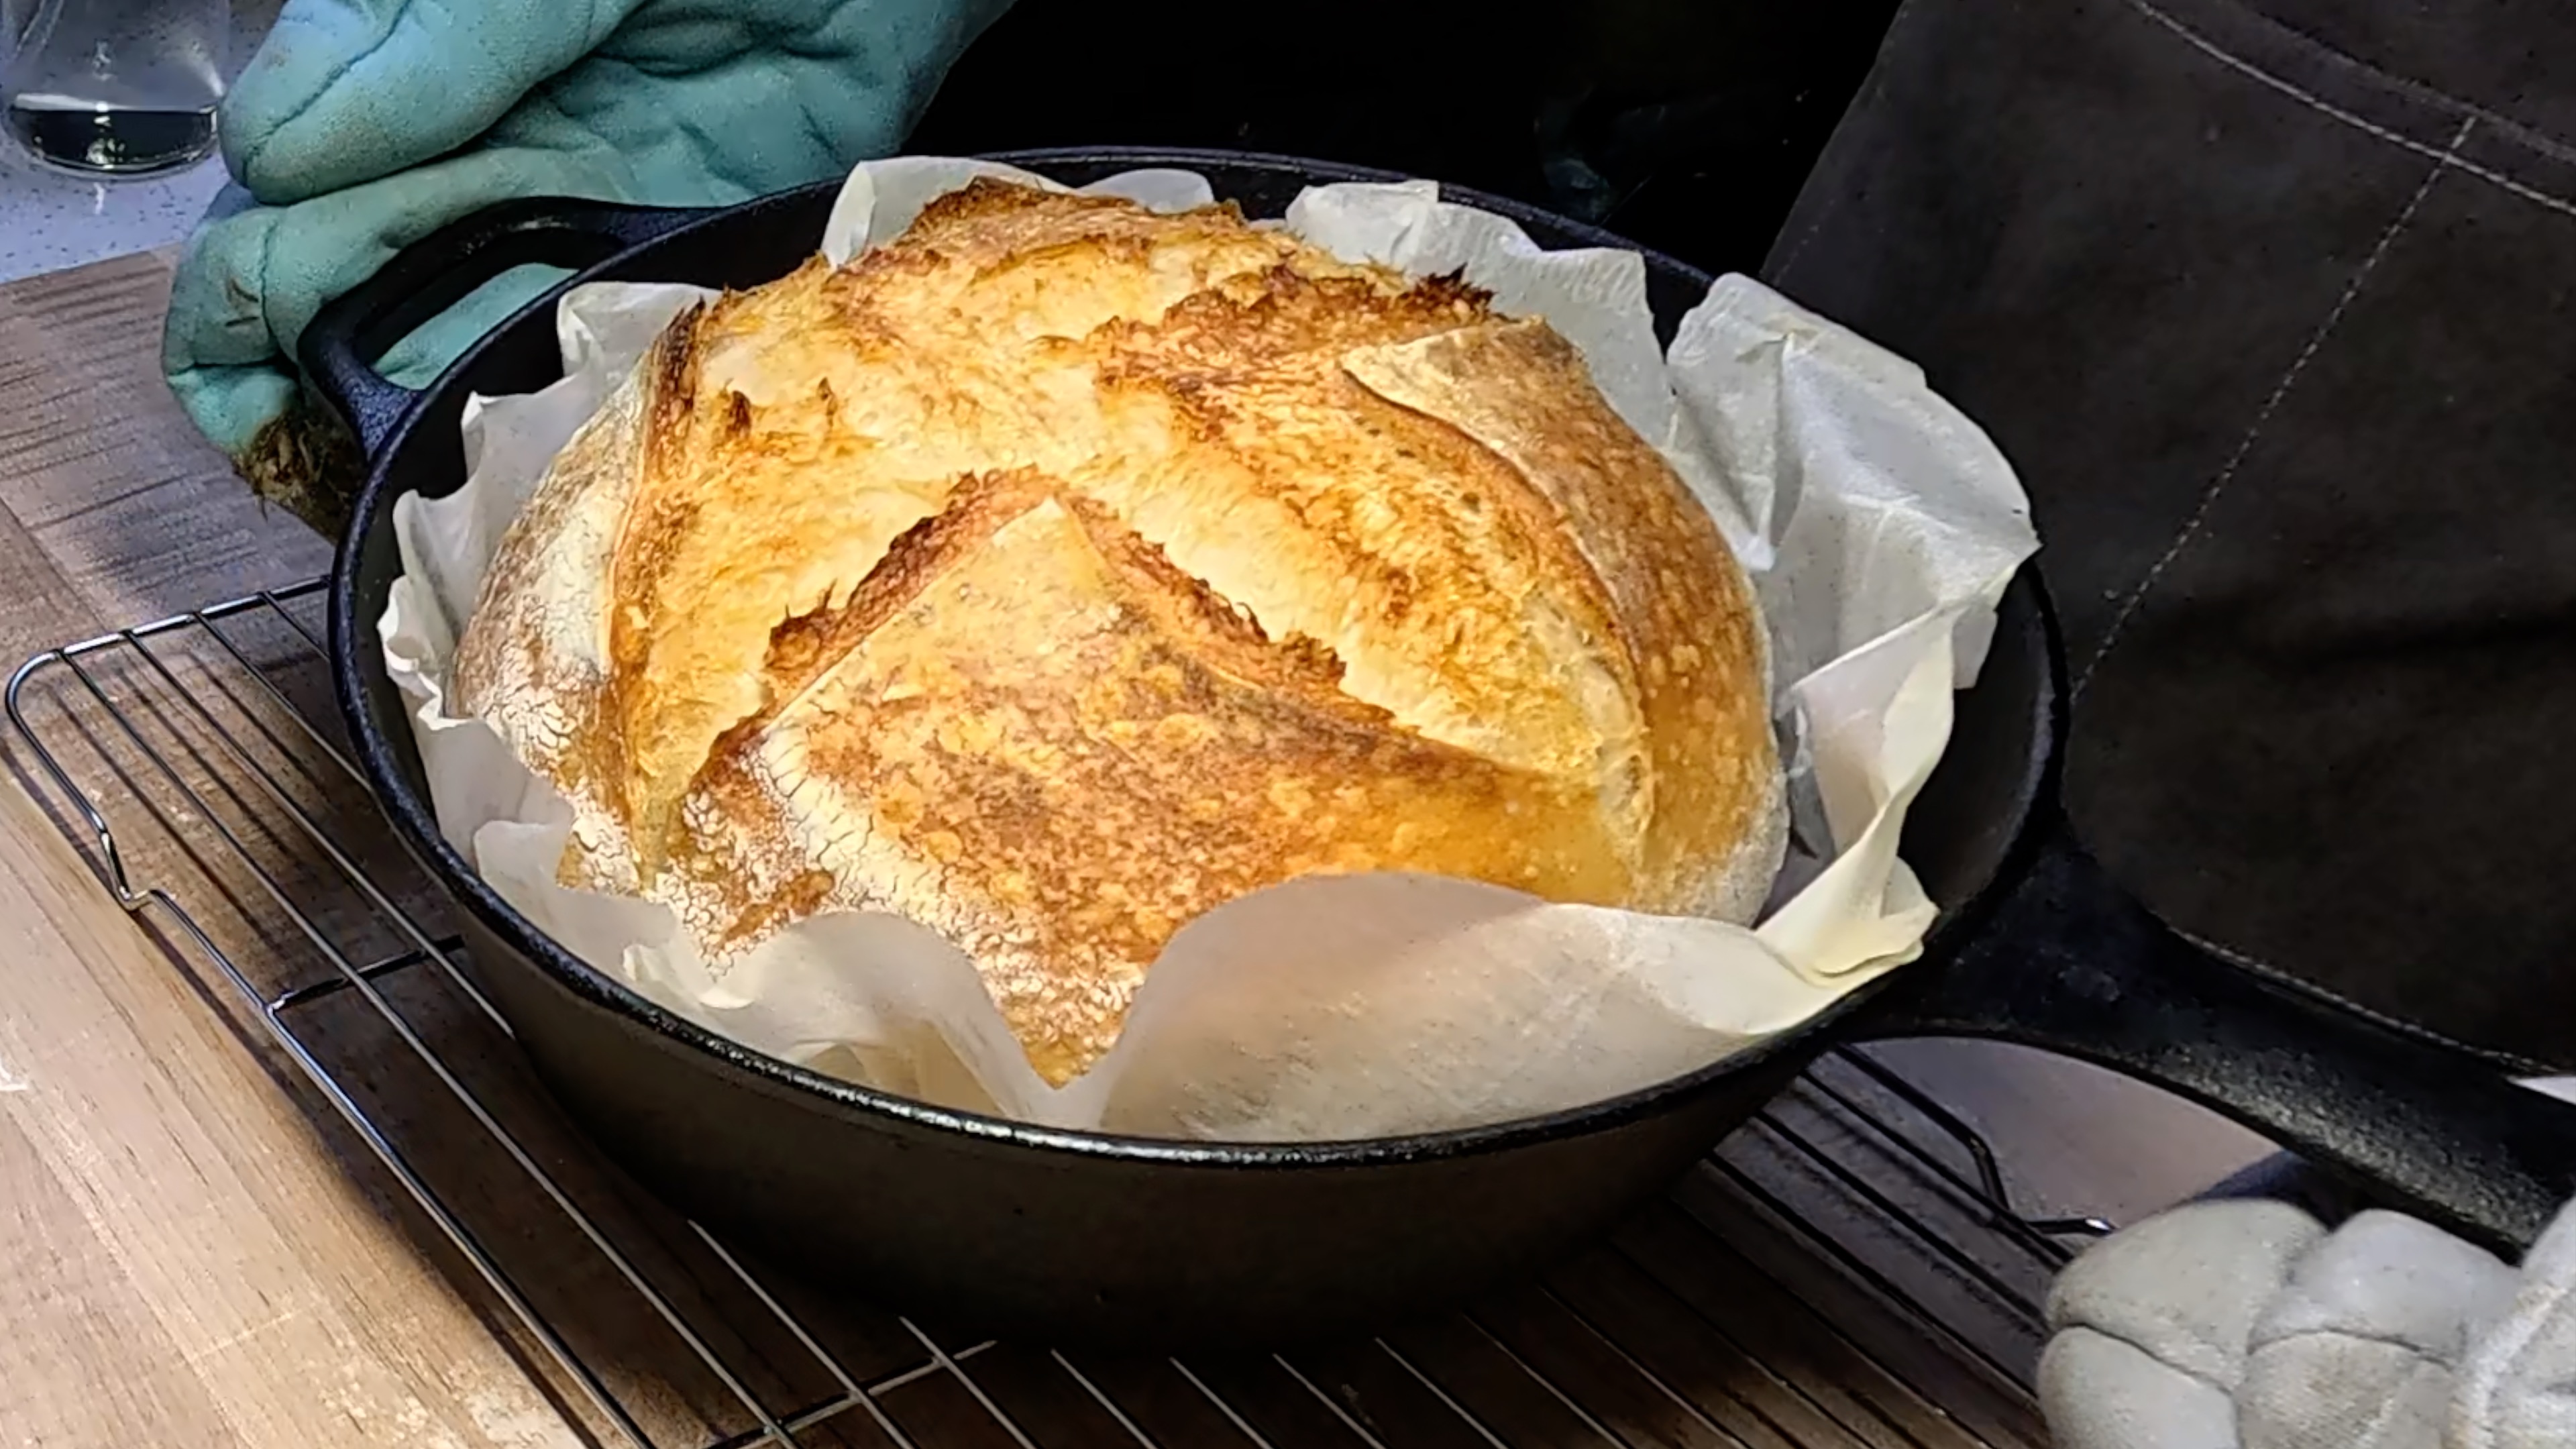
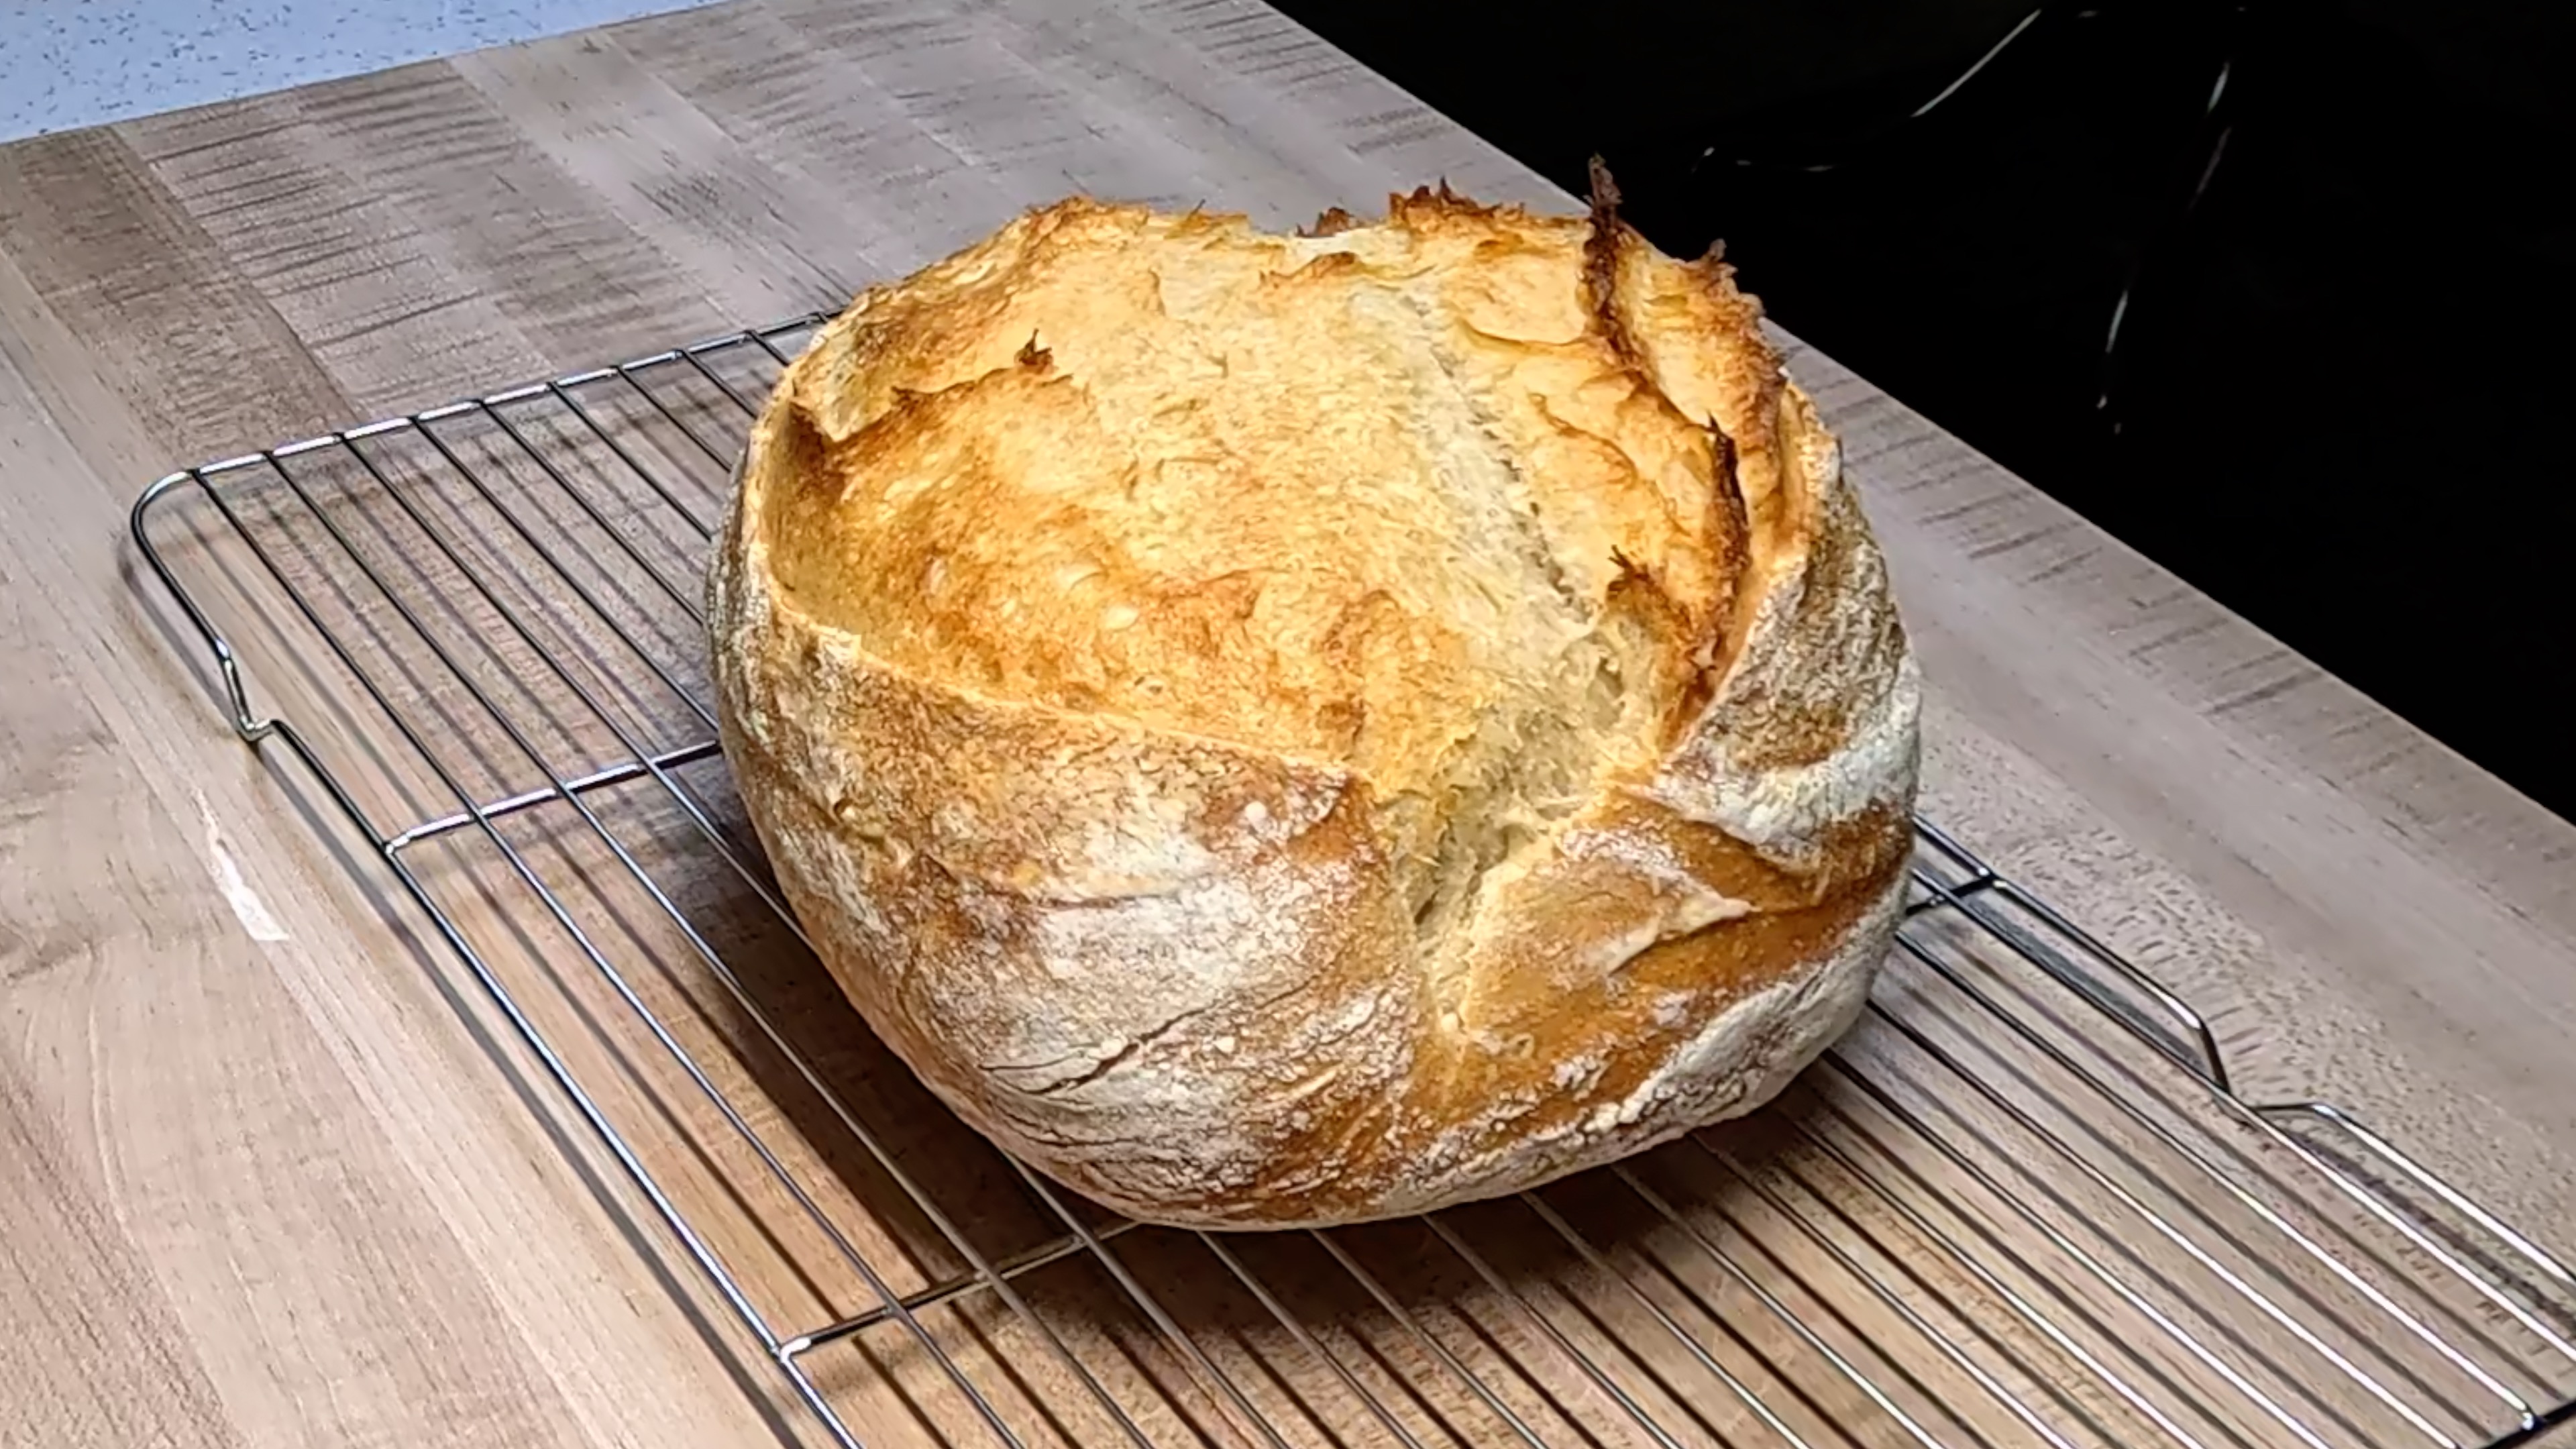
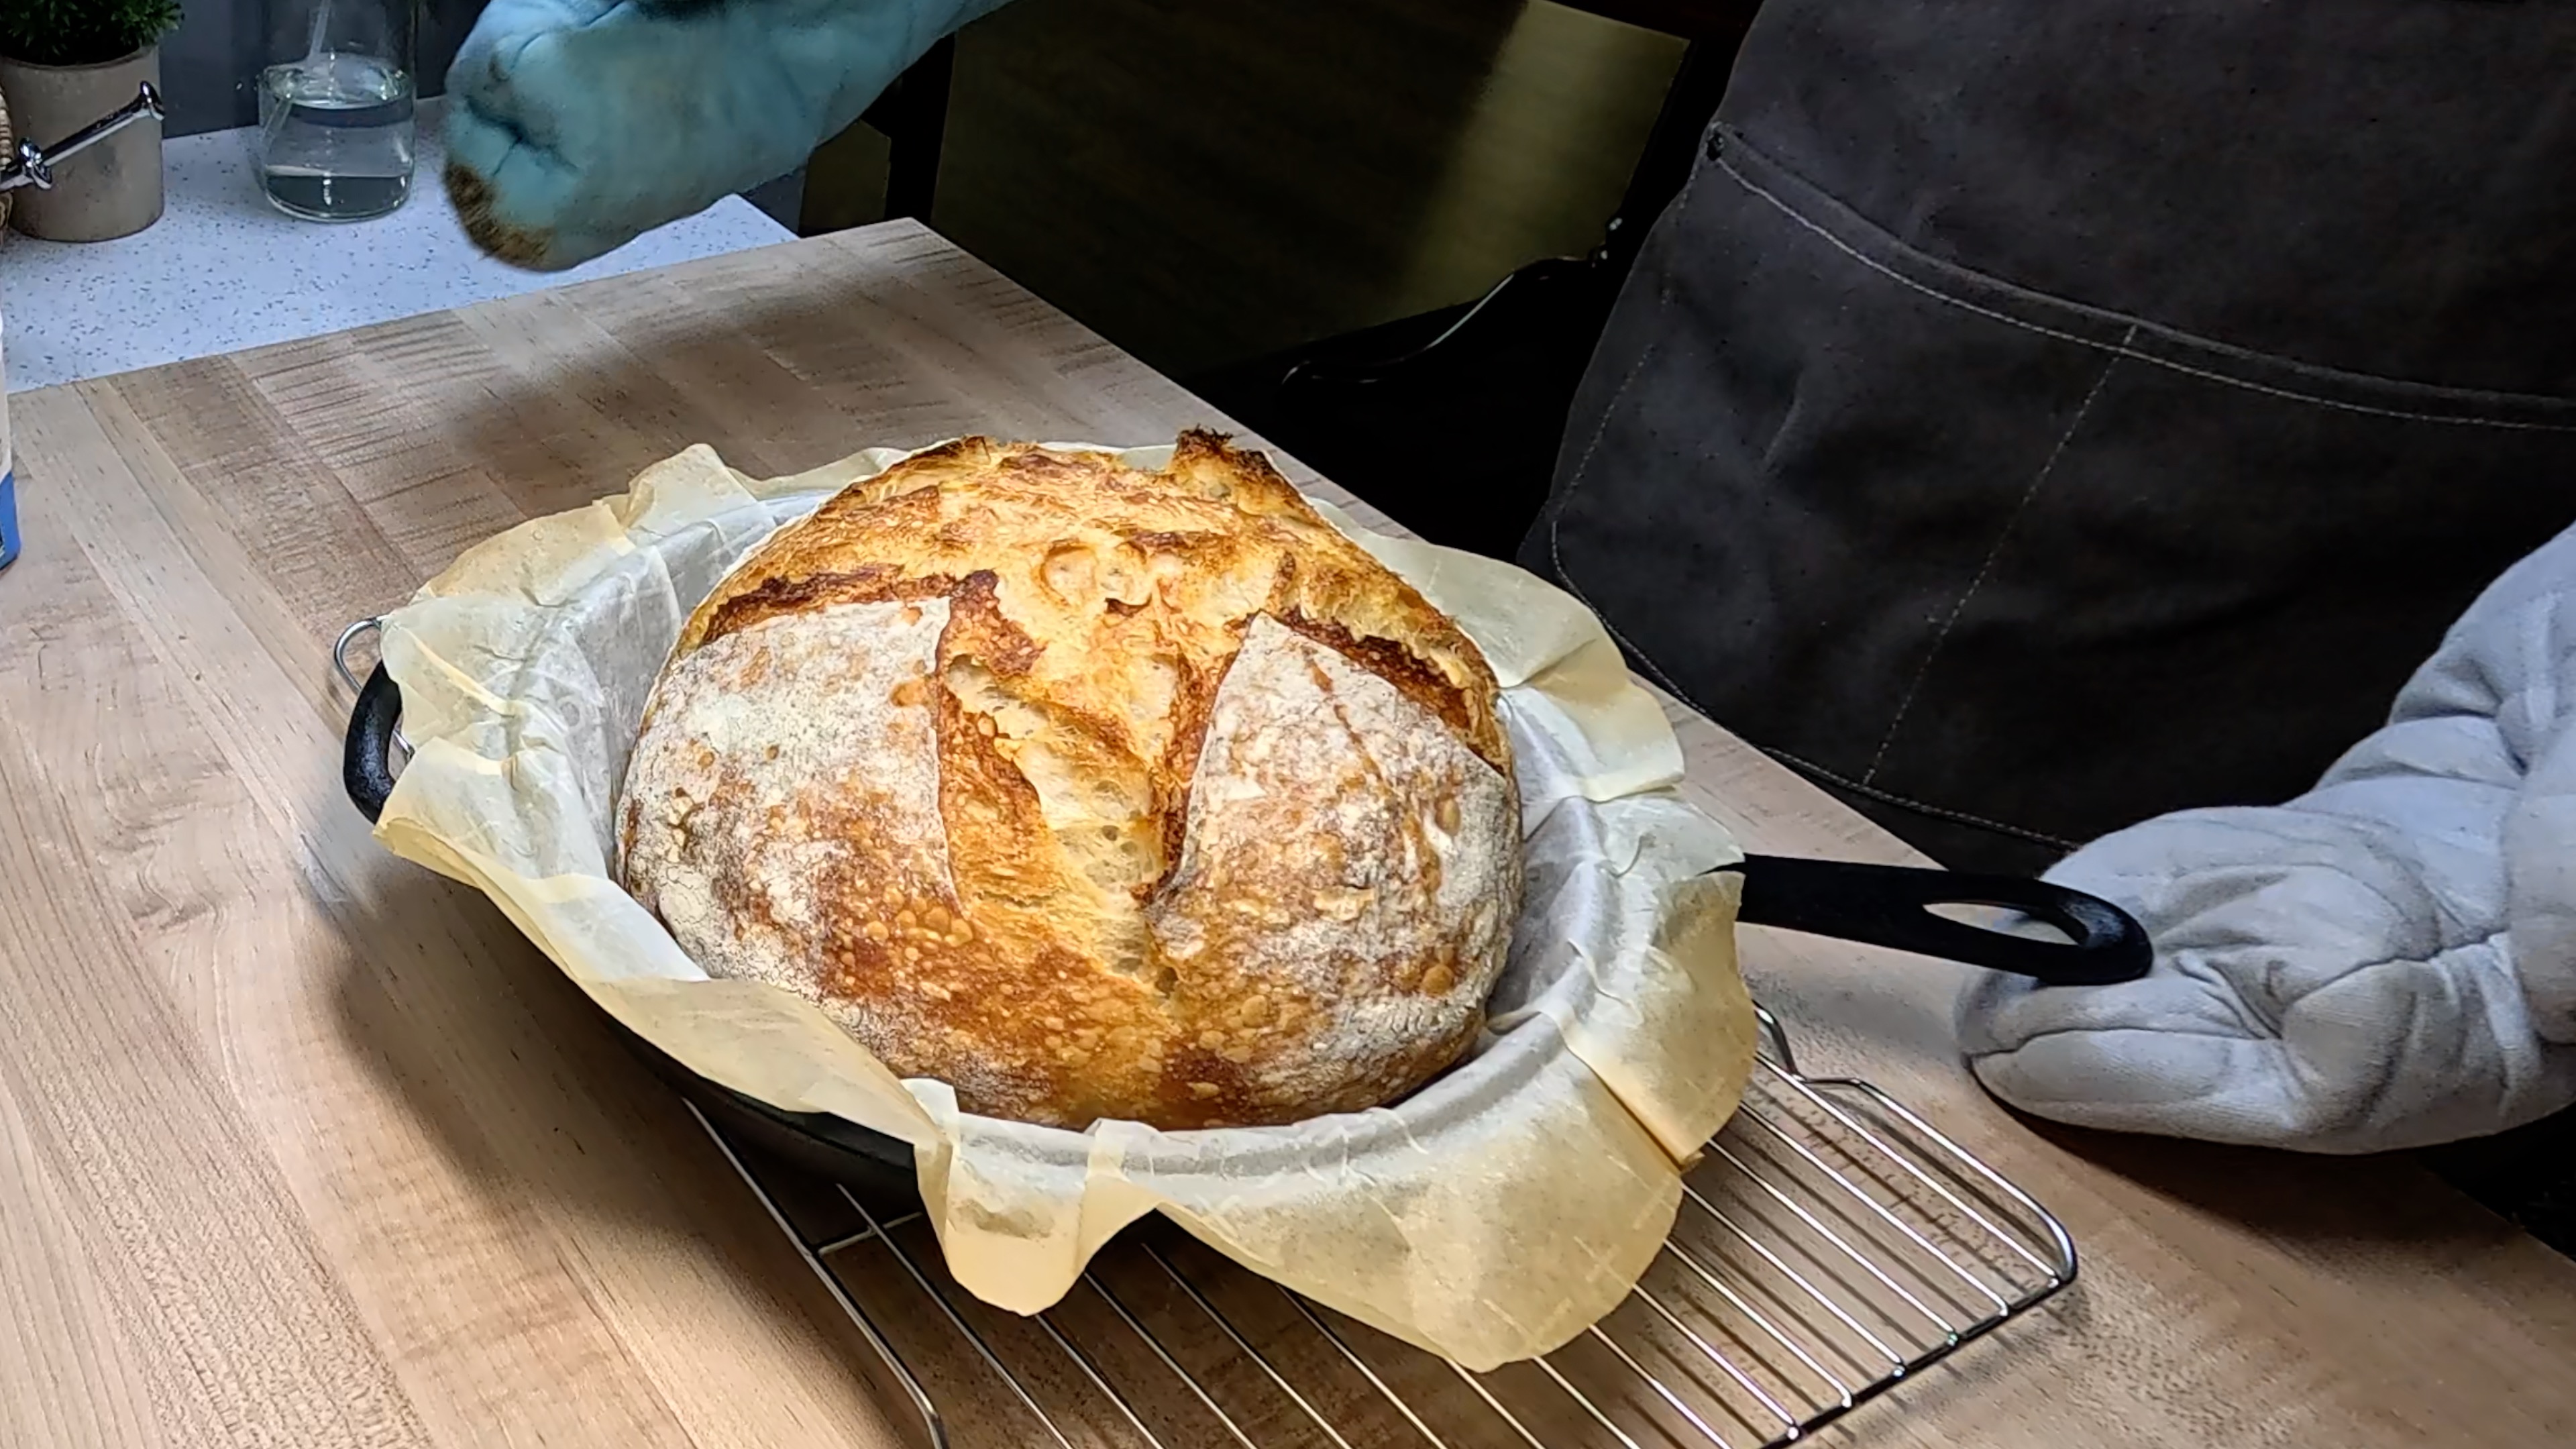
PREHEAT, SCORE & BAKE: At least 1 hour before baking, place your baking stone on the middle rack and a sturdy oven-safe pan (cast iron or sheet pan) on the rack below. Preheat your oven to 500°F (260°C) — the stone must be screaming hot to maximize oven spring. When ready, cut a piece of parchment paper and place it over the banneton, then flip the dough out onto a pizza peel or cutting board. Work quickly — every second counts. Score the dough confidently with a sharp lame or razor blade held at a 30–45° angle: one decisive slash down the length of the batard, about ½ inch deep. Shallow angles and bold cuts create that coveted ear. Slide the parchment and dough onto the hot stone, then pour 1 cup of boiling water into the pan below and immediately close the oven door. Bake at 500°F for 15 minutes with steam, then carefully remove the steam pan, reduce heat to 450°F (230°C), and bake for another 25–30 minutes until the crust is a deep, rich mahogany. Tap the bottom — it should sound hollow. Transfer to a wire rack and resist cutting for at least 1 hour. The crumb is still setting, and patience here is your final step toward perfection!
Baker's Tips
- •Use a kitchen scale for every measurement — even small variations in flour or water can noticeably affect the crumb and rise.
- •Bread flour's higher protein content (12–13%) builds stronger gluten, which holds gas better and delivers taller, more open loaves.
- •If your oven runs cool, use an oven thermometer to verify the actual temperature — even 25°F lower than target can reduce oven spring noticeably.
- •Score marks at a low angle (30–45°) create an ear; straight-down cuts give a more even expansion — choose your look intentionally.
- •Letting the baked loaf cool fully before slicing allows steam to redistribute through the crumb — cutting early leads to a gummy interior.
More Like This
Baker's Toolkit
Tools and ingredients we recommend for this recipe

KneadAce Cotton Rope Banneton Bread Proofing Basket Set, Oval & Round Bread Baskets with Liners & Covers
View product

Sally's Organics® Empty Clear Glass Spray Bottles - Refillable 16 oz
View product
HULISEN Flour Duster for Baking, One-Handed Operation, 304 Stainless Steel Powdered Sugar Shaker Duster
View product
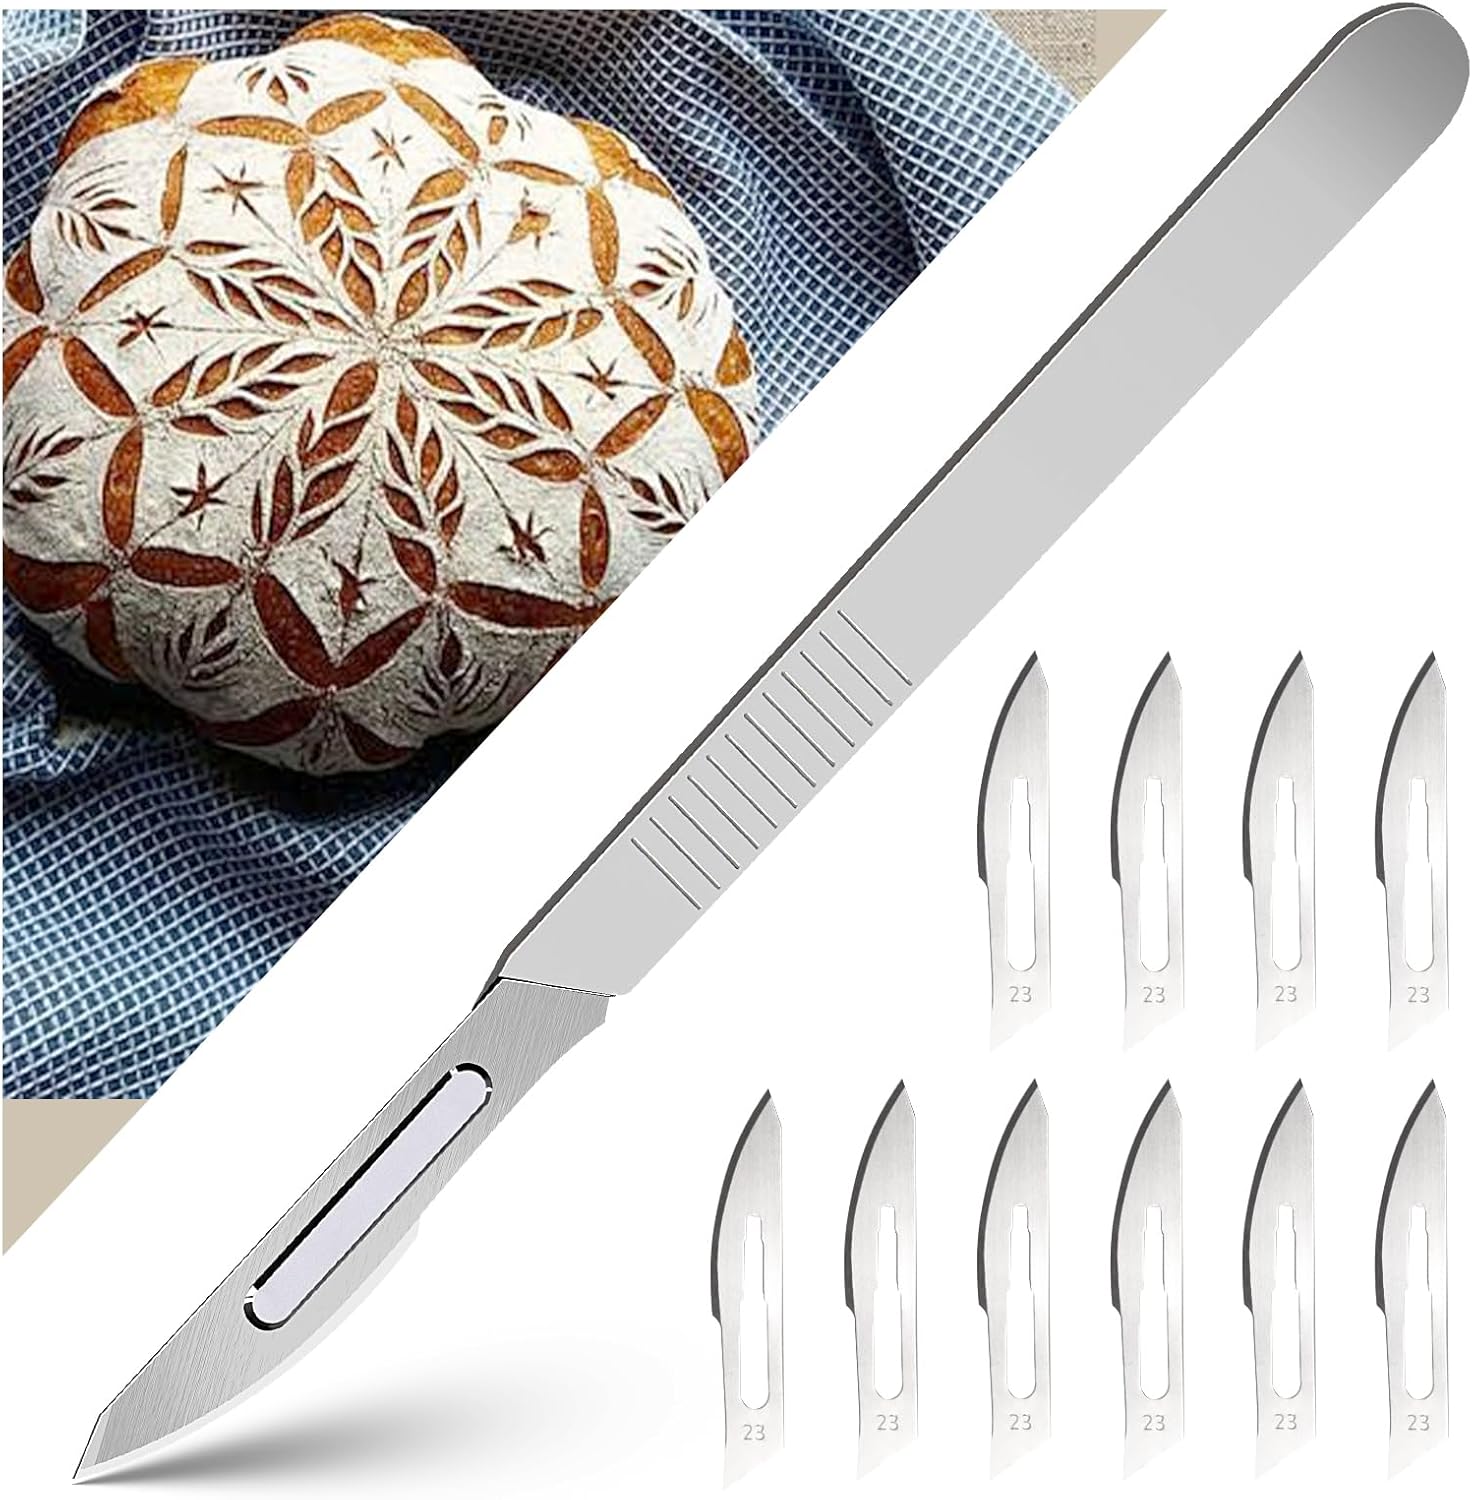
Bread Lame & Sourdough Scoring Tool - Professional Bread Scoring Tool with 10 Ultra-Sharp Blades
View product

SURDOCA Dough Scraper Bench Scraper - 3P 4.7x3.7" Plastic Flexible Bowl Scraper
View product

Cooling Rack and Baking Rack with Stainless Steel, 2 - Pack 10 x 15 Inches
View product
Organic Bread Flour
View product

Glad Cling N Seal Plastic Wrap for Food, Airtight Seal, 300 Square Foot Roll (Pack of 4)
View product
Comments
Sign in to join the conversation
Sign In