
Overnight Sourdough Bread on a Pizza Stone: Crusty, Tangy and Cold-Proofed
A deeply flavored, open-crumbed boule with a shattering crust, perfected over two days.

Instructions
- 1
FEED YOUR STARTER: In a clean jar, combine 50g of your sourdough starter with 50g of bread flour and 50g of room temperature water. Stir vigorously until fully combined and no dry flour remains. The mixture should look smooth and slightly paste-like. Loosely cover the jar and leave it at room temperature for 4 to 6 hours. You are looking for your starter to at least double in size, develop a domed top, and fill with bubbles throughout. When you hold the jar up to the light you should see a network of air pockets running through it. If you drop a small spoonful into a glass of water, a healthy active starter will float. That is your green light to bake!
- 2
MIX YOUR DOUGH: Once your starter is active and bubbly, it is time to bring your dough together. Pour 360g of room temperature water into a large mixing bowl, then add 120g of your active starter. Using a spatula or your hand, stir the two together until the starter is fully dissolved into the water. The mixture will look slightly cloudy and milky. Next, add 10g of fine sea salt and stir again until dissolved. Now add all 500g of bread flour at once. Using a silicone spatula, mix everything together with firm folding strokes until no dry flour remains. The dough will look shaggy and rough at this stage and that is completely normal. Resist the urge to add more water. Cover the bowl with a damp kitchen towel and let it rest for 20 to 30 minutes before your first stretch and fold.
- 3
STRETCH AND FOLD: Over the next 2 to 3 hours you will perform 3 sets of stretch and folds, spaced 45 to 60 minutes apart, while your dough bulk ferments at room temperature. This is where the real magic begins. For each set, wet your hand slightly to prevent sticking. Grab one side of the dough, stretch it upward as high as it will go without tearing, then fold it over to the opposite side. Rotate the bowl 90 degrees and repeat. Do this all the way around the bowl for a total of 4 folds per set. After your first set the dough will feel tight and a little resistant. By the second set you will notice it starting to smooth out and hold its shape better. By the third and final set the dough should feel noticeably more pillowy, cohesive, and elastic. It should hold a slight dome shape in the bowl and feel alive beneath your hands. After your final set, cover the bowl and let the dough continue its room temperature bulk ferment for the remainder of the 2 to 3 hour window, until it has grown by about 50 percent and looks airy and puffy with bubbles visible on the surface and sides.
- 4
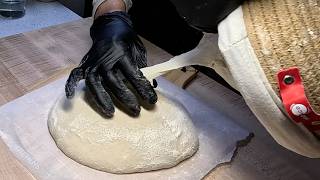
SHAPE YOUR BOULE: Now that your dough has completed its room temperature bulk ferment and is looking puffy and full of life, it is time to shape. Lightly flour your work surface. Gently turn the dough out onto the surface and use a bench scraper or your hands to pull it into a large, wide rectangle. You are stretching it out to build structure before the final shape, so work slowly and let the dough relax if it springs back. Once you have a large rectangle, fold the dough in thirds like a letter, then roll it away from you into a tight log. From there, rotate it 90 degrees and shape it into a round boule by pulling the dough toward you across the work surface, creating surface tension on the bottom. The surface of the dough should feel taut and smooth like a drum. Generously flour a round banneton with rice flour or a 50/50 mix of rice flour and bread flour. Place the boule seam-side up into the banneton, making sure the dough is nestled in snugly.
- 5
COLD PROOF OVERNIGHT: Lightly dust the exposed surface of the dough in the banneton with flour. Cover the banneton loosely with a shower cap, reusable wrap, or a large zip-top bag to prevent the surface from drying out. Transfer the banneton to your refrigerator and cold proof overnight, or for 8 to 14 hours. The cold slows fermentation way down, developing deeper flavor and a more complex tang, while also firming up the dough so it is a dream to score in the morning. When you pull it out the next day, the dough should feel firm and cold to the touch with a slight skin on the surface. Do not worry if it has not visibly risen much in the fridge. That is normal and expected.
- 6
PREHEAT YOUR OVEN: At least 45 to 60 minutes before you plan to bake, place your baking stone on the middle rack and a sturdy oven-safe pan (like a cast iron skillet or sheet pan) on the rack below. Preheat your oven to 500 degrees F (260 degrees C). You want your baking stone to be fully saturated with heat so it transfers that energy instantly to the bottom of your loaf. A hot stone is the secret to great oven spring and a crisp bottom crust. While the oven preheats, prepare a cup of boiling water nearby for steam.
- 7
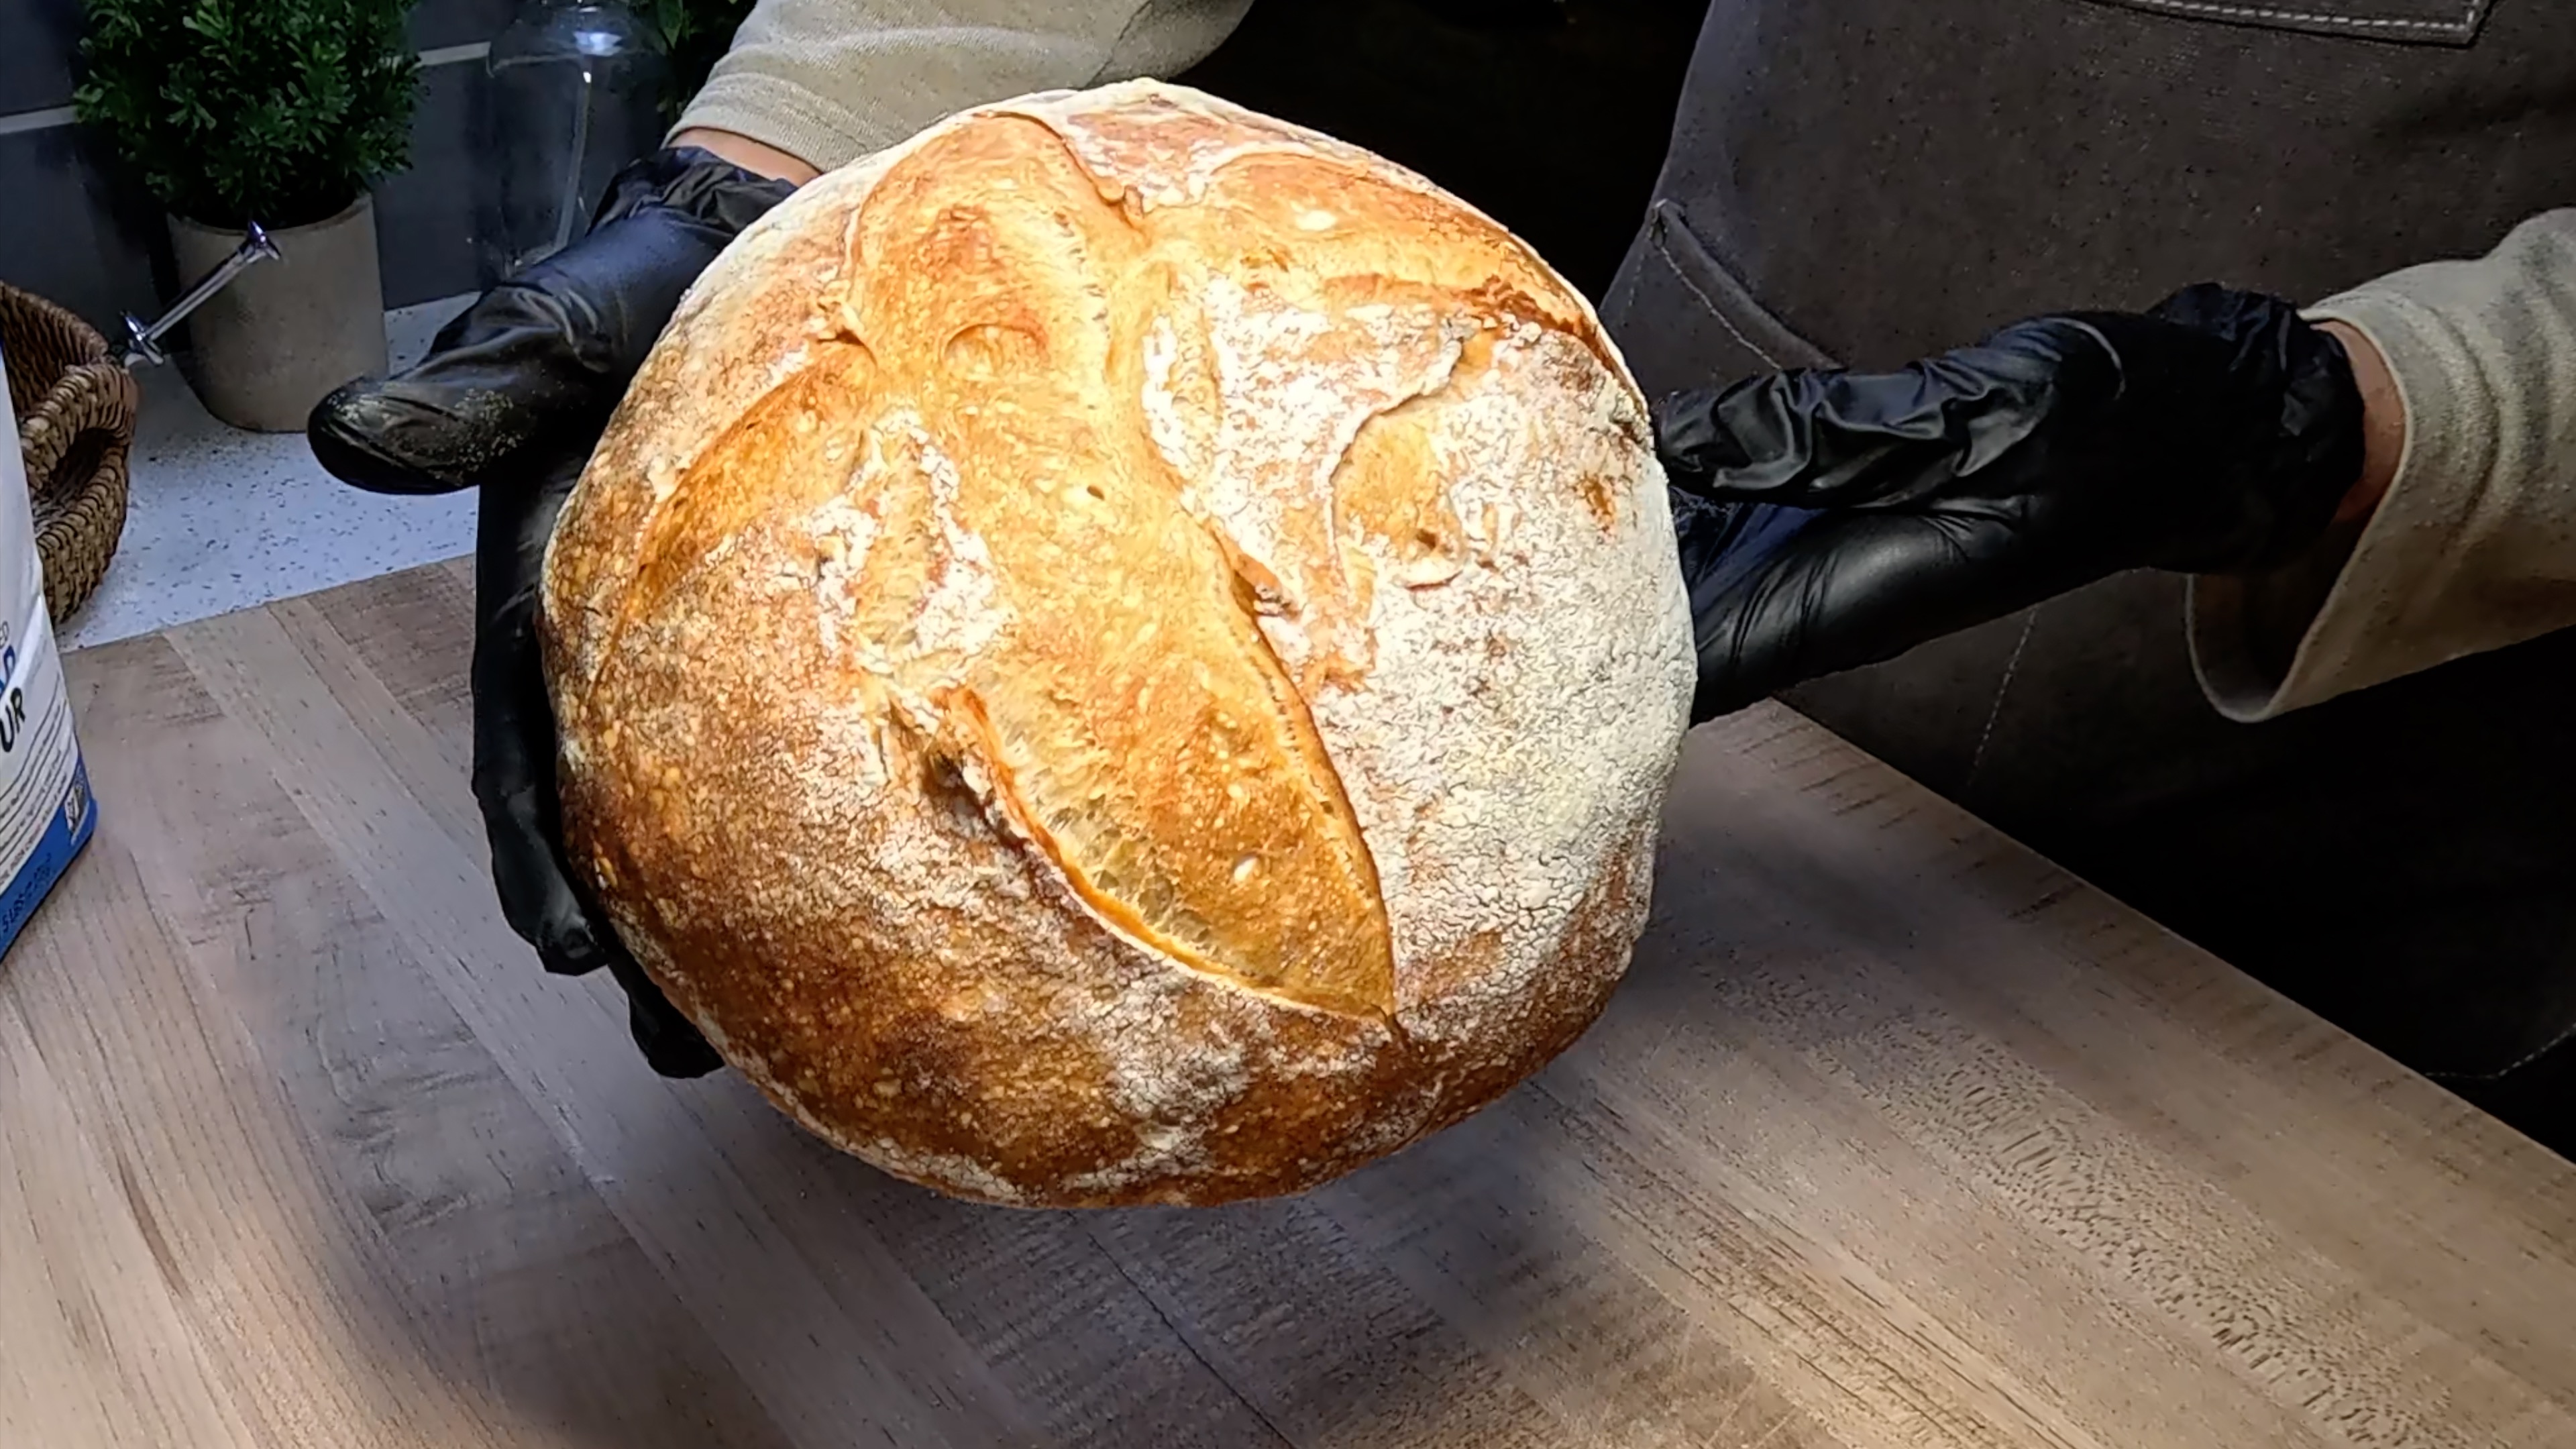
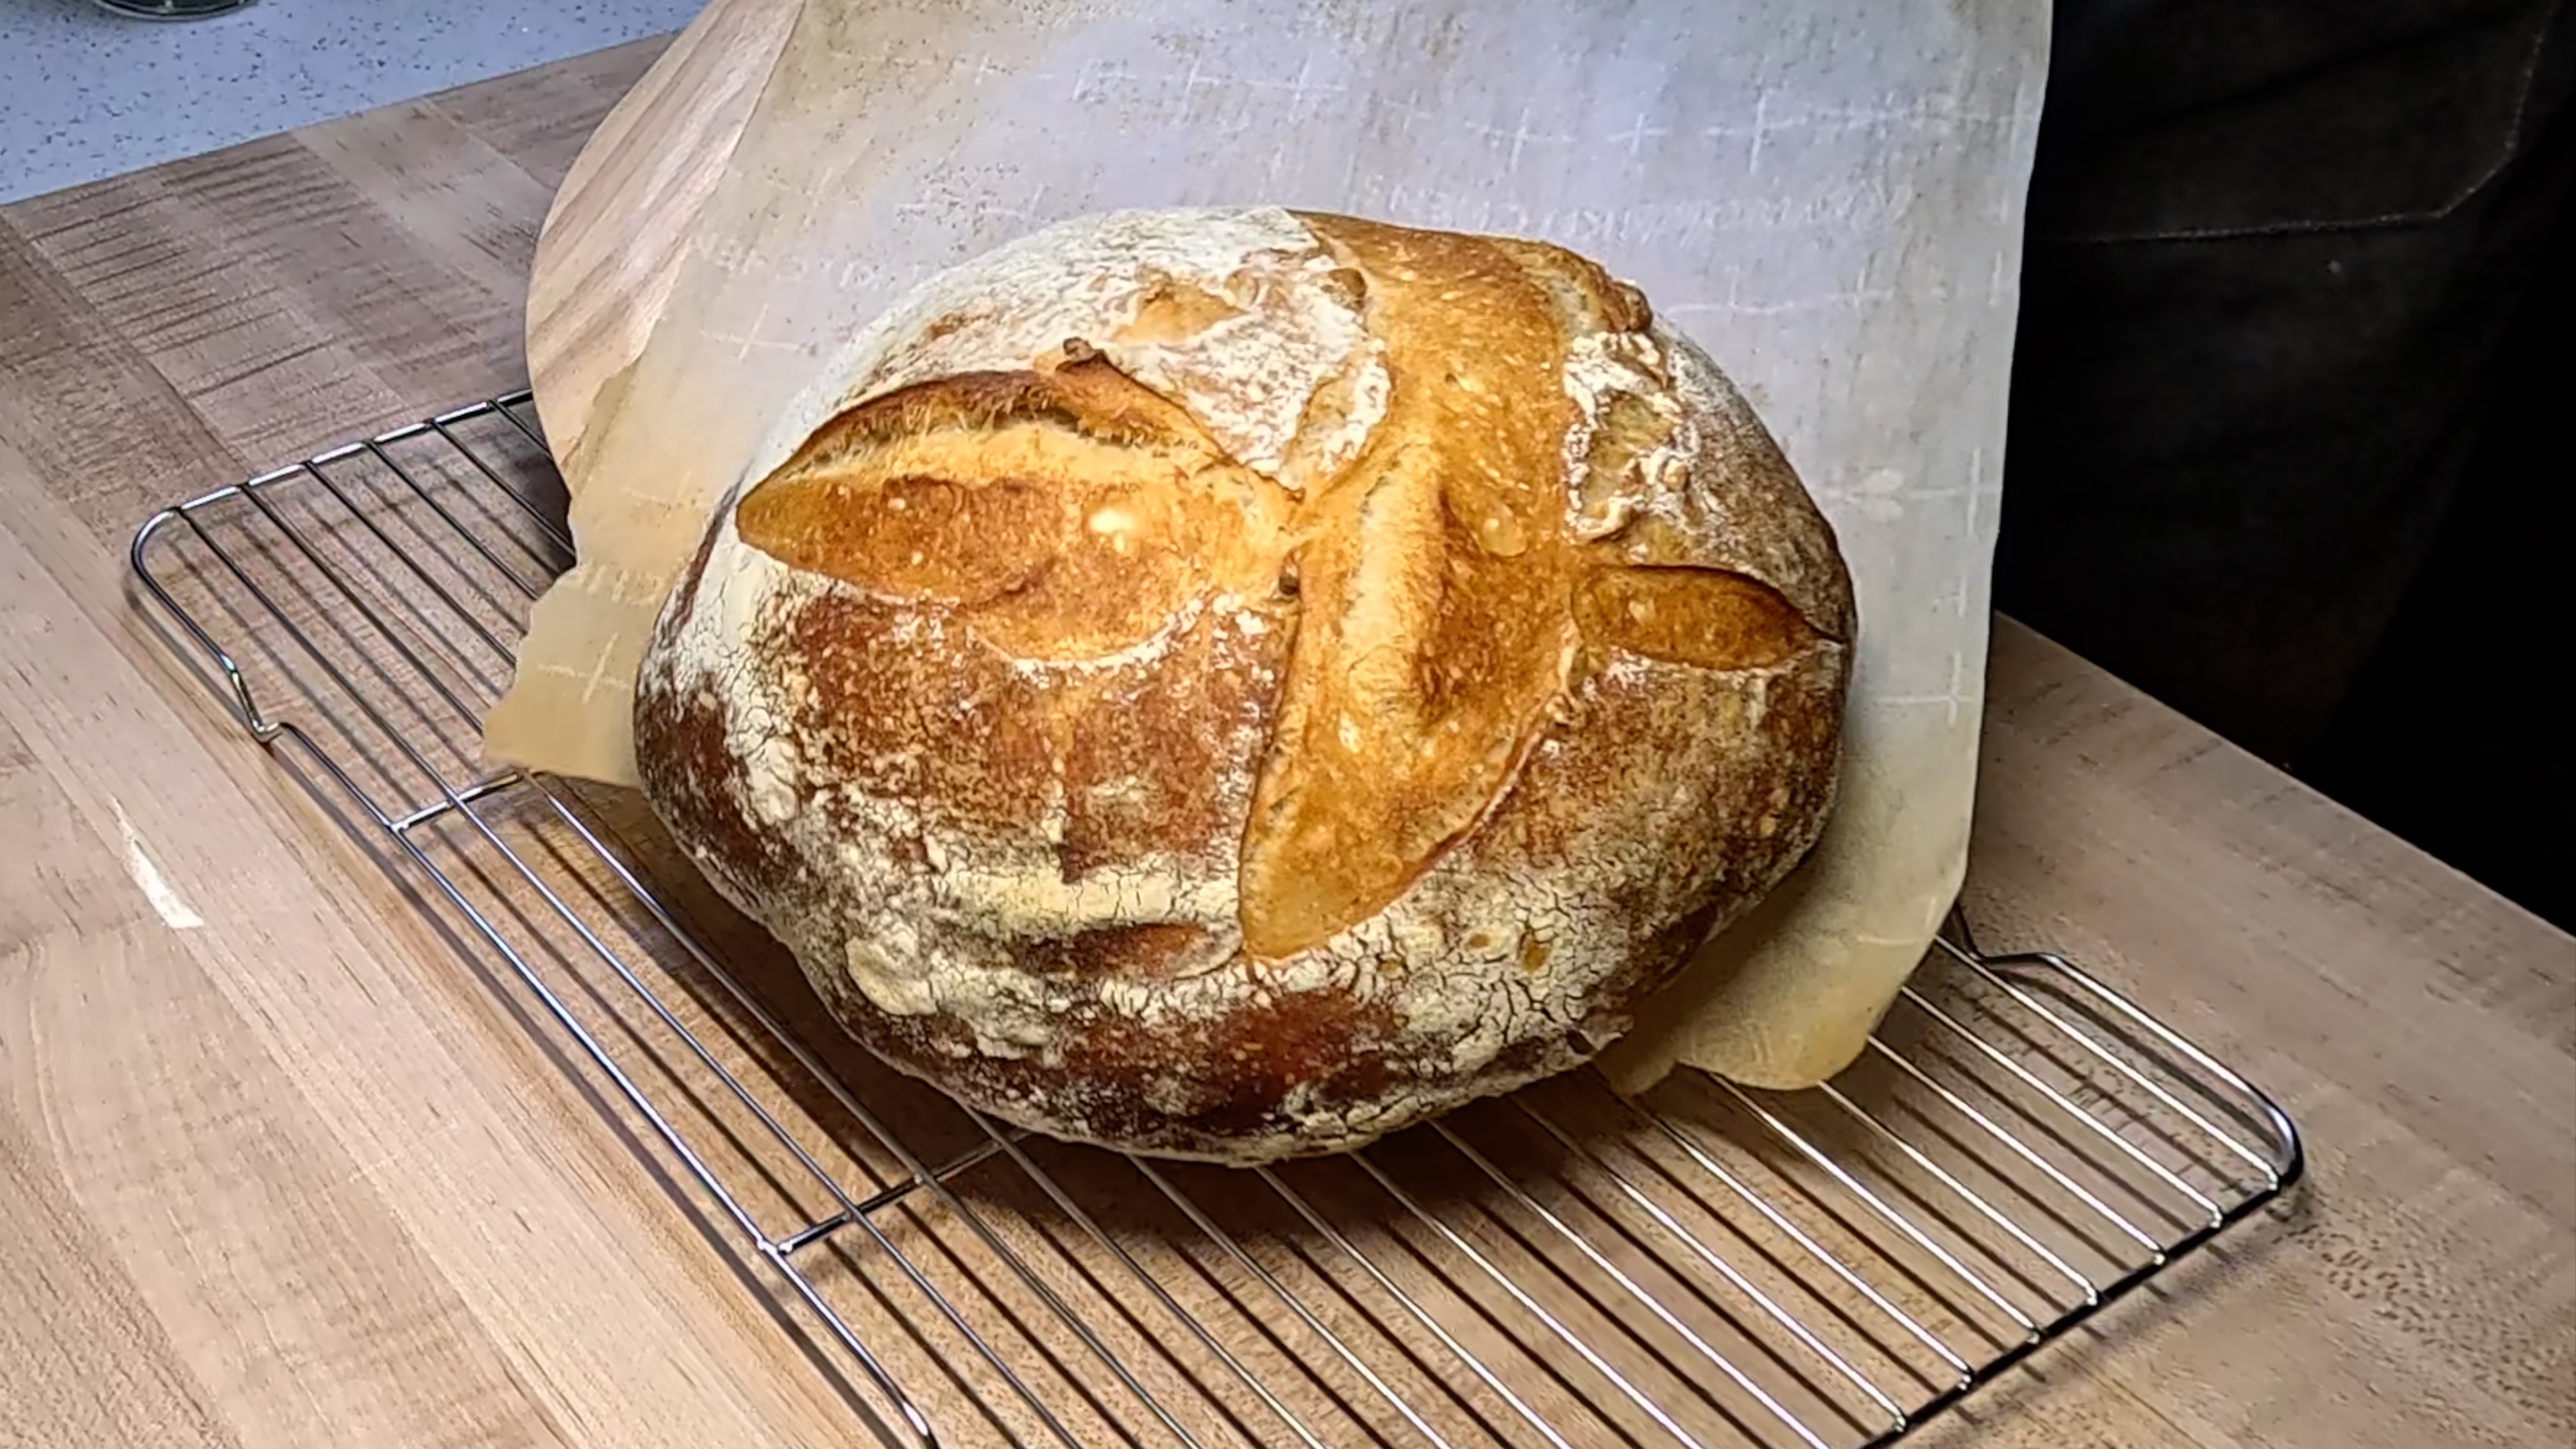
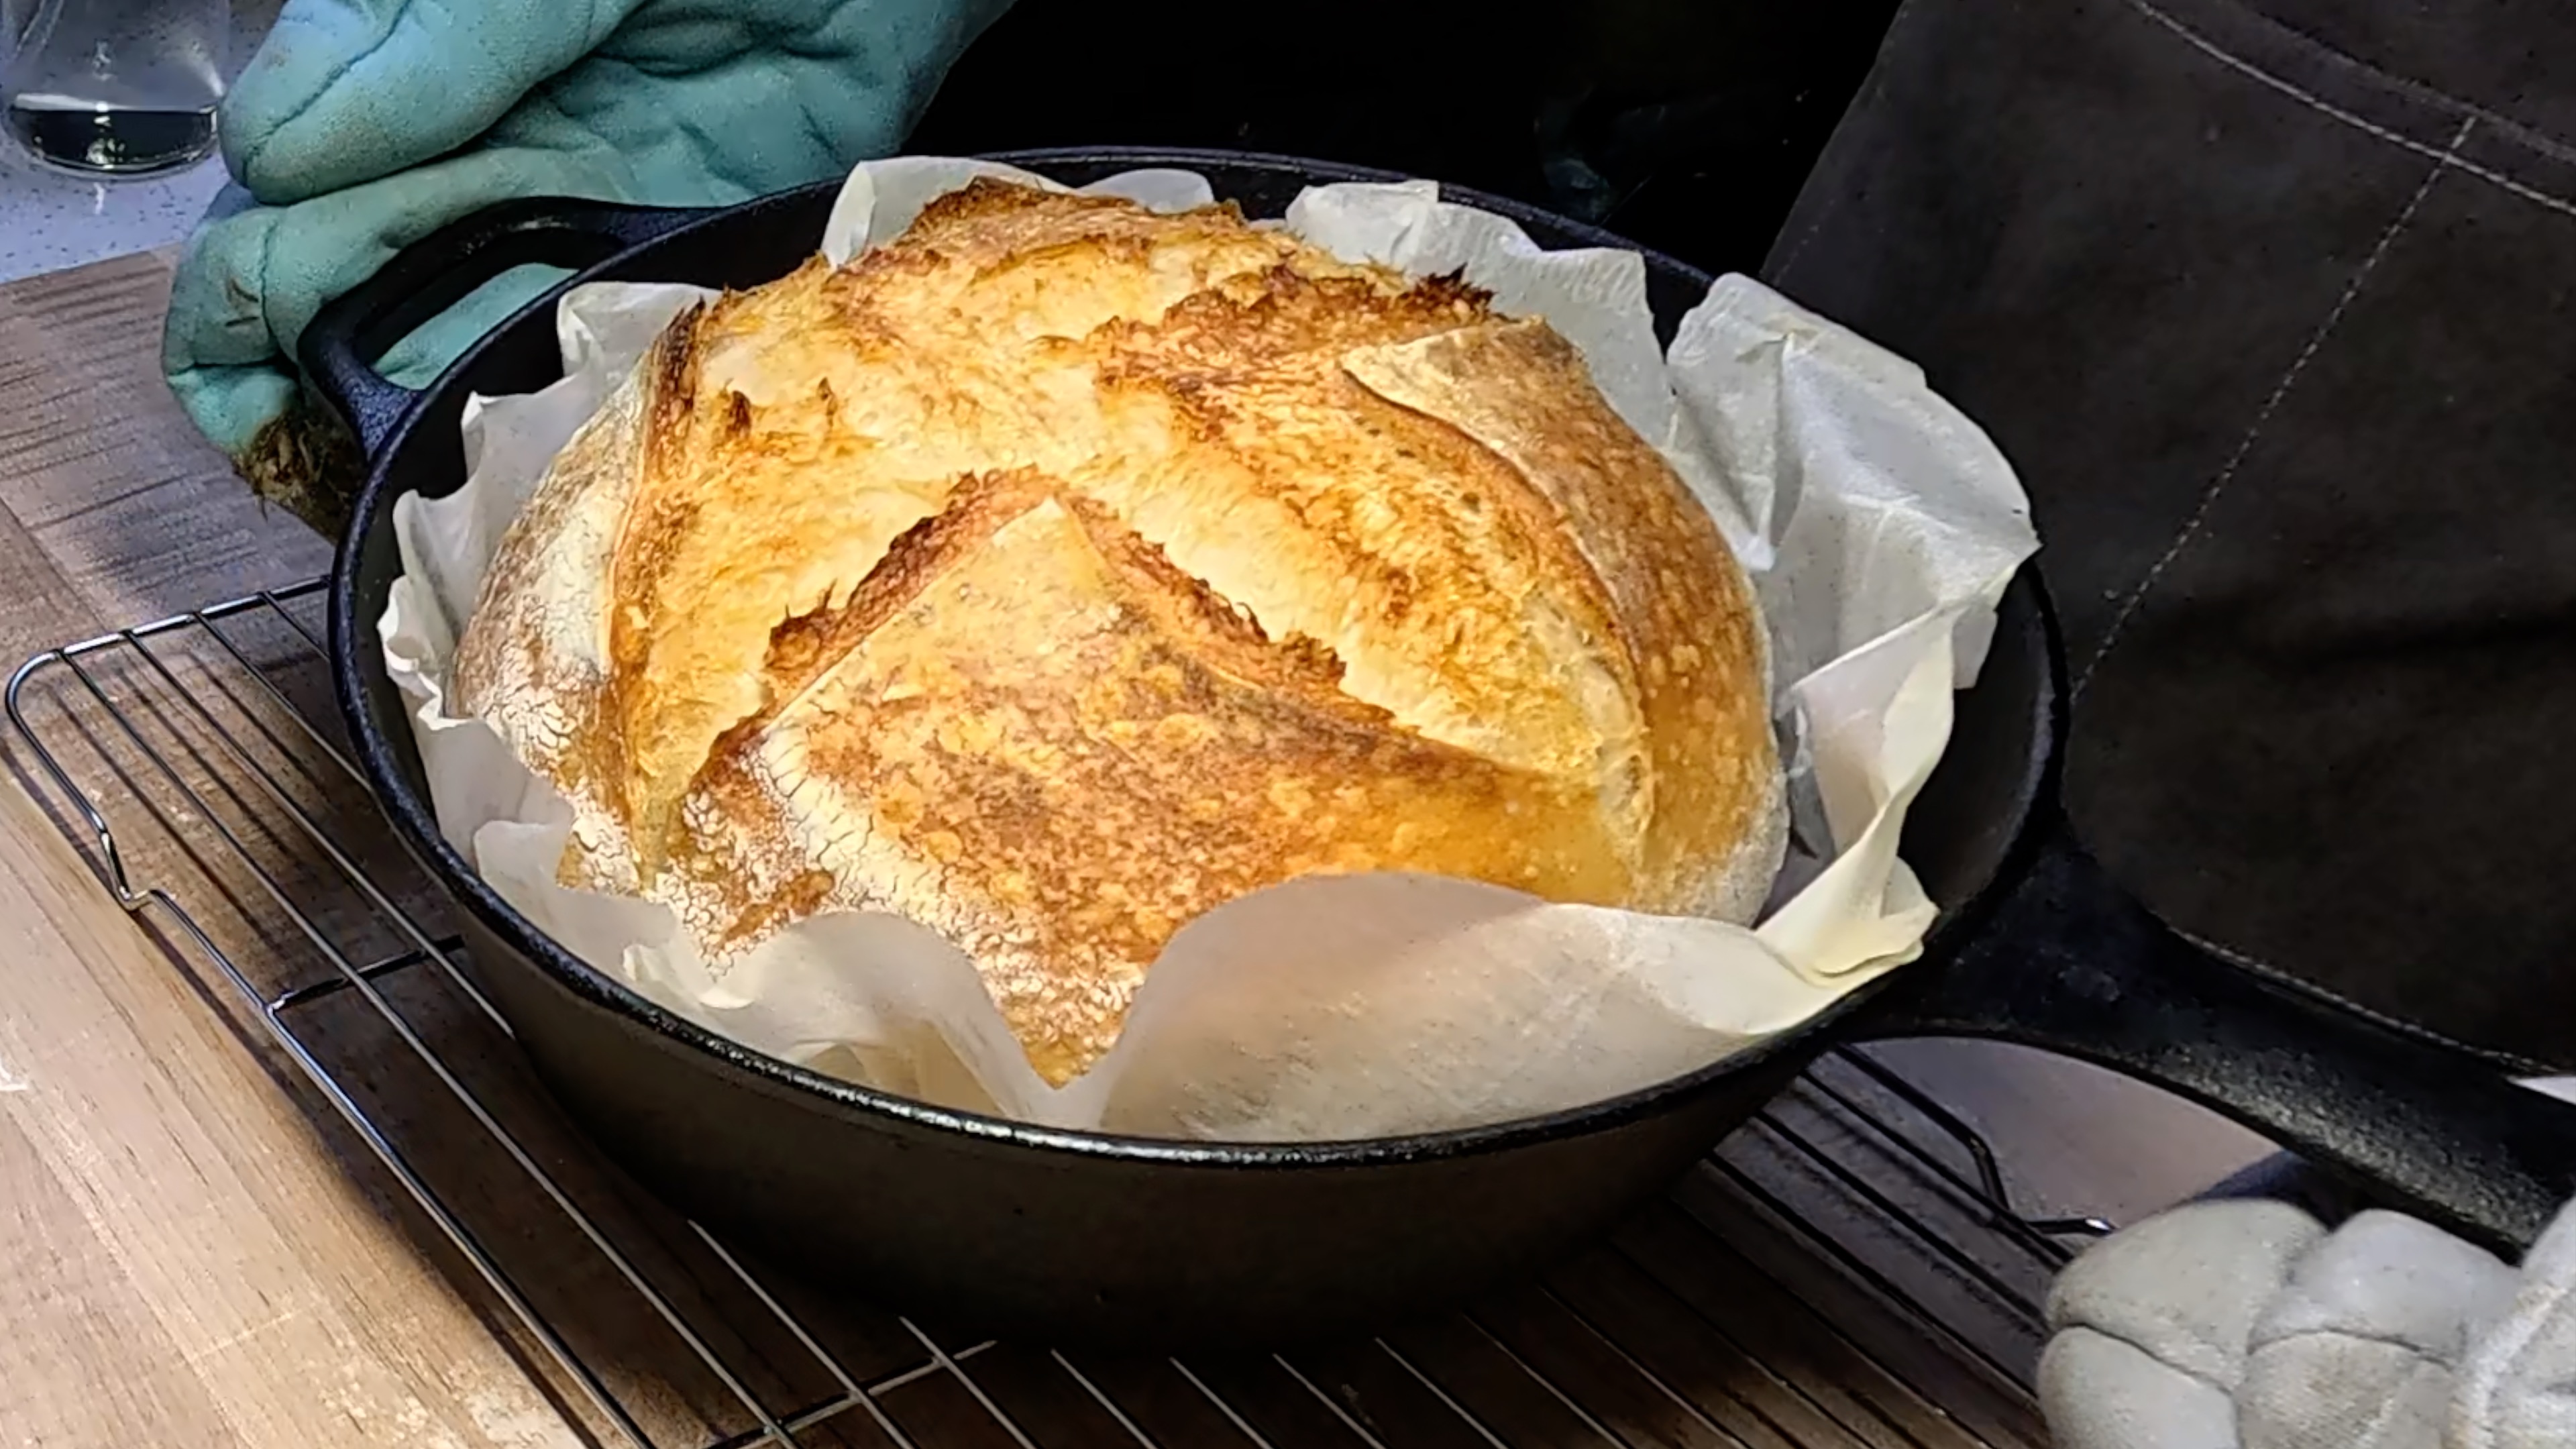
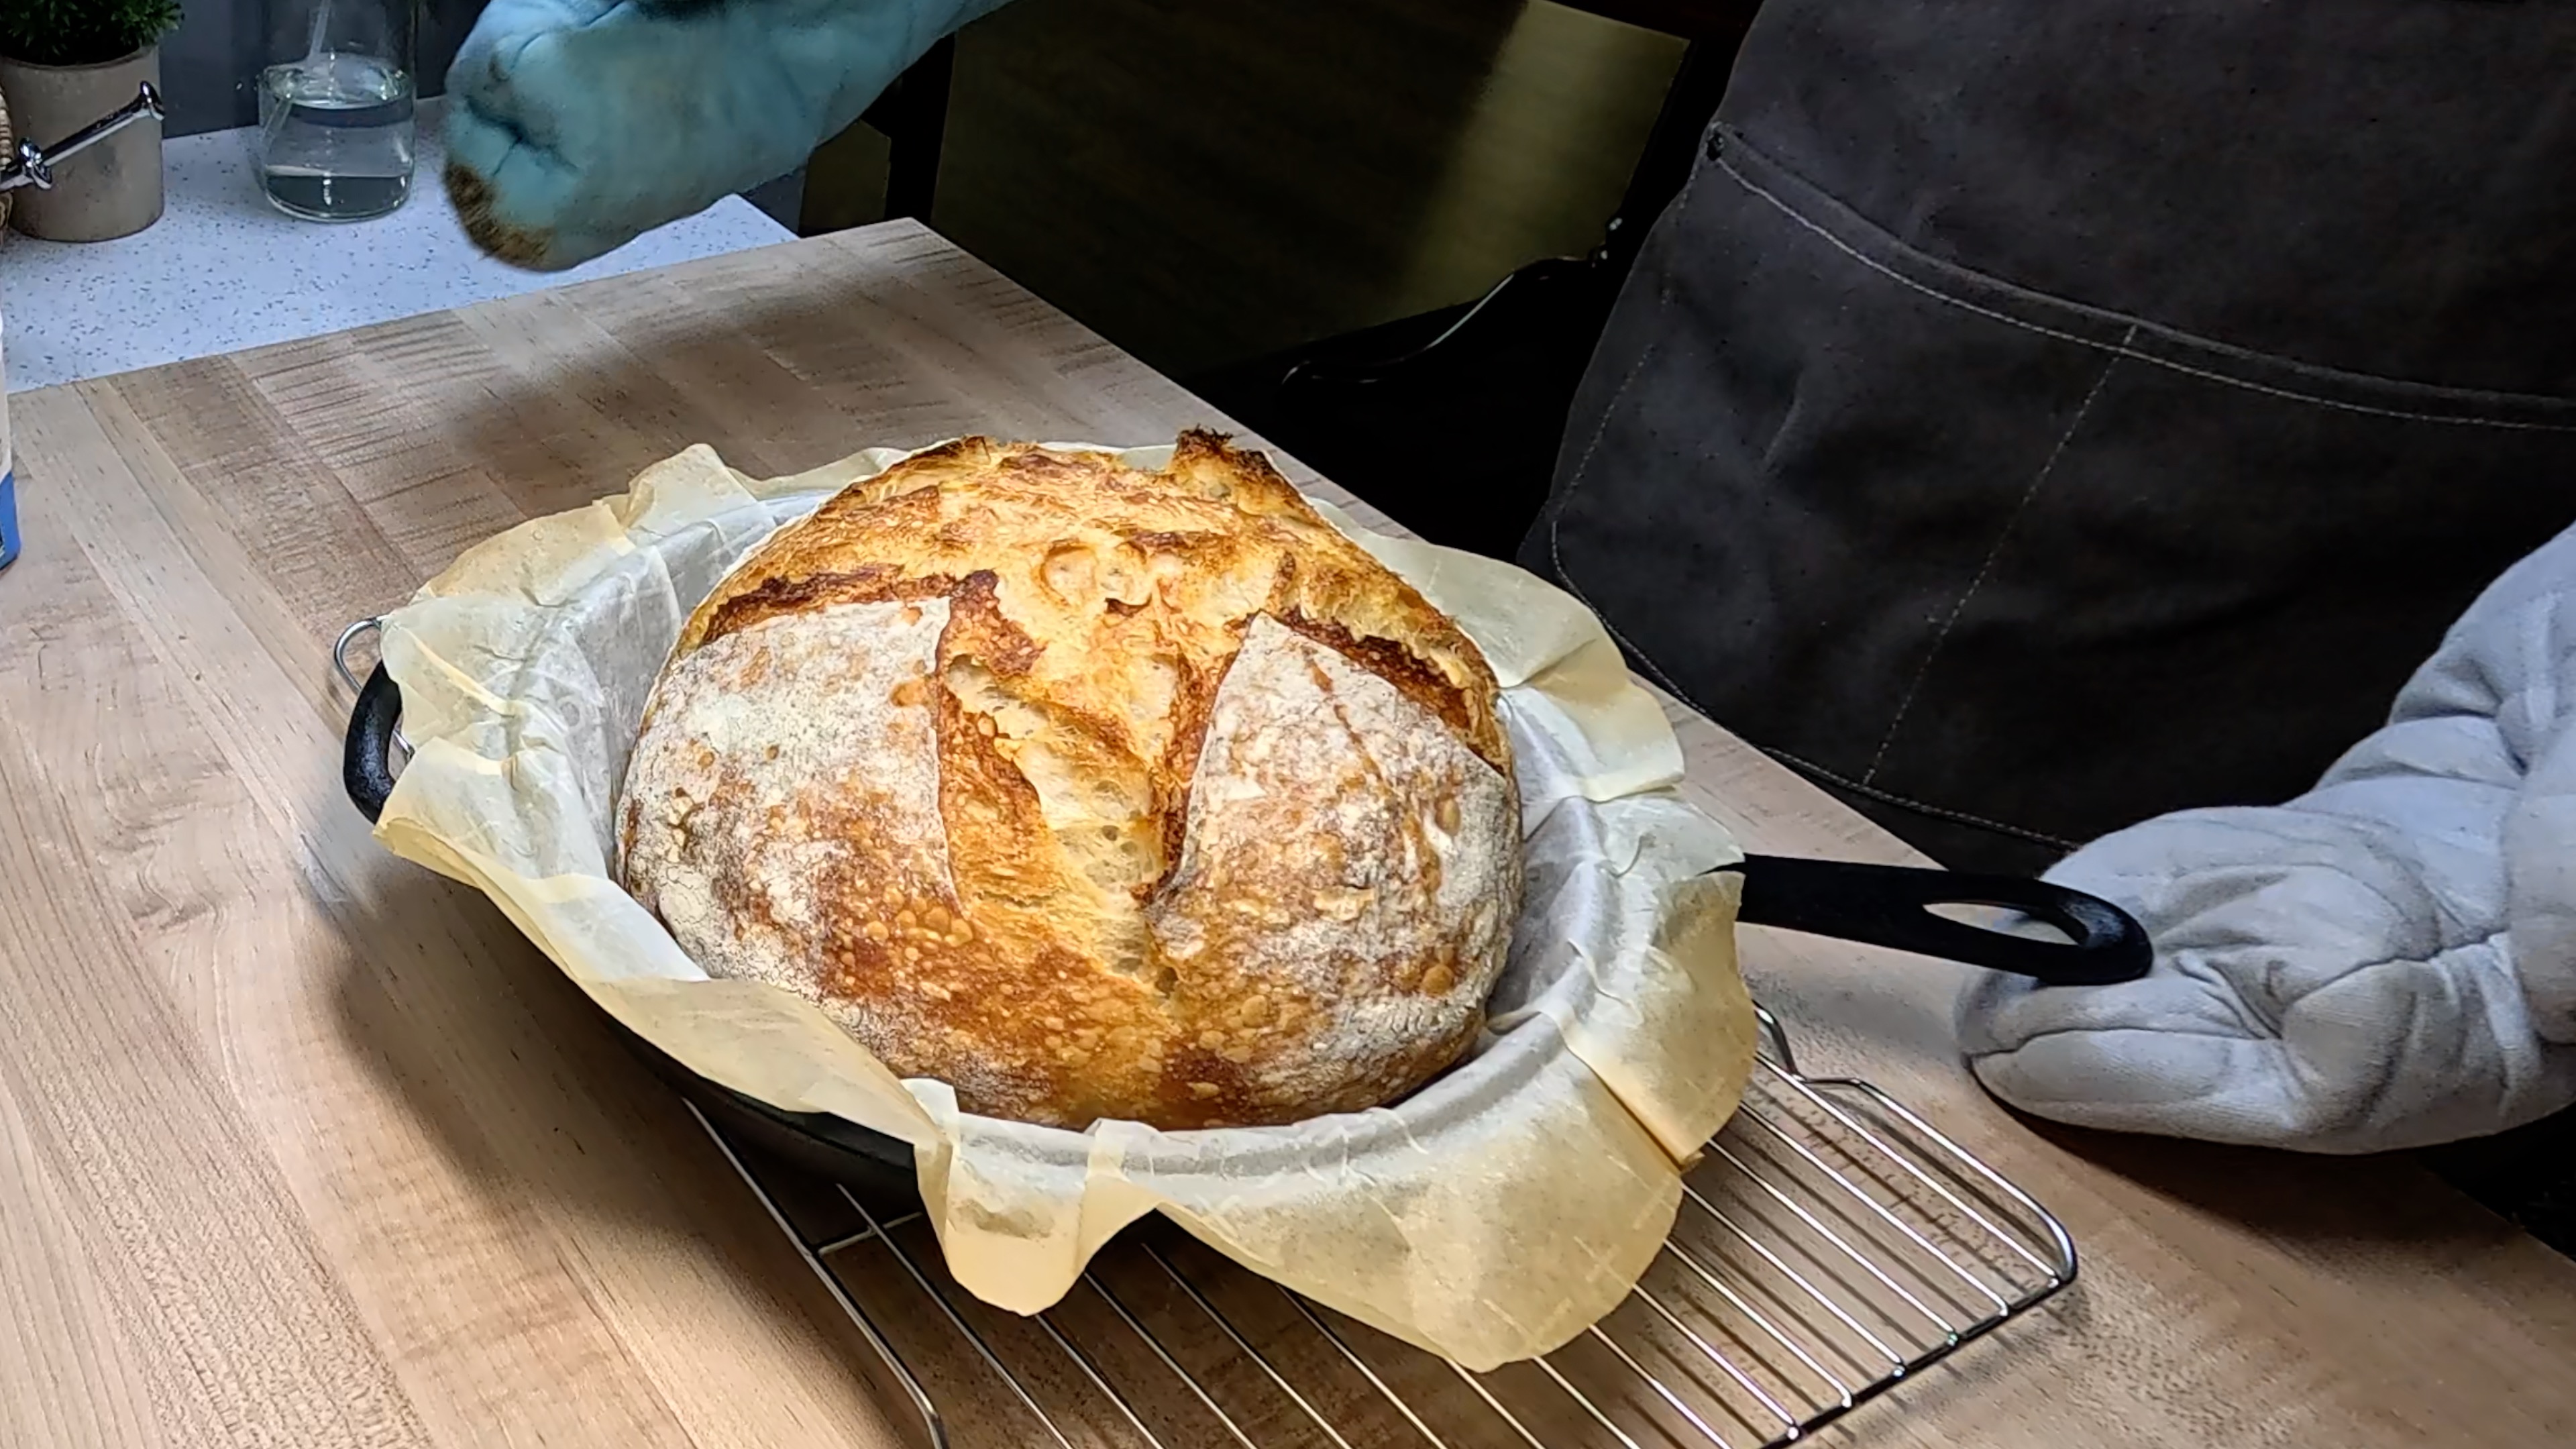
SCORE AND BAKE: When your oven is fully preheated, remove your banneton from the refrigerator. Cut a piece of parchment paper slightly larger than your loaf and set it on the back of a baking sheet or a pizza peel to use as a transfer tool. Invert the banneton over the parchment so the boule releases gently, seam-side down. Work quickly now while the dough is still cold. Using a sharp lame or razor blade held at a 30 to 45 degree angle, score the top of the boule with one confident slash or your desired pattern. A single curved score along one side allows the loaf to open up dramatically in the oven. Open the oven door, slide the loaf with parchment onto the hot baking stone, and immediately pour the boiling water into the pan below to create a burst of steam. Close the oven door quickly to trap the steam inside. Bake at 500 degrees F with steam for 15 minutes, then carefully remove the steam pan, reduce the oven temperature to 450 degrees F (230 degrees C), and continue baking for another 25 to 35 minutes until the crust is a deep mahogany brown and the loaf sounds hollow when tapped on the bottom. Trust the color here. A deeply baked crust means a crust with real crunch and incredible flavor.
- 8
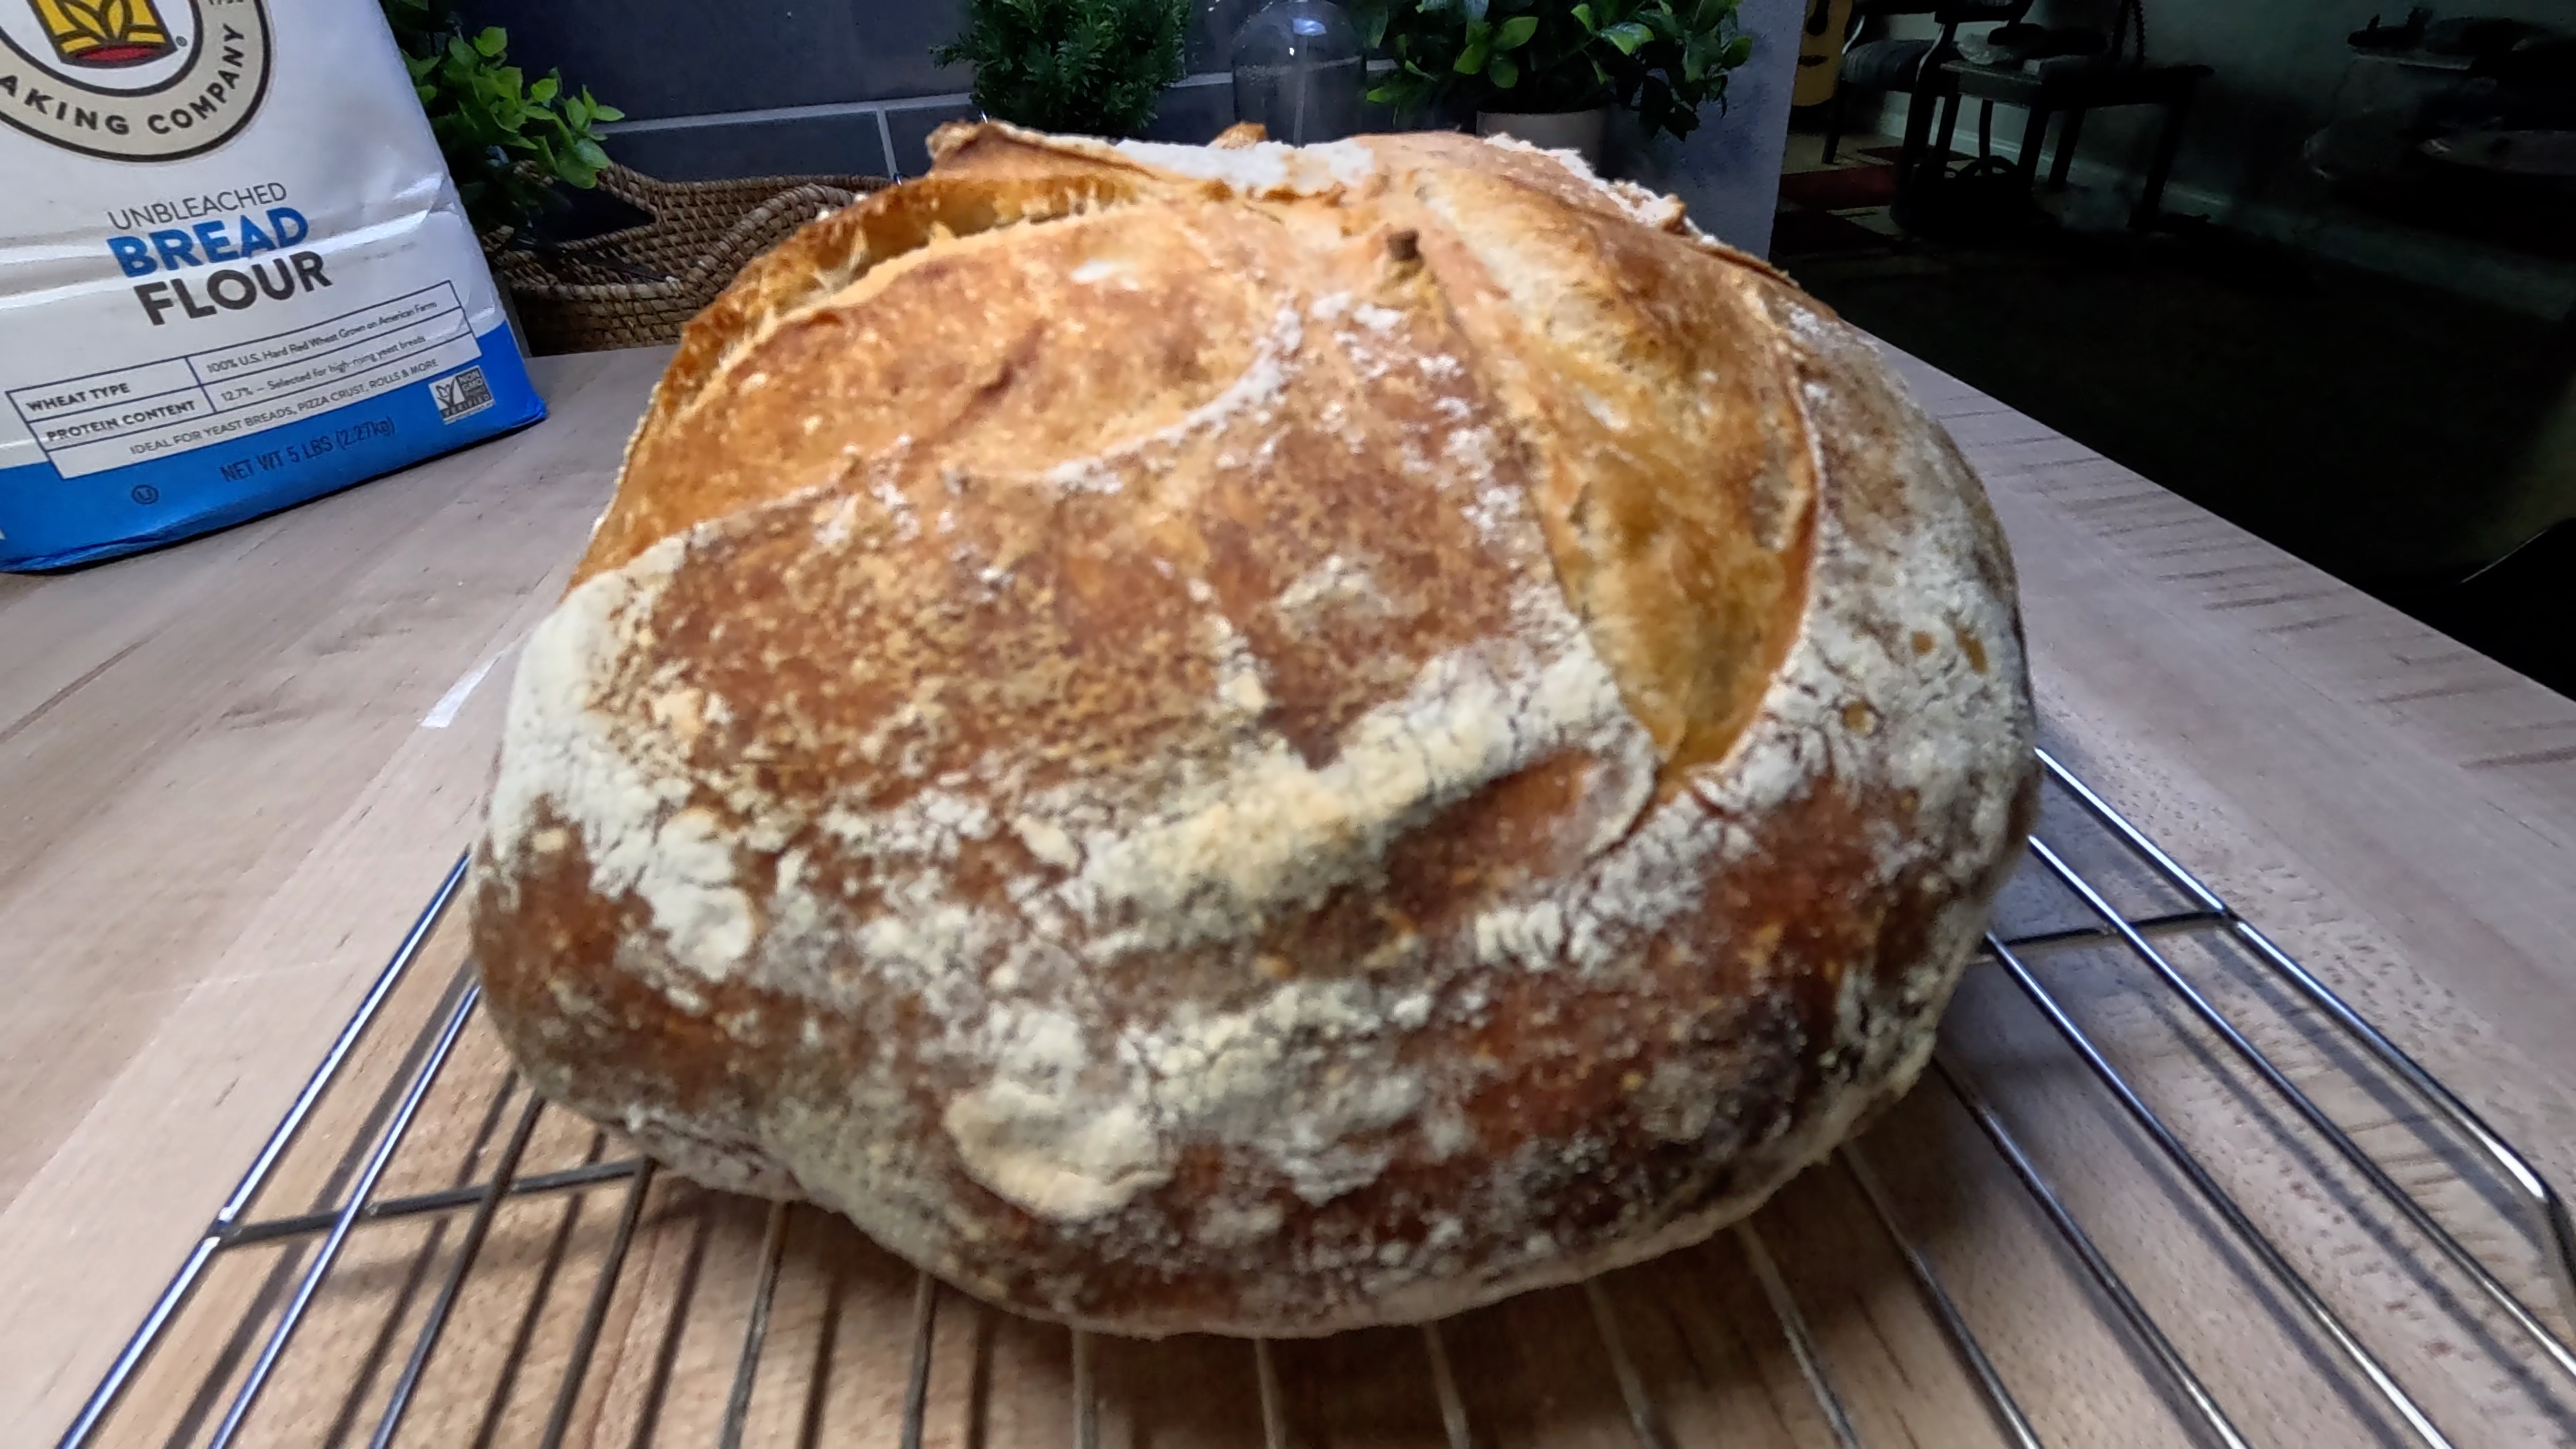
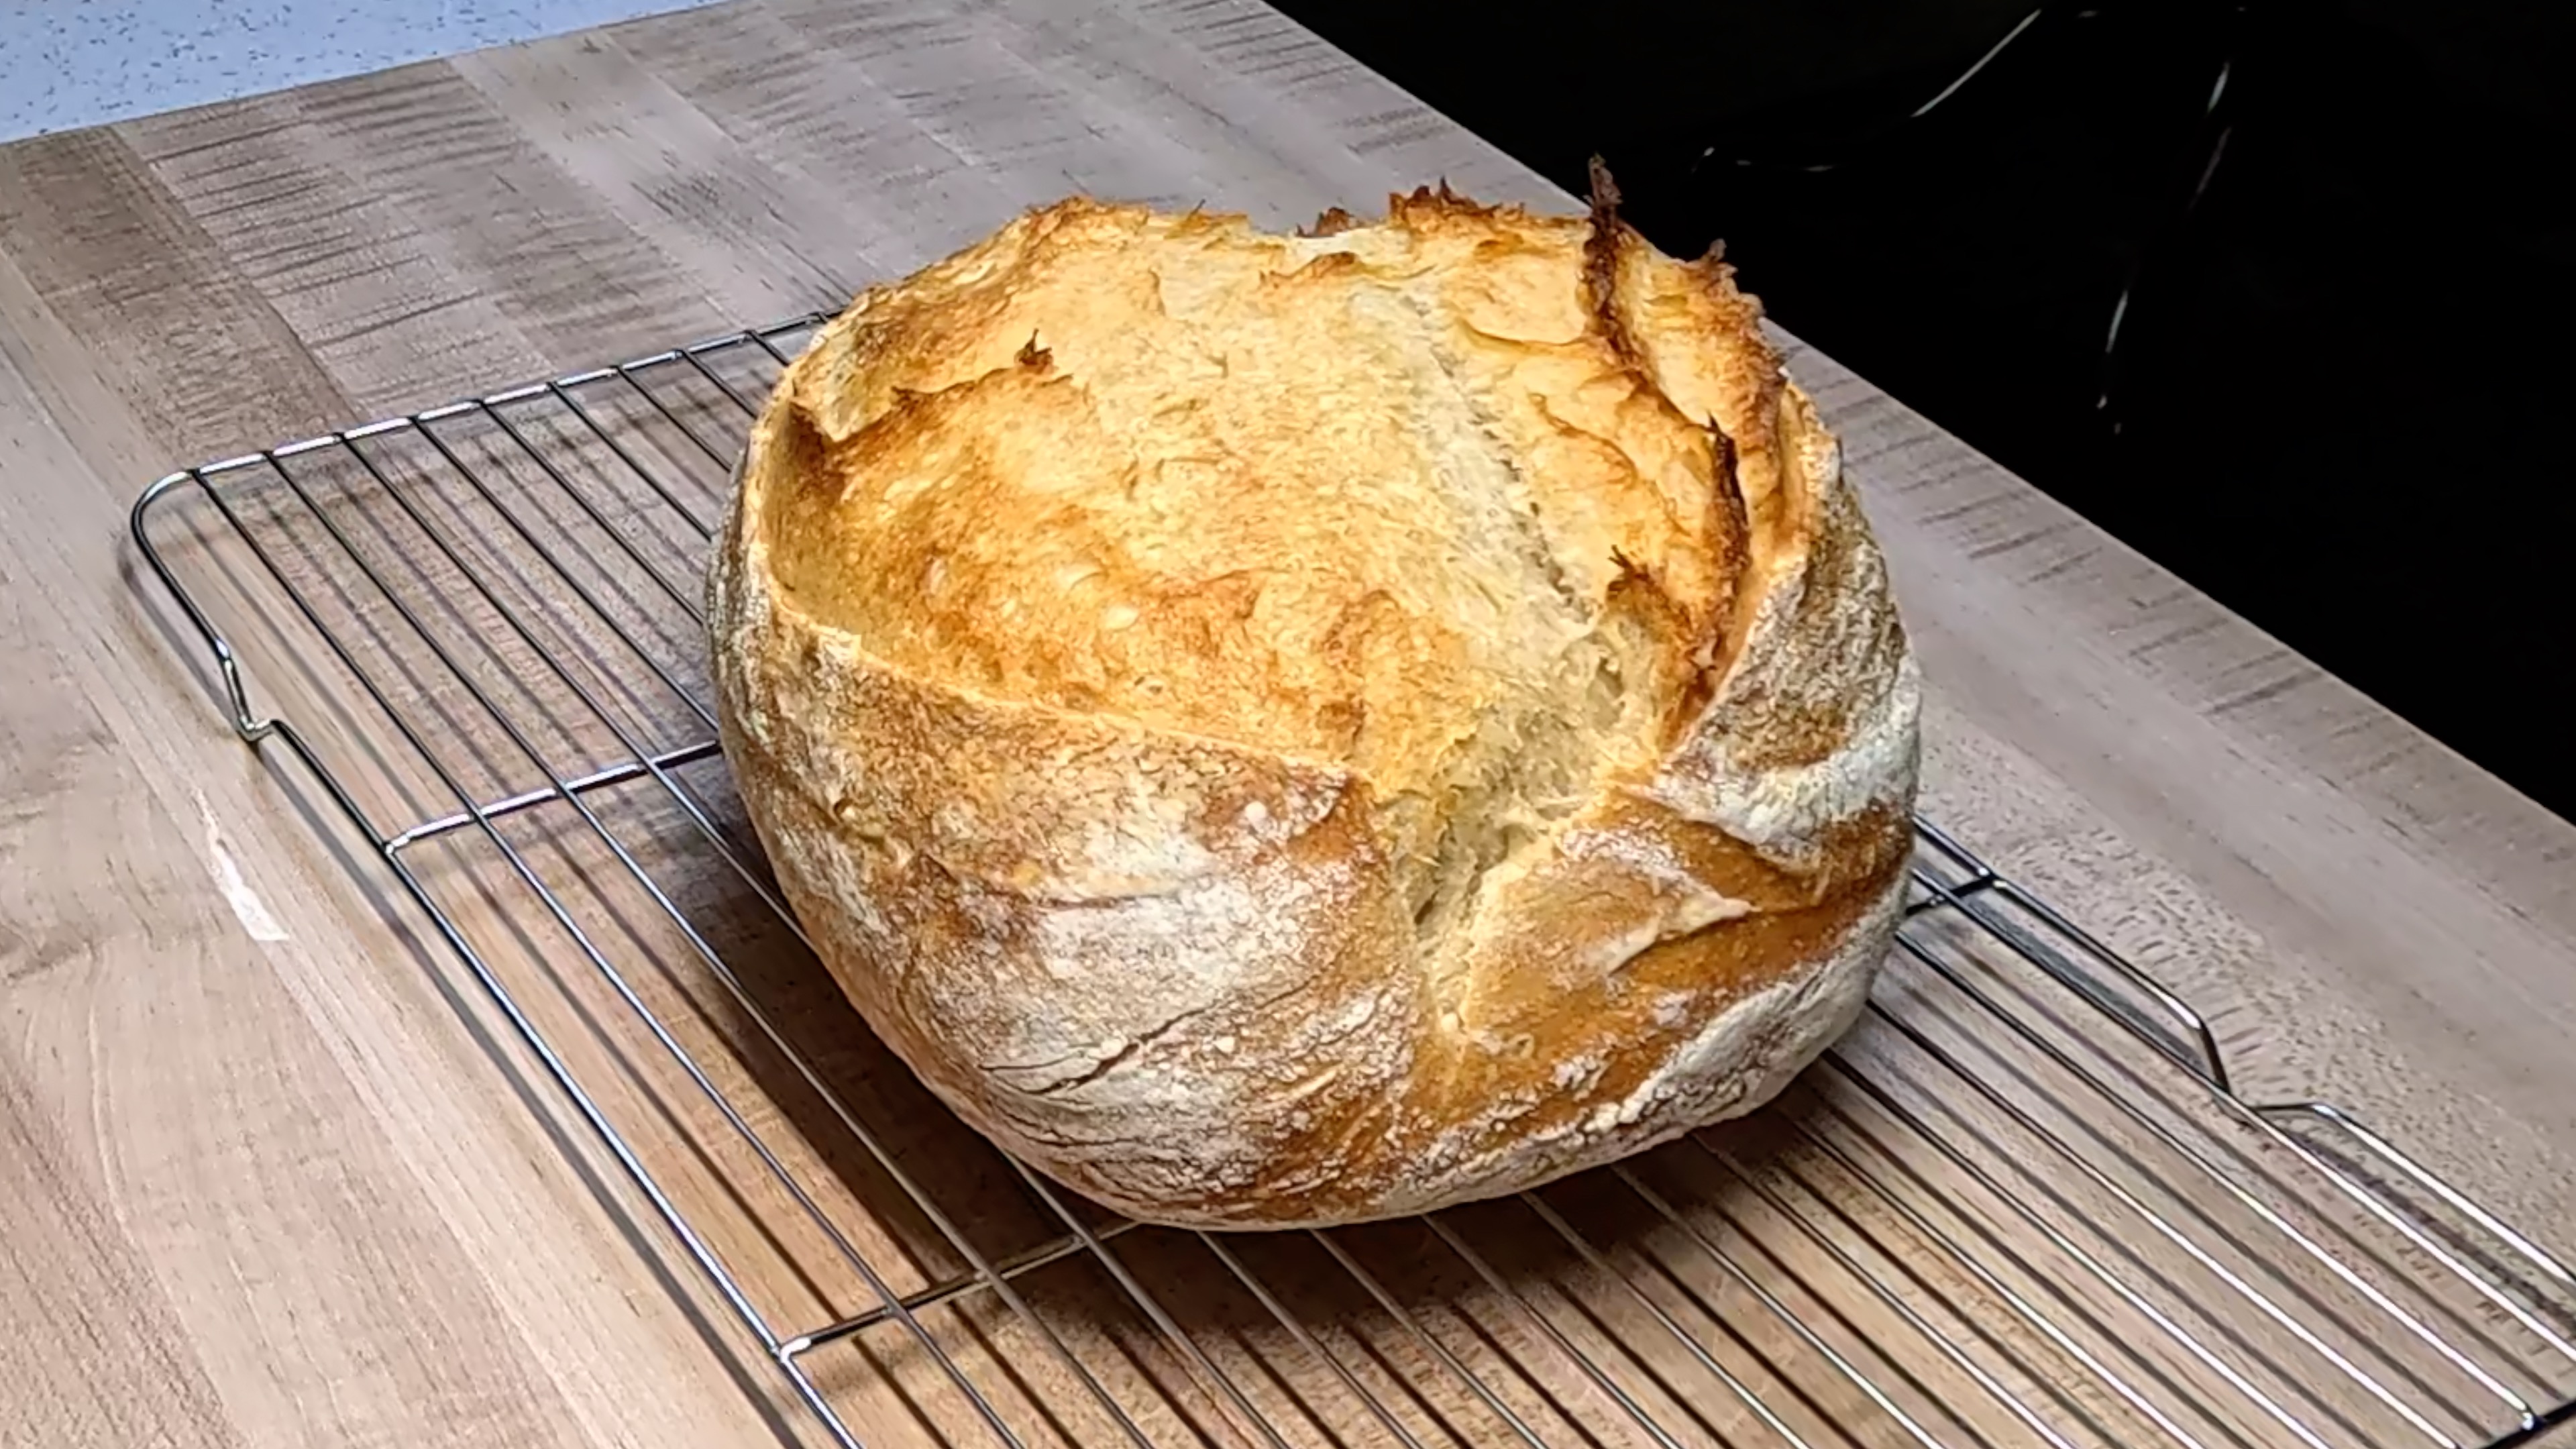
COOL YOUR LOAF: This is genuinely the hardest step of the whole process. Transfer your baked boule to a wire cooling rack and resist every urge to slice into it for at least 1 to 2 hours. The interior of the loaf is still actively setting as it cools. Cutting too early releases the steam trapped inside and can make the crumb gummy and dense. As it cools you will hear it singing, those little crackles and pops are the crust contracting and setting. Listen for the crackle. It is the sound of a job beautifully done. When you finally slice into it, you should be greeted by an open, irregular crumb, a creamy interior, and a crust that shatters satisfyingly under the knife. You did it. Enjoy every single bite.
Baker's Tips
- •Bread flour gives this boule strength and chew. Its higher protein content builds the gluten network that traps gas and gives you an open crumb.
- •The overnight cold proof does double duty: it develops complex flavor through slow fermentation and firms the dough for cleaner scoring.
- •Humidity matters. If your kitchen is very dry, place a damp towel over the bowl during bulk ferment to prevent a skin from forming on the dough.
- •Every kitchen is different. Warmer kitchens ferment faster. If your dough feels very active and puffy before the 2 to 3 hour mark, trust the dough, not the clock.
- •Invest in a digital scale if you have not already. Baking by weight is the single biggest upgrade you can make to your sourdough consistency.
More Like This
Baker's Toolkit
Tools and ingredients we recommend for this recipe
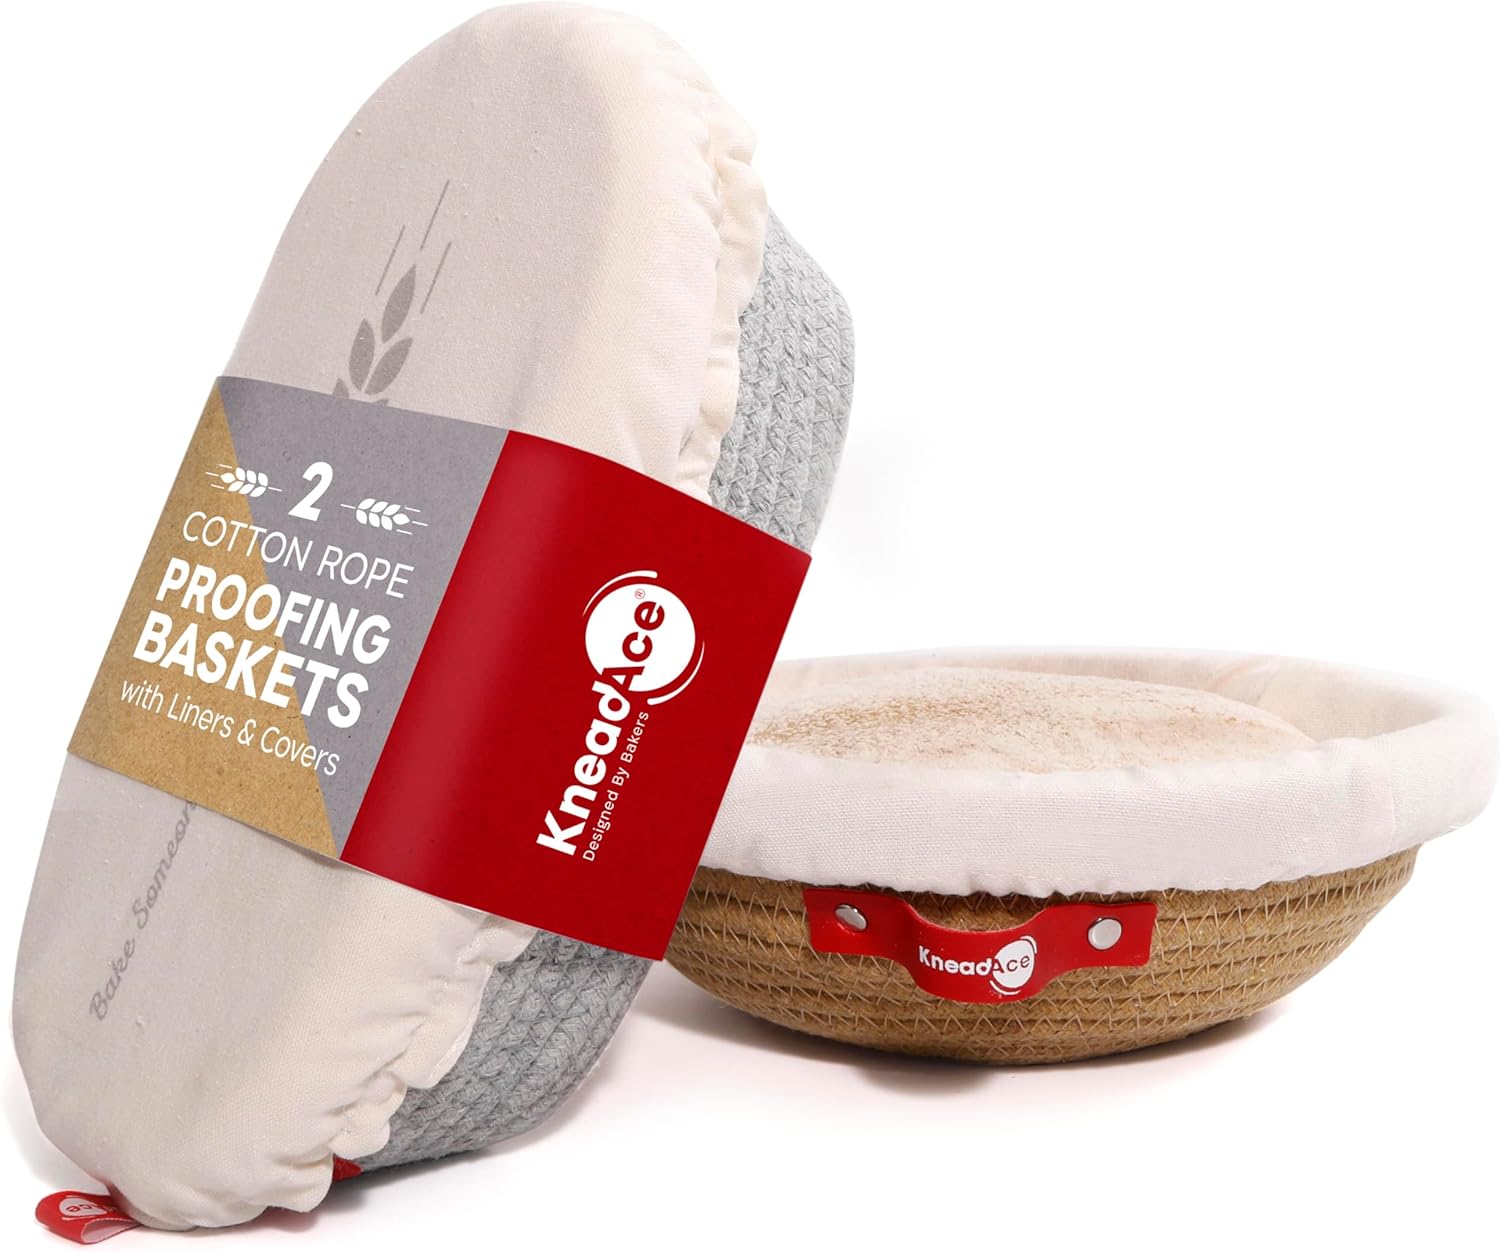
KneadAce Cotton Rope Banneton Bread Proofing Basket Set, Oval & Round Bread Baskets with Liners & Covers
View product
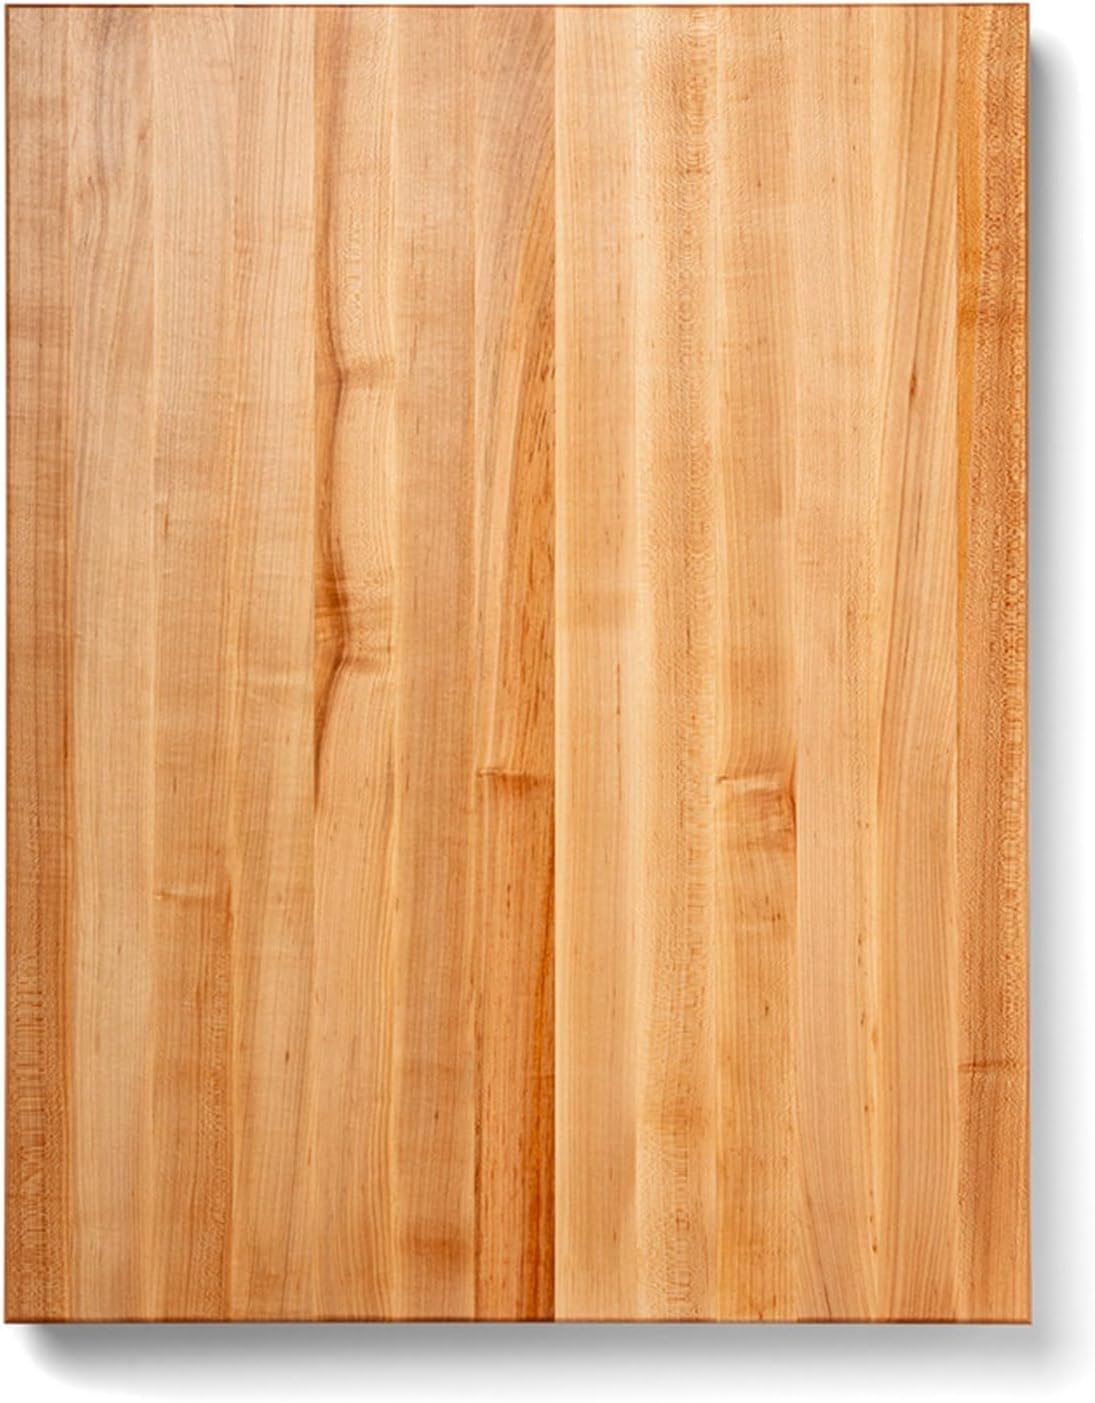
John Boos RA-Board Series Rectangular Wooden Maple Cutting Board 30”x23.25” – 2.25” Thick
View product

Sally's Organics® Empty Clear Glass Spray Bottles - Refillable 16 oz
View product
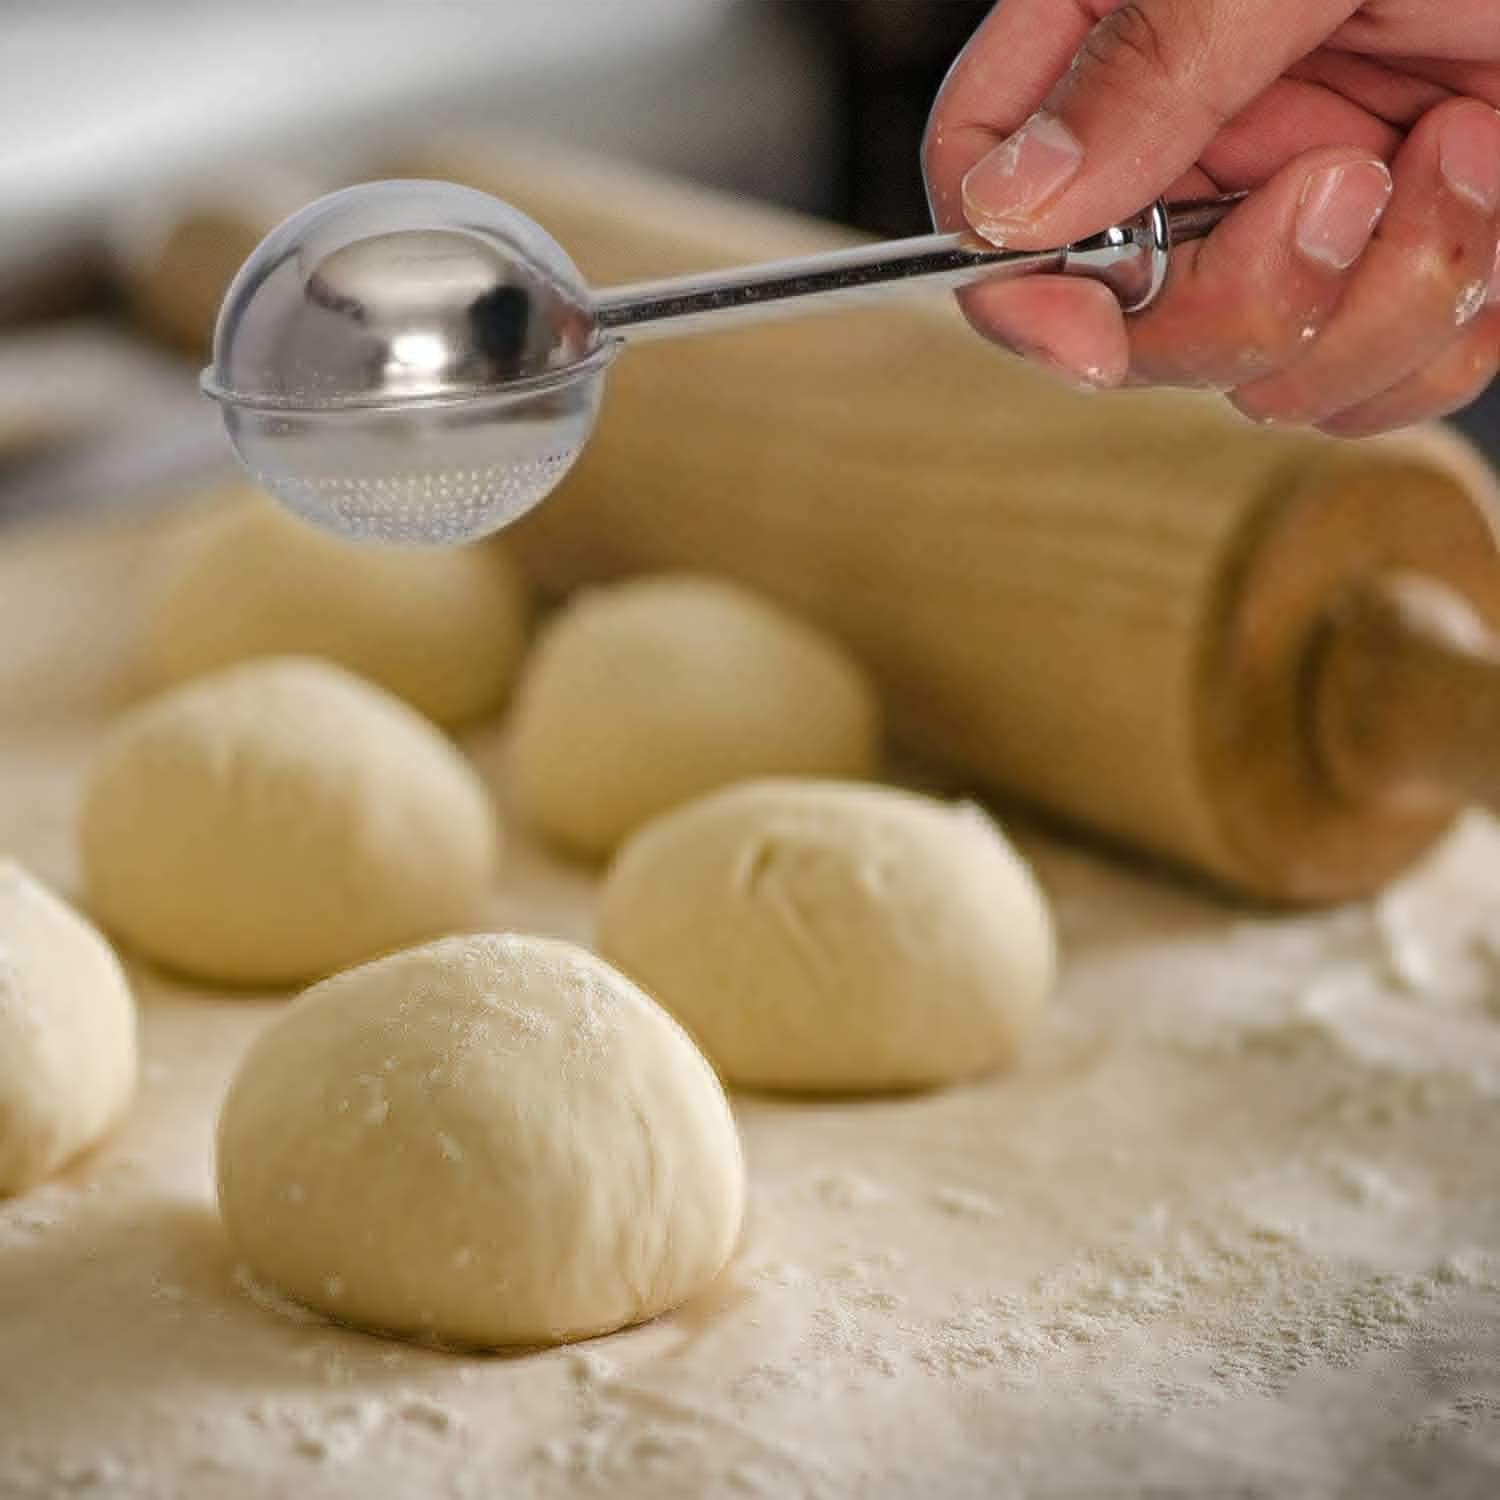
HULISEN Flour Duster for Baking, One-Handed Operation, 304 Stainless Steel Powdered Sugar Shaker Duster
View product
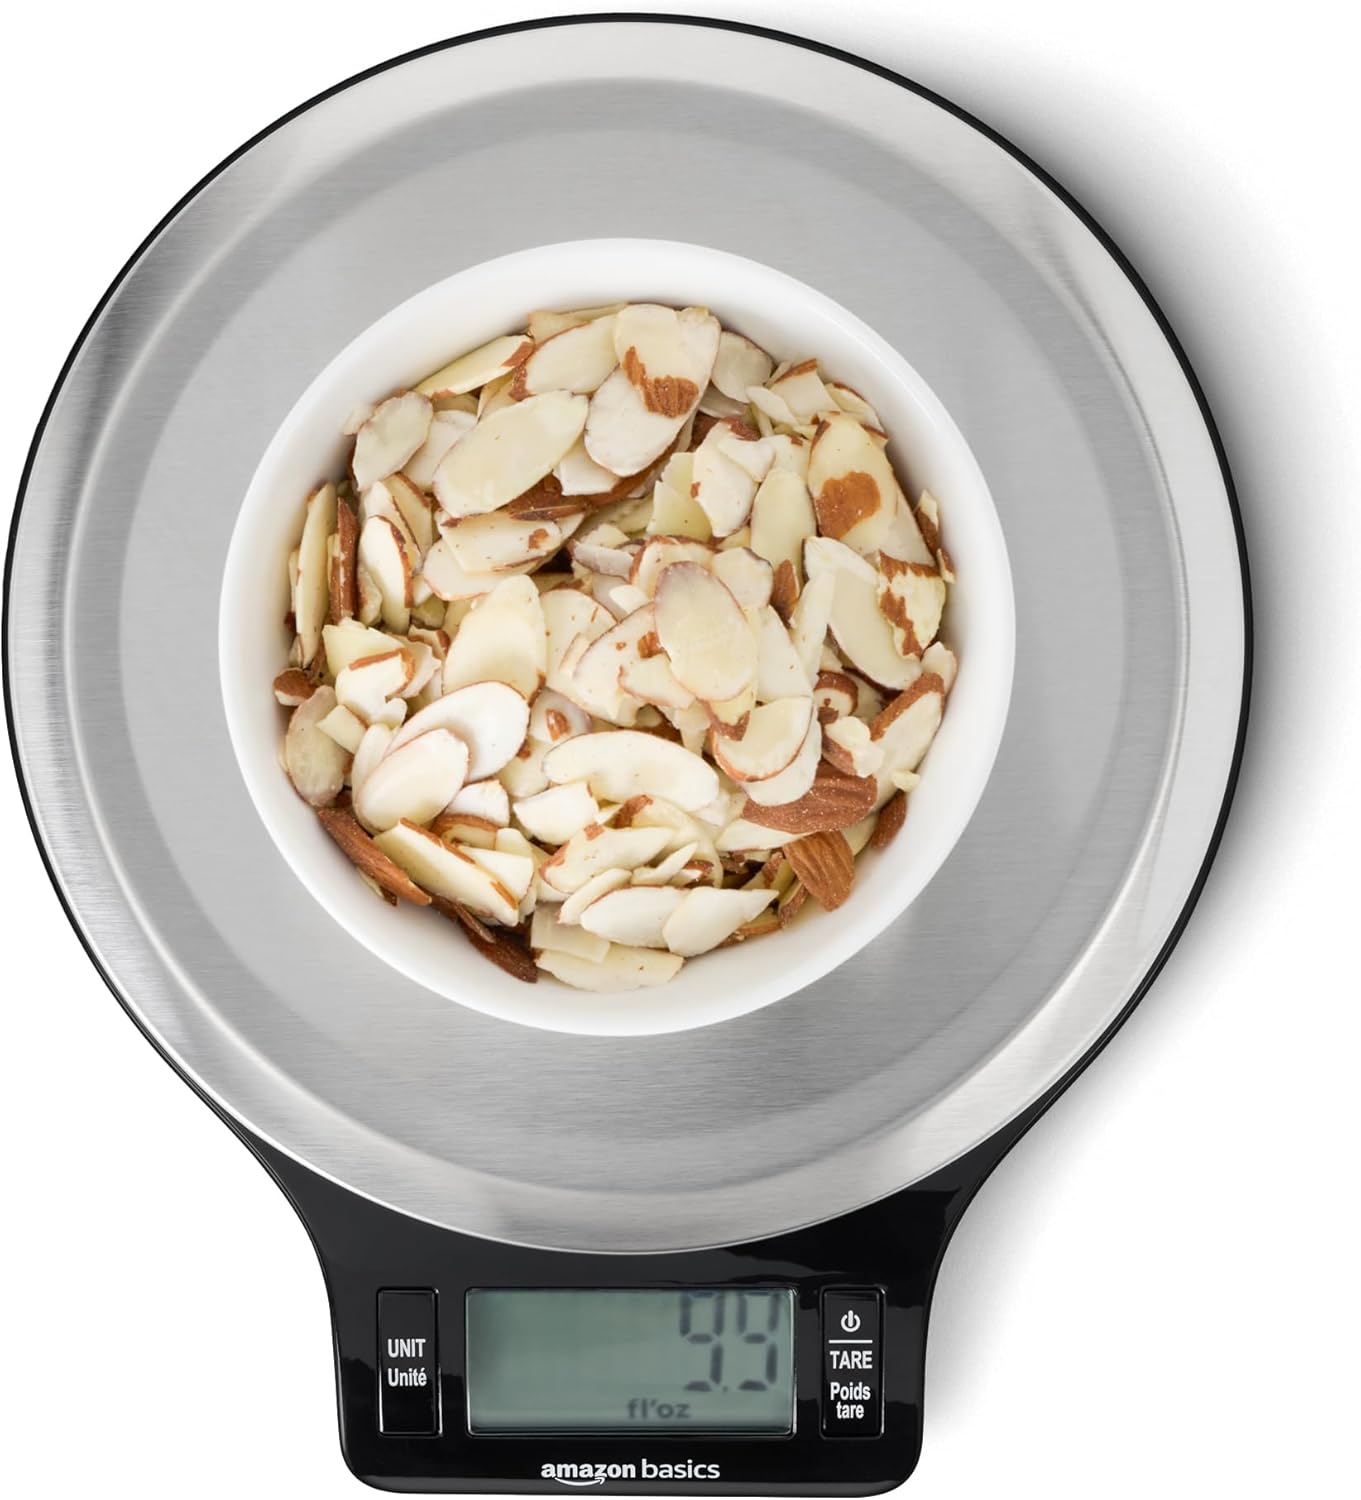
Amazon Basics Digital Kitchen Scale with LCD Display
View product
Comments
Sign in to join the conversation
Sign In