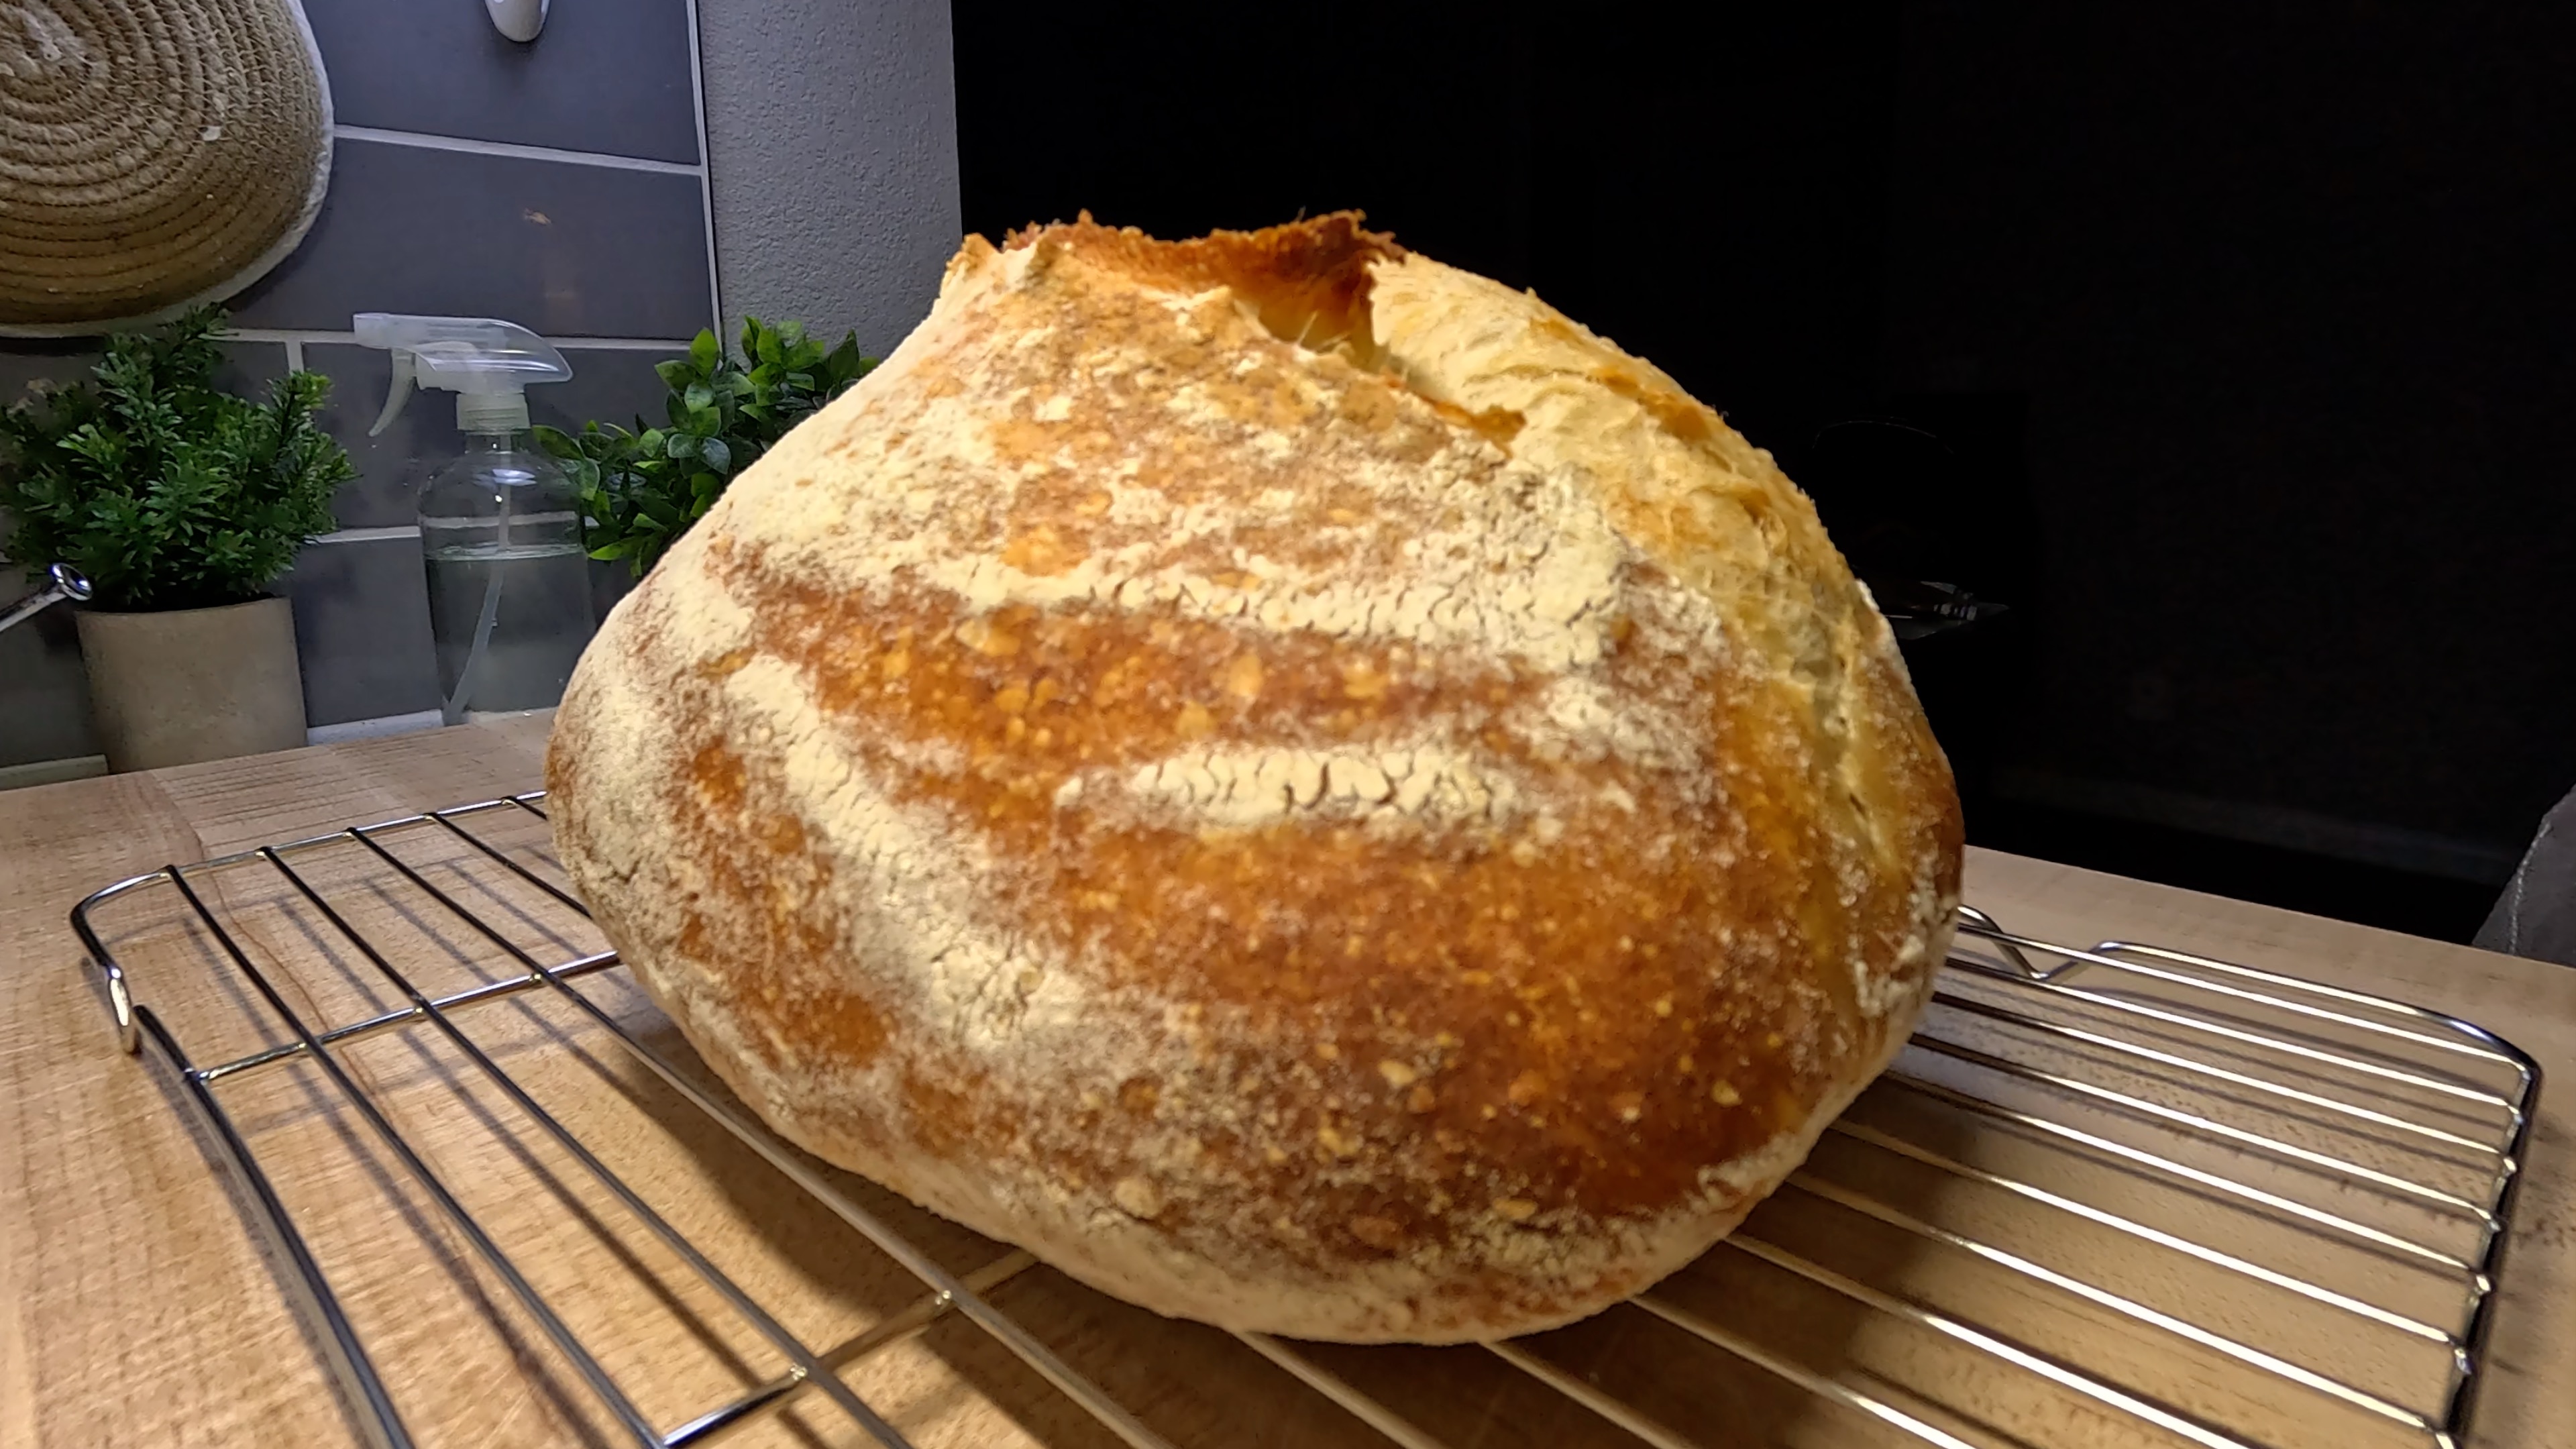
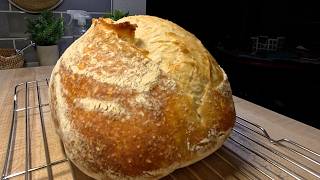
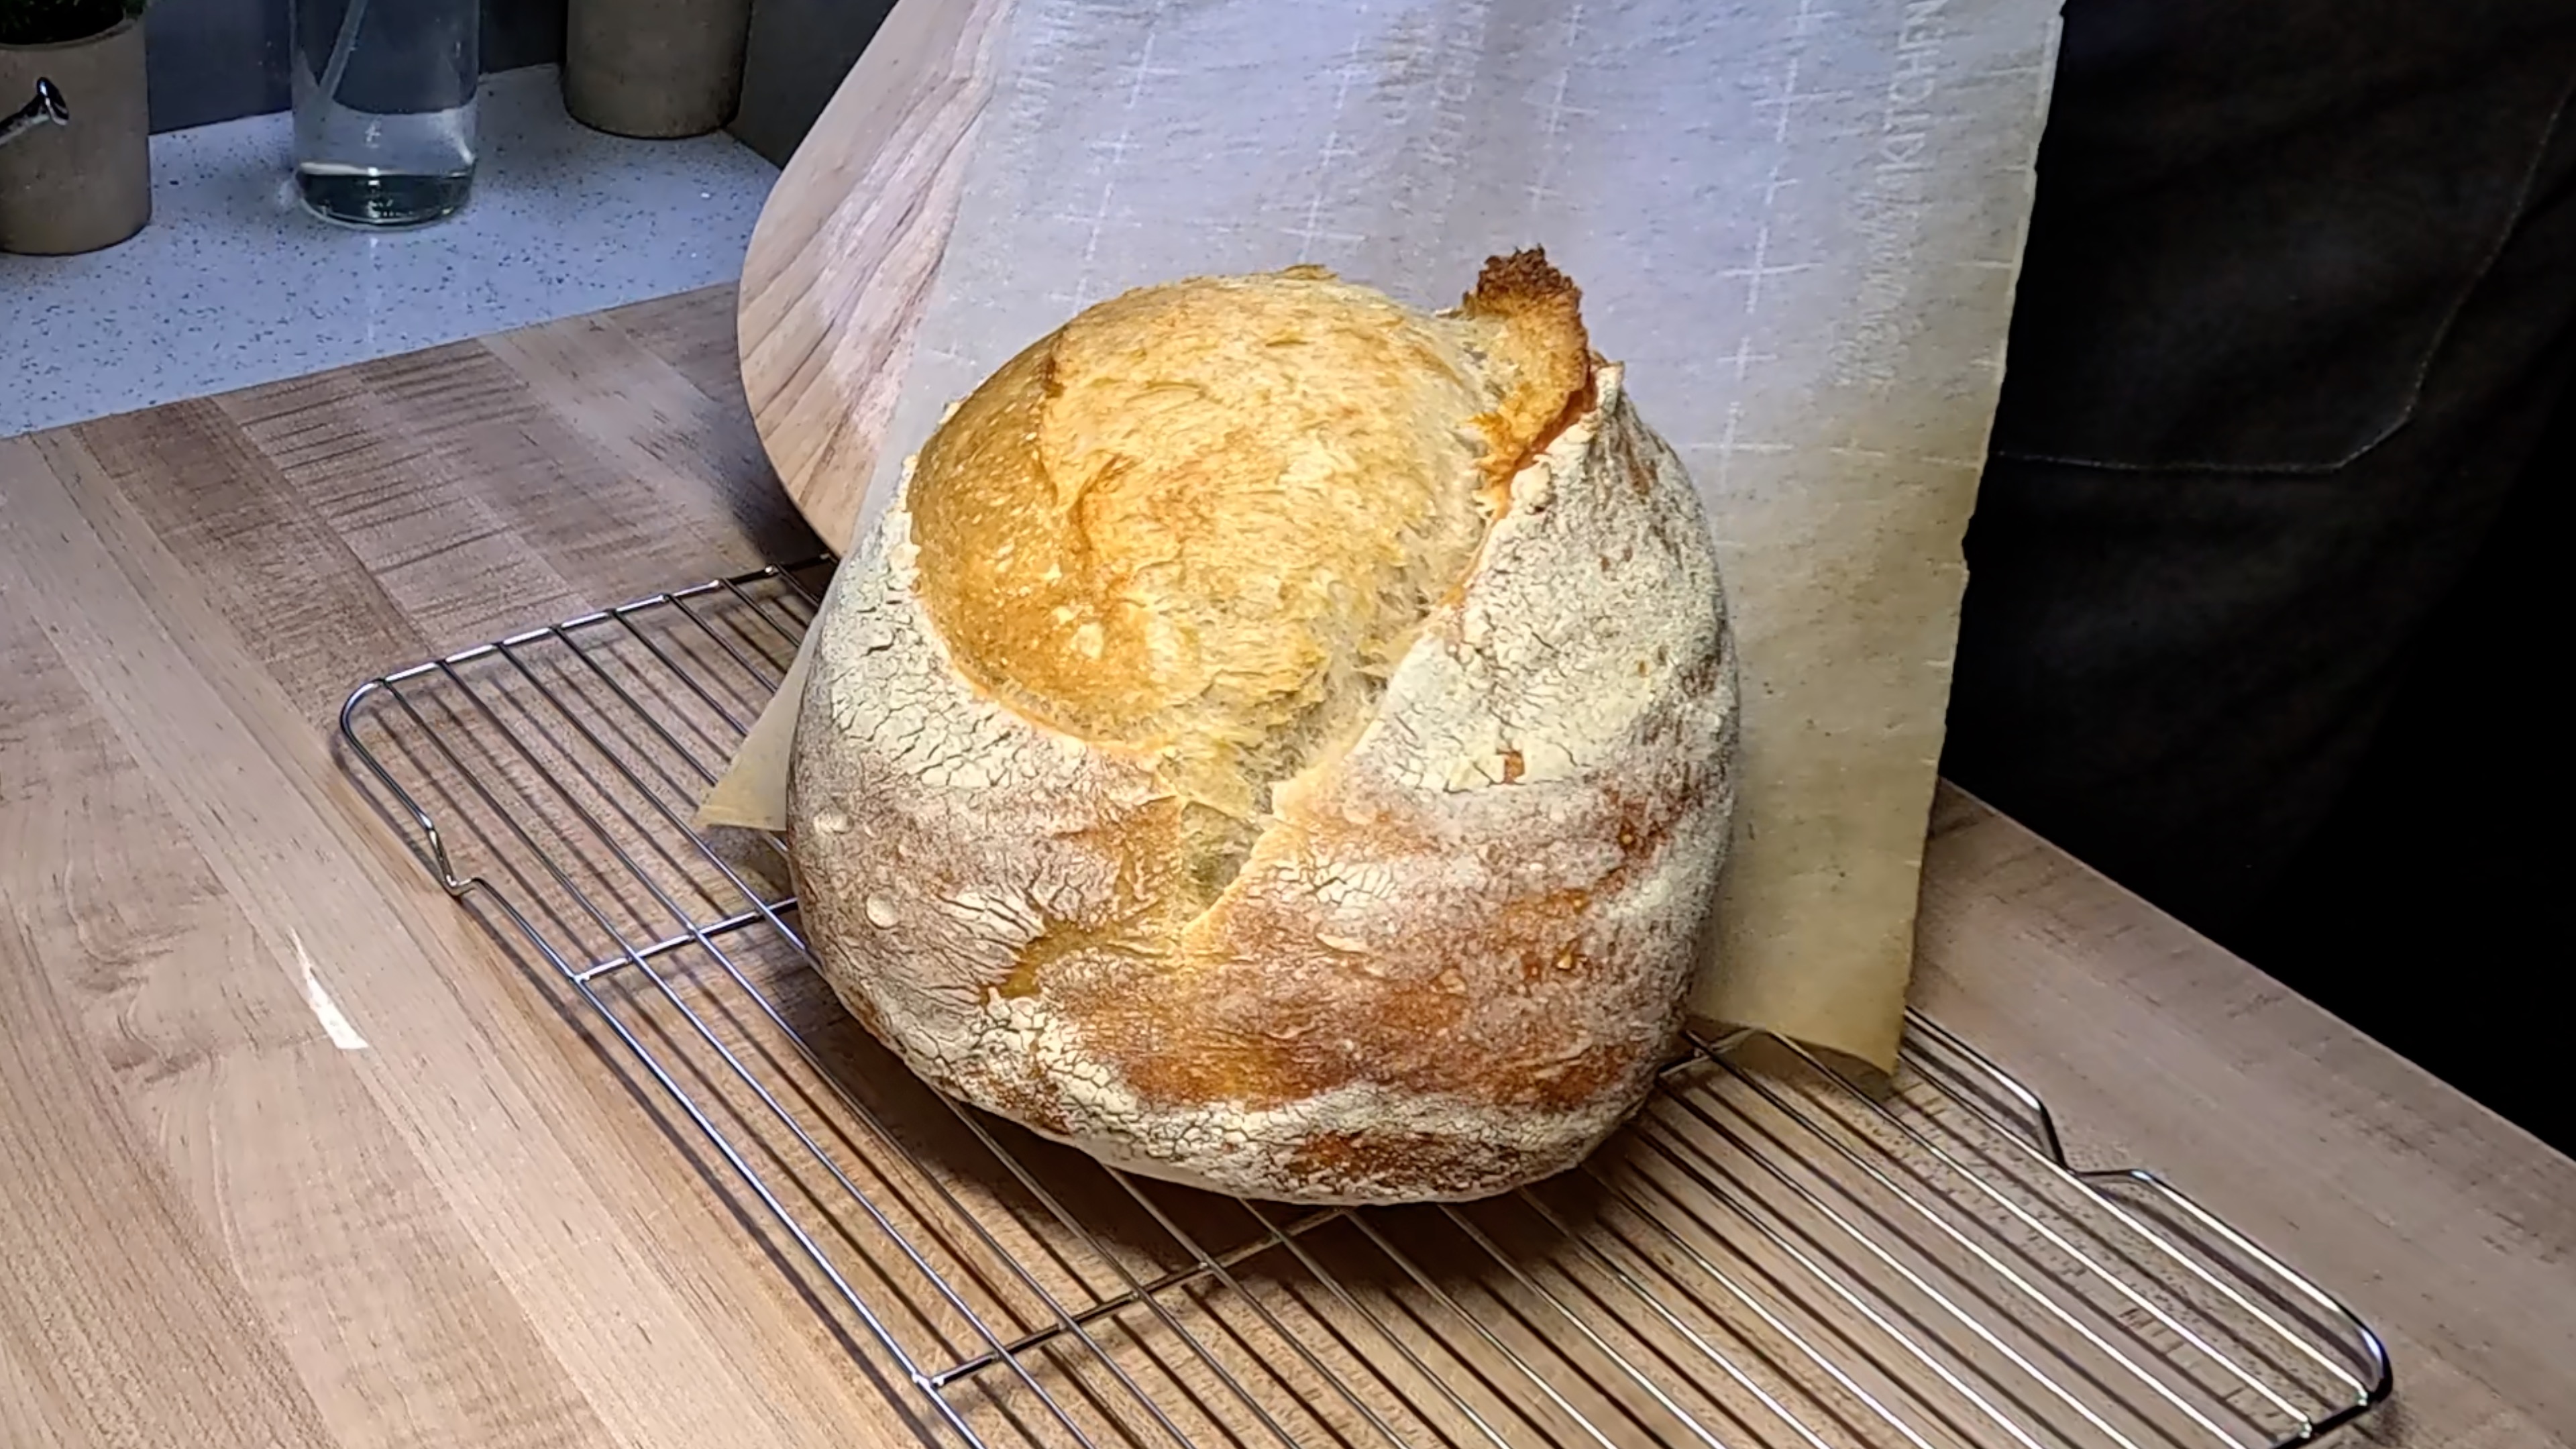
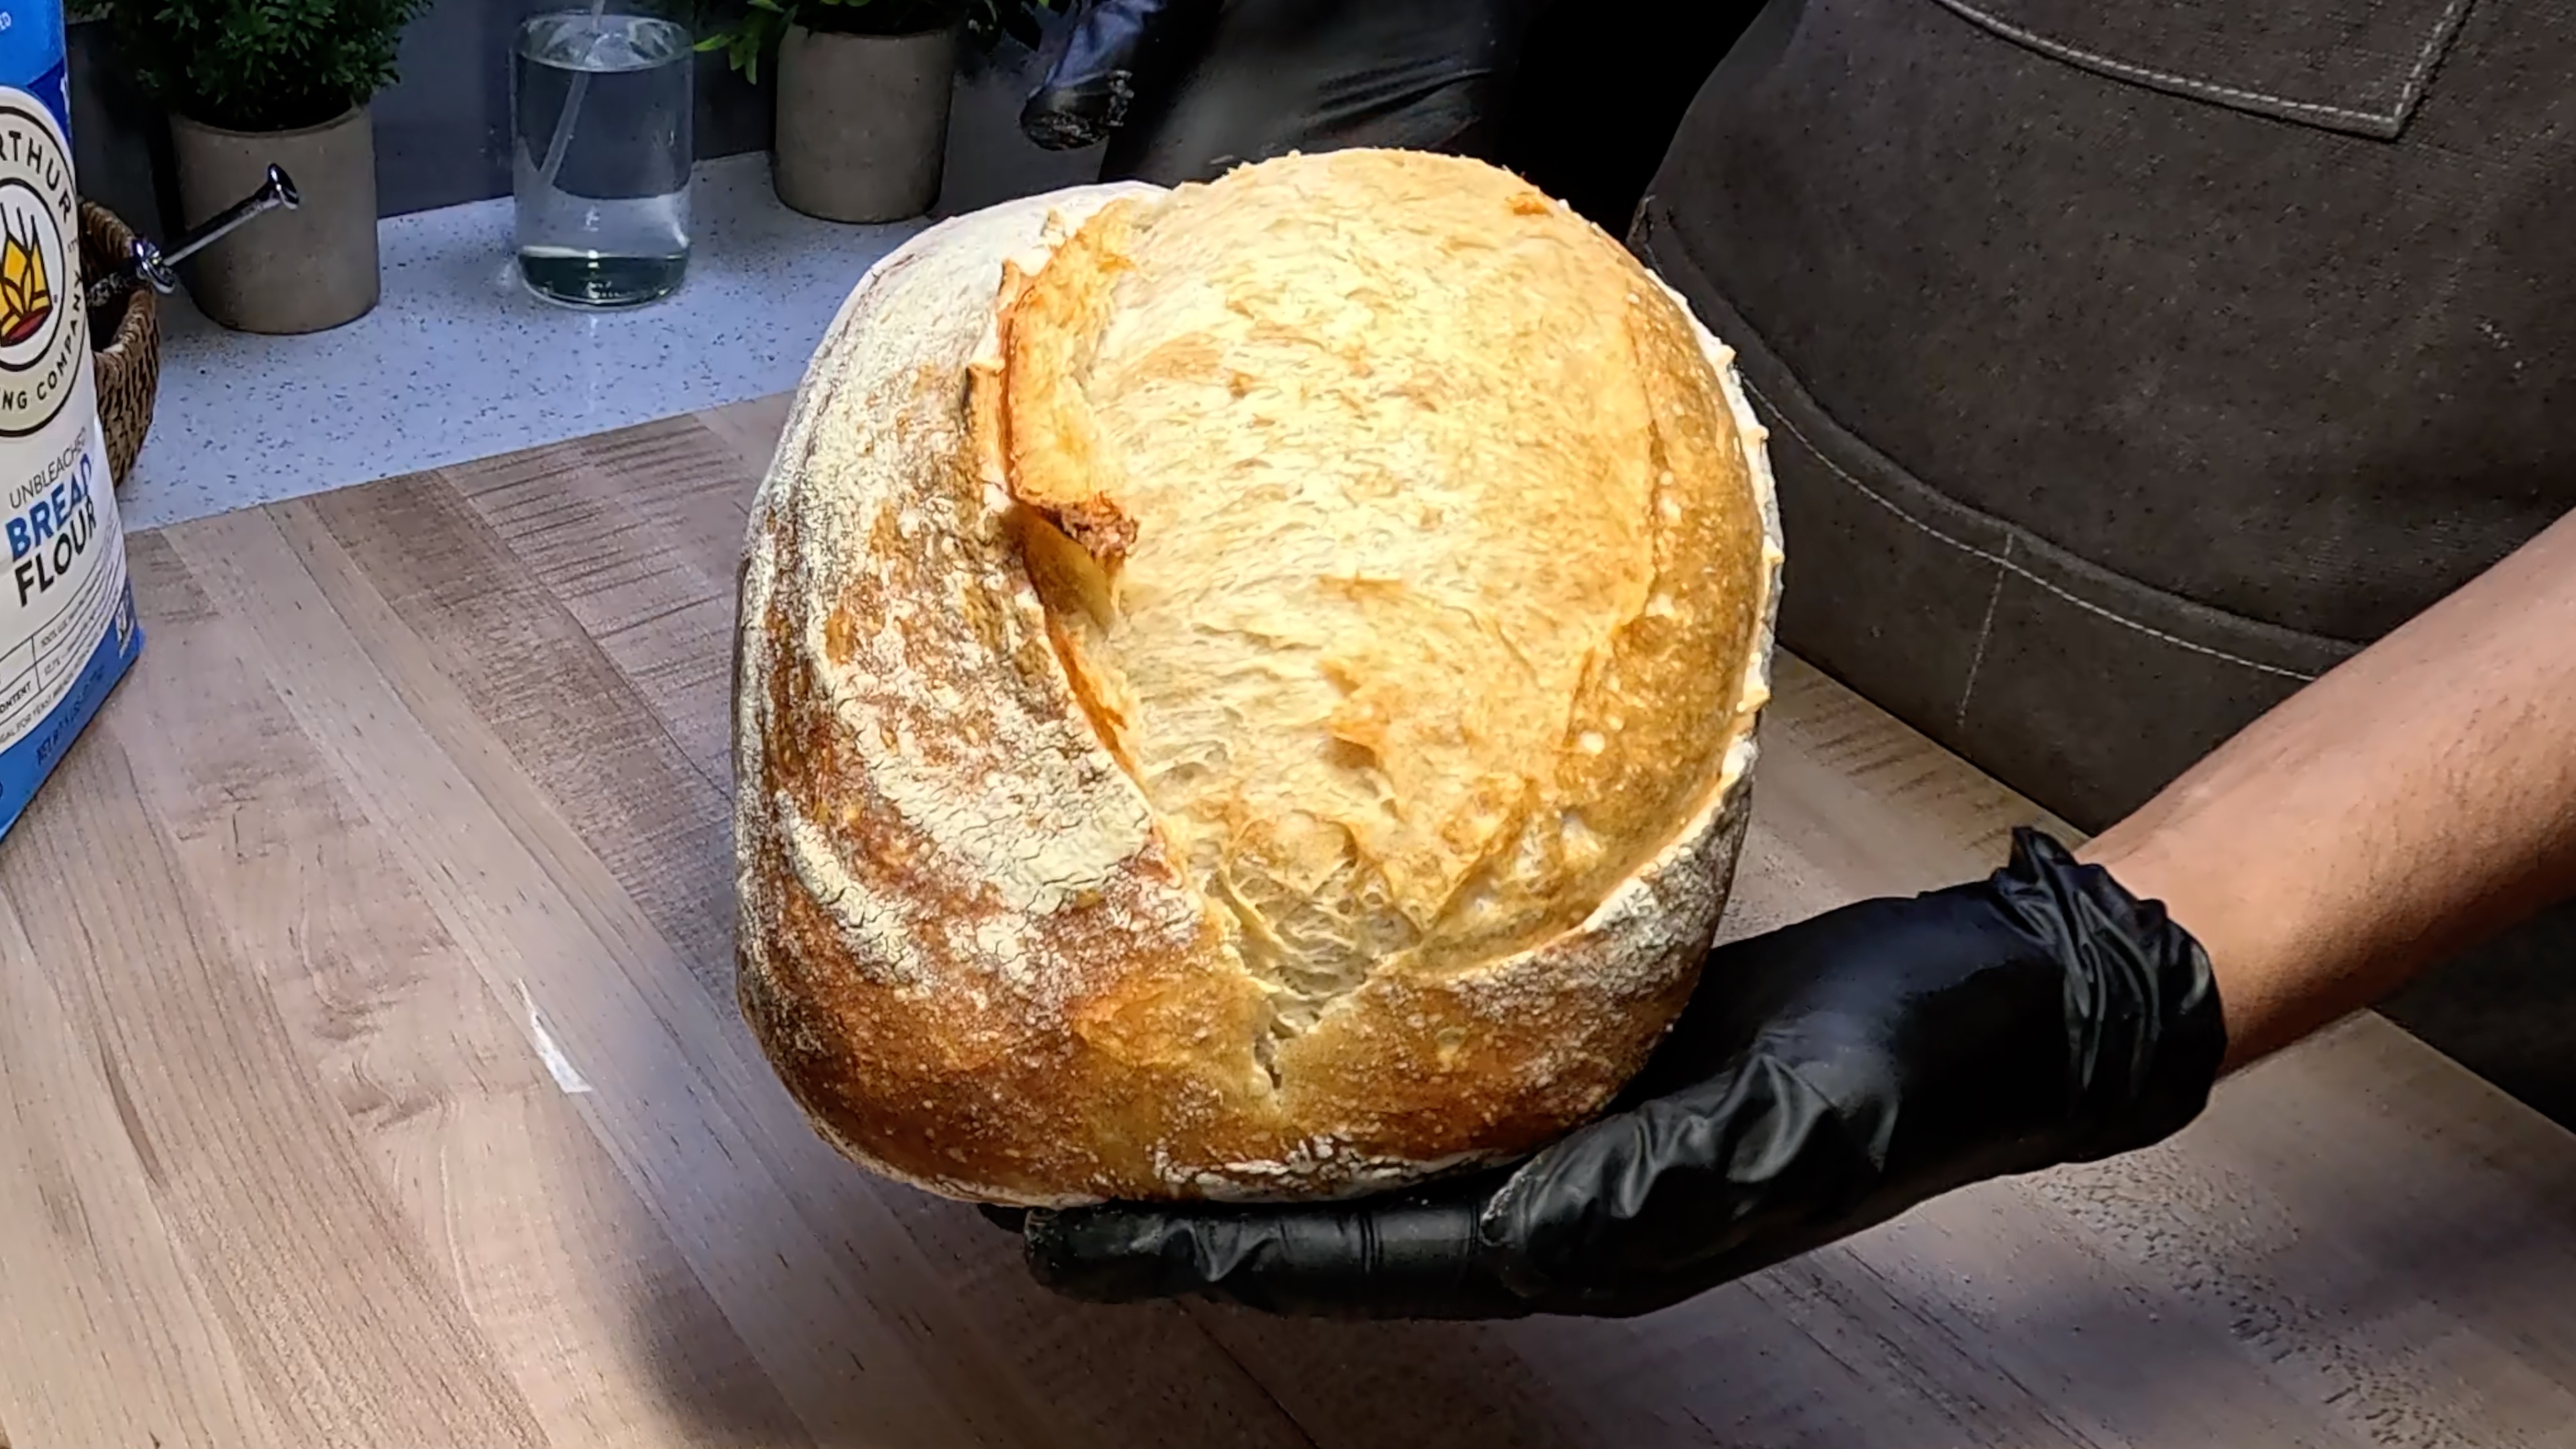
Same-Day Sourdough Batard with Crispy Crust
A beautifully oval batard with an open crumb and crackling crust — all done in one day.

Instructions
- 1
FEED YOUR STARTER: i. Weigh out 80g of your existing starter into a clean jar — discard or save the rest. ii. Add 40g of bread flour and 40g of room temperature water to the jar. iii. Stir vigorously until fully combined and no dry flour remains — it should look like a thick, smooth paste. iv. Mark the side of the jar with a rubber band or tape so you can track the rise. v. Cover loosely and leave at room temperature for 4–6 hours. You're looking for your starter to at least double in size, become domed on top, and be full of bubbles throughout. vi. When it's ready, it should smell pleasantly tangy and yeasty — almost like yogurt with a hint of beer. That's your green light to bake!
- 2
MIX YOUR DOUGH: Once your starter is active and bubbly, it's time to mix. i. Add 350g of room temperature water to a large mixing bowl. ii. Add 120g of your active starter to the water and stir well until the starter is fully dissolved — the water will look milky and slightly frothy. This ensures even distribution throughout your dough. iii. Add 10g of fine sea salt and stir again until dissolved. iv. Pour all 500g of bread flour into the bowl at once. v. Using a silicone spatula, mix with firm strokes, folding and pressing the flour into the liquid. Keep going until no dry flour remains and you have a shaggy, rough-looking dough — it won't be smooth yet, and that's completely normal! vi. Cover the bowl with a damp kitchen towel and let it rest for 20–30 minutes before your first stretch and fold. This short rest gives the flour time to hydrate.
- 3
STRETCH & FOLDS + ROOM TEMPERATURE BULK FERMENT: Your dough will stay at room temperature this entire time — no refrigerator. Over the next 3–4 hours, you'll perform 3 sets of stretch and folds, then let the dough finish fermenting undisturbed. — SET 1 (30 minutes after mixing) — i. Wet your hand lightly to prevent sticking. Grab one side of the dough, stretch it up as high as it will go without tearing, and fold it over to the opposite side. ii. Rotate the bowl 90° and repeat. Do this for all 4 sides — that's one full set. iii. The dough will feel tight and resistant at first. Don't force it — gentle, confident stretches are all you need. iv. Cover and rest for 45–60 minutes. — SET 2 (about 1 hour after Set 1) — v. Repeat the same 4-sided stretch and fold. You should already notice the dough feeling smoother and more elastic — that's the gluten developing. Encouraging, right? vi. Cover and rest for another 45–60 minutes. — SET 3 (about 1 hour after Set 2) — vii. Perform your final set of stretch and folds. By now the dough should feel pillowy, silky, and noticeably more alive — it may even jiggle slightly when you shake the bowl. viii. Cover and leave the dough to bulk ferment undisturbed at room temperature for the remaining time (roughly 1–1.5 hours) until it has grown by about 50–75% and looks puffy with a slightly domed surface. ix. You may see small bubbles on the surface or sides of the bowl — that's your fermentation doing its thing. The dough is ready when it wobbles like jelly when you gently shake the bowl.
- 4
FINAL SHAPE INTO BANNETON: Because your dough has been fermenting at room temperature, it's already wonderfully relaxed — no pre-shape or bench rest needed. Go straight into your final shape. i. Lightly flour your work surface with bread flour. Turn the dough out gently — use a dough scraper to help ease it from the bowl without deflating it too much. ii. Flour your oval banneton generously, making sure flour gets into every ridge. This is your insurance against sticking — don't be shy! iii. To shape your batard: pat the dough gently into a rough rectangle. Fold the left third into the center, then the right third over the top (like a letter fold). iv. Starting from the top, roll the dough down toward you with light tension, sealing the bottom seam with your fingertips as you go. v. Using both hands, gently rock the dough back and forth on the surface to build surface tension — it should feel taut but not tight, like a well-stuffed pillow. vi. Place the dough seam-side UP into your floured oval banneton. The seam going up means the smooth side will be facing down now, but will bloom beautifully upward when you flip it to bake. vii. Dust the exposed top (which is actually the bottom of the loaf) lightly with flour.
- 5
COLD PROOF IN THE FRIDGE: i. Slide your banneton into a large plastic bag or cover it loosely with plastic wrap, making sure there's a little room for the dough to expand without touching the cover. ii. Place the banneton in the refrigerator and cold proof for 2–3 hours. This cold rest firms up the dough, making it significantly easier to score clean, confident lines before baking. iii. During this time, the dough will continue to ferment slowly in the cold — building even more complexity and flavor in your crust. iv. You'll know it's ready when the dough feels firm to the touch, holds a slight indent when you poke it gently with a floured finger, and looks puffy but structured. v. You can bake straight from the fridge — no need to bring it to room temperature first. Cold dough scores beautifully!
- 6
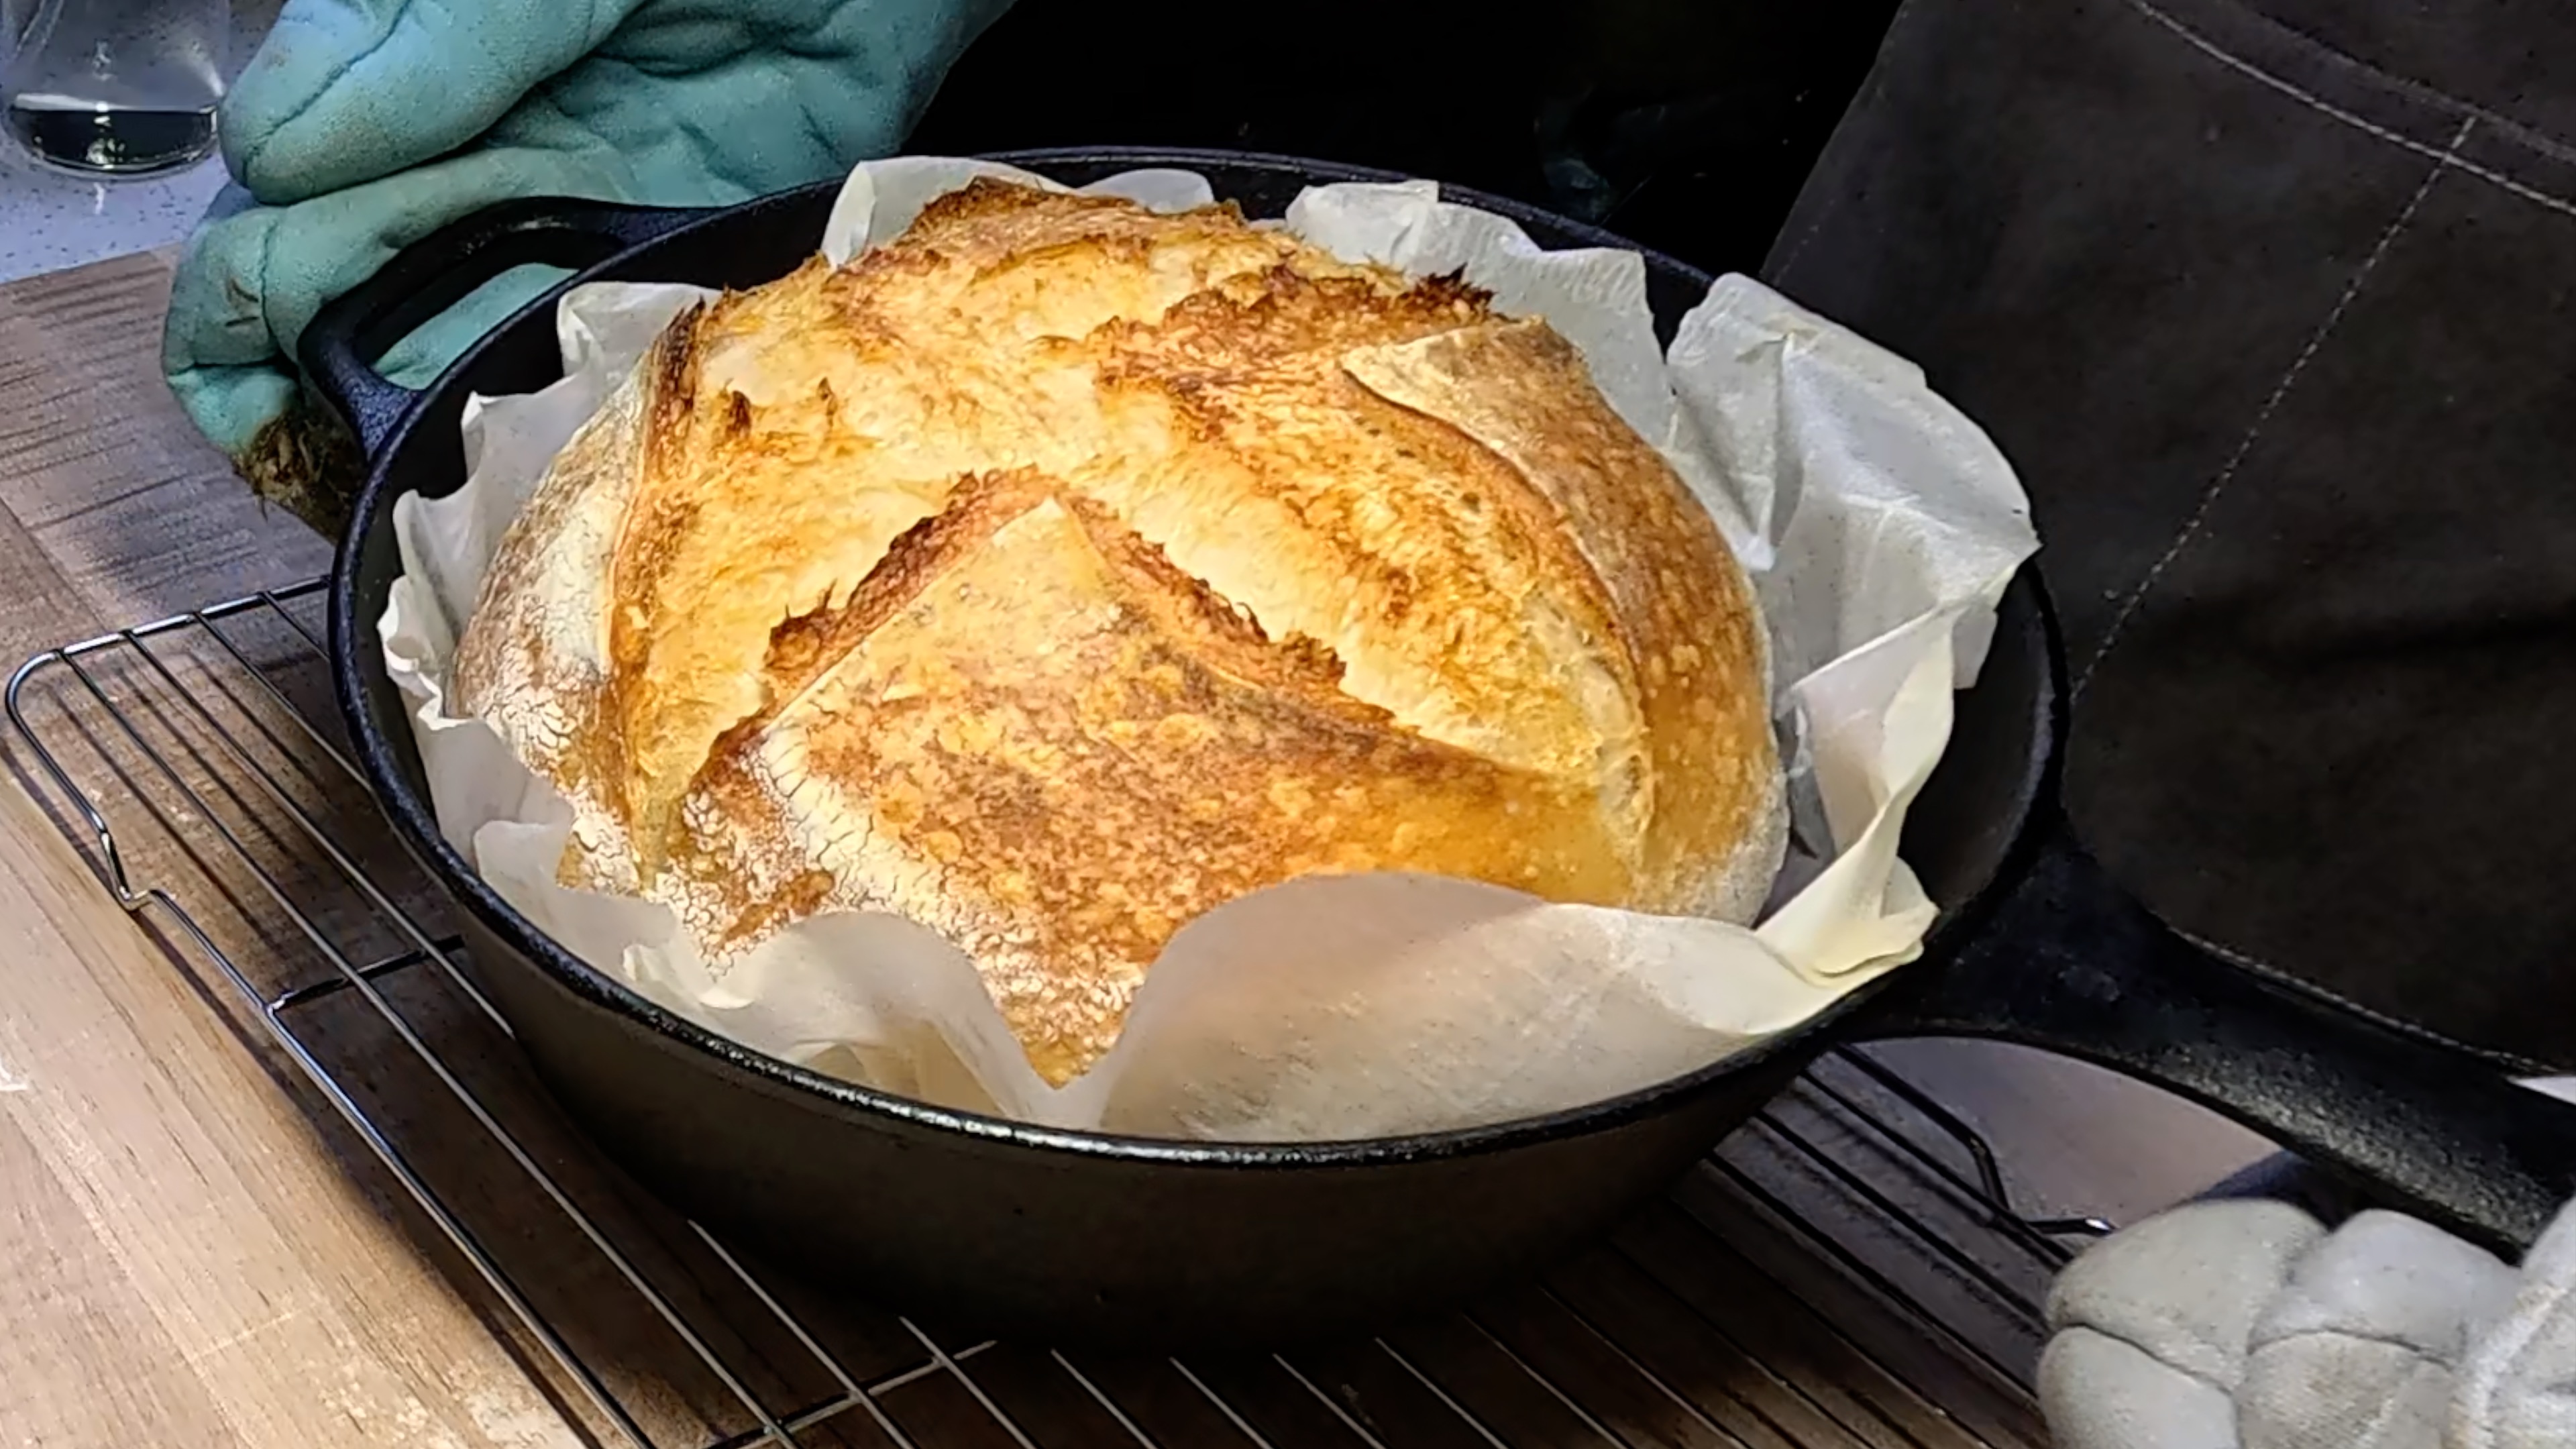
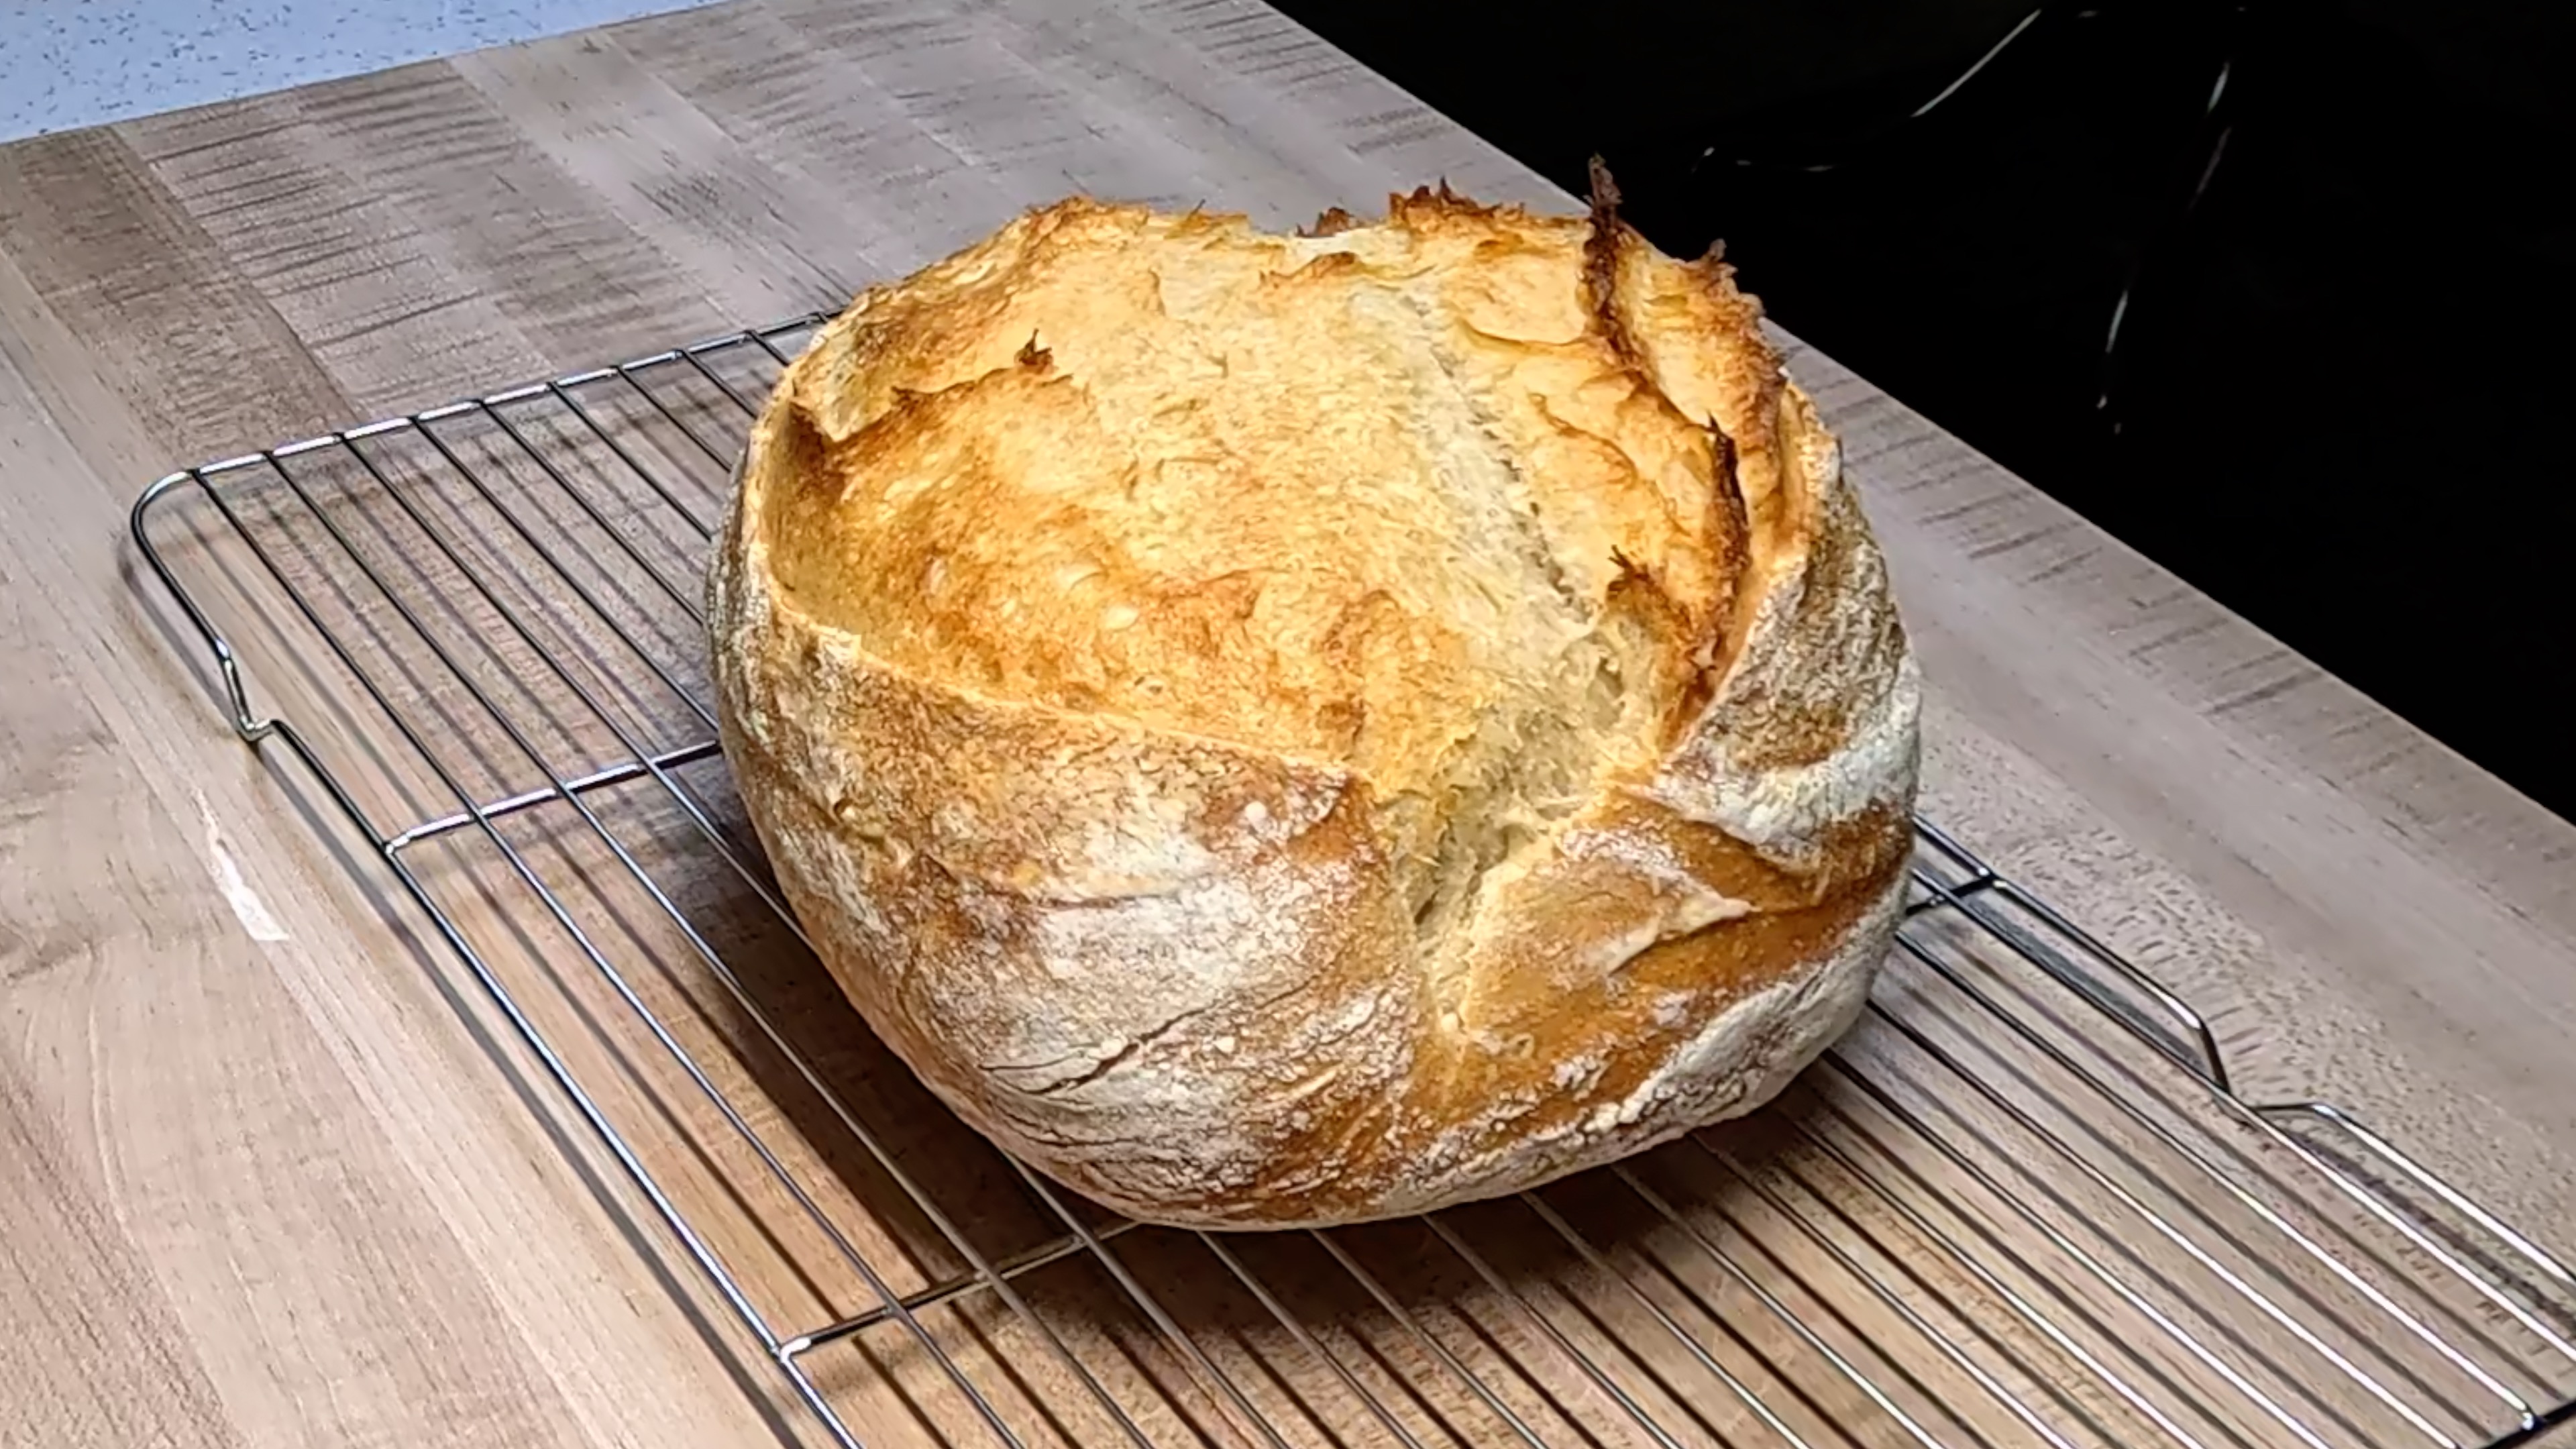
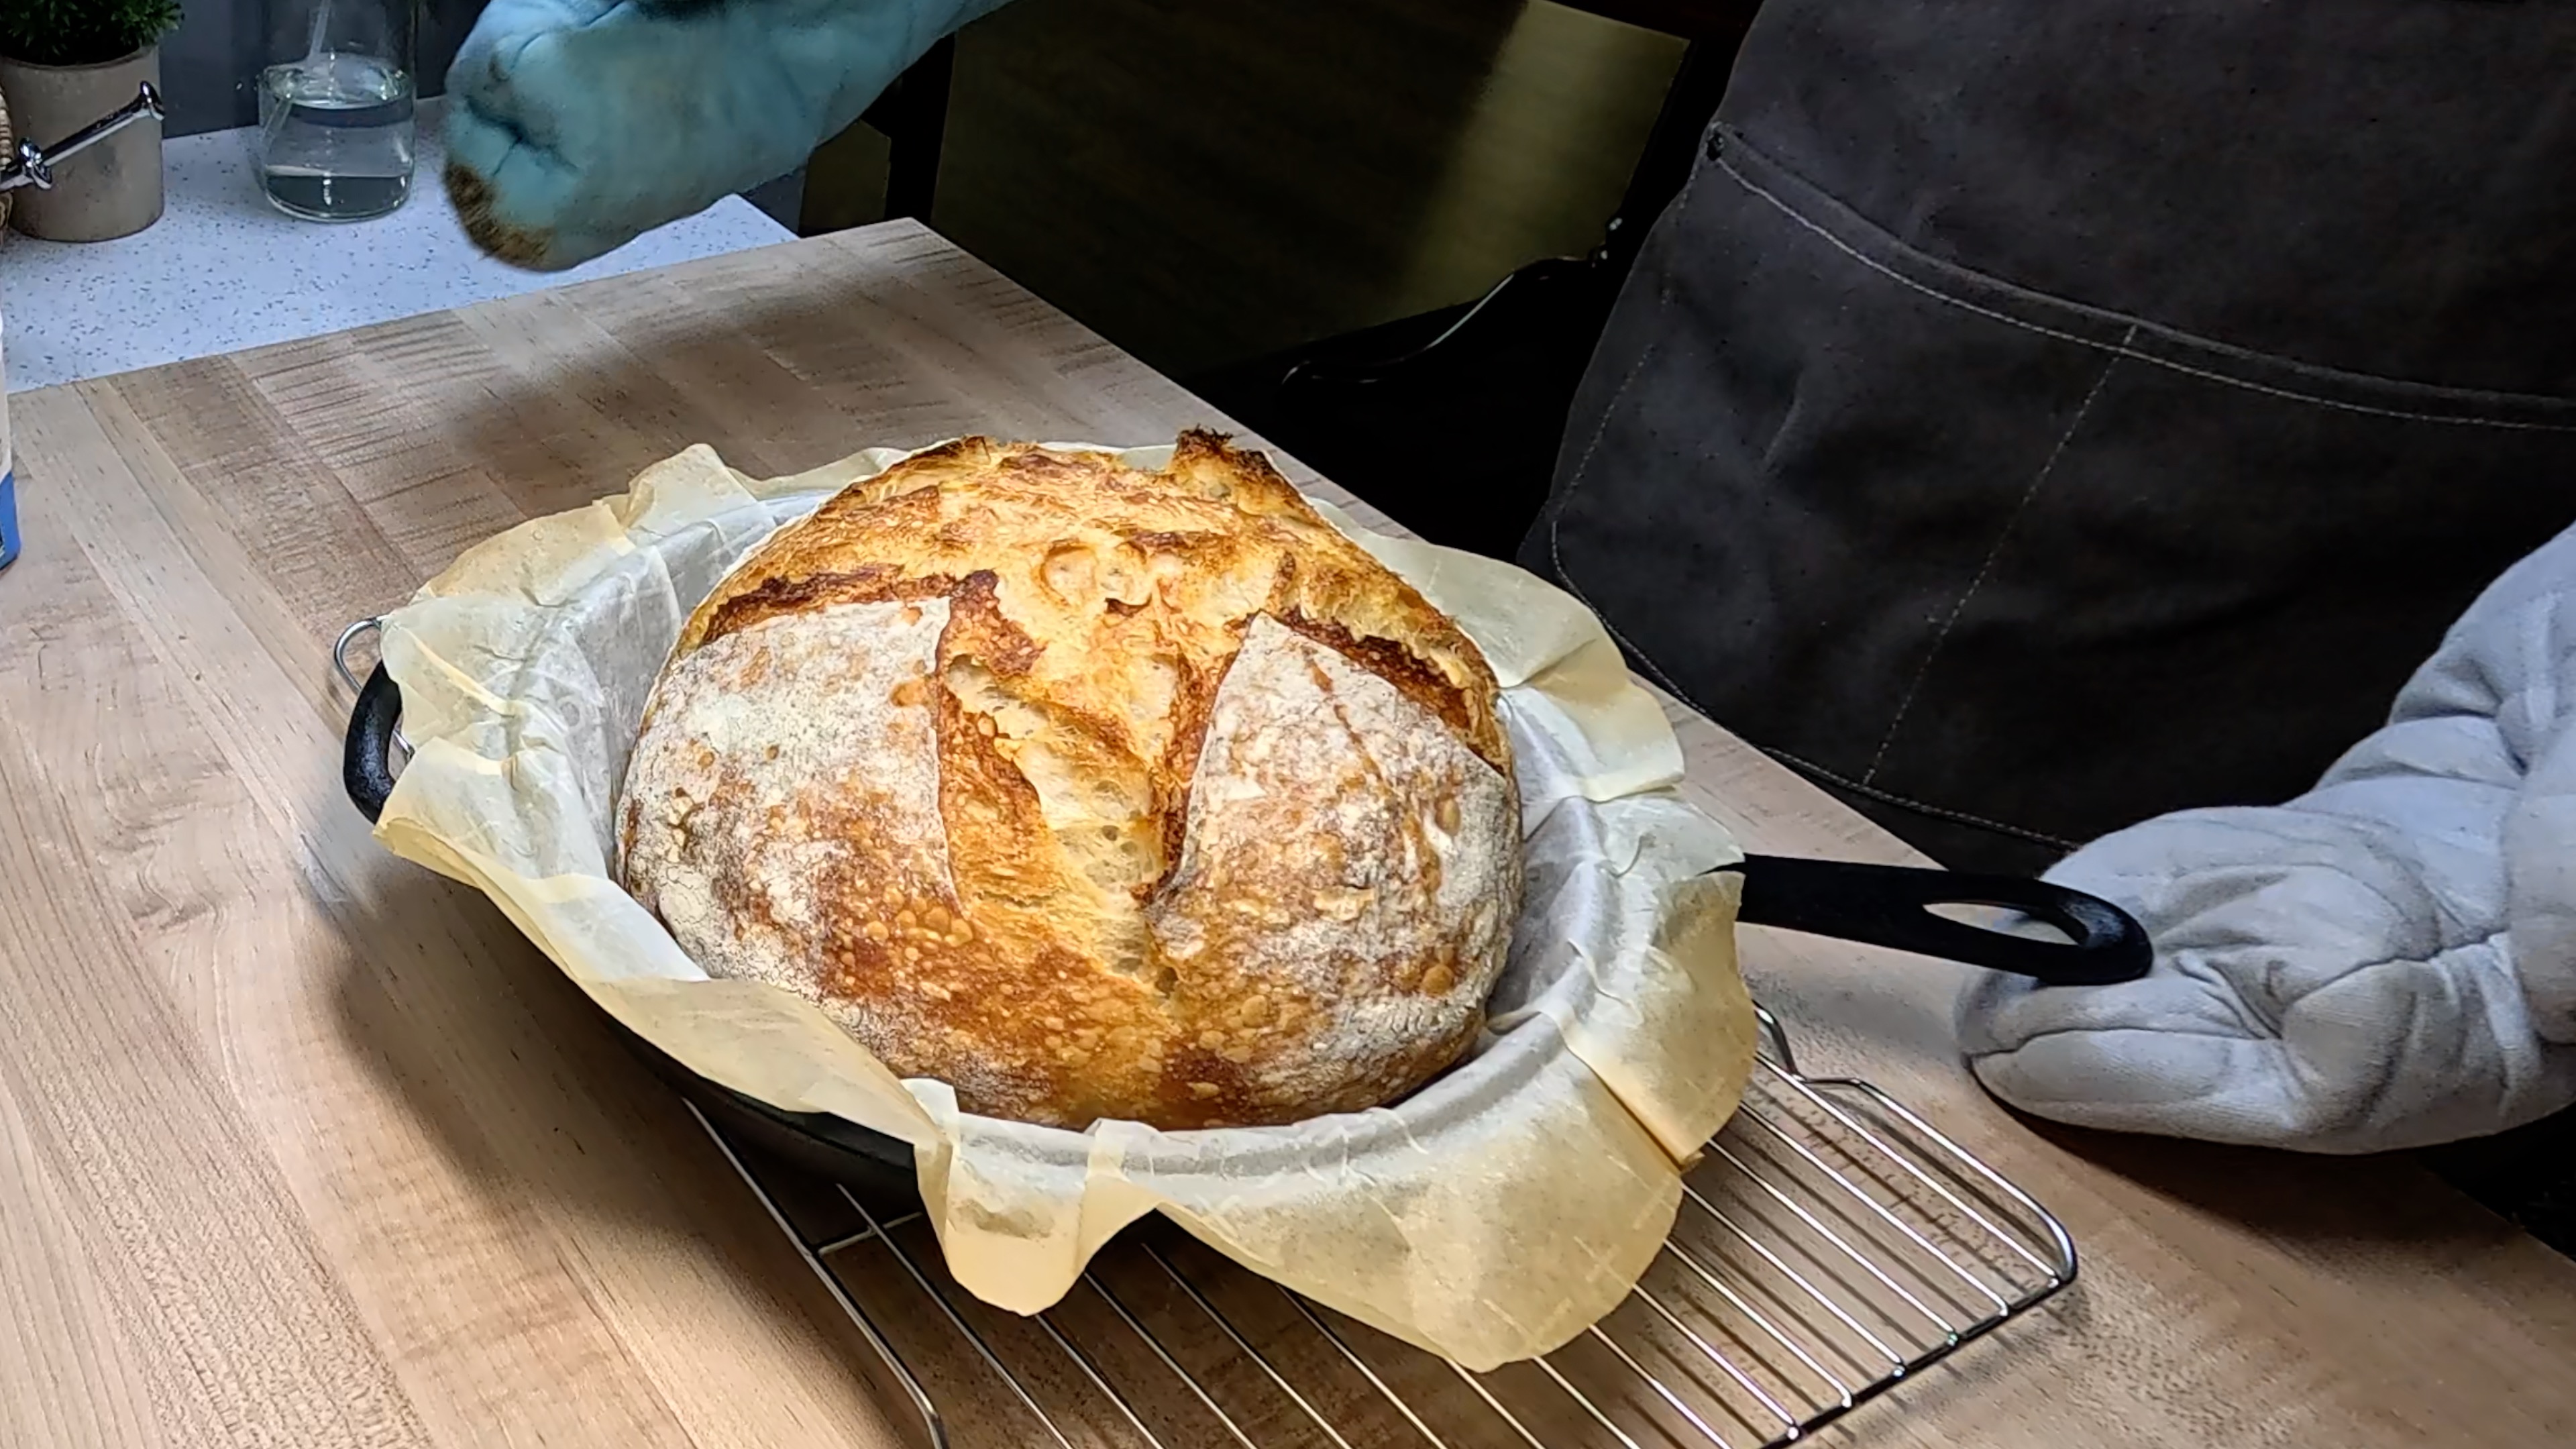
PREHEAT → SCORE & BAKE → COOL: — PREHEAT — i. At least 45–60 minutes before baking, place your baking stone on the middle rack of the oven. Place an empty metal roasting pan or cast iron skillet on the rack below it — this will be your steam vessel. ii. Preheat the oven to 500°F (260°C). A thoroughly preheated stone is non-negotiable for a great oven spring and crackling bottom crust. iii. Bring a cup of hot water to a boil and have it ready by the oven. — SCORE — iv. When the oven is fully preheated, remove the banneton from the fridge. Cut a piece of parchment paper slightly larger than your loaf and place it over the top of the banneton. v. Place a cutting board or flat baking sheet on top of the parchment, then confidently flip the whole thing over. Gently lift the banneton away — your batard should release cleanly onto the parchment. You did it! vi. Using a lame (bread scoring blade) or a very sharp serrated knife, score the top of the loaf in one swift, decisive motion. A single long cut at a 30–45° angle down the length of the batard is classic and effective — aim for about ½ inch (1.2cm) deep. vii. Work quickly — the cold dough won't stay cold forever! — BAKE — viii. Using a pizza peel or the back of a flat baking sheet, slide the parchment with the loaf onto the hot baking stone. ix. Immediately pour the boiling water into the hot pan below — step back quickly as it will release a dramatic burst of steam. Close the oven door fast to trap the steam inside. x. Bake at 500°F (260°C) for 20 minutes with steam. The steam keeps the crust soft and pliable during this phase, allowing maximum oven spring. xi. After 20 minutes, carefully remove the steam pan from the oven. Reduce the temperature to 450°F (230°C) and continue baking for another 25–30 minutes until the crust is a deep mahogany brown. A pale loaf is an under-baked loaf — be brave with the color! xii. The loaf is done when it sounds hollow when you tap the bottom, and an instant-read thermometer inserted into the center reads 205–210°F (96–99°C). — COOL — xiii. Transfer the loaf to a wire rack and resist the urge to cut into it for at least 1–2 hours. The crumb is still setting as it cools — cutting too early leads to a gummy interior. You've waited all day — this last wait is worth it! xiv. When you finally slice through that crust and hear that crackle... that's your reward. Enjoy every bite.
Baker's Tips
- •Same-day baking is all about timing — start your starter feed early enough so it peaks right as you're ready to mix in the afternoon.
- •Keep a consistent kitchen temperature if you can. Fermentation speeds up in warm kitchens and slows in cool ones — adjust your timing accordingly.
- •Hydration at 70% makes this an approachable batard — not too sticky to handle, but wet enough for a lovely open crumb.
- •Always use a kitchen scale for sourdough. Volume measurements are too imprecise for consistent results.
- •If your loaf comes out dense, the most likely culprits are: under-active starter, under-fermented dough, or a baking stone that wasn't hot enough.
- •Store your cooled loaf cut-side down on a cutting board at room temperature, or wrap in a beeswax wrap for up to 3 days. Avoid plastic bags — they soften the crust.
Comments
Sign in to join the conversation
Sign In