
Sourdough Boule Recipe - Baked on a Baking Stone With Steam (No Dutch Oven Needed)
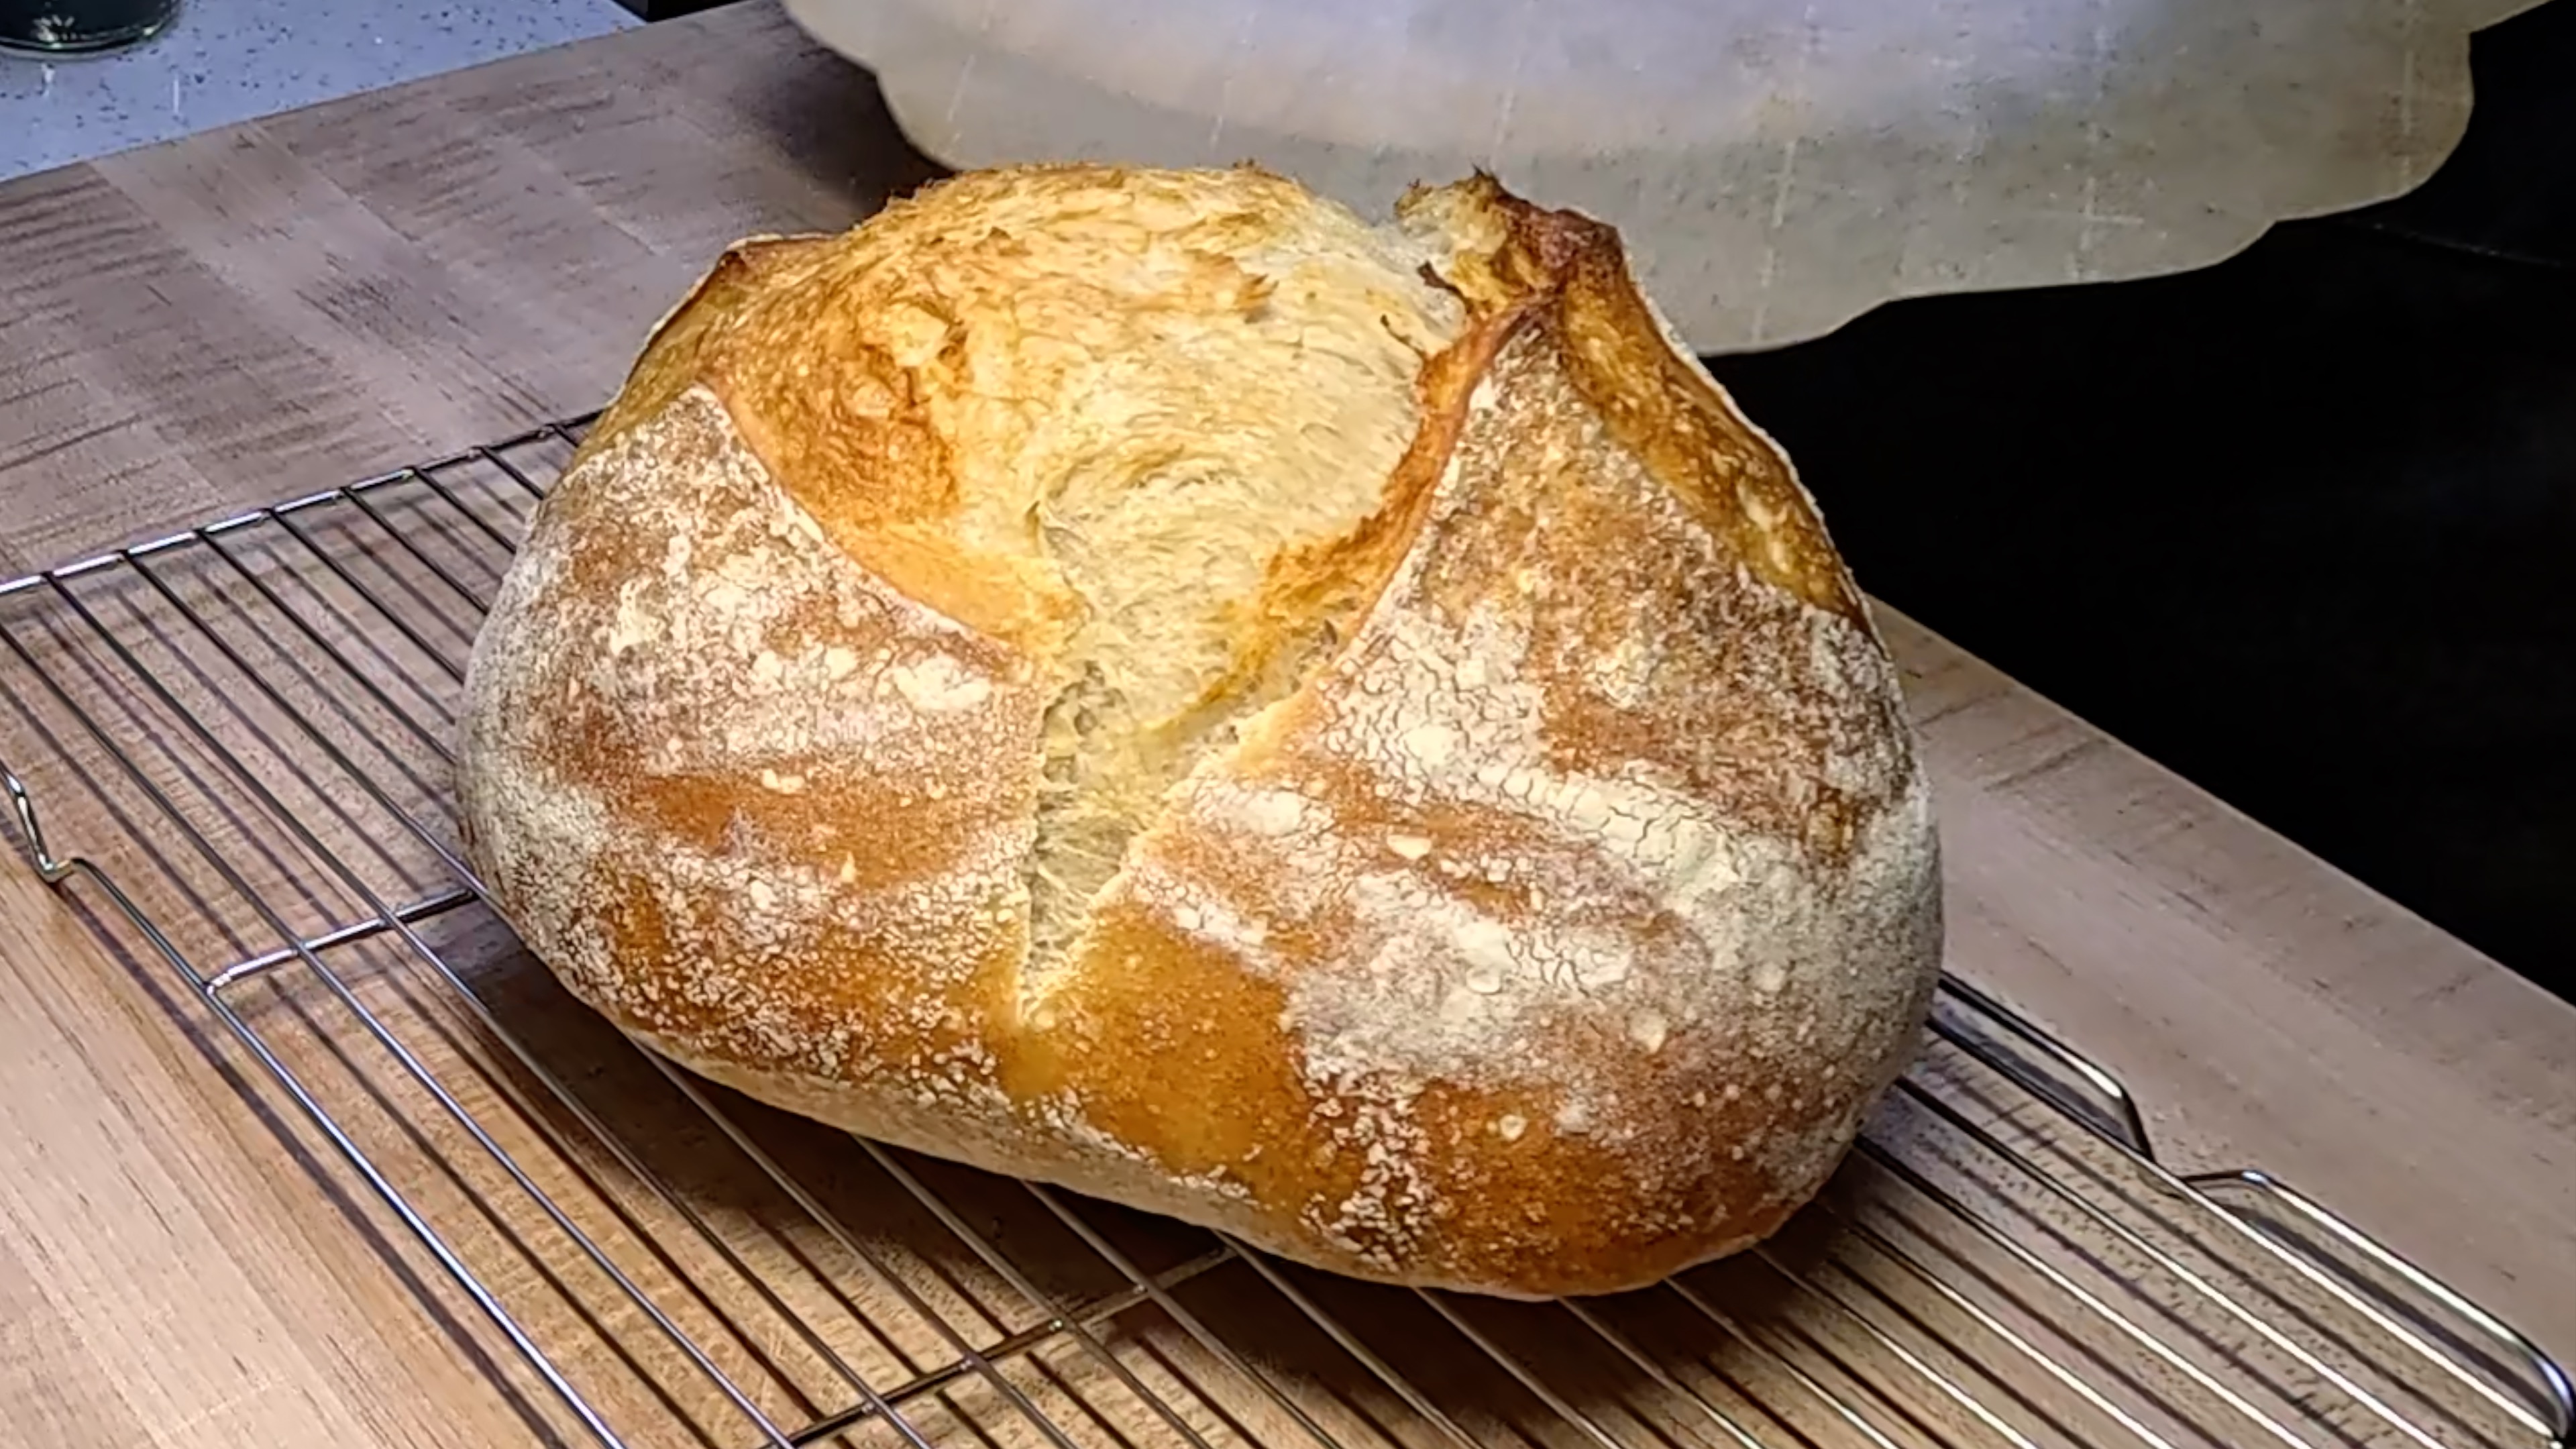
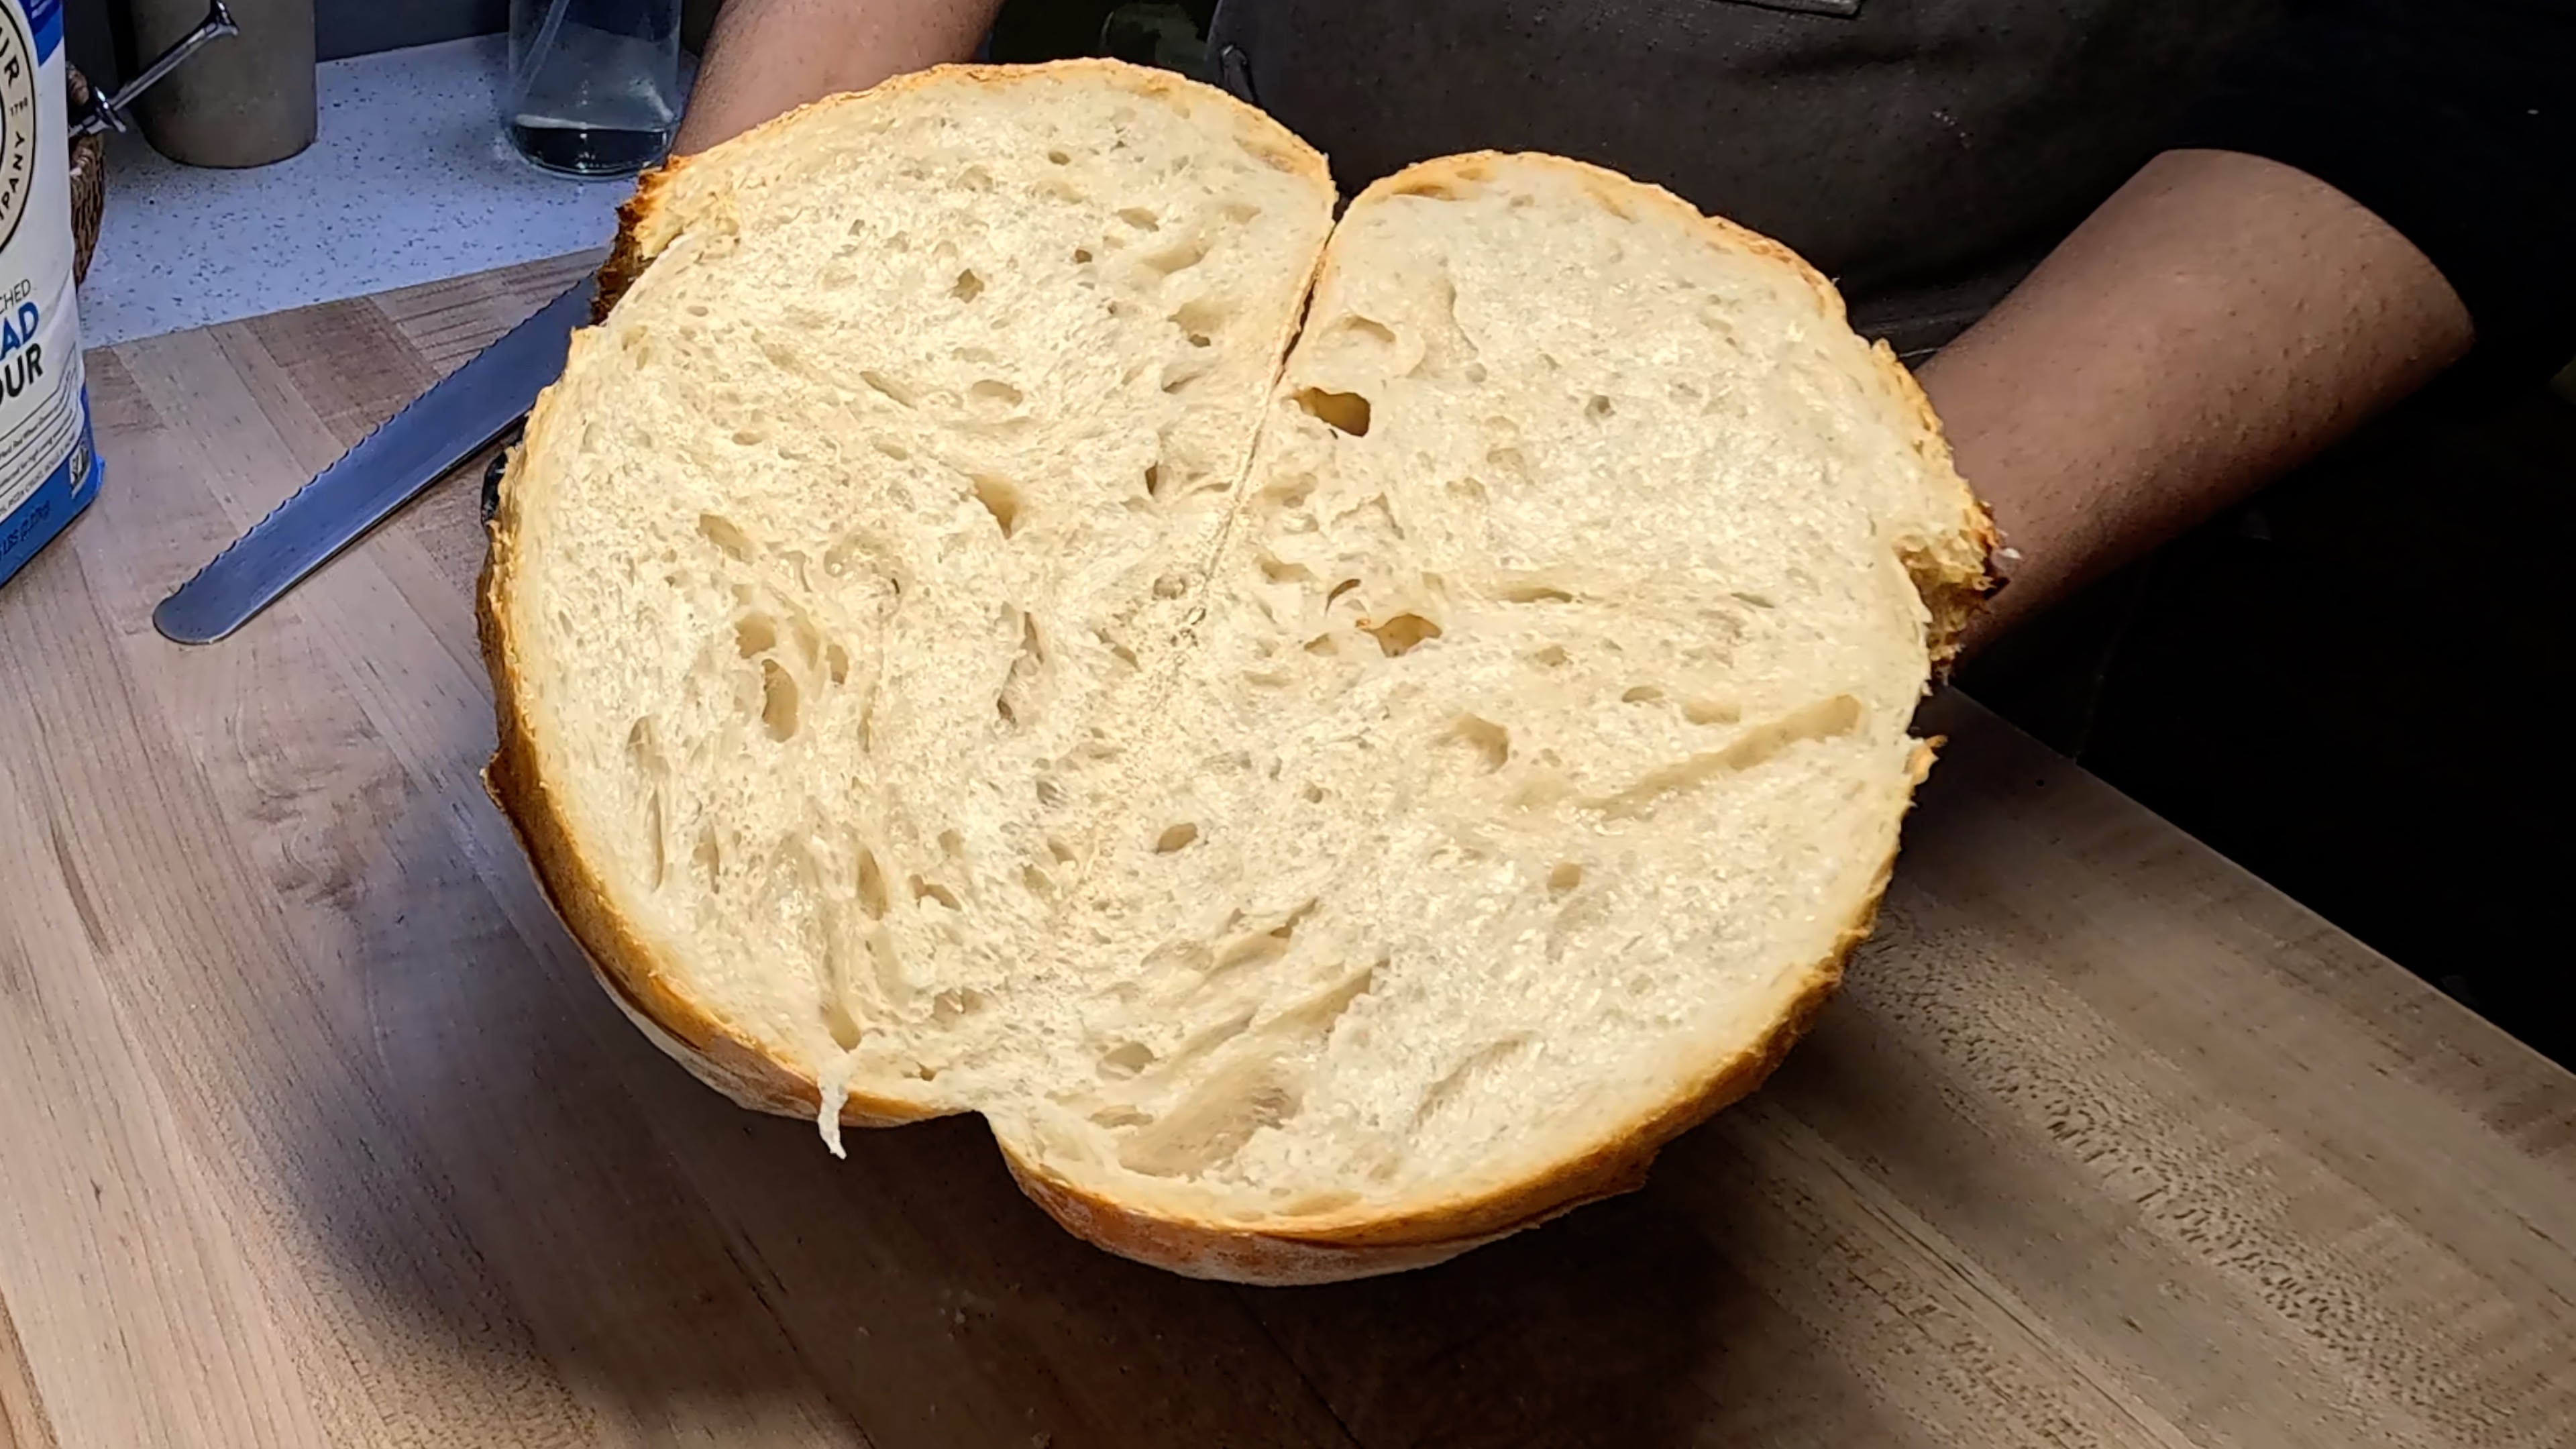
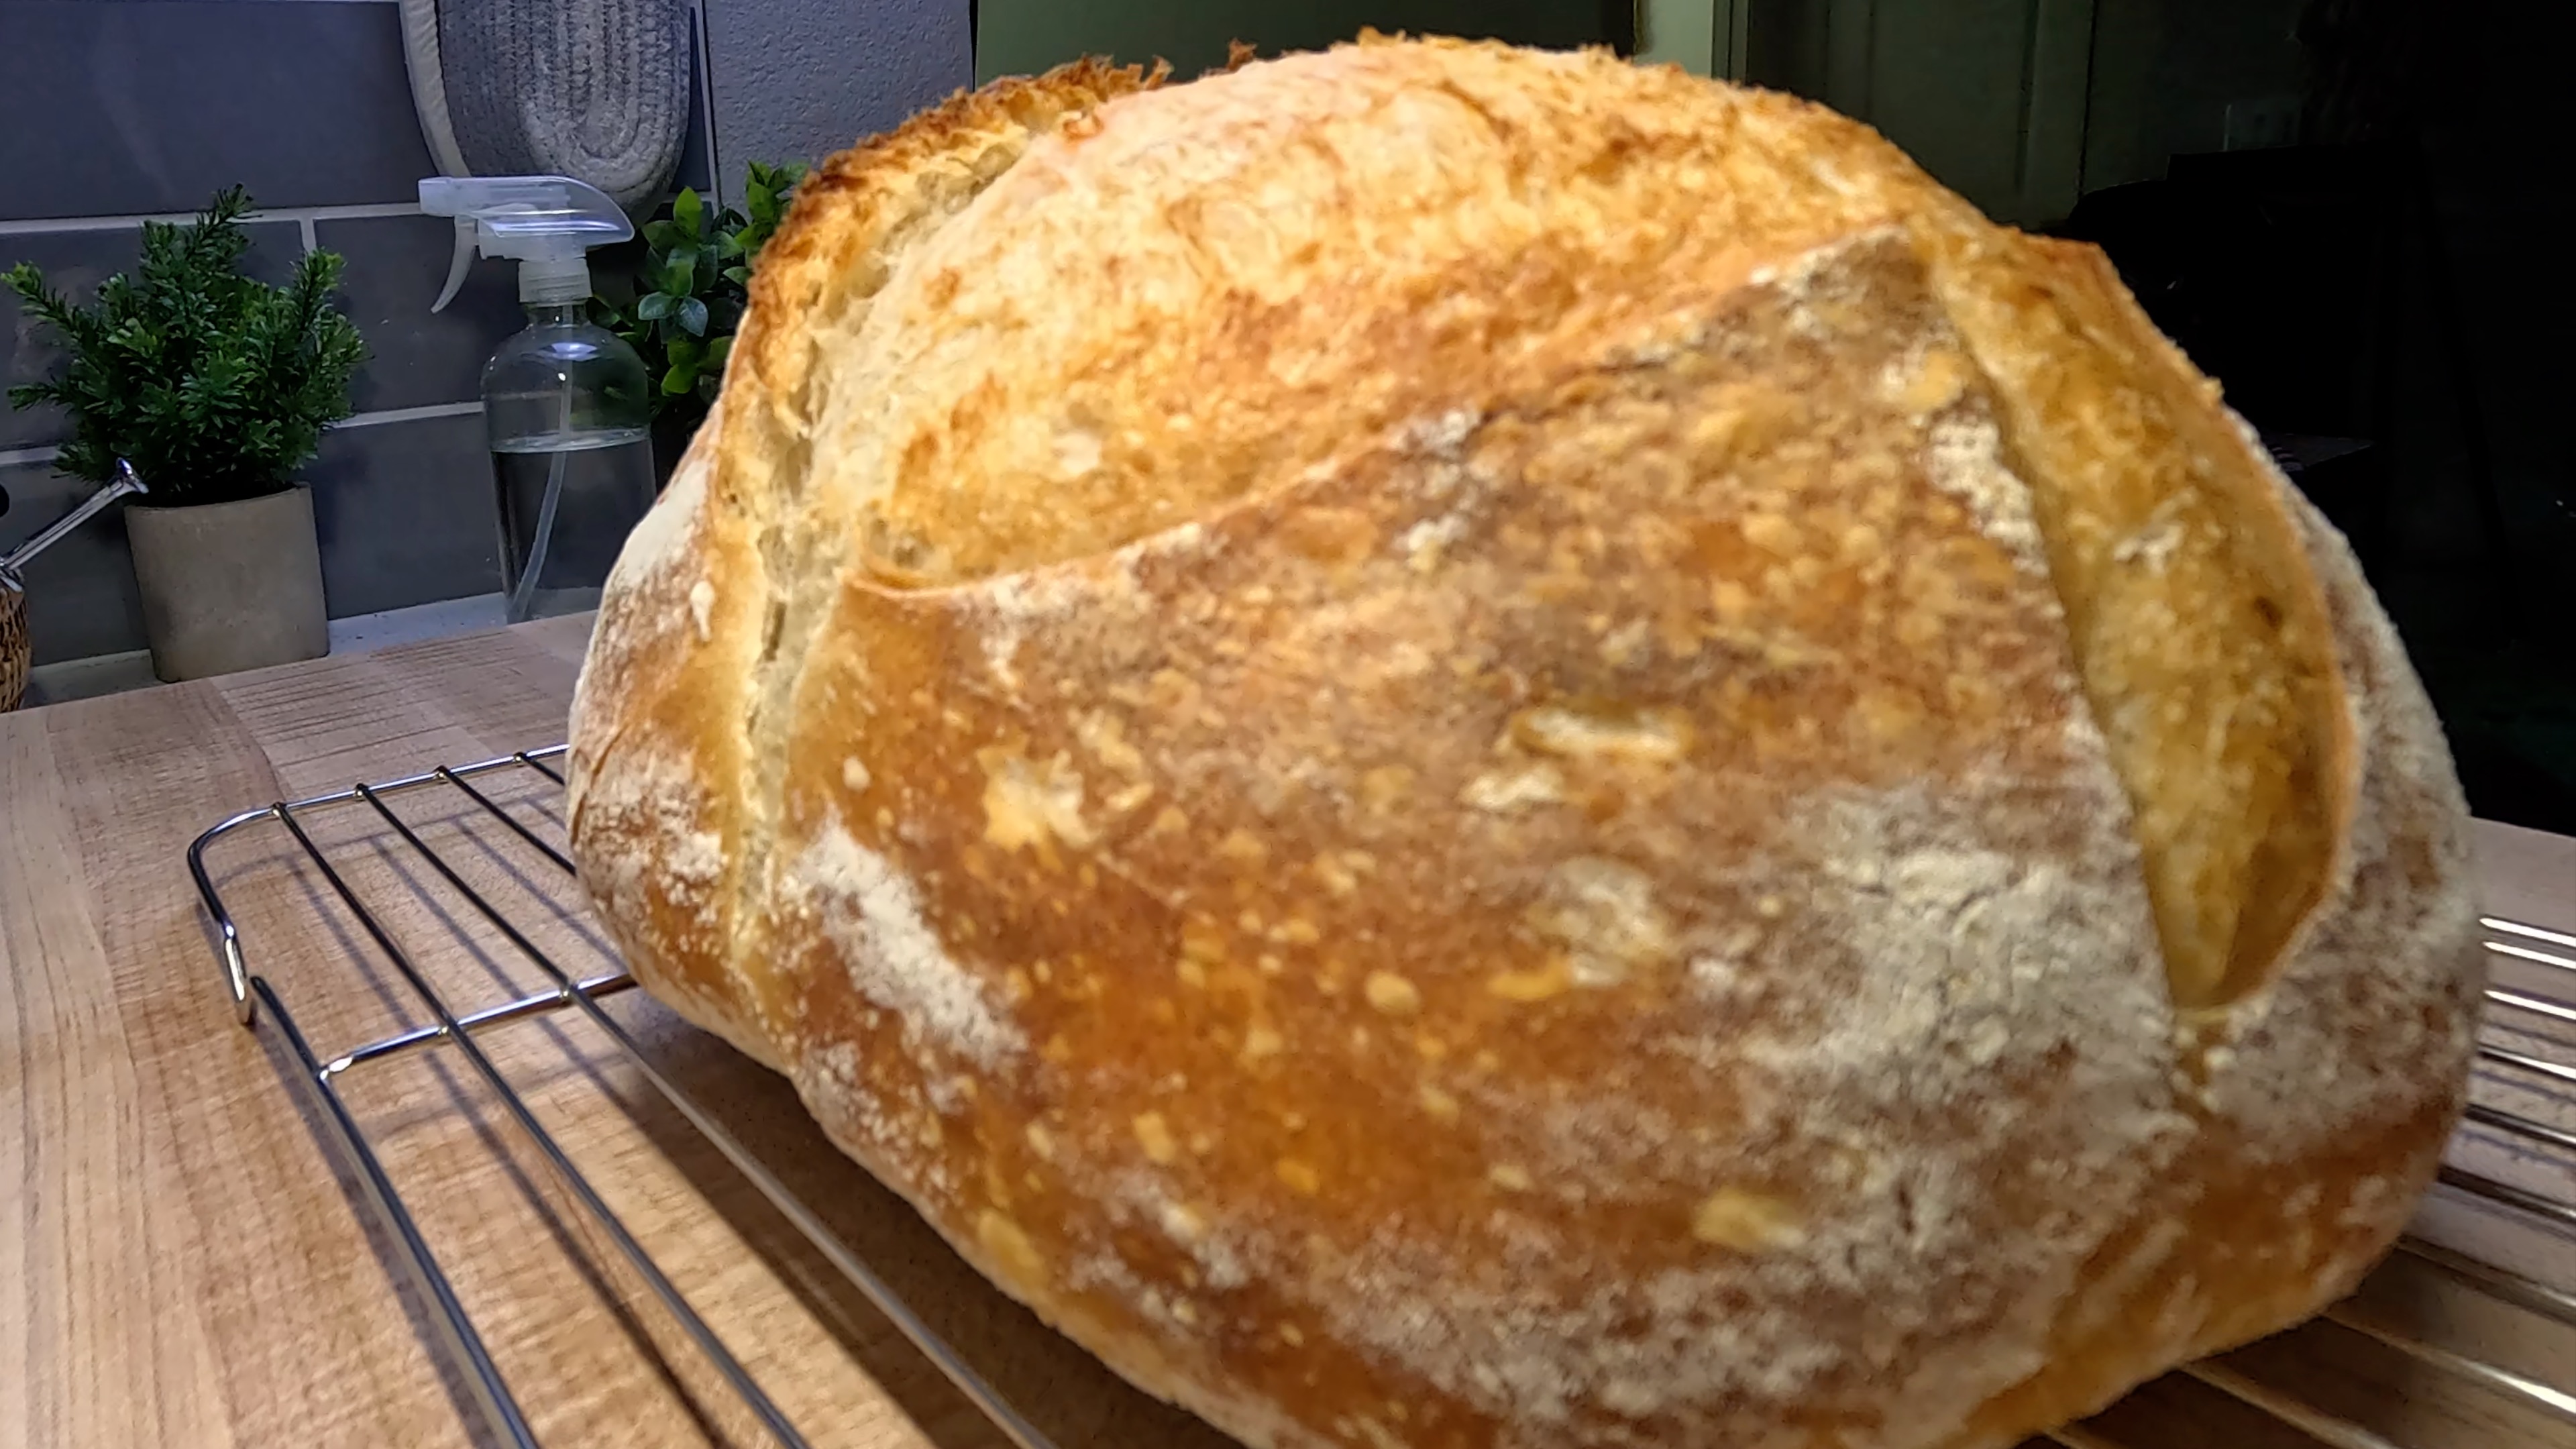
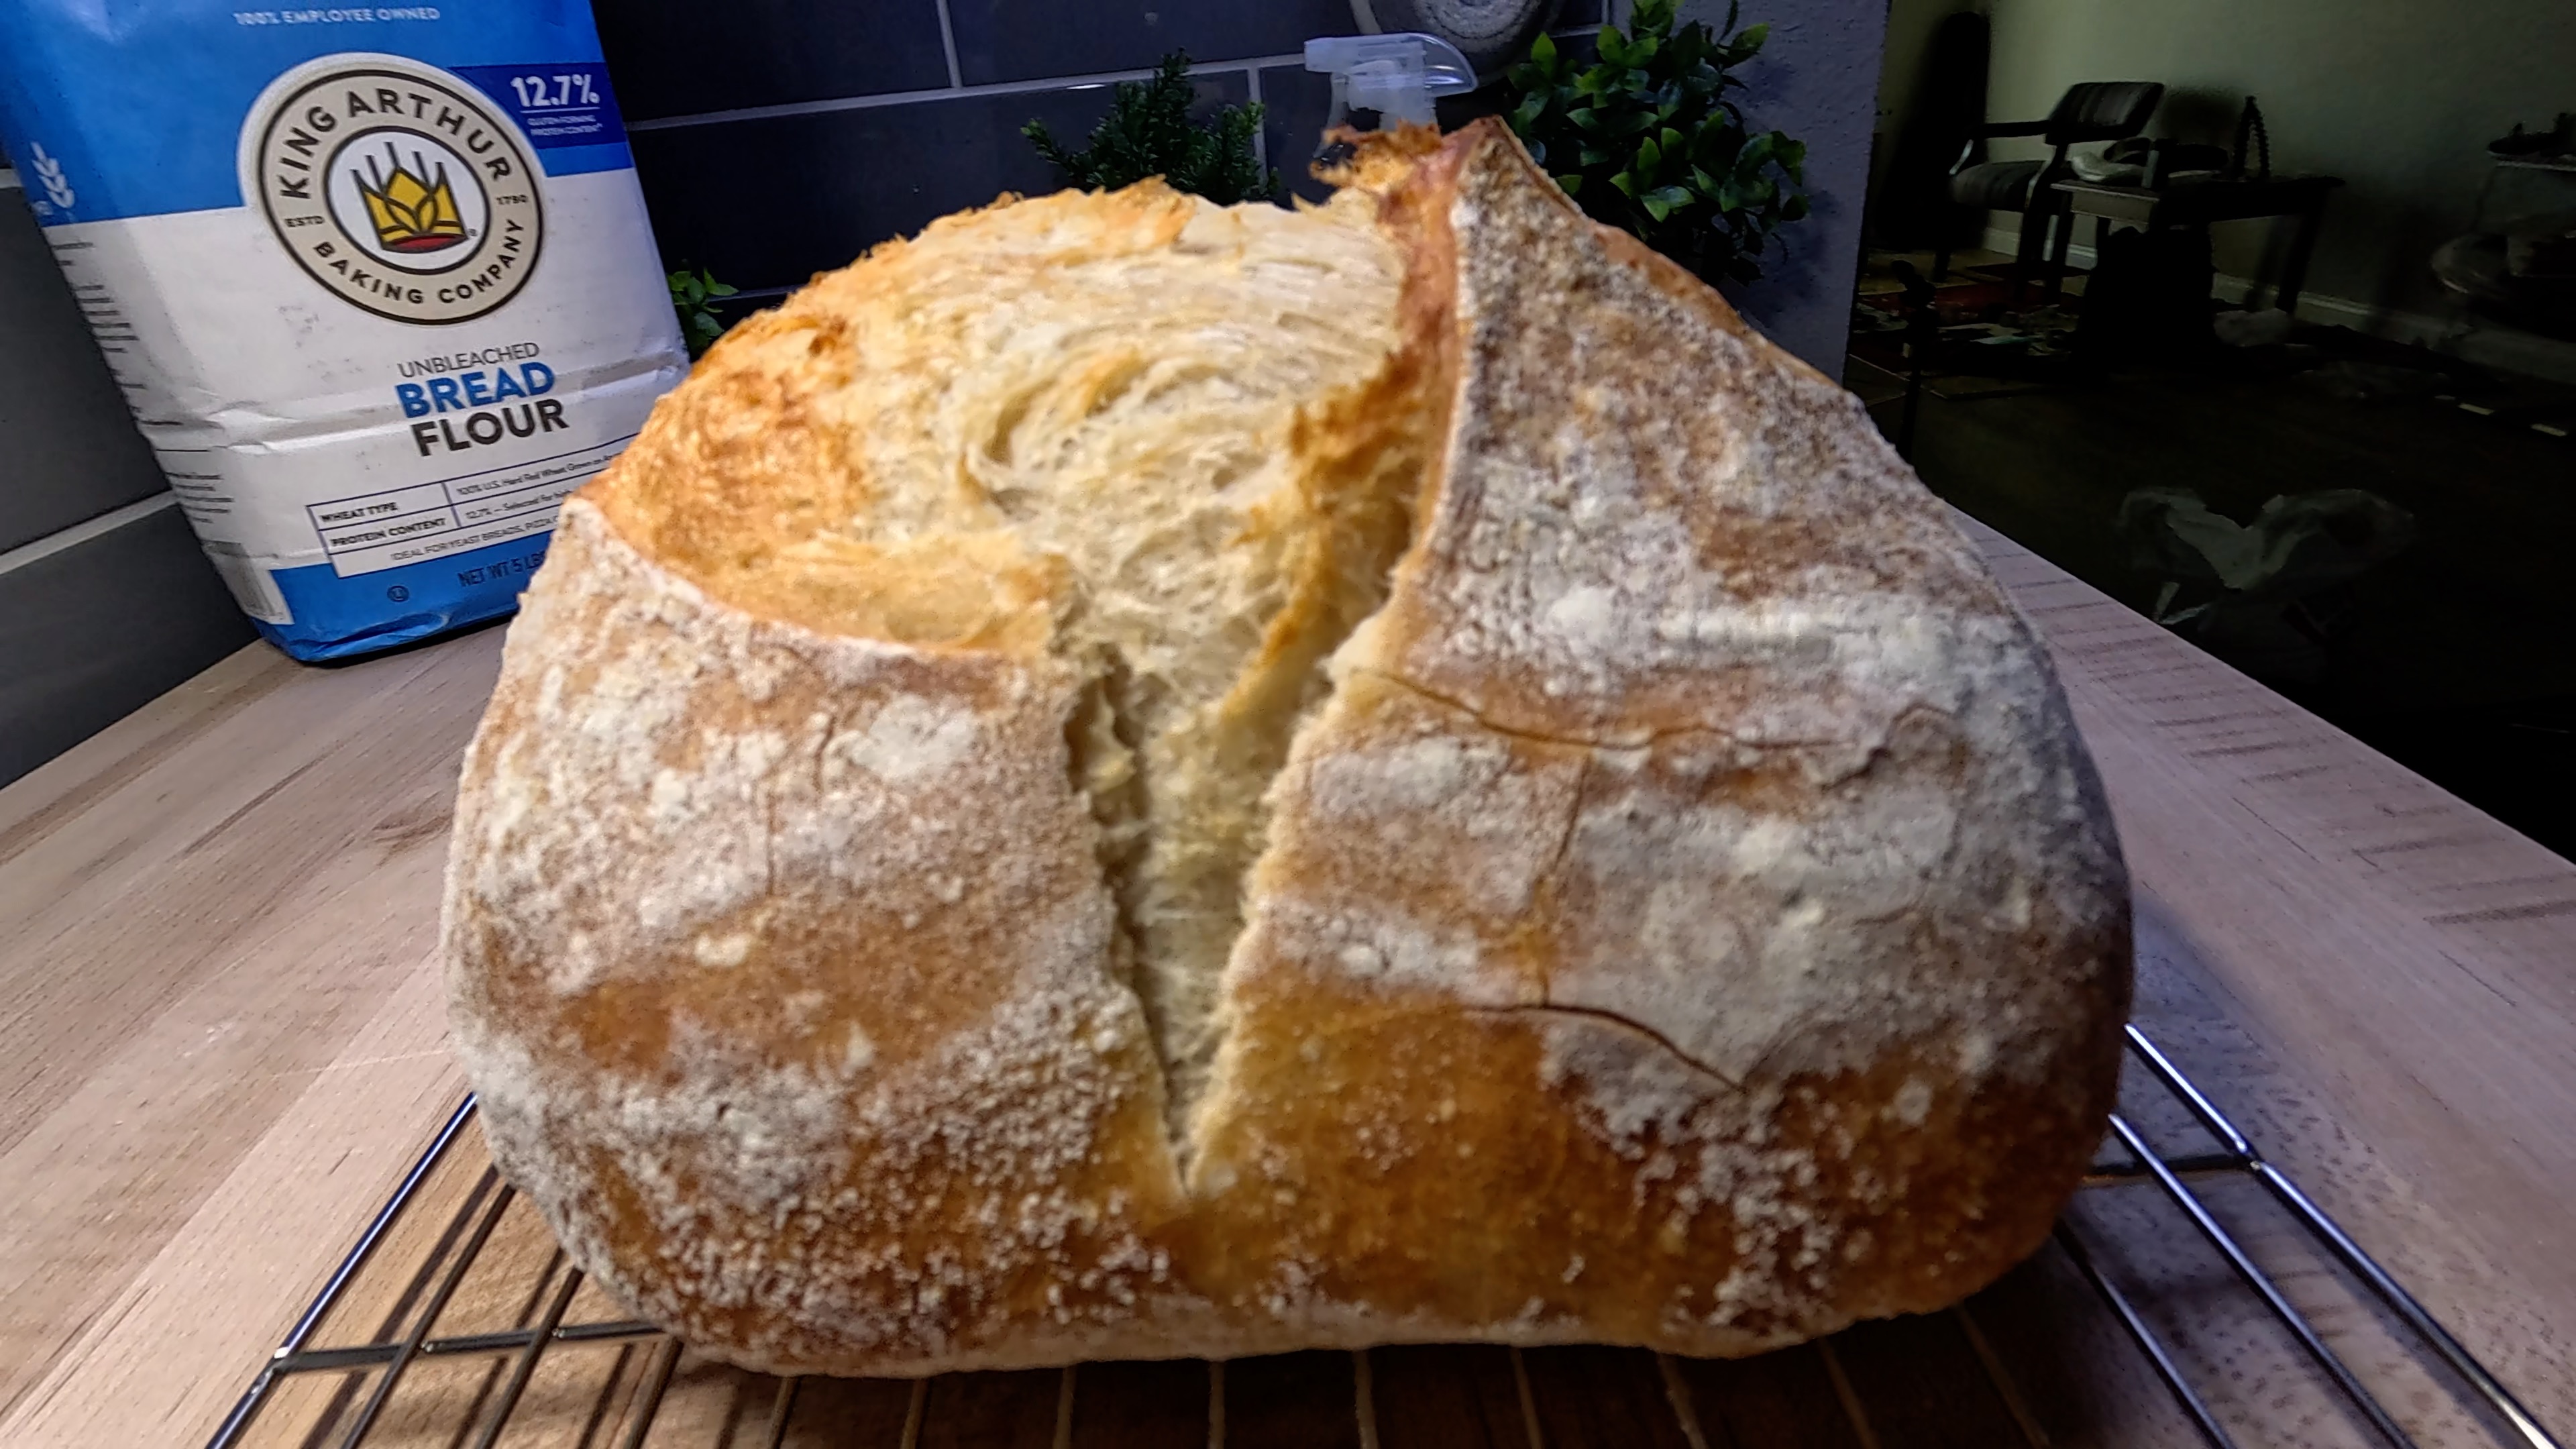
A beautifully open-crumbed boule with a crackling crust, baked low and slow on a hot stone with steam.
Instructions
- 1
FEED YOUR STARTER: Let's wake your starter up and get it ready for action! 1. Discard all but 50g of your sourdough starter and place it in a clean jar. 2. Add 50g of bread flour and 50g of room temperature water. 3. Stir vigorously until fully combined — no dry flour should remain. 4. Mark the jar with a rubber band or piece of tape so you can track the rise. 5. Cover loosely and leave at room temperature for 6–8 hours. You're looking for your starter to roughly double in size, develop a domed top, and smell pleasantly tangy and yeasty. When you see bubbles throughout and a lacy, airy texture — you're ready to bake!
- 2
MIX YOUR DOUGH: Your starter is bubbly and alive — time to bring this dough together! 1. Pour 350g of room temperature water into a large mixing bowl. 2. Add 120g of your active starter. 3. Stir well with a silicone spatula until the starter is fully dissolved into the water — the mixture will look slightly milky. 4. Add 10g of fine sea salt and stir again until dissolved. 5. Add all 500g of bread flour at once. 6. Mix with your silicone spatula, folding and pressing the dough until no dry flour remains. The dough will look rough and shaggy at this stage — that's completely normal and exactly what we want. No kneading needed! Cover the bowl with a damp kitchen towel and let it rest for 30 minutes before your first stretch and fold.
- 3
STRETCH & FOLDS: This is where the magic happens — we're building strength and structure without traditional kneading. Complete 3 sets of stretch and folds, spaced 45–60 minutes apart: **Each Set:** 1. With wet hands, grab one side of the dough. 2. Stretch it up as high as it will go without tearing. 3. Fold it over to the opposite side of the bowl. 4. Rotate the bowl 90° and repeat. 5. Complete 4 folds total (one full rotation of the bowl) — this is one set. 6. Cover the bowl and rest 45–60 minutes before the next set. **What to look for after each set:** - Set 1: Dough still feels dense and tears easily — totally normal. - Set 2: Starting to feel smoother and more elastic. It should hold its shape a little better when you let go. - Set 3: The dough should feel pillowy, smooth, and noticeably stronger. It will hold the fold without spreading immediately. After your final set, cover the bowl tightly and move on to your room temperature bulk ferment.
- 4
ROOM TEMPERATURE BULK FERMENT: After your final stretch and fold, it's time to let the dough ferment at room temperature until it's ready to shape. 1. Cover the bowl tightly with plastic wrap or a shower cap. 2. Leave the dough at room temperature (ideally 75–78°F / 24–26°C). 3. Bulk ferment for 3–5 hours total (including your stretch and fold time), or until the dough has grown by about 50–75% and looks airy and alive. **Signs your bulk ferment is complete:** - The dough has visibly puffed and grown in the bowl. - The surface looks domed and you can see bubbles just beneath. - When you gently shake the bowl, the dough jiggles slightly — like a soft jelly. - The edges of the dough where it meets the bowl look slightly domed, not flat. Don't let it over-ferment — you want it active and strong, not collapsed or overly slack. Once it's ready, move straight to shaping.
- 5
SHAPE INTO BANNETON: Your dough is alive, airy, and ready to be shaped into a beautiful boule. Let's go! **Prepare your banneton:** 1. Dust your round banneton generously with rice flour or a mix of rice flour and bread flour. Make sure every crevice is coated — this prevents sticking. **Shape the boule:** 1. Lightly flour your work surface. 2. Gently turn the dough out of the bowl onto the surface — let gravity do the work, don't pull or tear. 3. Using your hands or a bench scraper, fold the outer edges of the dough into the center, working your way around — like you're wrapping a parcel. 4. Flip the dough over so the seam is facing down. 5. Cup your hands around the dough and use short, confident dragging motions toward you to build surface tension. You want a tight, smooth ball with a taut surface. 6. The dough should feel like it's pushing back against you — that resistance means you've built good tension. **Transfer to banneton:** 1. Gently lift the shaped boule and place it seam-side UP into the floured banneton. 2. Pinch the seam lightly to seal if needed. 3. Dust the exposed bottom (which will become the top of the loaf) lightly with flour. 4. Cover the banneton with a shower cap or plastic wrap.
- 6
COLD PROOF OVERNIGHT: Into the fridge it goes — the cold overnight proof is one of the best things you can do for your sourdough. 1. Cover the banneton tightly with a shower cap or slip it into a large food-safe plastic bag, sealed. 2. Place in the refrigerator. 3. Cold proof for 8–16 hours (overnight works perfectly). The cold slows fermentation right down, allowing the dough to develop deeper, more complex flavour. It also firms up the dough, making it much easier to score cleanly before baking. You can bake it the next morning when it suits you — anywhere between 8 and 16 hours in the fridge is great.
- 7
PREHEAT YOUR OVEN & BAKING STONE: A properly preheated baking stone is the key to that crackling, bakery-quality crust. Don't rush this step! 1. Place your baking stone on the middle rack of the oven. 2. Place an empty metal roasting pan, cast iron skillet, or oven-safe tray on the rack below — this is your steam tray. 3. Preheat the oven to 500°F (260°C) — or as high as your oven will go. 4. Allow the oven to preheat for a full 45–60 minutes. The stone needs to be fully saturated with heat, not just surface warm. 5. Boil a kettle of water and have it ready just before baking.
- 8
SCORE & BAKE: The moment you've been waiting for — let's get this loaf in the oven! **Score the dough:** 1. Cut a piece of parchment paper slightly larger than your loaf. 2. Place it on a pizza peel, cutting board, or the back of a flat baking sheet — this is your launching pad. 3. Quickly flip the banneton over onto the parchment paper so the smooth side is now facing up. Give it a confident flip! 4. Working quickly, use a sharp bread lame or razor blade to score the top of the dough. 5. Make one confident, decisive slash at a 30–45° angle, about ½ inch deep — or try an ear score or decorative pattern if you're feeling creative. 6. The dough should be cold and firm, making scoring clean and precise. **Bake with steam:** 1. Open the oven door and slide the parchment paper with the dough onto the hot baking stone. 2. Immediately and carefully pour 1 cup of boiling water into the hot steam tray below — stand back, it will hiss and steam aggressively. 3. Quickly close the oven door to trap the steam. 4. Bake at 500°F (260°C) with steam for 20 minutes. The steam keeps the crust soft and allows maximum oven spring. 5. After 20 minutes, carefully remove the steam tray from the oven. 6. Reduce the oven temperature to 450°F (230°C). 7. Continue baking for a further 25–30 minutes until the crust is deeply golden brown — almost darker than you think it should be. **Check for doneness:** - Tap the bottom of the loaf — it should sound hollow, like tapping on a drum. - An internal temperature of 205–210°F (96–99°C) means it's fully baked through.
- 9
COOL YOUR LOAF: You did it — look at that loaf! Now comes the hardest part: waiting. 1. Transfer the baked loaf to a wire cooling rack immediately after baking. 2. Do not cut into it yet — the interior crumb is still setting and steaming inside. 3. Allow the loaf to cool for a minimum of 1–2 hours before slicing. 4. Listen for the loaf to crackle and sing as it cools — that's the crust contracting and it's one of the best sounds in baking. Slicing too early will result in a gummy, undercooked-seeming crumb — even if the loaf is fully baked. Patience here is genuinely rewarded with a beautiful, open, chewy crumb. When you finally slice into it — enjoy every bit of that moment. You made this!
Baker's Tips
- •Use a kitchen scale for every ingredient — sourdough baking rewards precision.
- •Rice flour is your best friend for dusting the banneton. It won't absorb moisture and releases cleanly every time.
- •The colder your dough going into the oven, the more dramatic your oven spring and the cleaner your scores will be.
- •Steam in the first phase of baking is what creates a crackling, blistered crust — it's the secret to bakery-quality bread at home.
- •Every kitchen is different. Learn to read your dough by its look, feel, and smell rather than relying solely on timing.
- •If your loaf comes out flat, the most common culprits are: under-active starter, over-proofed dough, or not enough surface tension during shaping.
- •A properly baked sourdough should have an internal temperature of 205–210°F (96–99°C). An instant-read thermometer takes the guesswork out of it.
More Like This
Baker's Toolkit
Tools and ingredients we recommend for this recipe
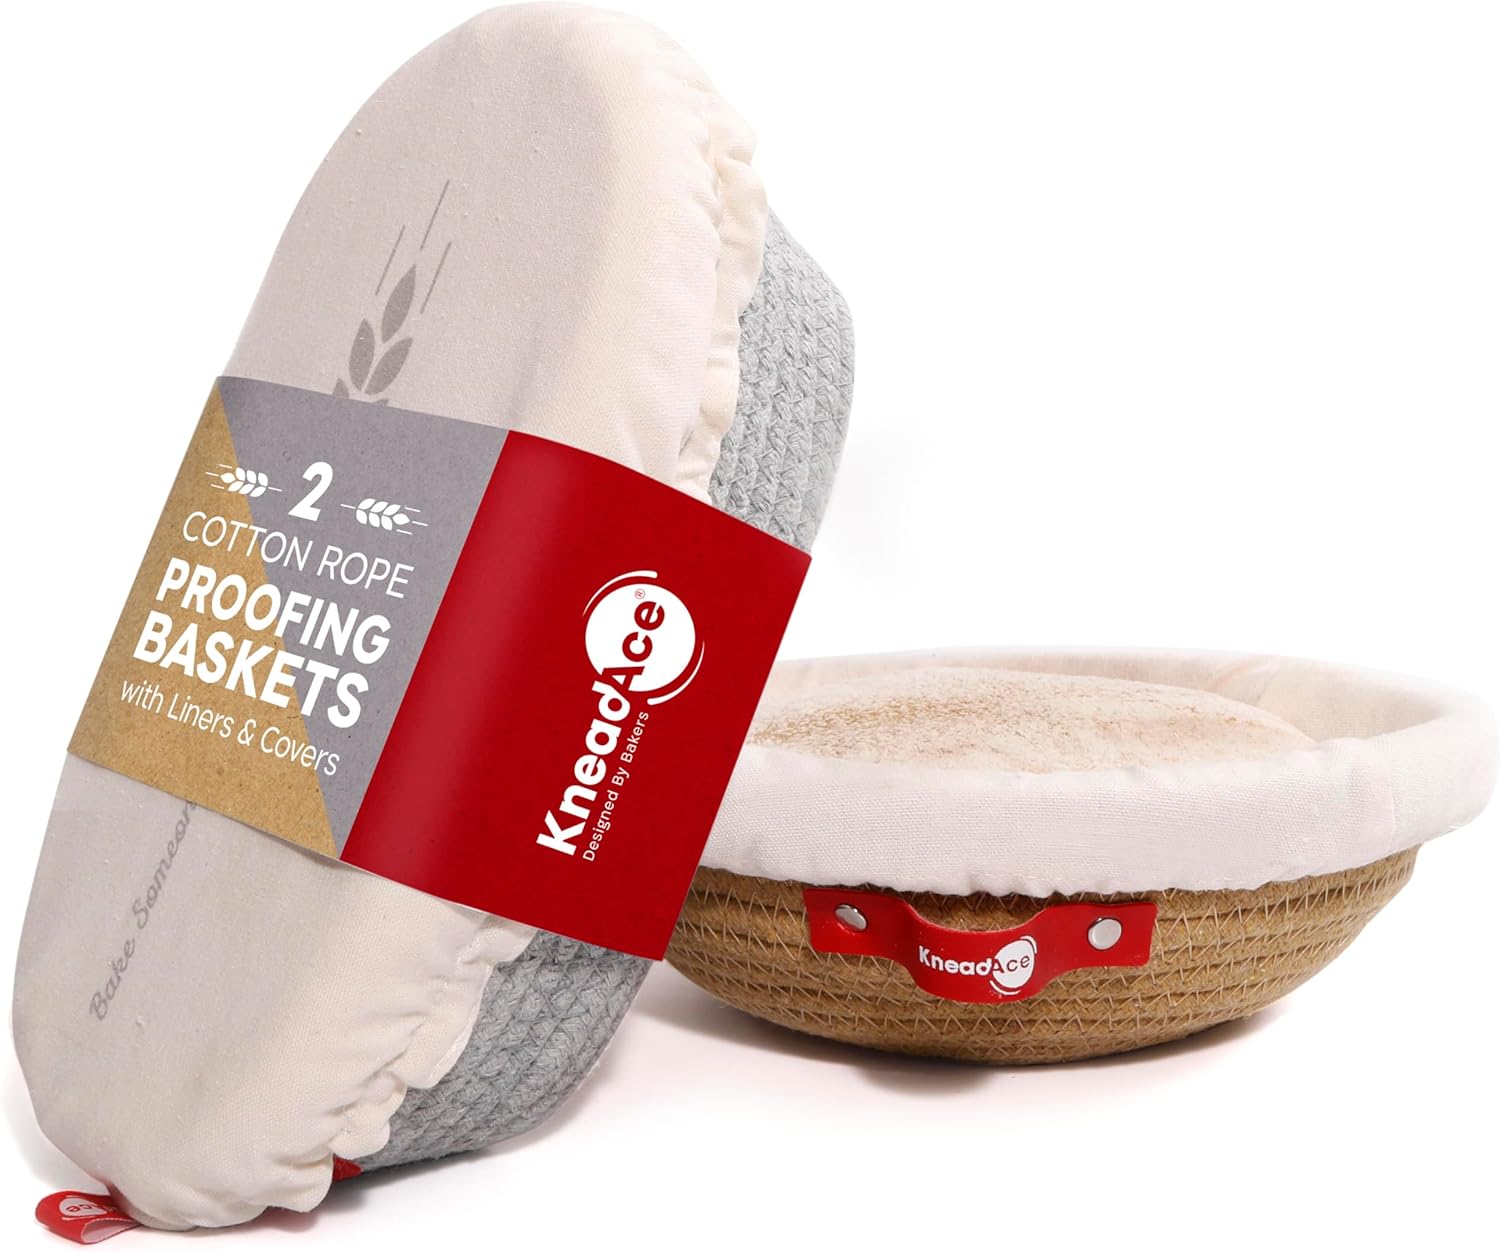
KneadAce Cotton Rope Banneton Bread Proofing Basket Set, Oval & Round Bread Baskets with Liners & Covers
View product
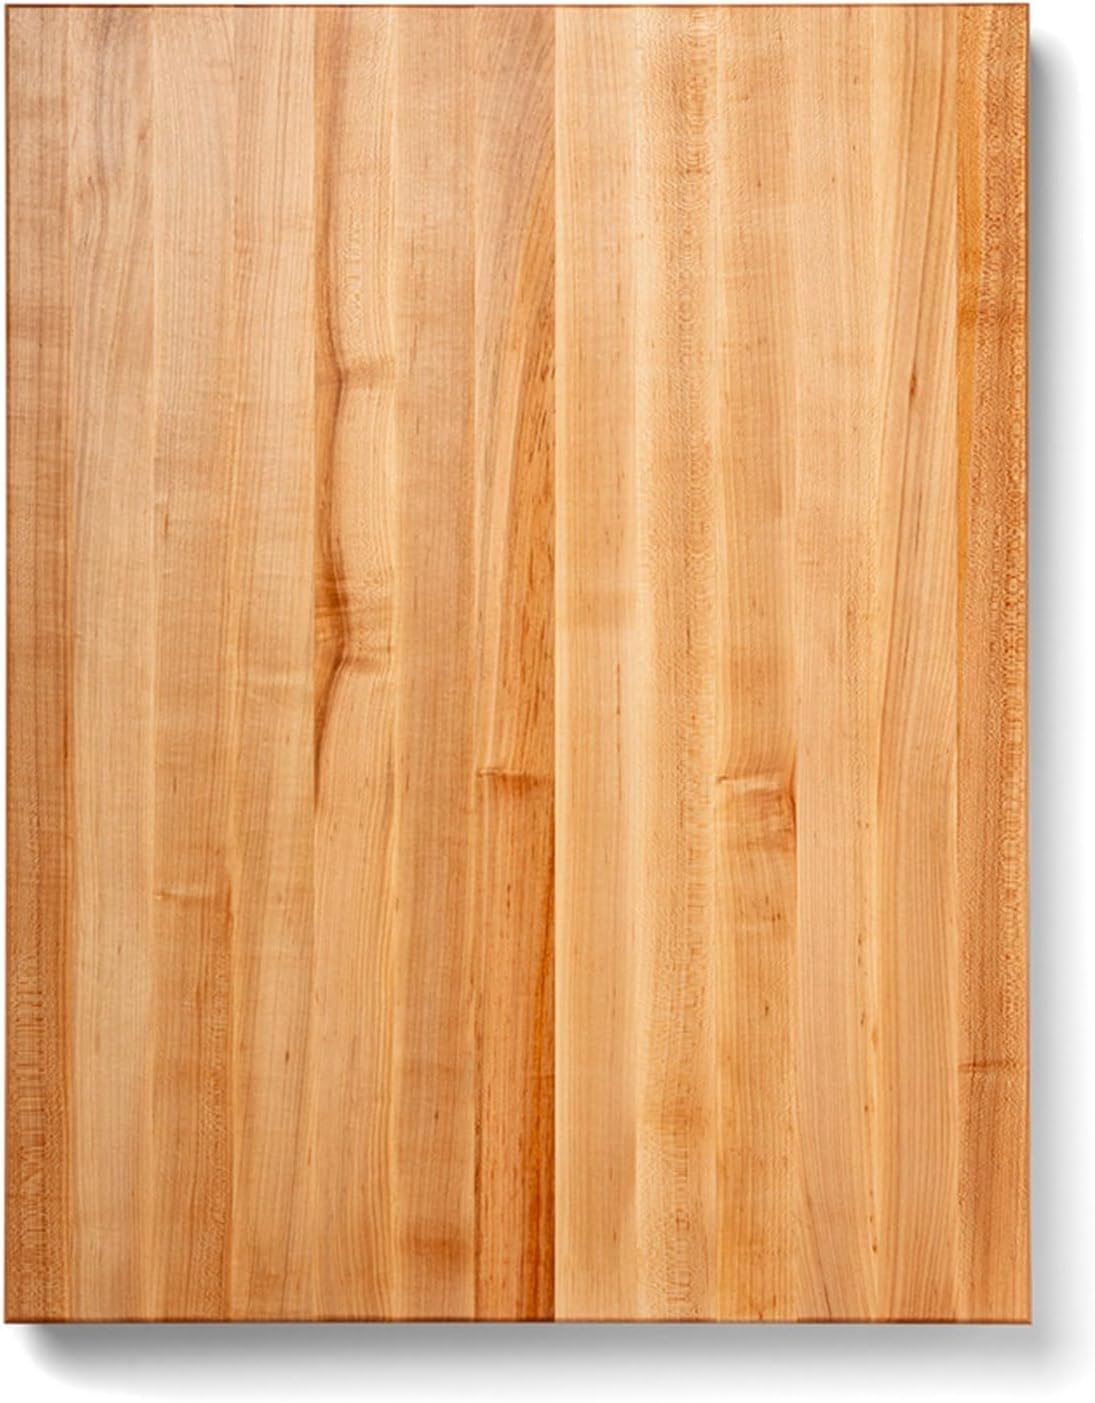
John Boos RA-Board Series Rectangular Wooden Maple Cutting Board 30”x23.25” – 2.25” Thick
View product

Sally's Organics® Empty Clear Glass Spray Bottles - Refillable 16 oz
View product
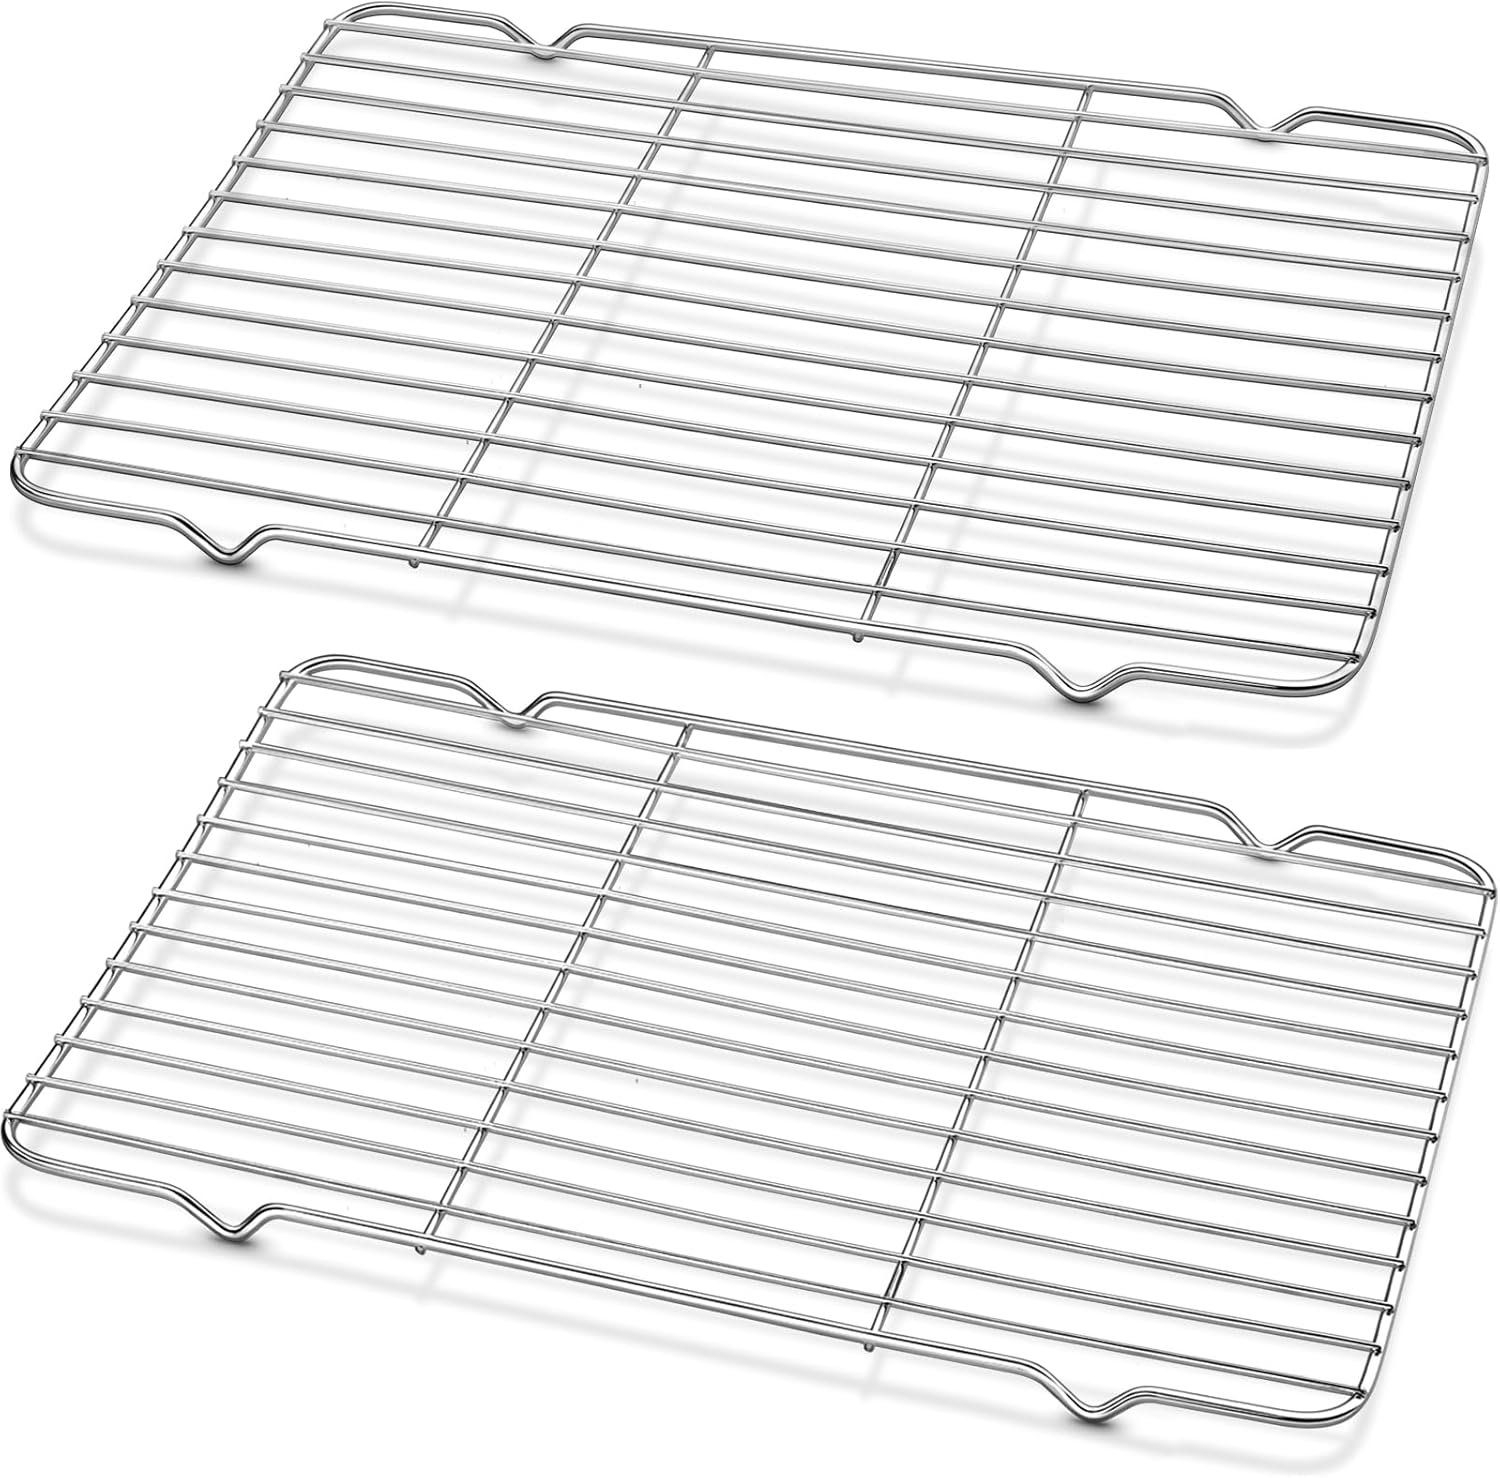
Cooling Rack and Baking Rack with Stainless Steel, 2 - Pack 10 x 15 Inches
View product

Glad Cling N Seal Plastic Wrap for Food, Airtight Seal, 300 Square Foot Roll (Pack of 4)
View product
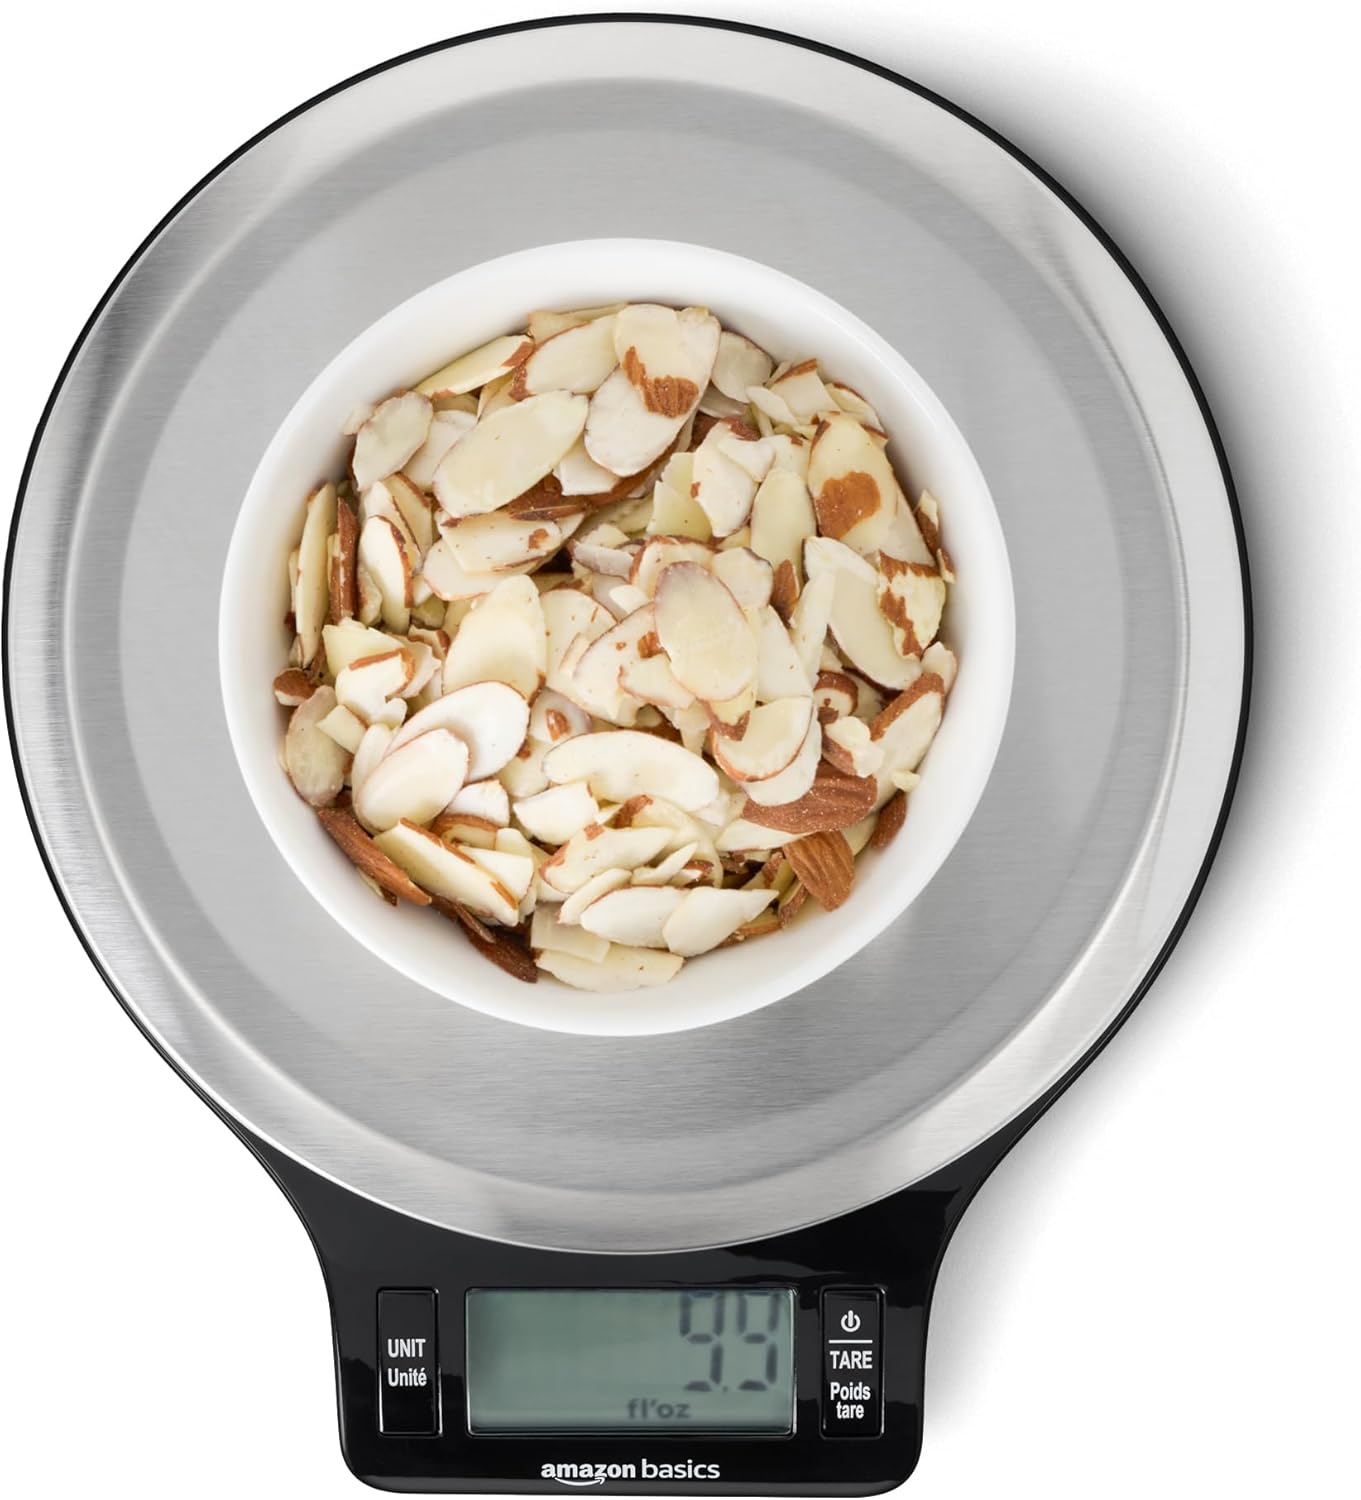
Amazon Basics Digital Kitchen Scale with LCD Display
View product
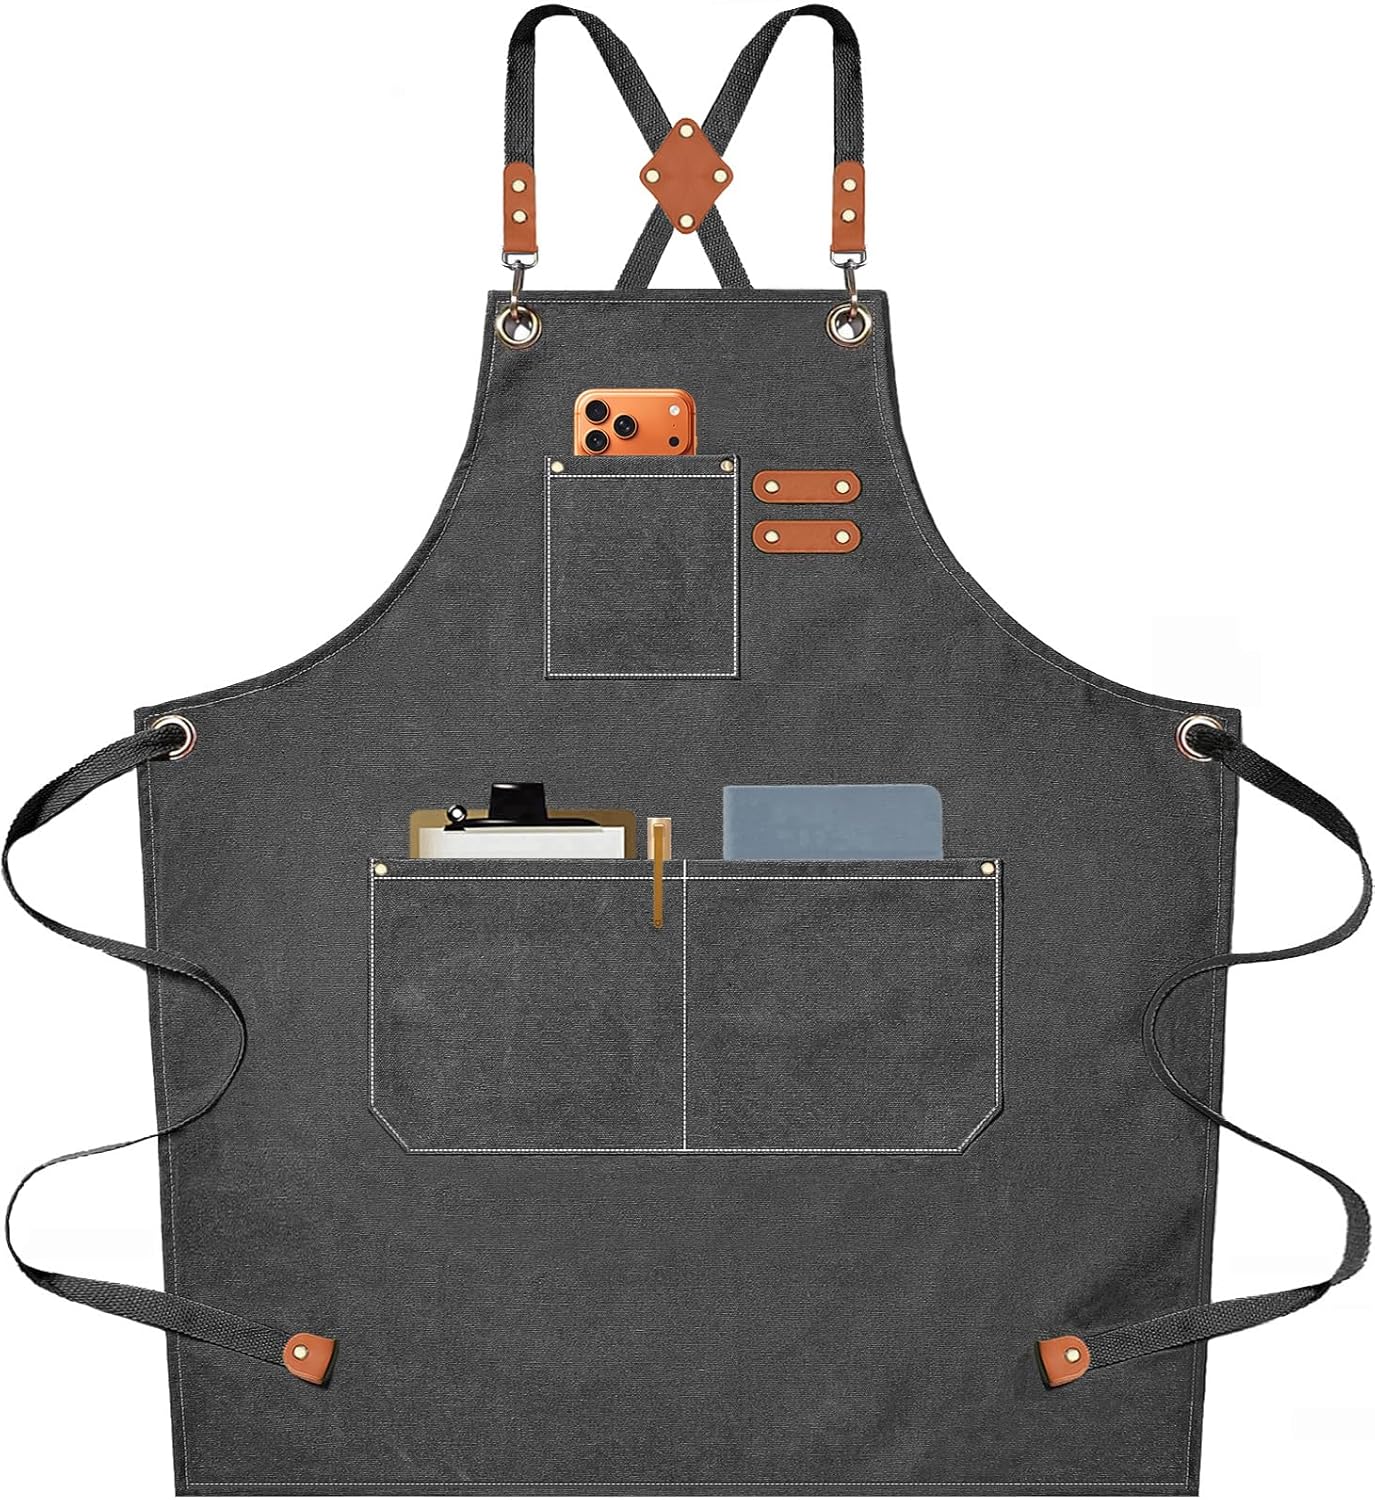
AFUN Chef Aprons for Men Women with Oversized Pockets
View product

PIZZA STONE | Rectangular Pizza Stone For Oven Baking
View product
Comments
Sign in to join the conversation
Sign In