
Golden Pull-Apart Sourdough Rolls with Seed Crown
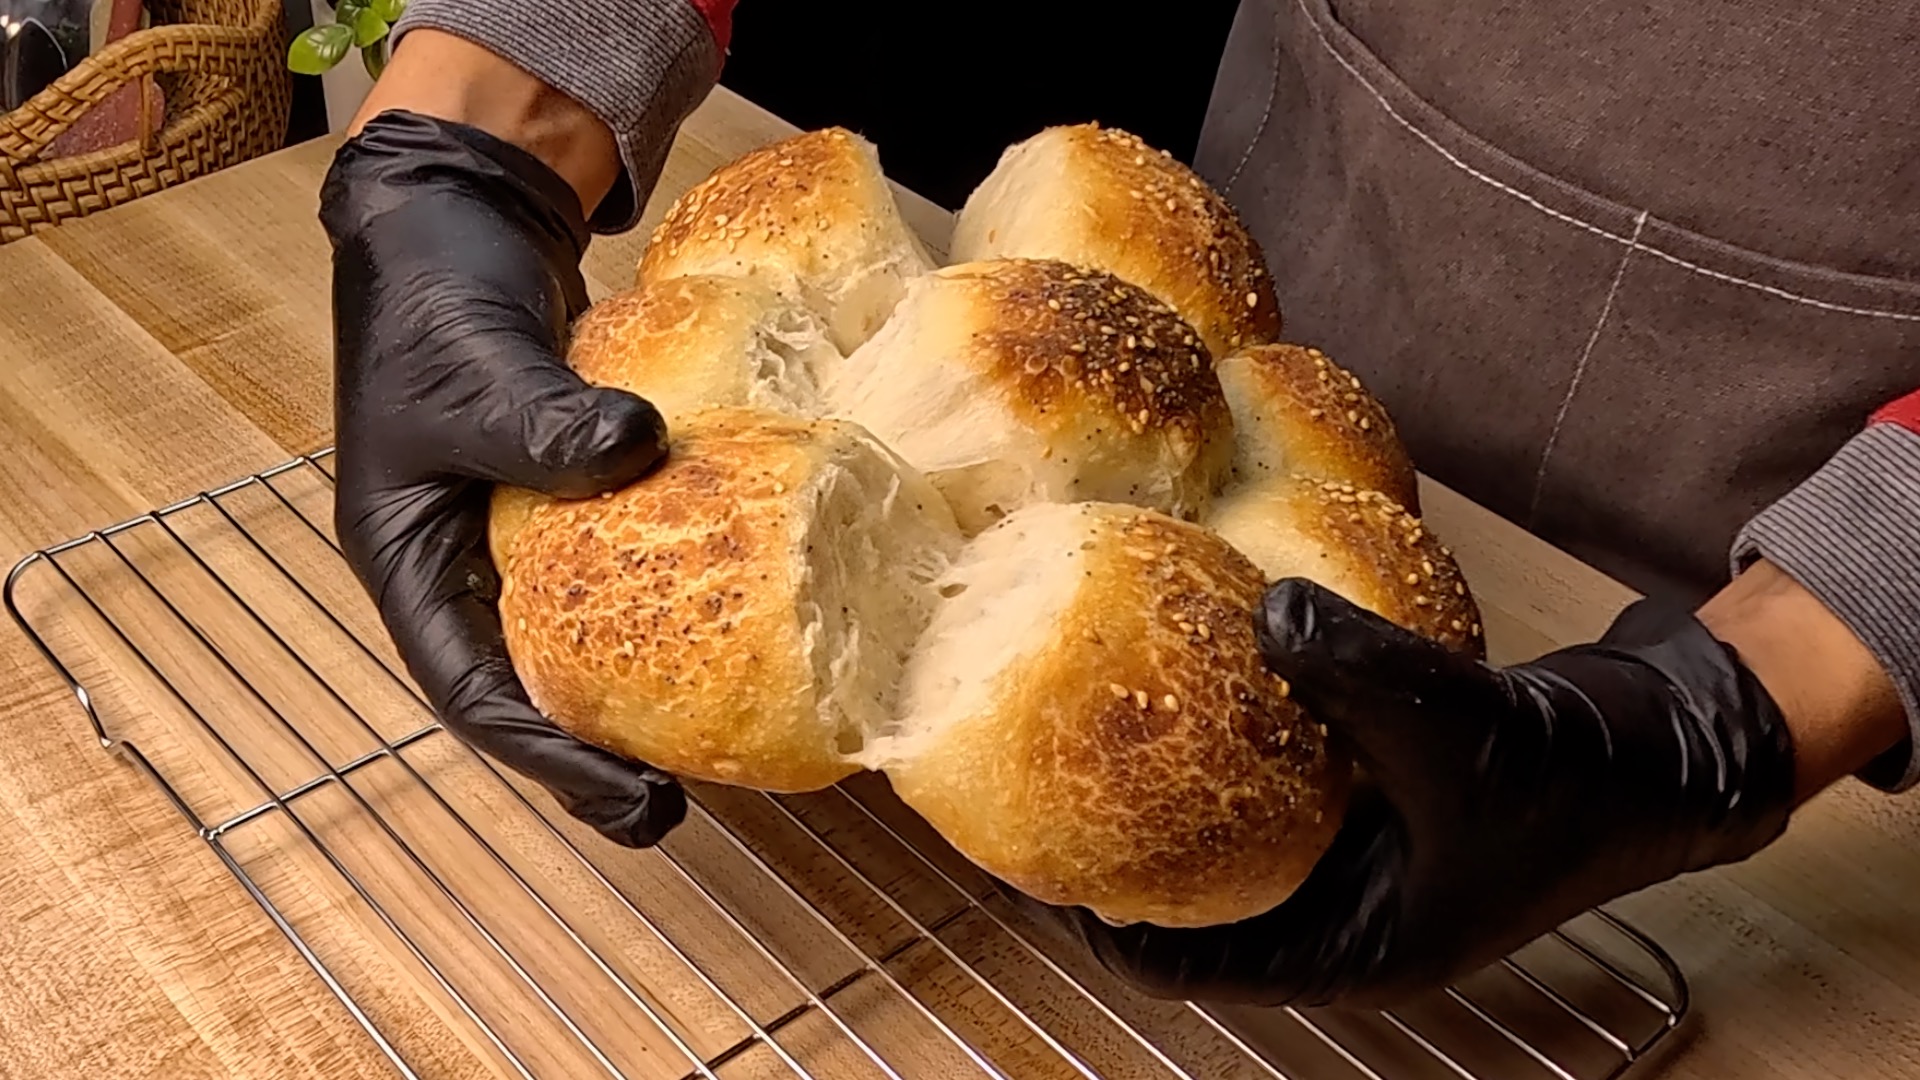
Pillowy, tear-apart sourdough rolls glazed with oat milk and maple, crowned with poppy and sesame seeds.
Instructions
- 1
FEED YOUR STARTER: In a clean jar, combine 50g of your existing sourdough starter with 50g bread flour and 50g room temperature water. Stir vigorously until fully combined and no dry flour remains. The mixture should look like a thick, smooth pancake batter. Mark the level with a rubber band or piece of tape so you can track the rise. Leave it at room temperature for 6 to 8 hours. You are looking for it to double in size, develop a domed top, and show plenty of bubbles throughout. It should smell pleasantly tangy and yeasty, not acidic or unpleasant. This is your starter at its peak, full of energy and ready to leaven your dough.
- 2
MIX THE DOUGH: Once your starter is active, bubbly, and domed, it is time to mix. In a large bowl, combine 350g room temperature water and 100g of your active starter. Stir well with a silicone spatula until the starter fully dissolves into the water. The mixture will look milky and slightly frothy. Next, add 10g fine sea salt and stir again until dissolved. Now add all 500g of bread flour at once. Use your silicone spatula to fold and press until you have a shaggy dough with no dry flour remaining. It will look rough and uneven at this stage and that is completely normal. Cover the bowl with a damp towel or plastic wrap and let it rest for 30 minutes before your first stretch and fold.
- 3
STRETCH AND FOLDS: Over the next 2 to 3 hours, perform 3 sets of stretch and folds, spaced 45 to 60 minutes apart. For each set, wet your hand lightly to prevent sticking. Grab one side of the dough, stretch it up as high as it will comfortably go without tearing, then fold it over to the opposite side. Rotate the bowl 90 degrees and repeat. Do this 4 times around the bowl to complete one set. After the first set, the dough will still feel a little rough and slack. By the second set, you will notice it becoming smoother, more elastic, and starting to hold its shape. By the third set, the dough should feel soft, pillowy, and spring back gently when you poke it. Cover the bowl after each set and let it rest until the next. After your third and final set, your dough is ready for the overnight cold bulk ferment.
- 4
COLD OVERNIGHT BULK FERMENT: After completing your final stretch and fold, cover the bowl tightly with plastic wrap and transfer it to the refrigerator. The cold temperature will slow fermentation way down, allowing the dough to develop deep, complex flavor overnight. Leave it in the fridge for 8 to 16 hours. The dough should grow by about 50 to 75 percent and feel airy and jiggly when you gently shake the bowl in the morning. You should see bubbles on the surface and along the sides of the bowl. Do not worry if it has not doubled fully, cold bulk ferments are more subtle than room temperature ones. The slow fermentation is doing wonderful things to the flavor of your rolls.
- 5
PRE-SHAPE: Remove the dough from the refrigerator and gently turn it out onto a lightly floured work surface. The dough will feel cold and firm, which actually makes it easier to handle. Using a bench scraper or your hands, gently work the dough into a single smooth ball by folding the edges underneath and pulling it toward you to build surface tension. Use short, confident movements and avoid deflating the air you have worked so hard to build. The goal is a taut, unified ball that holds its shape. It does not need to be perfect, just cohesive. You are building the structure your rolls will rely on.
- 6
BENCH REST: Dust the top of the pre-shaped dough ball lightly with flour. Cover it first with a sheet of plastic wrap, pressed gently down over the floured surface, and then lay a kitchen towel on top of that. Let the dough rest for 20 to 30 minutes. The cold dough needs this time to warm up slightly and relax so it can be stretched and divided without springing back or tearing. After the bench rest, the dough should feel noticeably softer and more pliable when you press it gently with your fingertip. This small window of patience makes shaping so much more enjoyable.
- 7
FINAL SHAPE: Lightly dust a sheet of parchment paper and set it aside. Using a bench scraper or sharp knife, divide the rested dough into 8 roughly equal pieces. If you want uniform rolls, use a kitchen scale and aim for about 120 to 125g per piece. For each piece, fold the edges underneath and roll it gently against the work surface with a cupped hand, using a circular motion to form a tight, smooth ball. You should feel the surface tension building under your palm. Place each shaped roll onto the prepared parchment paper, leaving about 1 to 2 centimeters between each roll so they can touch and pull apart beautifully as they bake. Arrange them in a cluster or a grid. Once all 8 rolls are shaped and placed, whisk together your glaze ingredients in a small bowl and use a pastry brush to coat the tops generously. Sprinkle poppy seeds and sesame seeds over the glazed tops to cover evenly. The glaze will help the seeds stick and develop a gorgeous golden sheen in the oven.
- 8
PREHEAT YOUR CAST IRON: Place your cast iron skillet or pan into the oven and preheat to 500F (260C). Allow the oven and the cast iron to heat together for at least 30 to 45 minutes. While the oven preheats, your shaped and glazed rolls are resting at room temperature on the parchment paper. They will puff gently and look alive with small bubbles forming under the surface. Do not rush the preheat. A screaming hot cast iron is what gives the rolls their beautiful bottom crust and helps them spring upward dramatically in the first few minutes of baking.
- 9
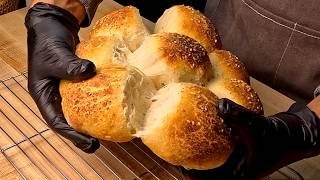
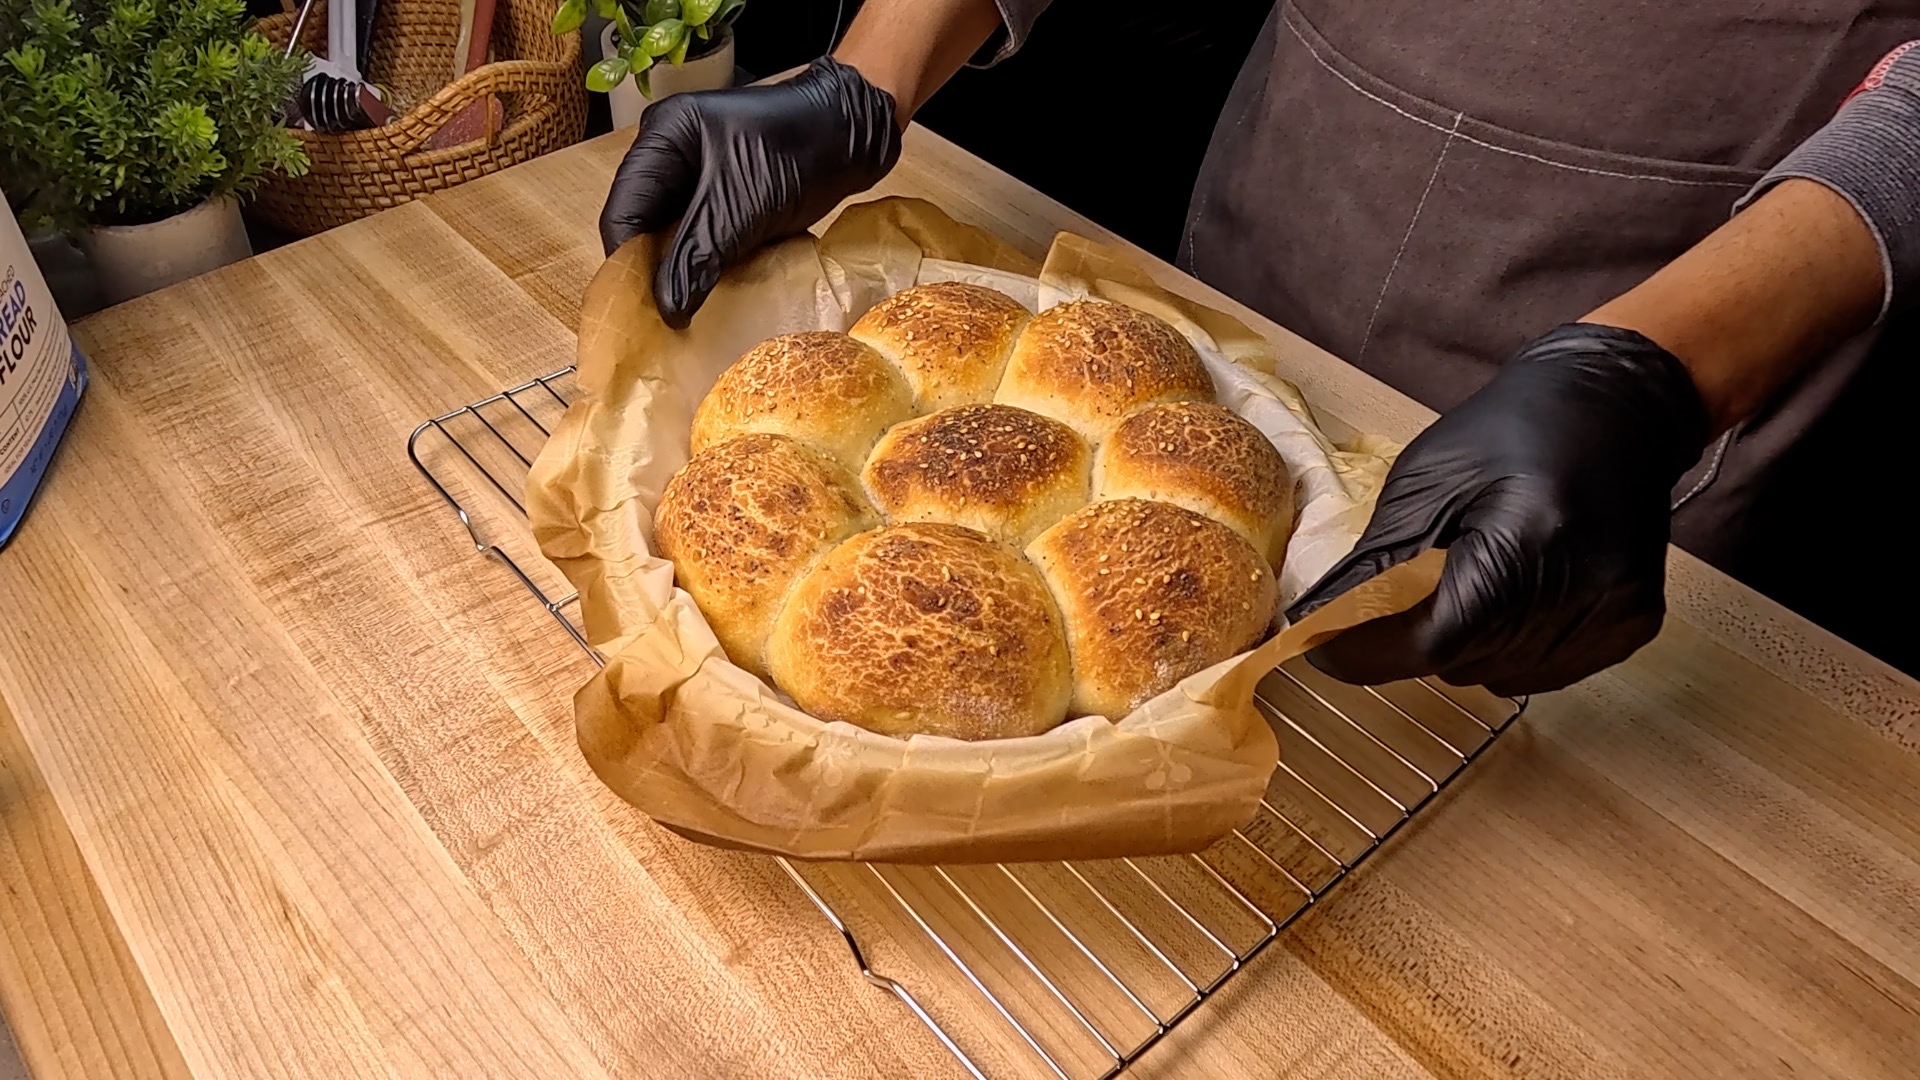
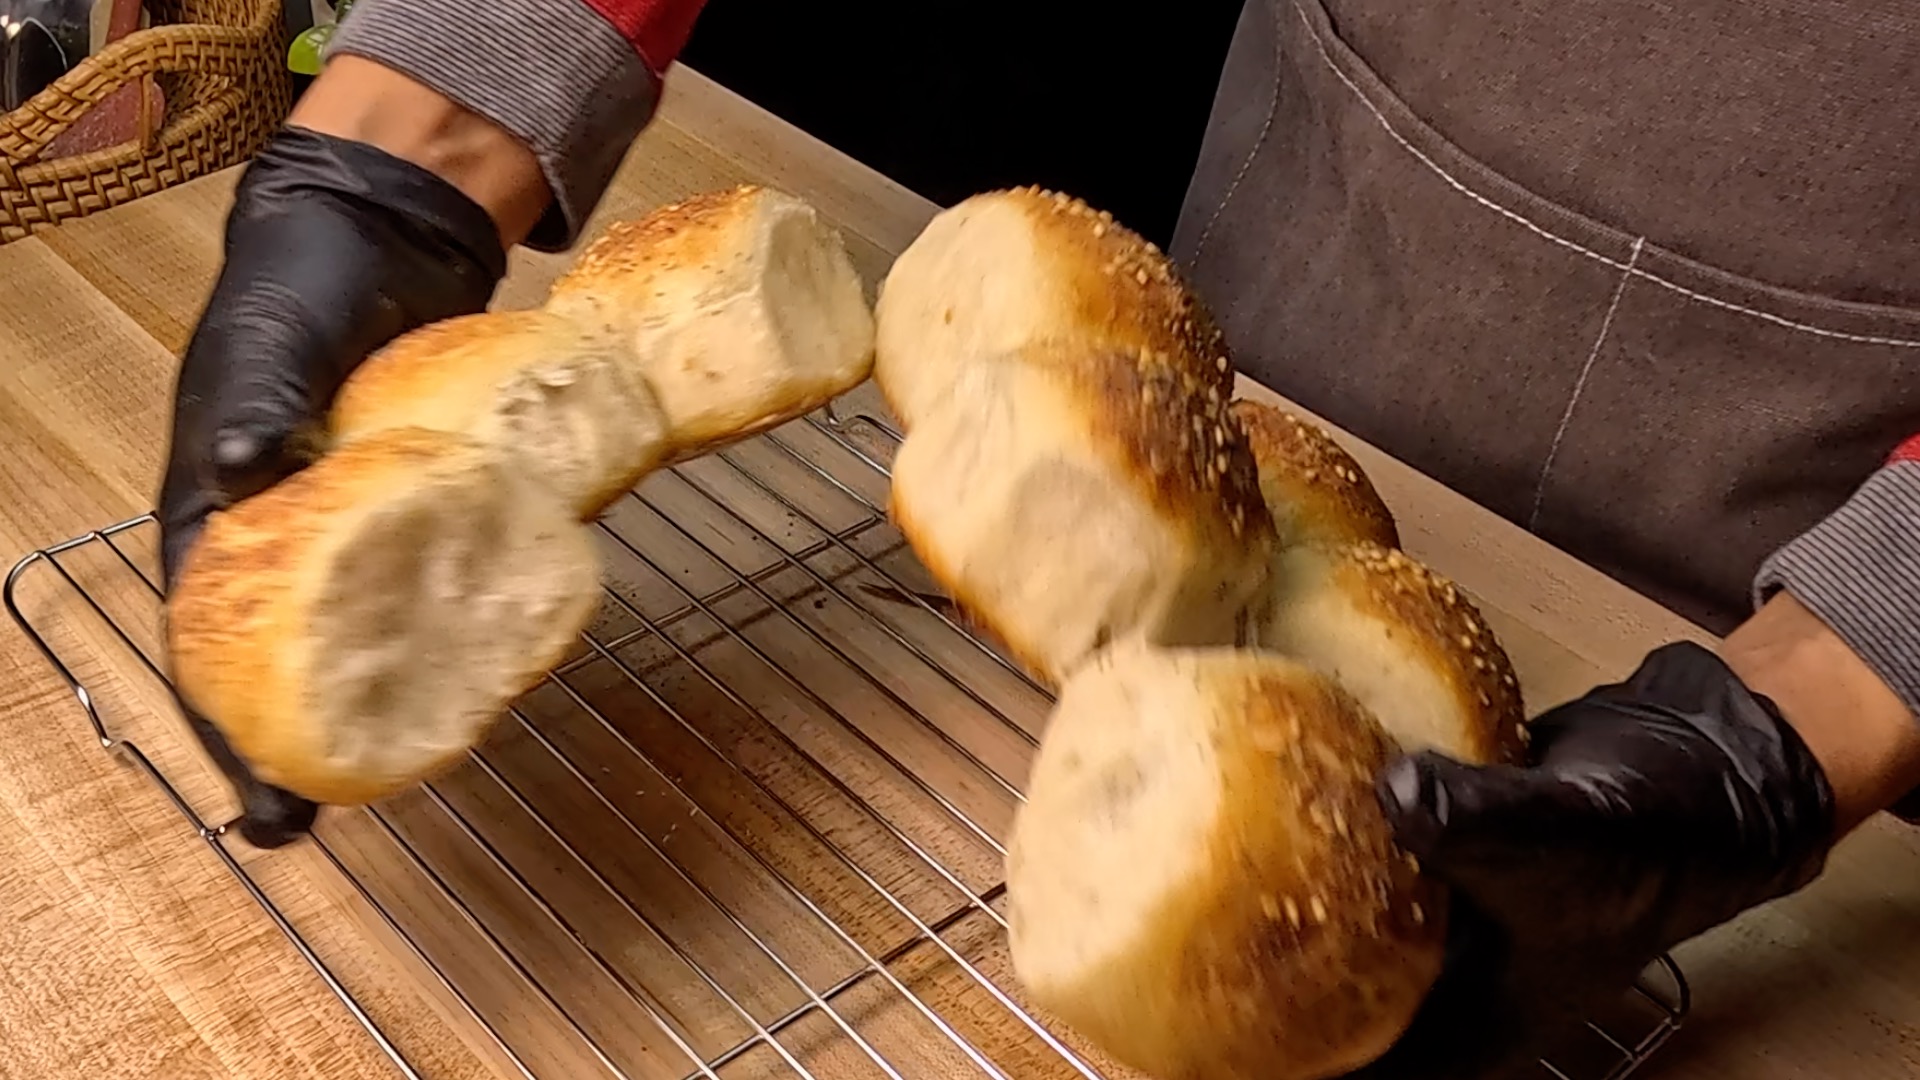
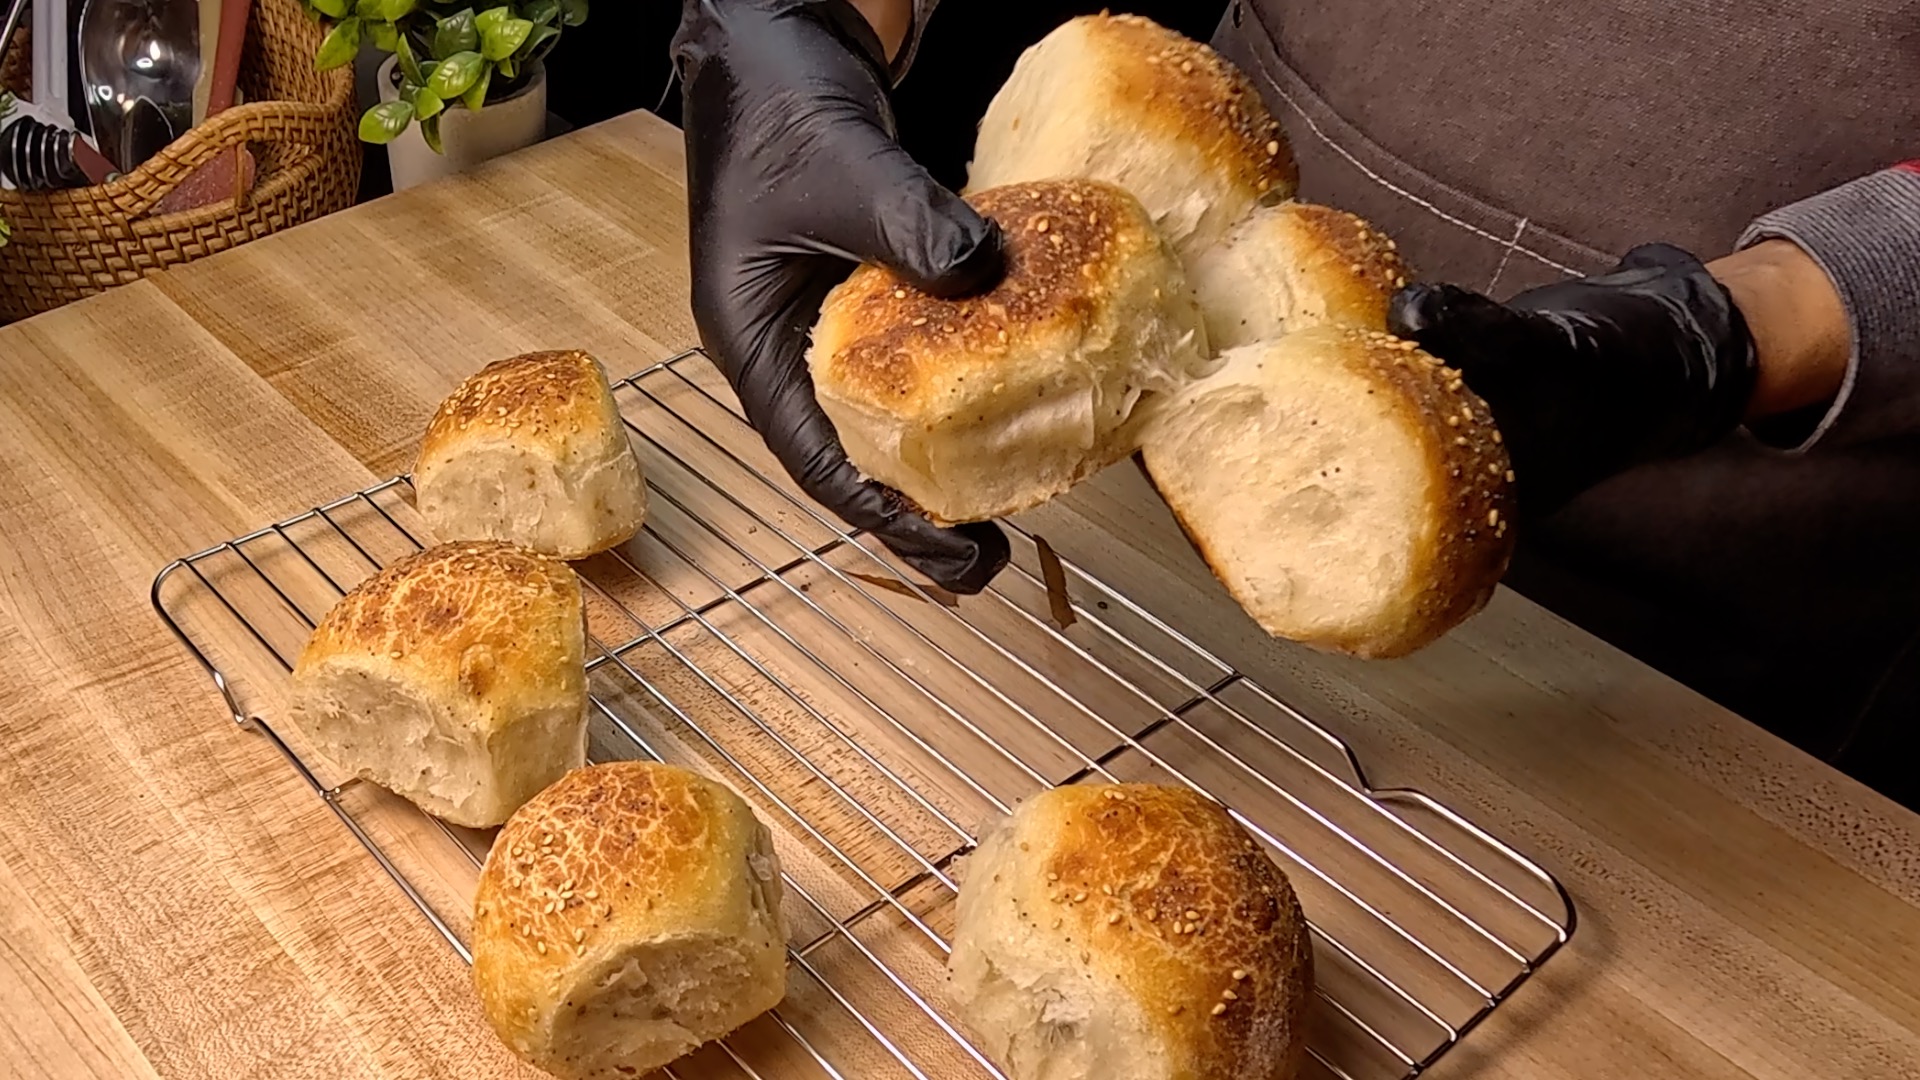
BAKE AND COOL: Carefully slide the parchment paper with the rolls directly into the hot cast iron skillet. The rolls should sizzle gently when they hit the pan. If using a lid, cover for the first 15 minutes then reduce oven to to 450F (230C), remove lid for the remaining 15 to 20 minutes. If baking uncovered the whole time, bake for 25 to 30 minutes total. The rolls are done when they are deep golden brown with a glossy seed-covered top. The tops should feel firm and the bottoms should sound hollow when you tap them. When they come out of the oven, they will be glistening, puffed, and pressing warmly against each other. Transfer them to a wire rack and let them cool for at least 15 to 20 minutes before tearing into them. The inside needs this time to finish setting so it is not gummy. Then pull them apart and enjoy every tear.
Baker's Tips
- •Weigh your dough pieces for the most even rolls. Even small differences in size will mean some rolls overbake while others are underdone.
- •The oat milk, maple syrup, and olive oil glaze creates a beautiful vegan-friendly shine. Apply it right before baking, not before proofing, so it stays vibrant.
- •Cold bulk ferment dough is much more forgiving to shape than room temperature dough. Trust the process and enjoy how cooperative it feels.
- •If you want an extra glossy finish, apply a second coat of glaze in the last 5 minutes of baking.
- •Poppy seeds and sesame seeds are just the beginning. Try nigella seeds, flaky salt, or everything bagel seasoning for a fun variation.
More Like This
Baker's Toolkit
Tools and ingredients we recommend for this recipe
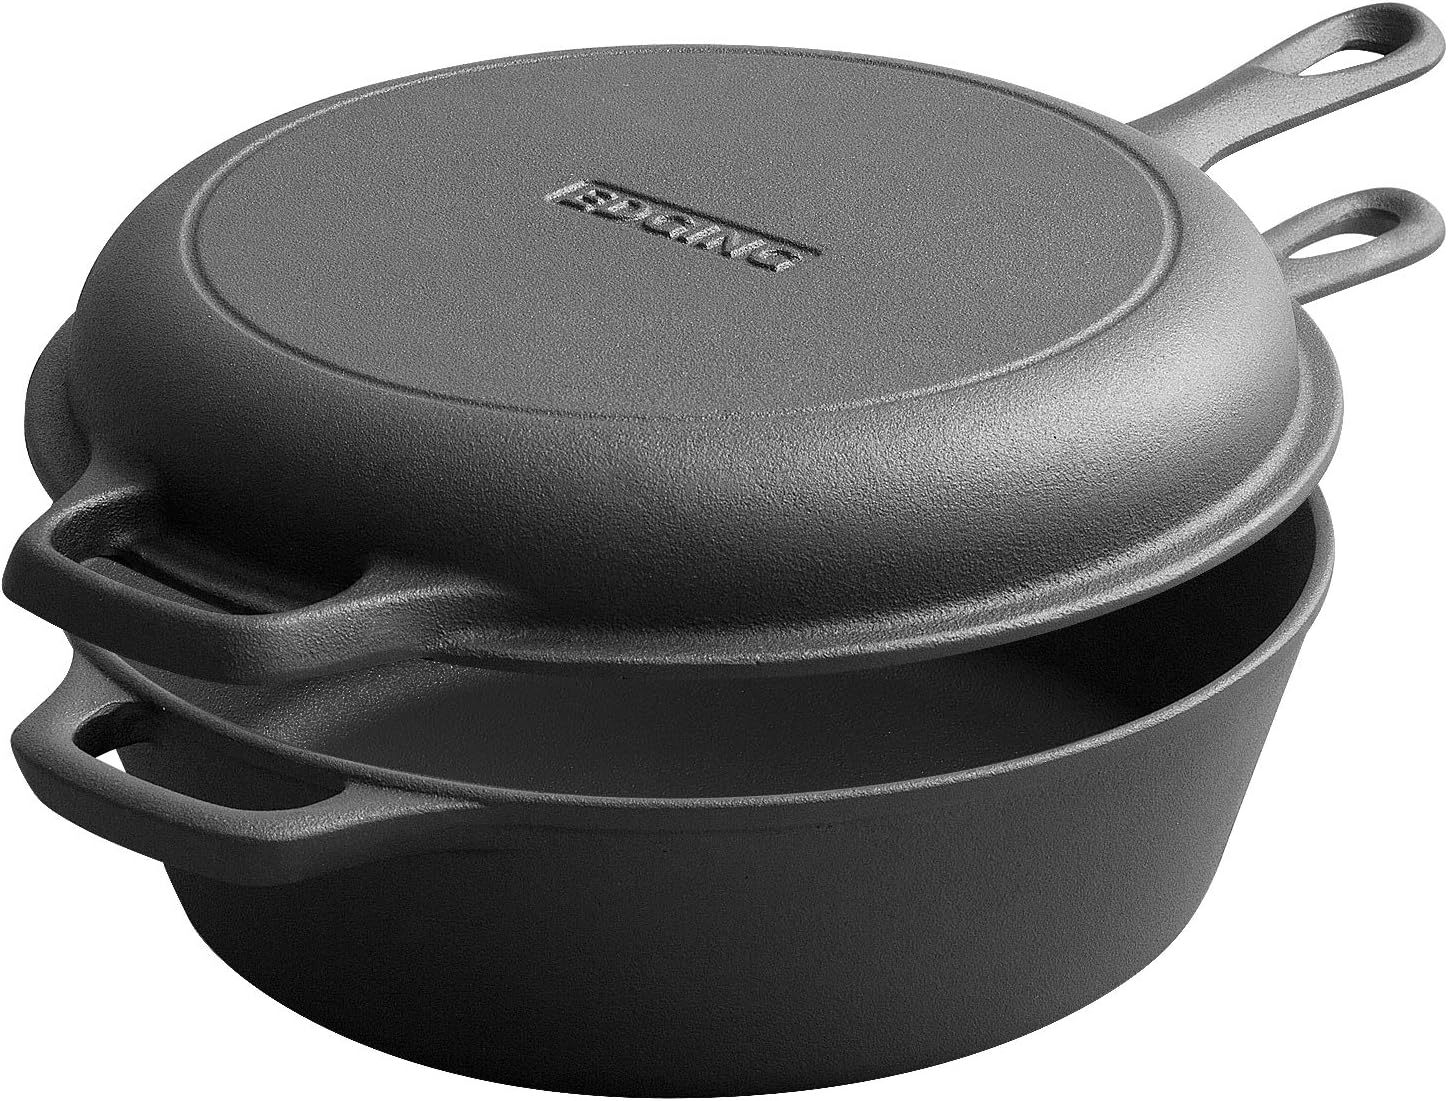
2-in-1 Pre-Seasoned Cast Iron Dutch Oven Pot with Skillet Lid Set, 10" Skillet
View product
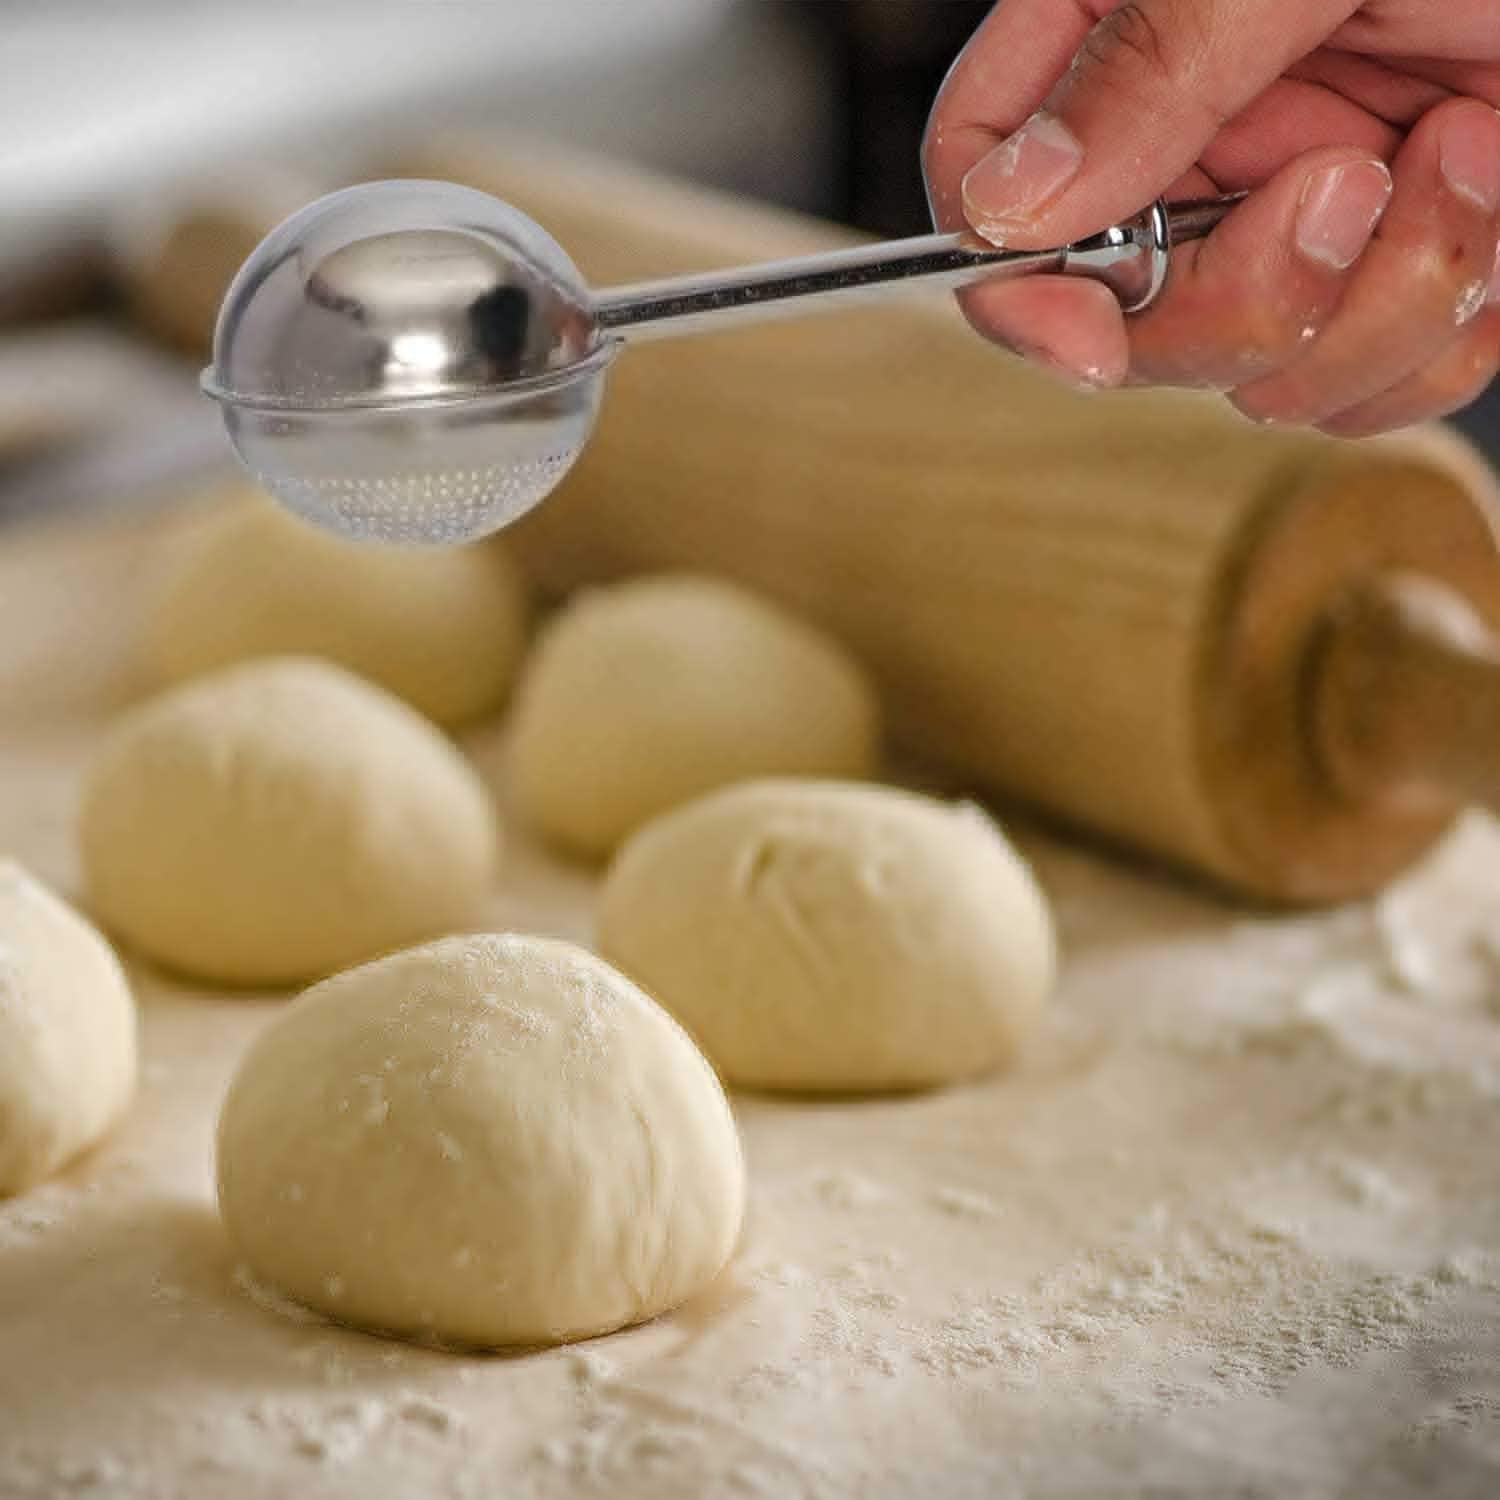
HULISEN Flour Duster for Baking, One-Handed Operation, 304 Stainless Steel Powdered Sugar Shaker Duster
View product
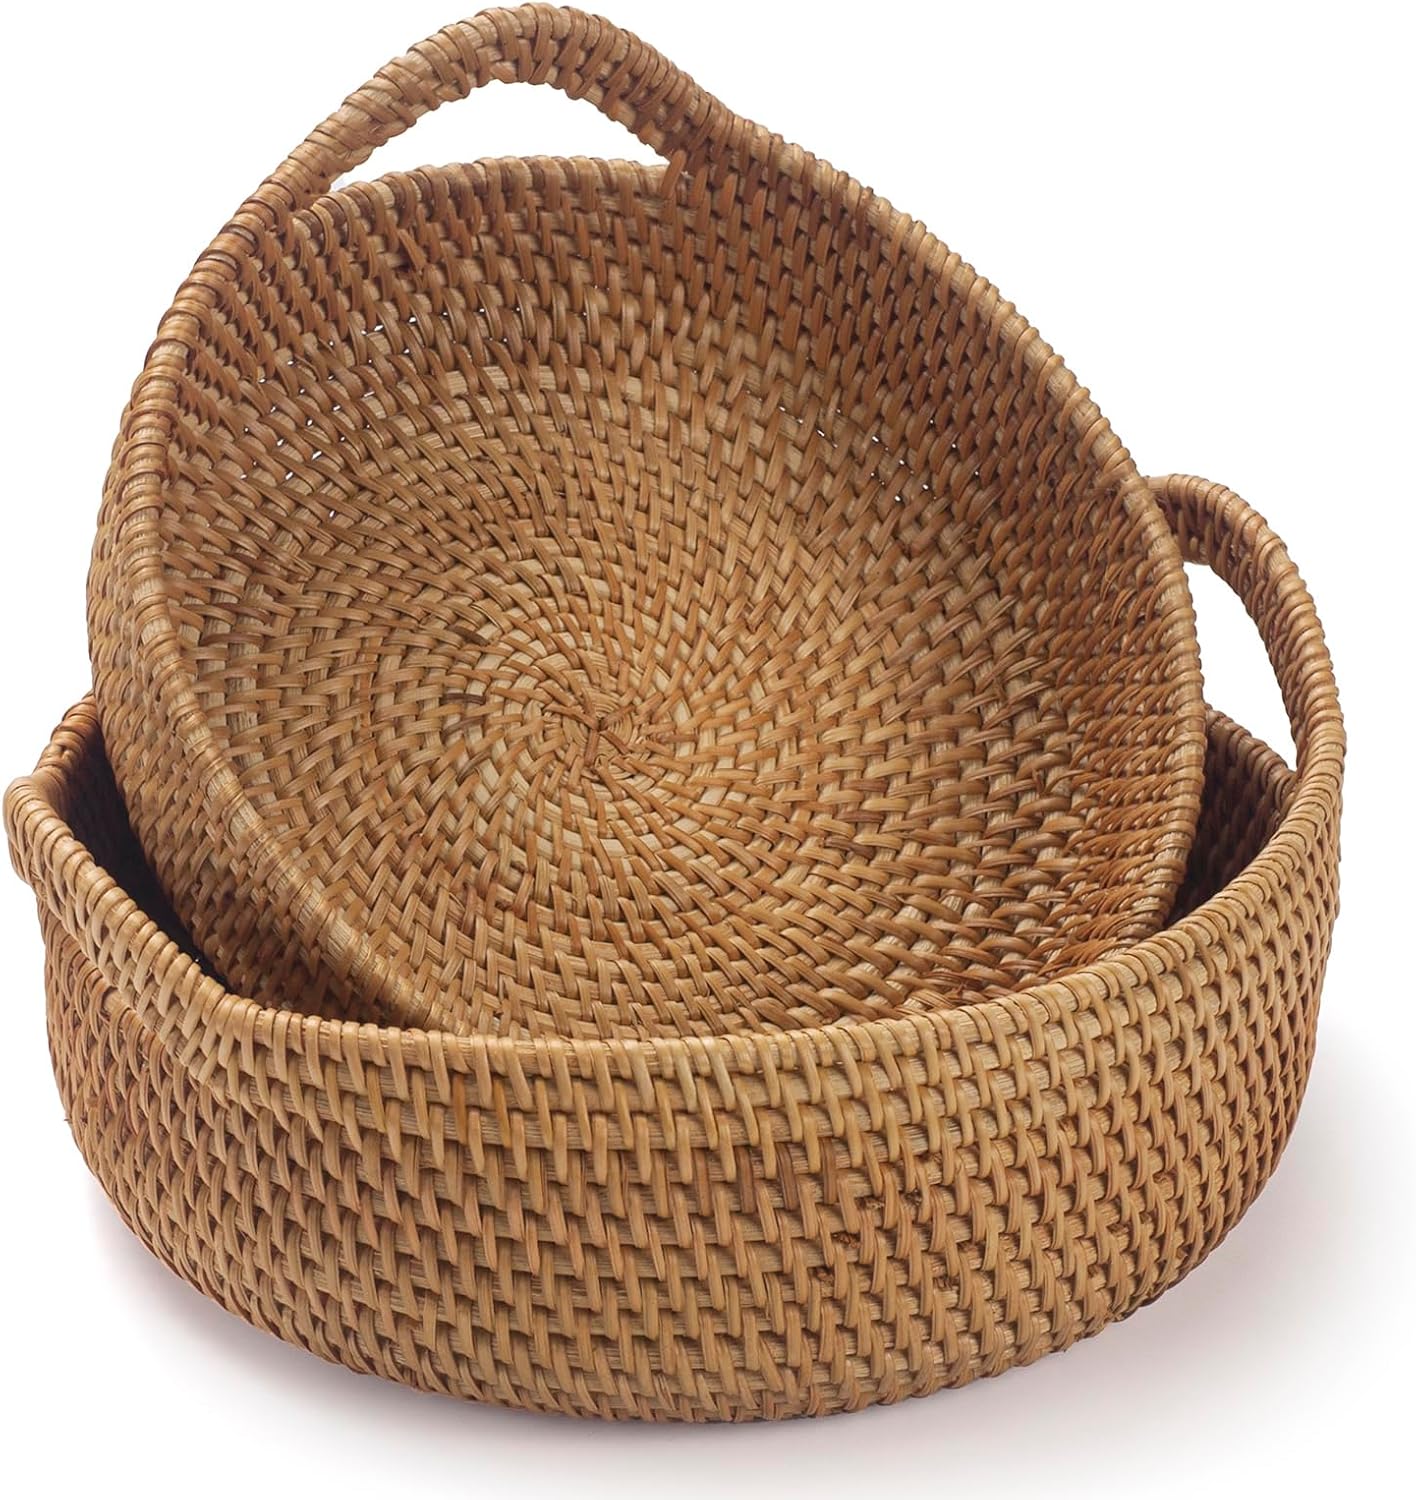
Rattan Storage Basket, Hand Woven Fruit Basket with Handles
View product
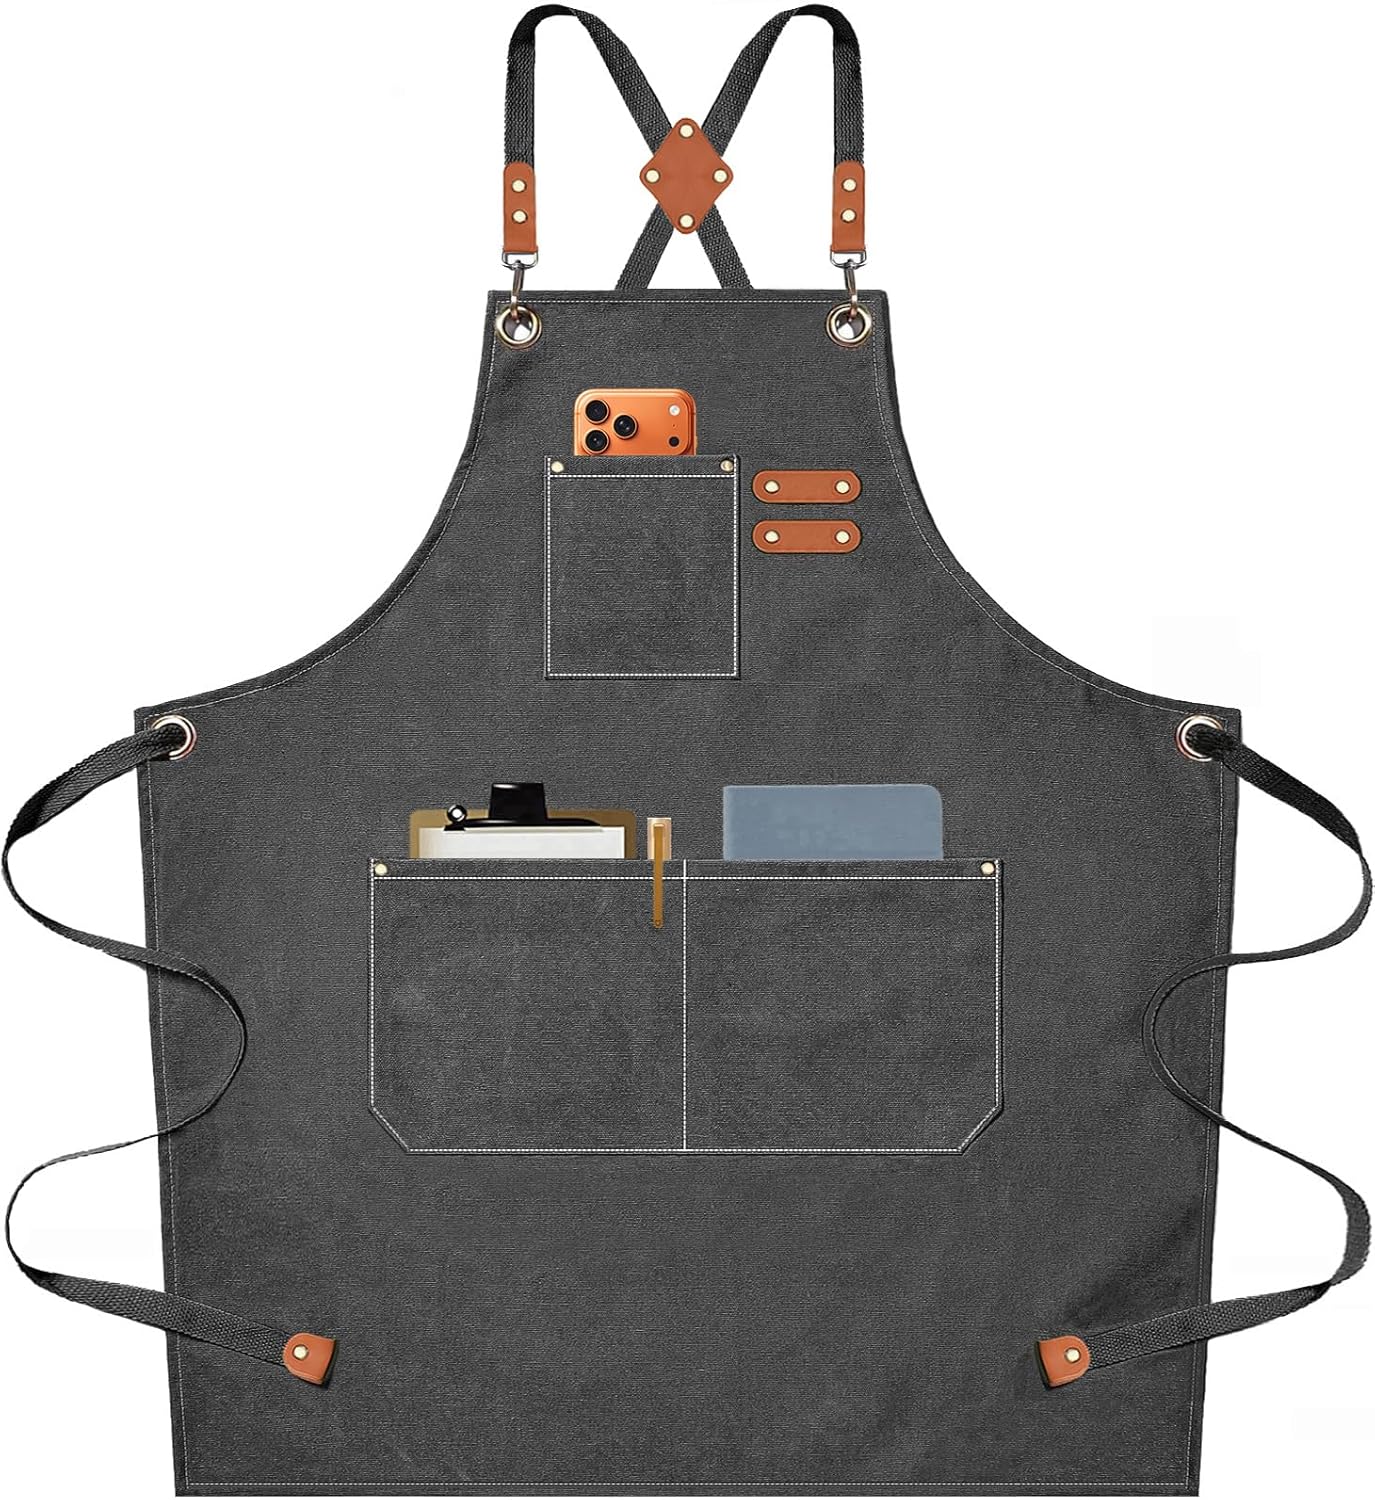
AFUN Chef Aprons for Men Women with Oversized Pockets
View product
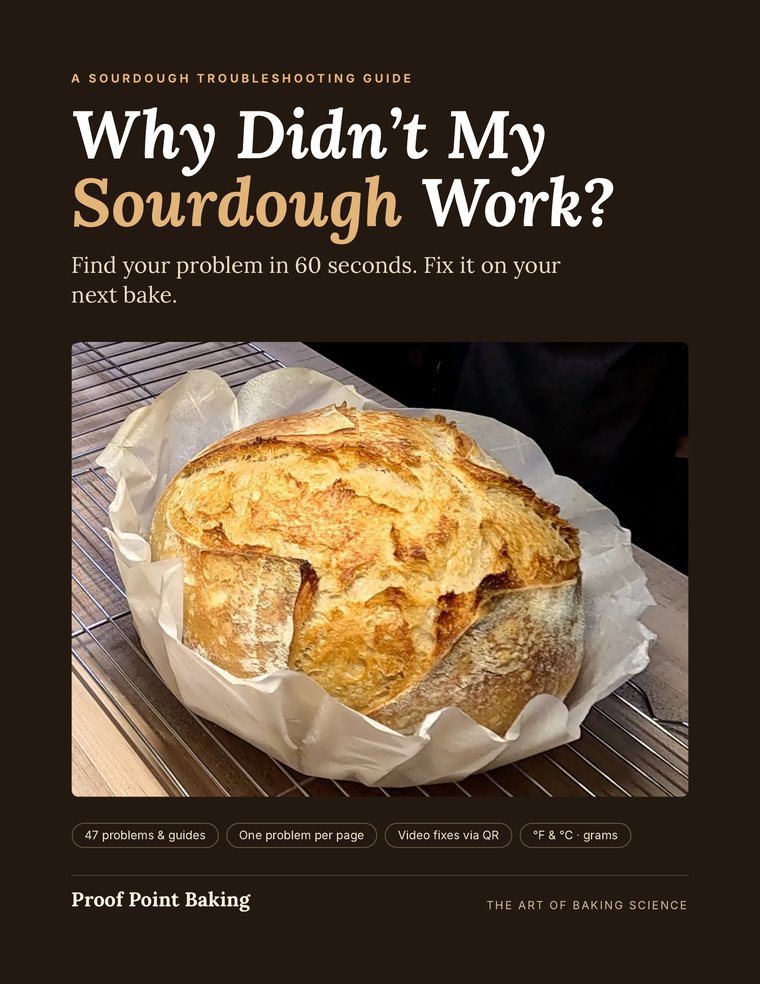
Why Didn't My Sourdough Work?
PDF $15 · Hardcover $39.99

1472F Heat Resistant Silicone Non-Slip Oven Mitts, Long Kitchen Gloves Perfect for Grilling, Cooking, Baking, Cutting
View product
Comments
Sign in to join the conversation
Sign In