
5 Reasons Your Sourdough Sandwich Loaf Is Too Dense
Slicing into a dense, gummy sourdough sandwich loaf is so frustrating. Here's exactly why it happens and how to fix it.
Published on July 4, 2026
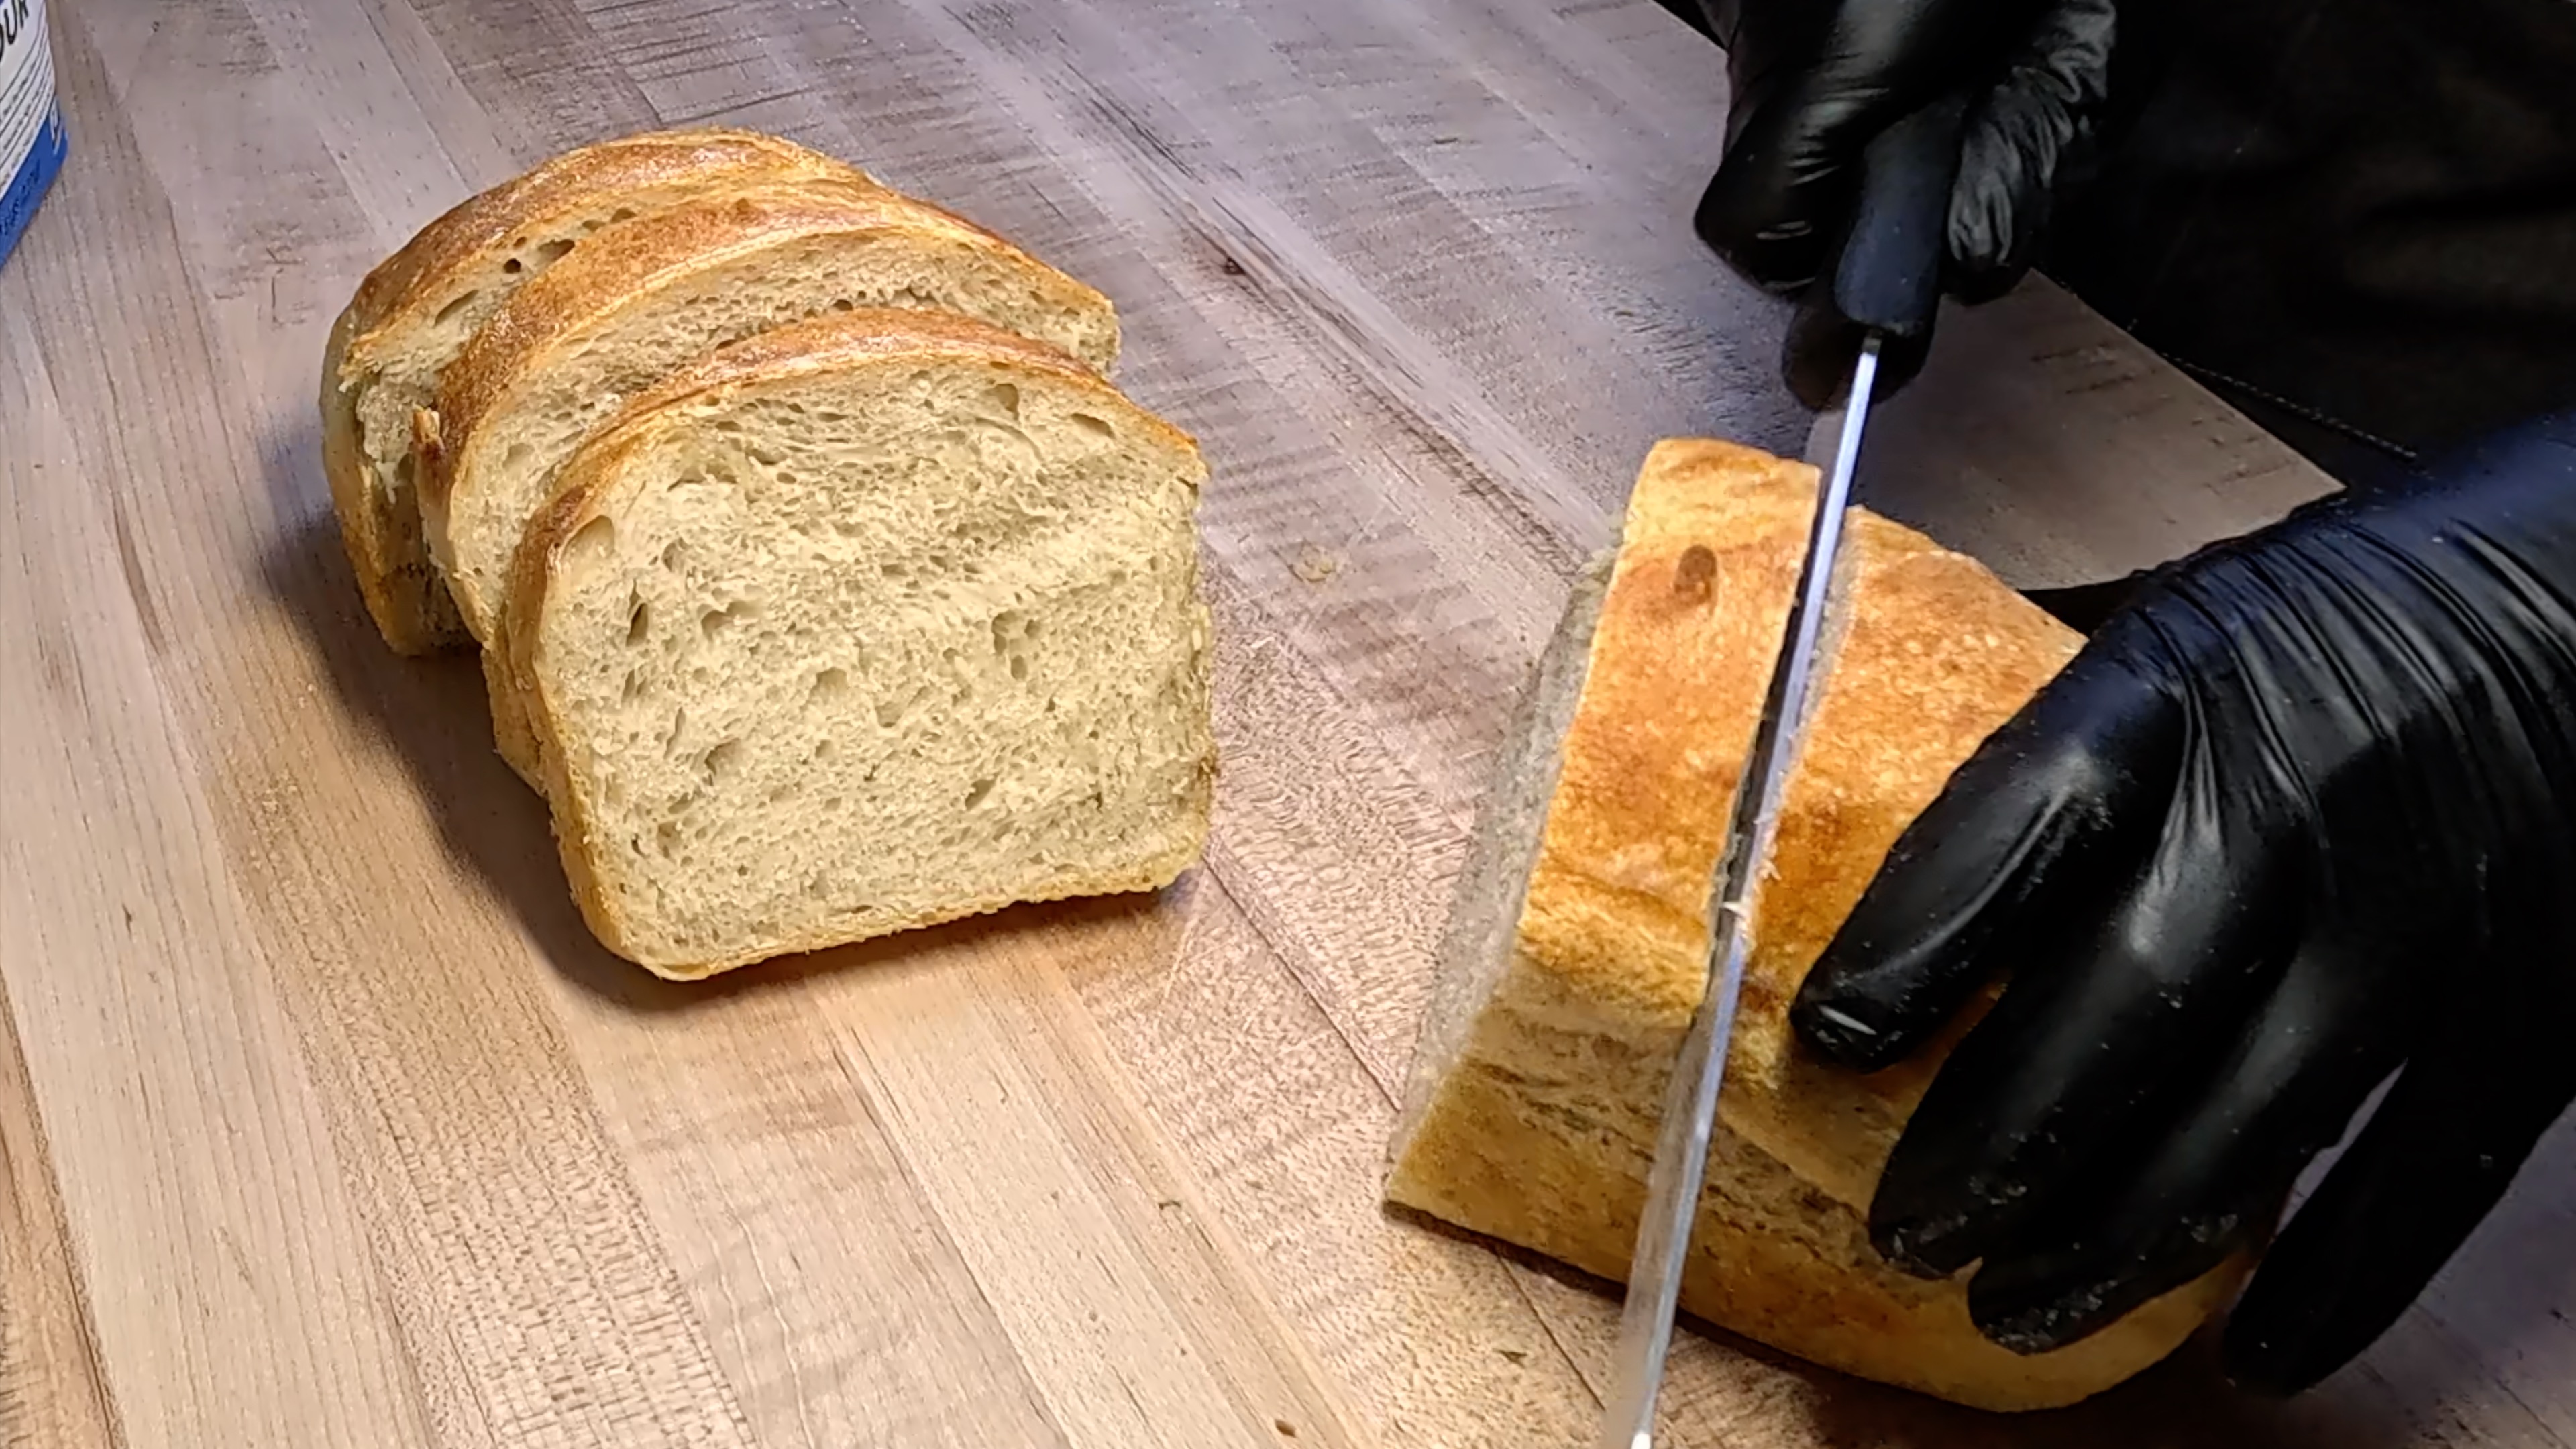
You spent the better part of a day nurturing your dough, shaping it carefully, and sliding it into the oven with high hopes. Then you sliced into it — and instead of that soft, pillowy crumb you were dreaming of, you got a dense, heavy brick that could double as a doorstop.
We've all been there. And honestly? A dense sourdough sandwich loaf is one of the most common frustrations home bakers face.
The good news: it's almost always fixable. Once you understand why it's happening, you can dial in your process and start pulling soft, perfectly-sliceable loaves out of the oven every single time.
Let's walk through the five most likely culprits — and exactly what to do about each one.
Recommended Product

KneadAce Cotton Rope Banneton Bread Proofing Basket Set, Oval & Round Bread Baskets with Liners & Covers
1. Your Starter Wasn't Ready to Bake With
This is the number one reason for a dense loaf, and it's easy to overlook — especially when you're excited to bake.
If your sourdough starter isn't at peak activity when you mix your dough, your bread simply won't rise properly. An underactive starter means weak leavening power, which leads straight to that tight, gummy crumb.
How to tell if your starter is ready:
- It should have at least doubled (ideally more than doubled) since your last feeding
- It should look bubbly and domed on top — not flat or sunken
- A small spoonful dropped into water should float (the classic float test)
- It should smell tangy and yeasty, not overly sharp or like nail polish remover
The fix: Feed your starter 4–8 hours before you plan to mix your dough, depending on the temperature of your kitchen. In a warm kitchen (75–78°F), it may peak faster. In a cooler kitchen, it may need more time. Watch the starter, not the clock.
💡 Quick tip: If your starter consistently seems sluggish, try feeding it with a 1:2:2 ratio (starter:flour:water) for a few days to build up its strength before your next bake.
Recommended Product
John Boos RA-Board Series Rectangular Wooden Maple Cutting Board 30”x23.25” – 2.25” Thick
2. You Under-Fermented the Dough (The Most Common Mistake)
Under-fermentation is probably the sneakiest cause of a dense sandwich loaf. The dough might look fine going into the oven, but if it hasn't fermented long enough, the yeast hasn't produced enough gas to give your crumb that beautiful, open structure.
Sourdough is a living process, and bulk fermentation — the first long rise after mixing — is where most of the magic happens. Cutting it short means cutting your results short.
Signs your dough was under-fermented:
- The crumb is dense and gummy, especially toward the center
- The loaf barely rose in the oven
- The flavor is bland with little to no tang
The fix: During bulk fermentation, look for these signs that your dough is ready:
- It should increase by 50–75% in volume
- The surface should look domed, bubbly, and slightly jiggly when you shake the bowl
- It should feel airy and pillowy, not tight and heavy
Remember: temperature drives fermentation speed. A dough fermenting at 68°F will take significantly longer than one at 78°F. Use a thermometer to monitor your kitchen and dough temps, and adjust your timing accordingly.
Recommended Product

Sally's Organics® Empty Clear Glass Spray Bottles - Refillable 16 oz
3. Your Dough Hydration Is Off for a Sandwich Loaf
Here's something that trips up a lot of bakers coming from rustic sourdough recipes: a sandwich loaf is a different beast. Recipes like our Classic Sourdough Bread use higher hydration to achieve that open, holey crumb — which is gorgeous for tearing and dipping, but not exactly what you want between two slices with your turkey and avocado.
A sourdough sandwich loaf typically uses lower hydration dough (around 70–75%) along with enrichments like butter, oil, milk, or eggs. These ingredients create a softer, tighter crumb — but they also require precise hydration balance. Too little water and the gluten network won't develop well, resulting in a dense loaf that doesn't rise properly.
The fix:
- Follow a recipe specifically designed for sandwich bread, like our Same-Day Sourdough Sandwich Loaf with Seeds
- Measure your ingredients by weight, not volume — a digital kitchen scale is genuinely one of the best investments a home baker can make
- If your dough feels stiff and difficult to work with, you may need to slightly increase hydration
Recommended Product

Rattan Storage Basket, Hand Woven Fruit Basket with Handles
4. Weak Gluten Development
Gluten is the structural framework that traps the gas produced by your starter, allowing the dough to rise and giving your crumb that chewy, satisfying texture. If your gluten isn't well-developed, that gas just escapes — and you're left with a flat, dense loaf.
For sandwich bread specifically, good gluten development is crucial because the dough is often enriched, which can slightly weaken gluten structure.
Signs of weak gluten development:
- Dough tears easily and doesn't hold its shape
- The loaf spreads sideways rather than rising upward
- The crumb is dense and almost cake-like
The fix:
- If you're kneading by hand, make sure you're working the dough long enough — usually 8–10 minutes until it's smooth and elastic
- If you're using a stretch-and-fold technique, complete all your sets during bulk fermentation (typically 4 sets in the first 2 hours)
- The windowpane test is your best friend: stretch a small piece of dough thin between your fingers. If it stretches to translucency without tearing, your gluten is ready.
💡 No-knead baker? Time builds gluten beautifully without any muscle required. Check out our No-Knead Sourdough Bread (No Dutch Oven) to see this technique in action.
Recommended Product

AFUN Chef Aprons for Men Women with Oversized Pockets
5. Shaping Too Tightly or Too Loosely
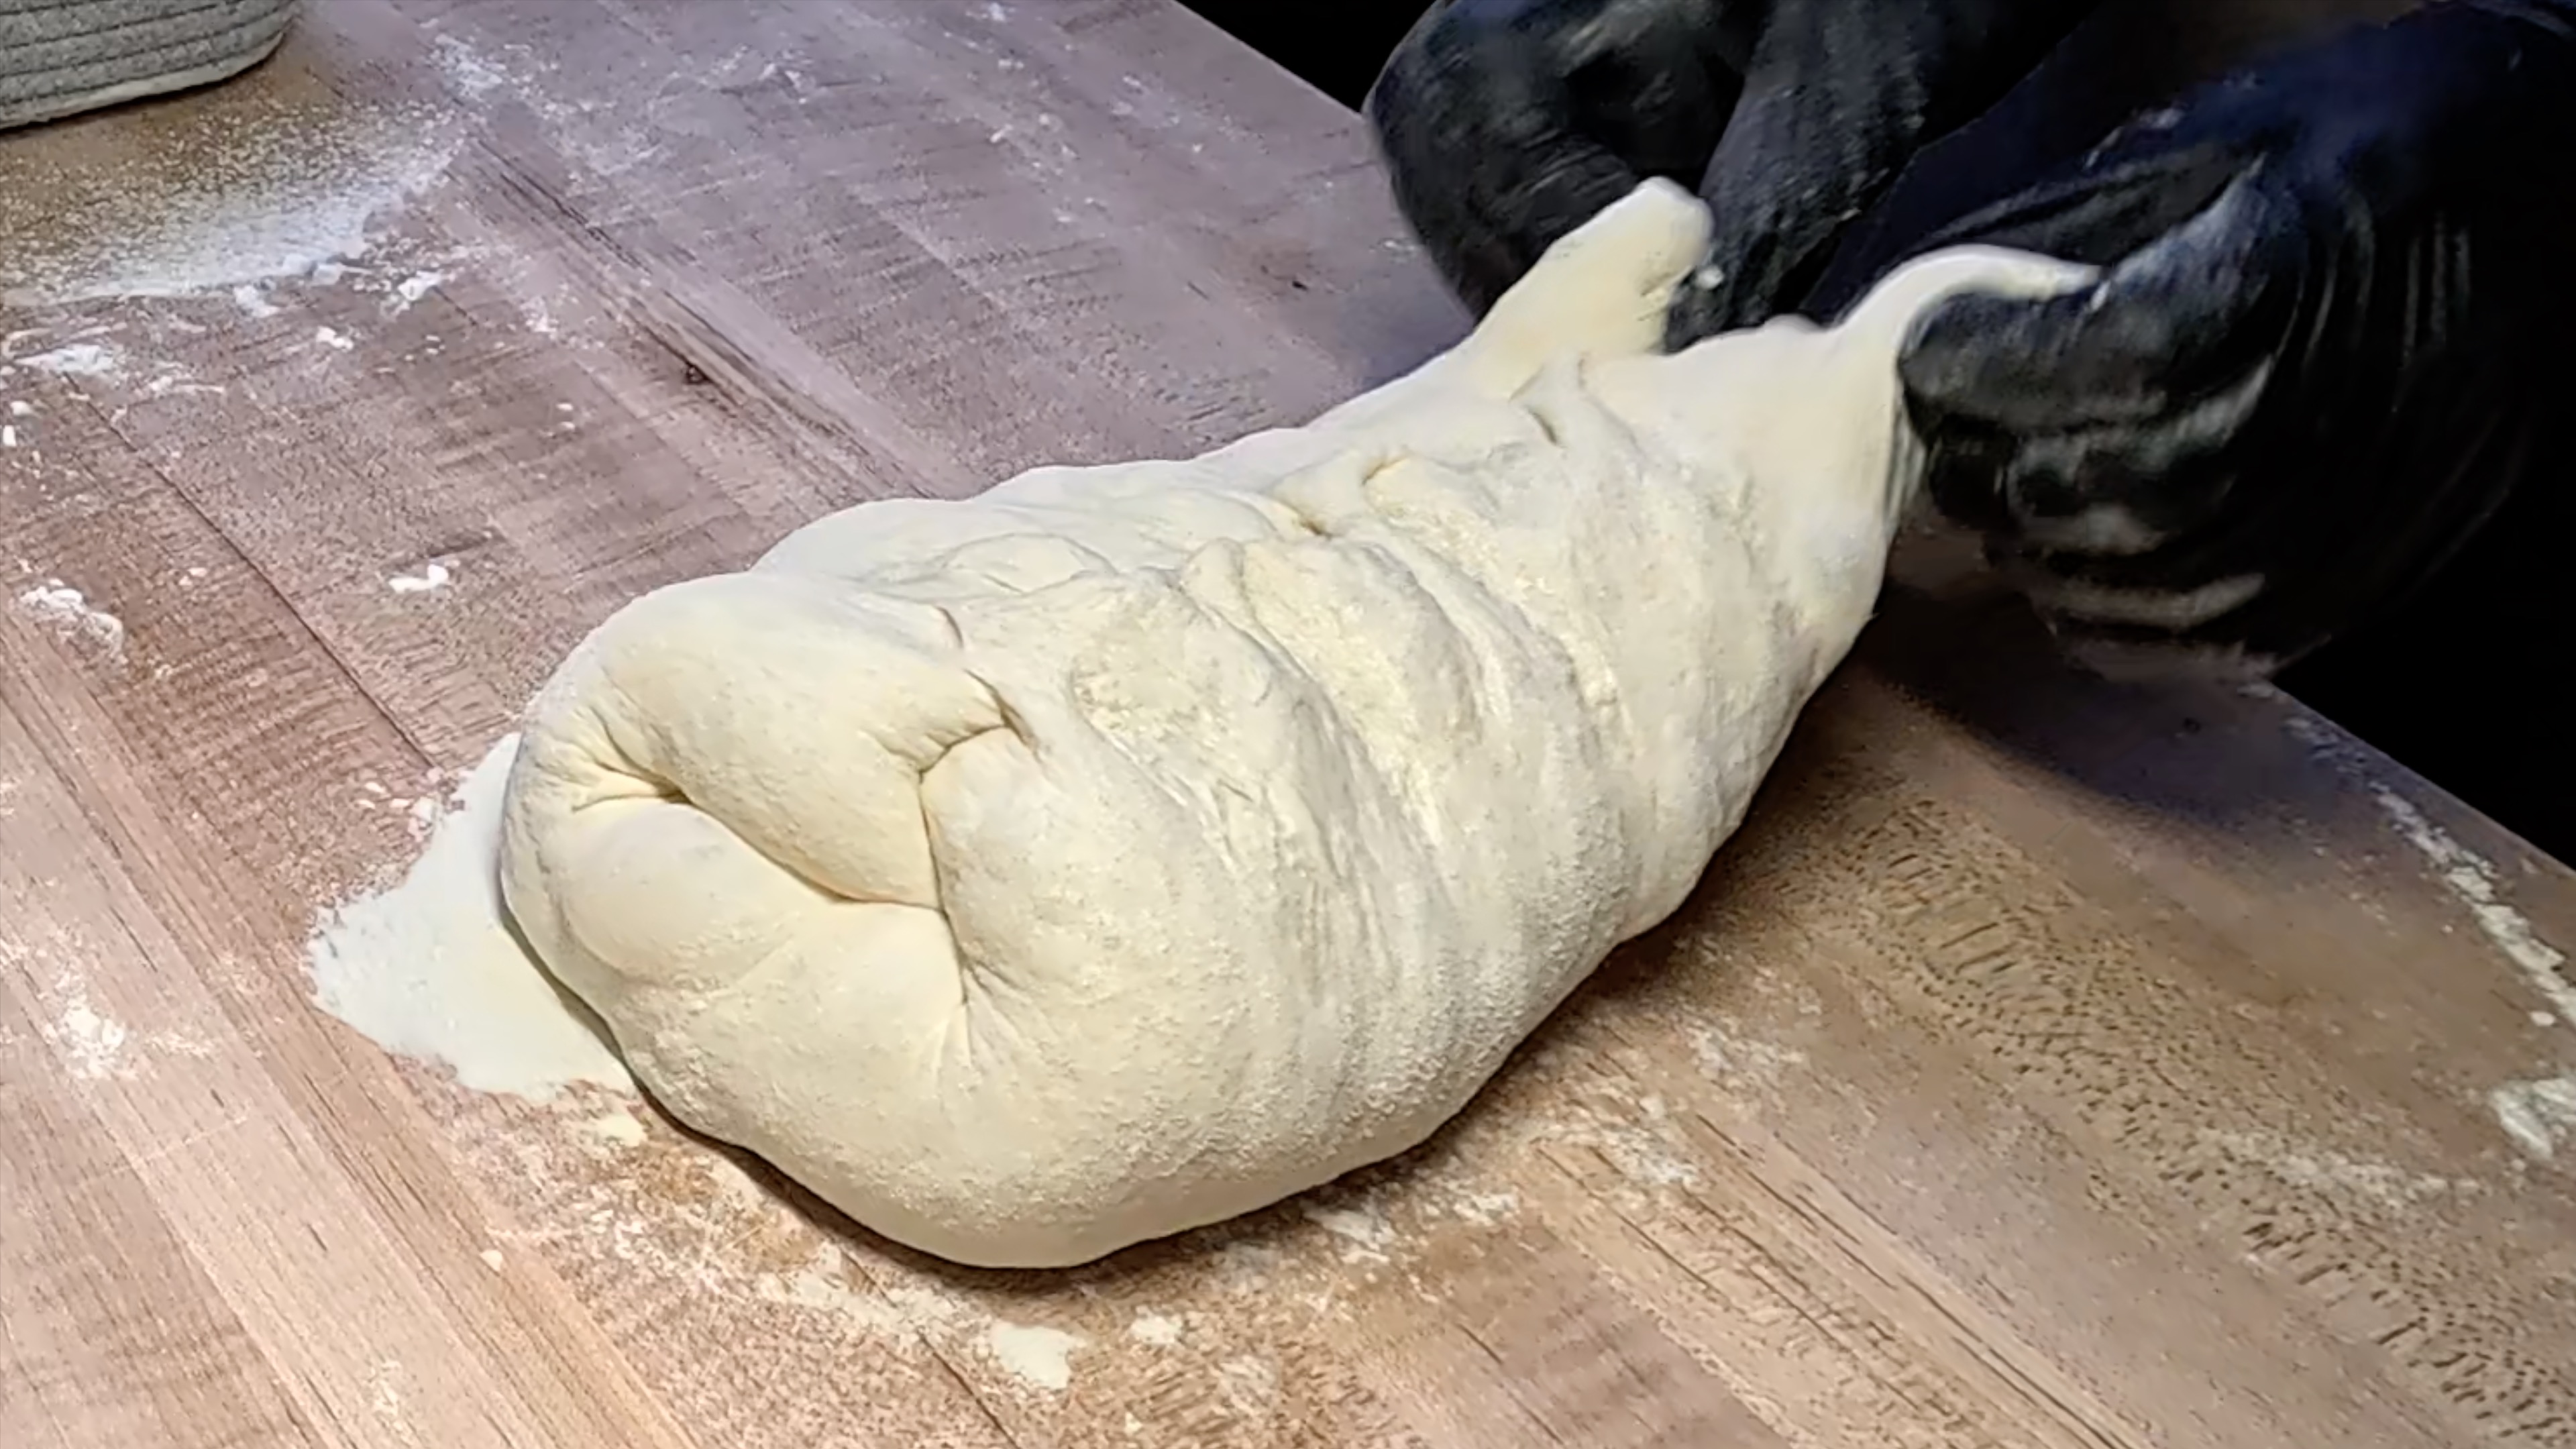
Shaping is the final piece of the puzzle, and it affects your loaf more than most bakers realize. When you shape a sandwich loaf for a tin, you're creating surface tension that helps the dough hold its structure during the final proof and oven spring.
Shape it too loosely, and the dough collapses on itself, creating a dense crumb. Shape it too tightly, and you can actually tear the gluten network you worked so hard to build, which restricts rise.
The fix:
- Aim for firm, even surface tension without pulling so hard the dough tears
- When you place the shaped dough into your loaf tin, it should feel taught and smooth on top
- During the final proof, the dough should dome about 1 inch above the rim of the pan — not much more, not much less
- Press a floured finger gently into the dough. If it springs back slowly, it's proofed and ready. If it springs back immediately, give it more time. If the indent doesn't spring back at all, it's over-proofed.
Recommended Product

PIZZA STONE | Rectangular Pizza Stone For Oven Baking
Putting It All Together
A dense sourdough sandwich loaf is rarely the result of just one mistake — usually it's a combination of a few small things adding up. The beautiful thing about bread baking is that every single loaf is a learning opportunity.
Start by evaluating your starter. If it's not bubbly and active, everything else is an uphill battle. From there, give your dough the time it needs to ferment fully, make sure your gluten development is solid, and finish with confident shaping.
Be patient with yourself. Even the most experienced bakers still pull out the occasional dense loaf — it's part of the process. Each bake teaches you something new about your starter, your kitchen, and your dough.
Ready to put this into practice? Grab our Classic Sourdough Sandwich Loaf - Soft, Tangy & Sliceable recipe and bake with fresh eyes. You've got this — and that soft, pillowy loaf is a lot closer than you think. 🍞
Have questions or want to share your results? Drop a comment below — we love hearing from our baking community!
Comments
Sign in to join the conversation
Sign In