Oven Spring Trouble in Gas Ovens: Fix It Fast
Flat loaves driving you crazy? Learn why gas ovens fight against oven spring and exactly how to fix it for a beautiful rise.
Published on June 20, 2026
You've done everything right. Your sourdough starter is bubbly and active. Your bulk fermentation looked gorgeous. You shaped a tight, beautiful boule and let it proof overnight in the fridge. Then you slide that loaf into your gas oven and... nothing. Flat. Dense. Sad.
Sound familiar? You're not alone — and it's not your fault.
Gas ovens and oven spring have a complicated relationship, and once you understand why, fixing the problem becomes a whole lot easier. Let's dig in.
What Even Is Oven Spring?
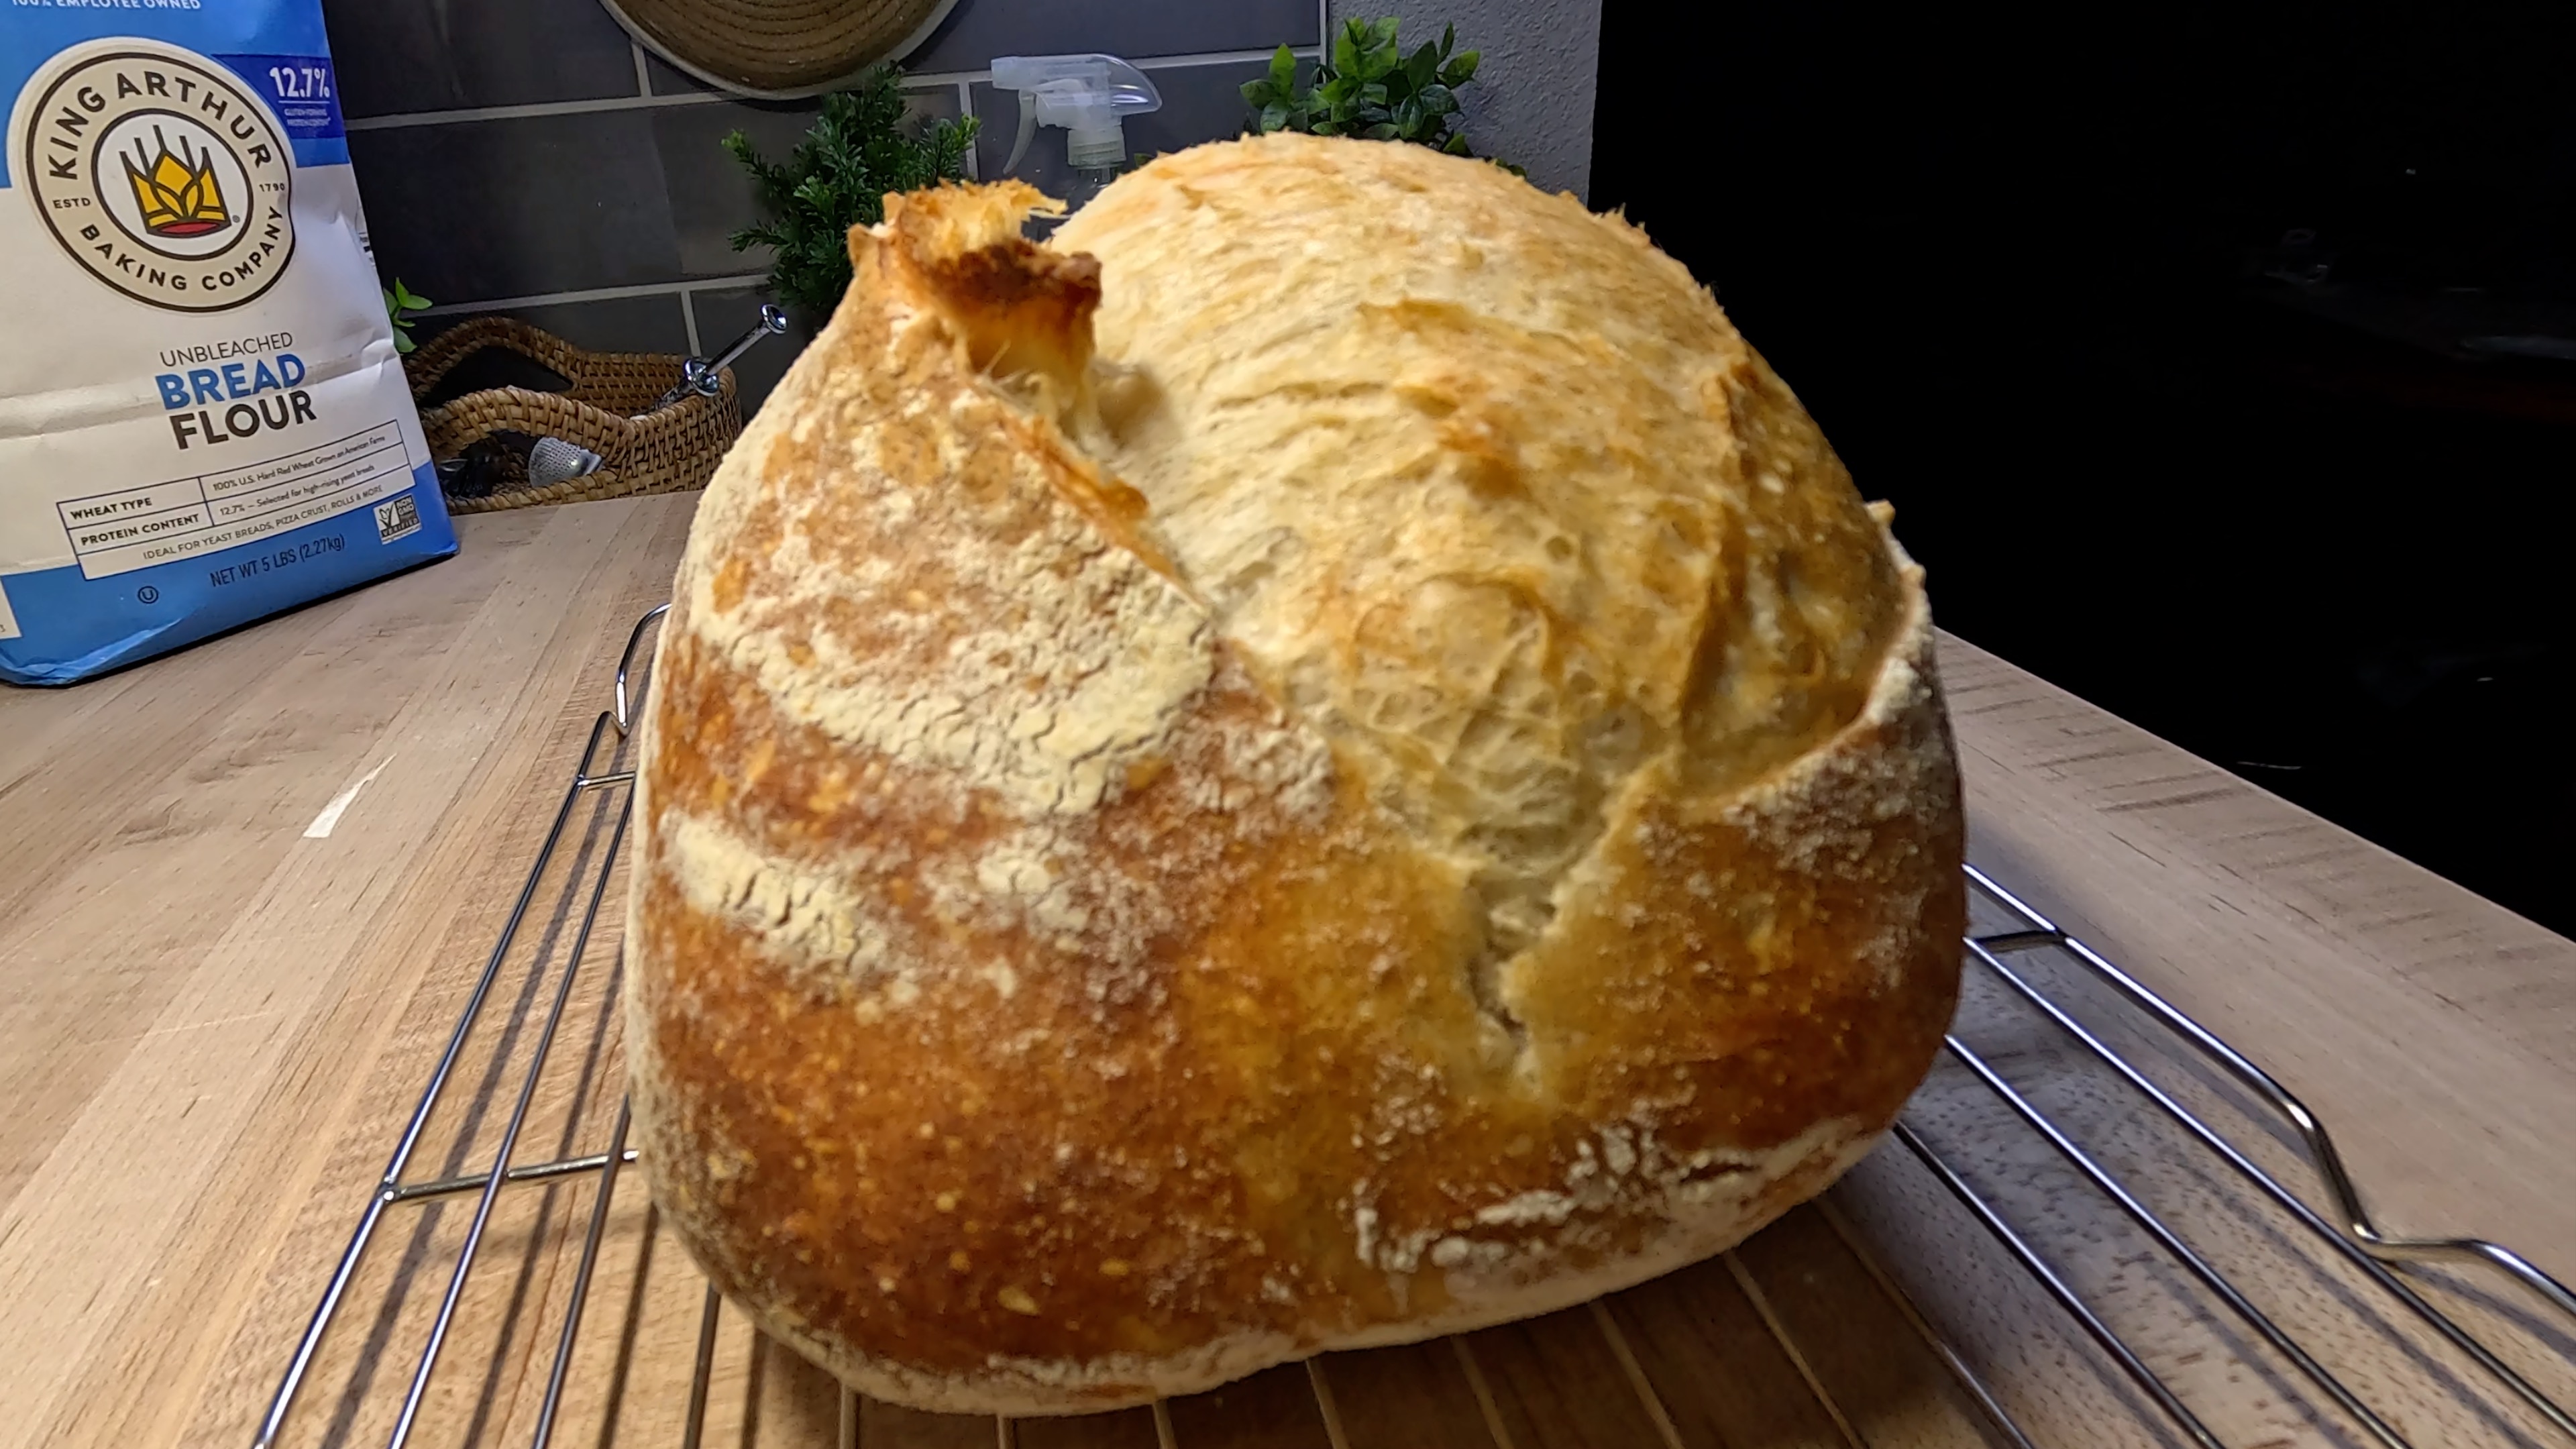
Oven spring is that magical burst of upward rise that happens in the first 10–15 minutes of baking. When your dough hits a screaming hot oven, the yeast goes into one final, frantic burst of activity, carbon dioxide expands inside the loaf, and the whole thing puffs up dramatically before the crust sets.
It's responsible for that gorgeous ear on a scored sourdough, that domed top on your dinner rolls, and the open, airy crumb we all chase. Without it, your bread bakes up dense and squat, no matter how perfect your dough was going in.
Recommended Product

KneadAce Cotton Rope Banneton Bread Proofing Basket Set, Oval & Round Bread Baskets with Liners & Covers
Why Gas Ovens Are the Tricky Ones
Gas ovens create a unique set of challenges that directly work against good oven spring. Here's what's happening behind the scenes:
1. They Run Cooler Than You Think
Gas ovens are notorious for temperature inaccuracy. Your dial might say 500°F, but your actual oven temperature could be sitting 25–75 degrees lower. Oven spring needs that intense initial heat, and if your oven can't deliver it, your loaf won't rise before the crust locks it in place.
Fix it: Get an oven thermometer. Seriously, this is the single best $10 investment you'll make as a home baker. Hang it inside your oven, check the real temperature, and adjust your dial accordingly.
2. Moisture Escapes Through the Vents
Gas ovens have vents to allow combustion gases to escape — and this means steam escapes too. Steam in the first phase of baking is critical for oven spring. It keeps the crust soft and extensible long enough for the loaf to fully expand. In a gas oven, that steam disappears fast.
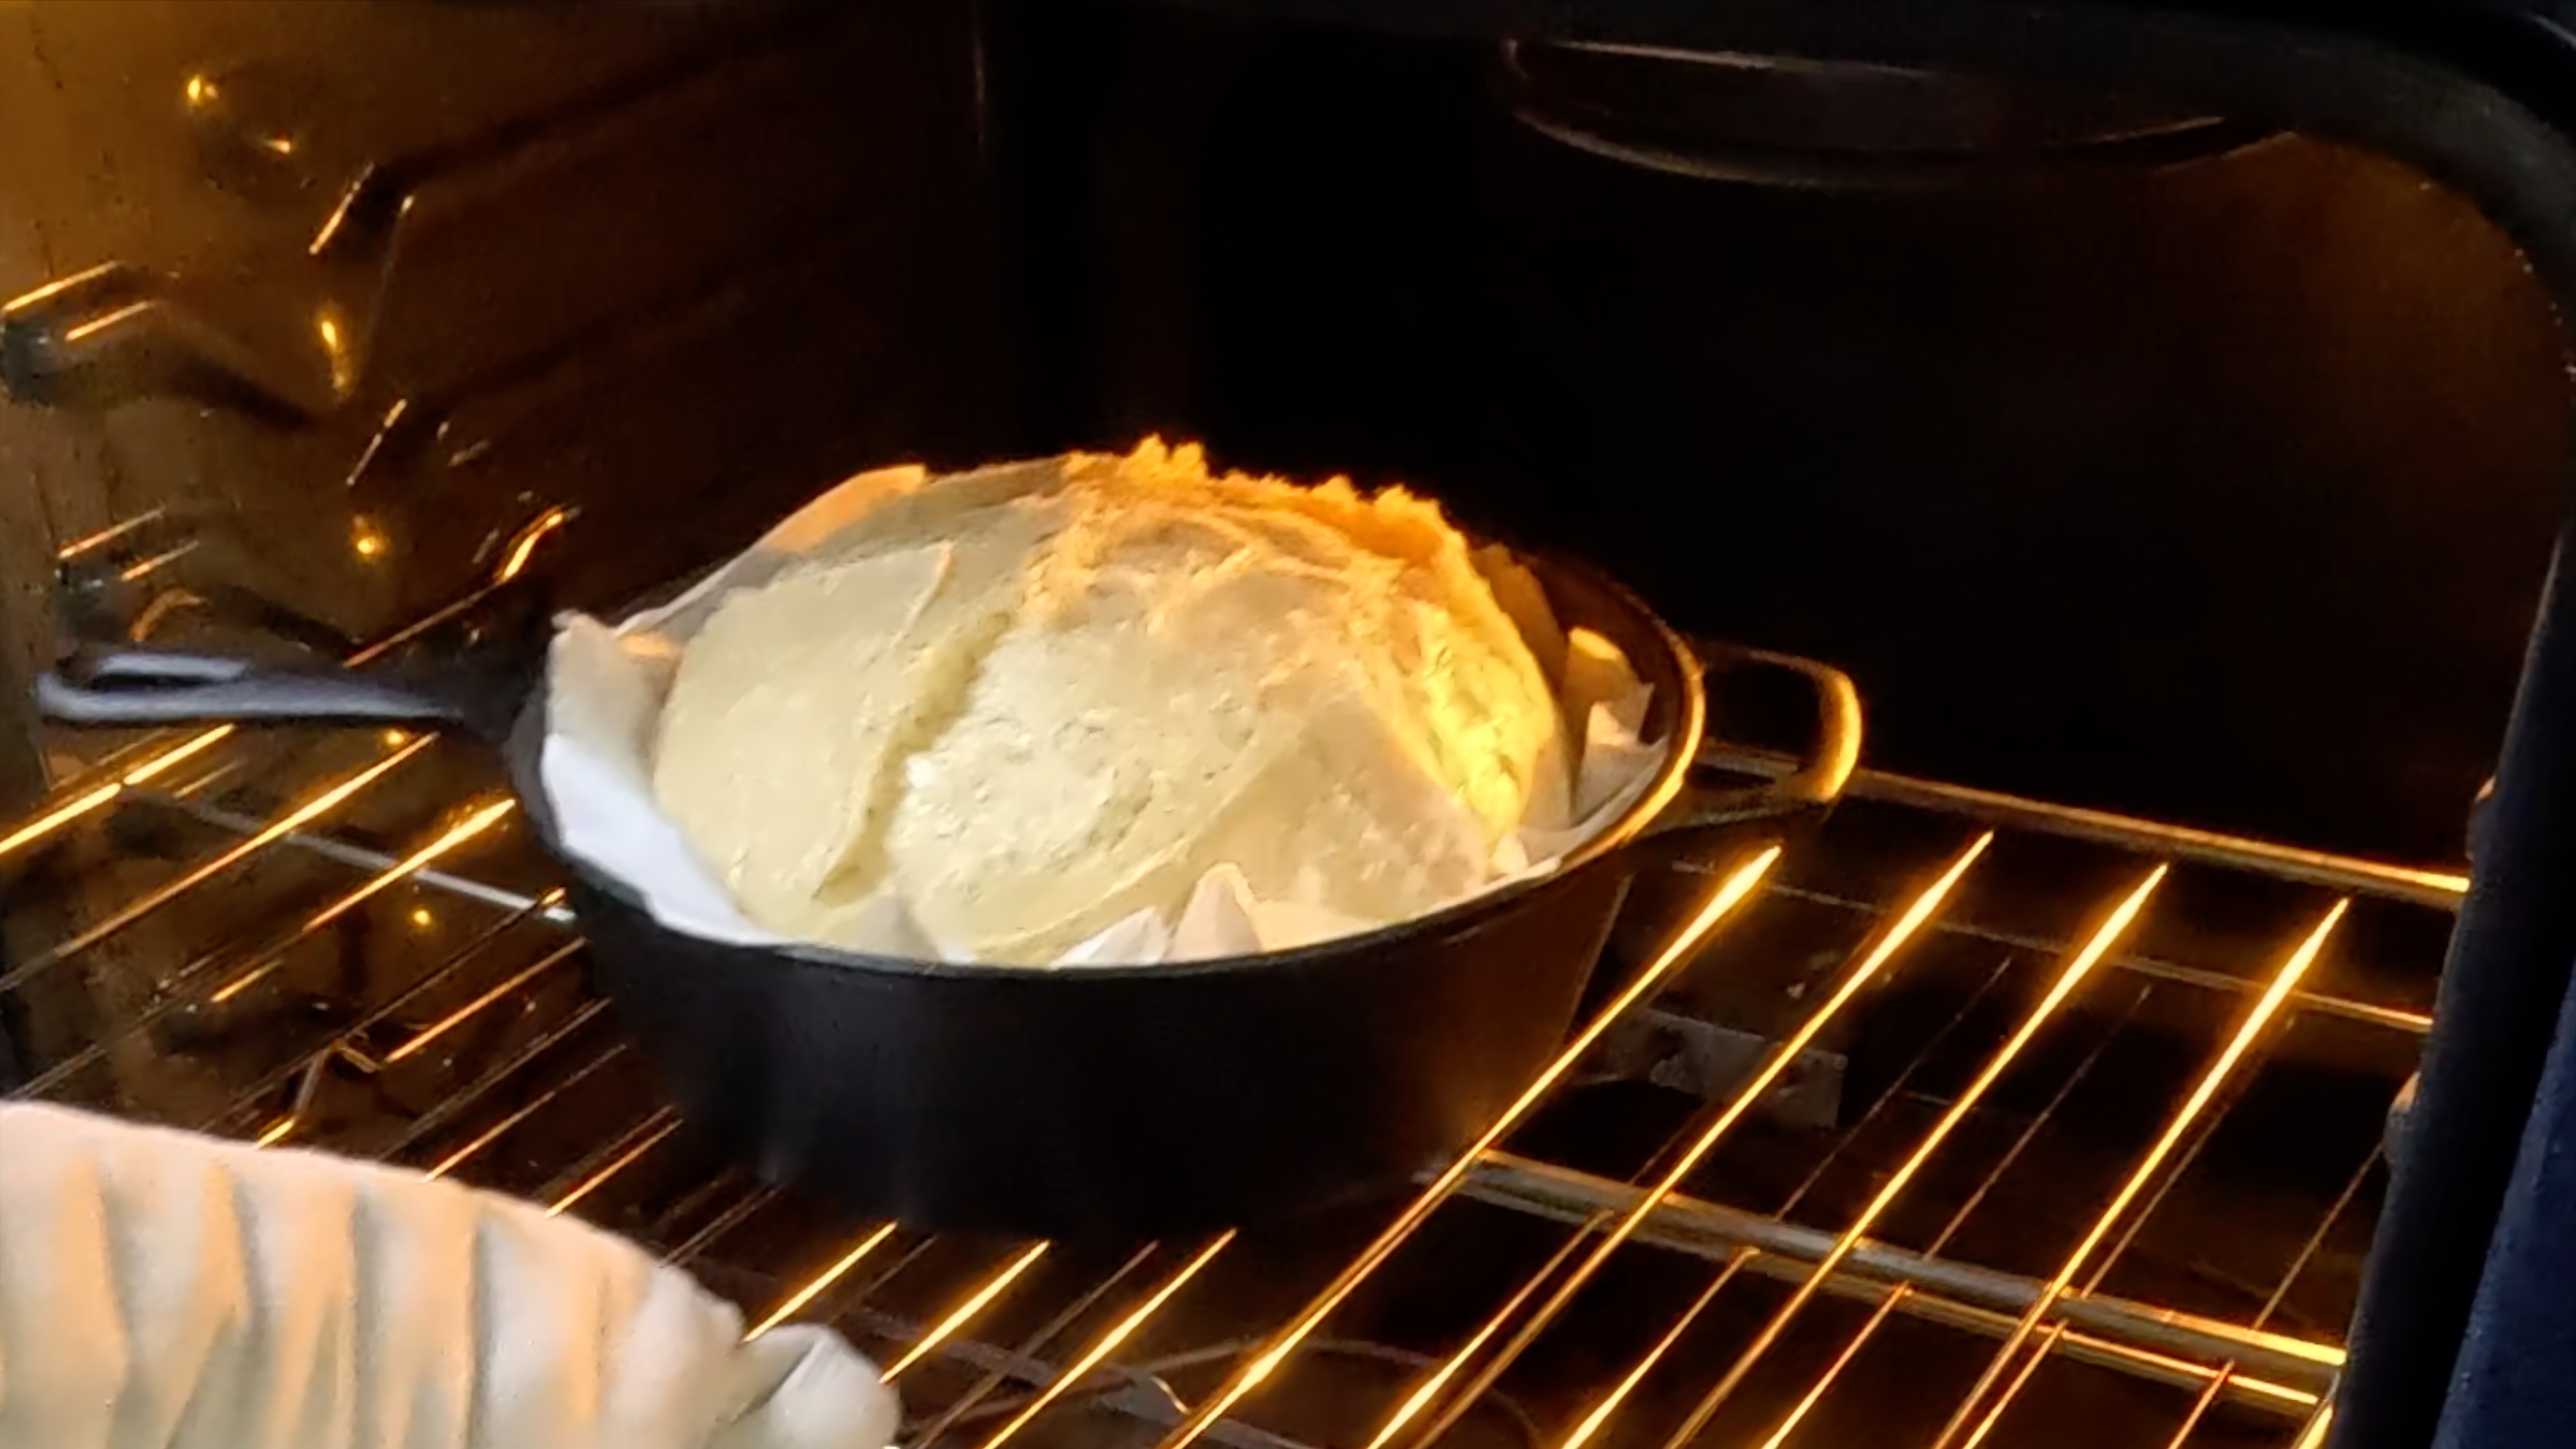
Fix it: Trap steam aggressively. A Dutch oven is your best friend here — it creates a self-steaming chamber around your loaf. If you're baking without one, check out our No-Knead Sourdough Bread: No Dutch Oven (AP Flour Edition) for clever techniques that work around this challenge.
3. Hot Spots and Uneven Heat
The burner in a gas oven typically sits at the bottom, which means heat rises unevenly. The bottom of your loaf might be getting scorched while the top struggles to reach temperature. Uneven heat means uneven spring.
Fix it: Always preheat your oven — and your baking vessel — for at least 45–60 minutes before baking. Position your rack in the lower-middle of the oven. If you're using a Dutch oven, let it heat up inside the oven the entire time.
4. Temperature Drops When You Open the Door
Gas ovens recover from temperature drops more slowly than electric ovens. Every time you open that door to peek at your loaf, you're losing precious heat right at the moment your dough needs it most.
Fix it: Resist the urge to peek. Trust your timer, not your eyes, especially in those first 20 minutes.
Recommended Product
John Boos RA-Board Series Rectangular Wooden Maple Cutting Board 30”x23.25” – 2.25” Thick
Step-by-Step: Getting Better Oven Spring in a Gas Oven
Here's a practical game plan you can start using on your very next bake:
Preheat Longer and Hotter
Set your oven to 500°F (or as high as it will go) and preheat for a full hour. Use your oven thermometer to confirm actual temperature.
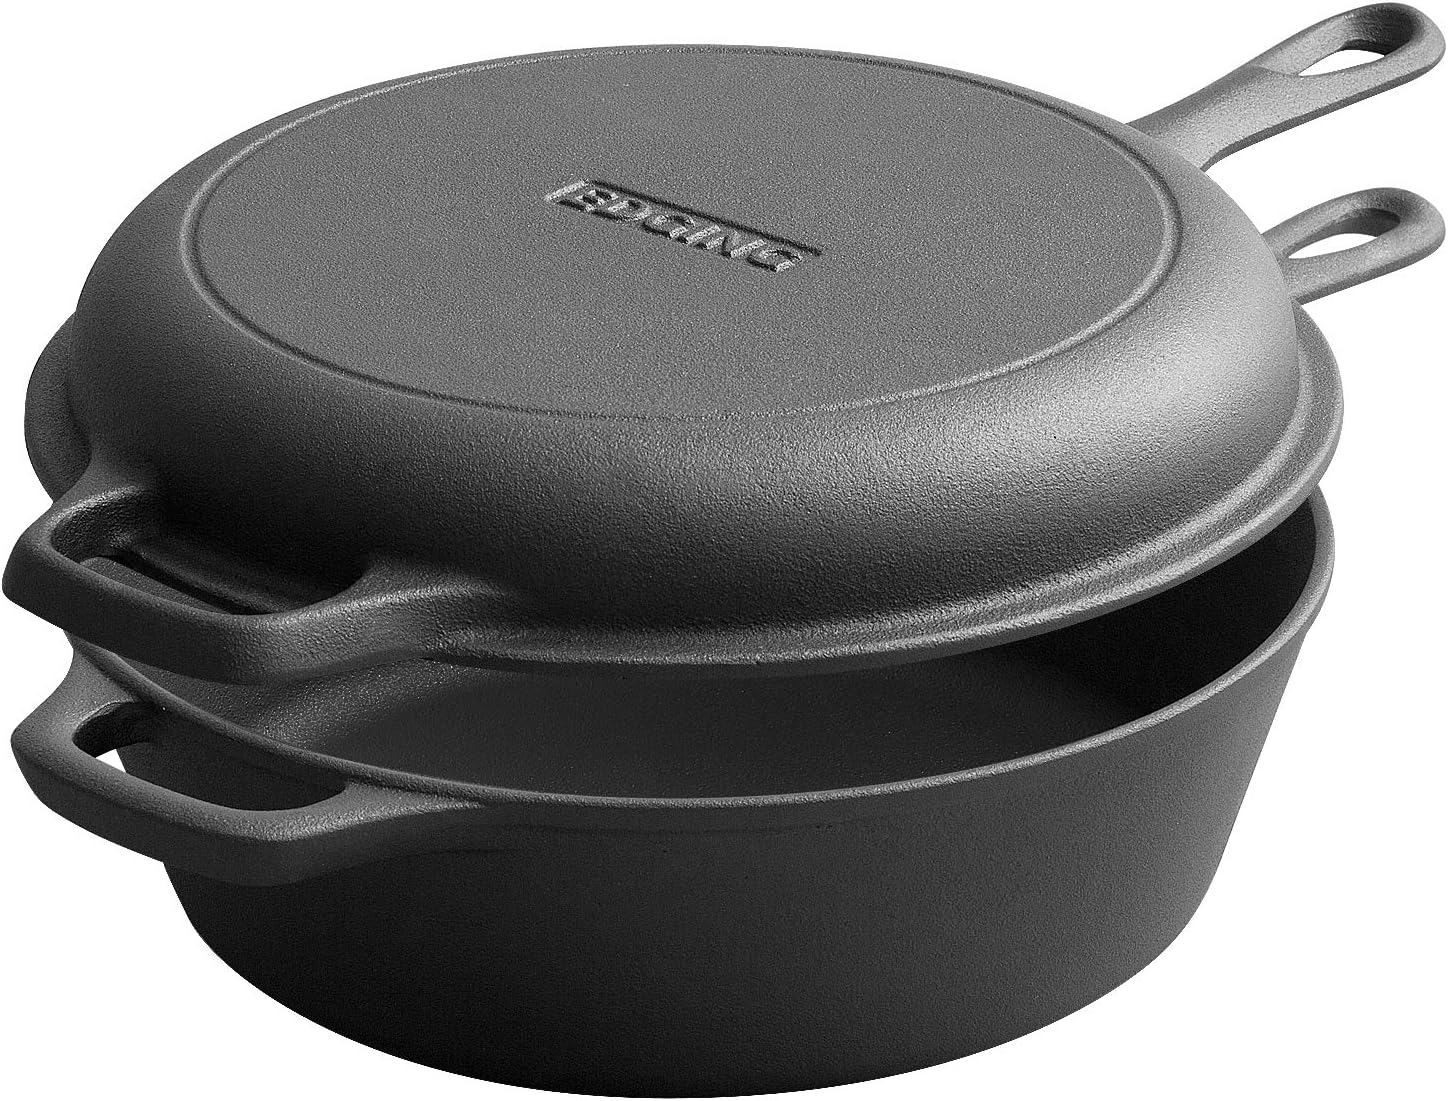
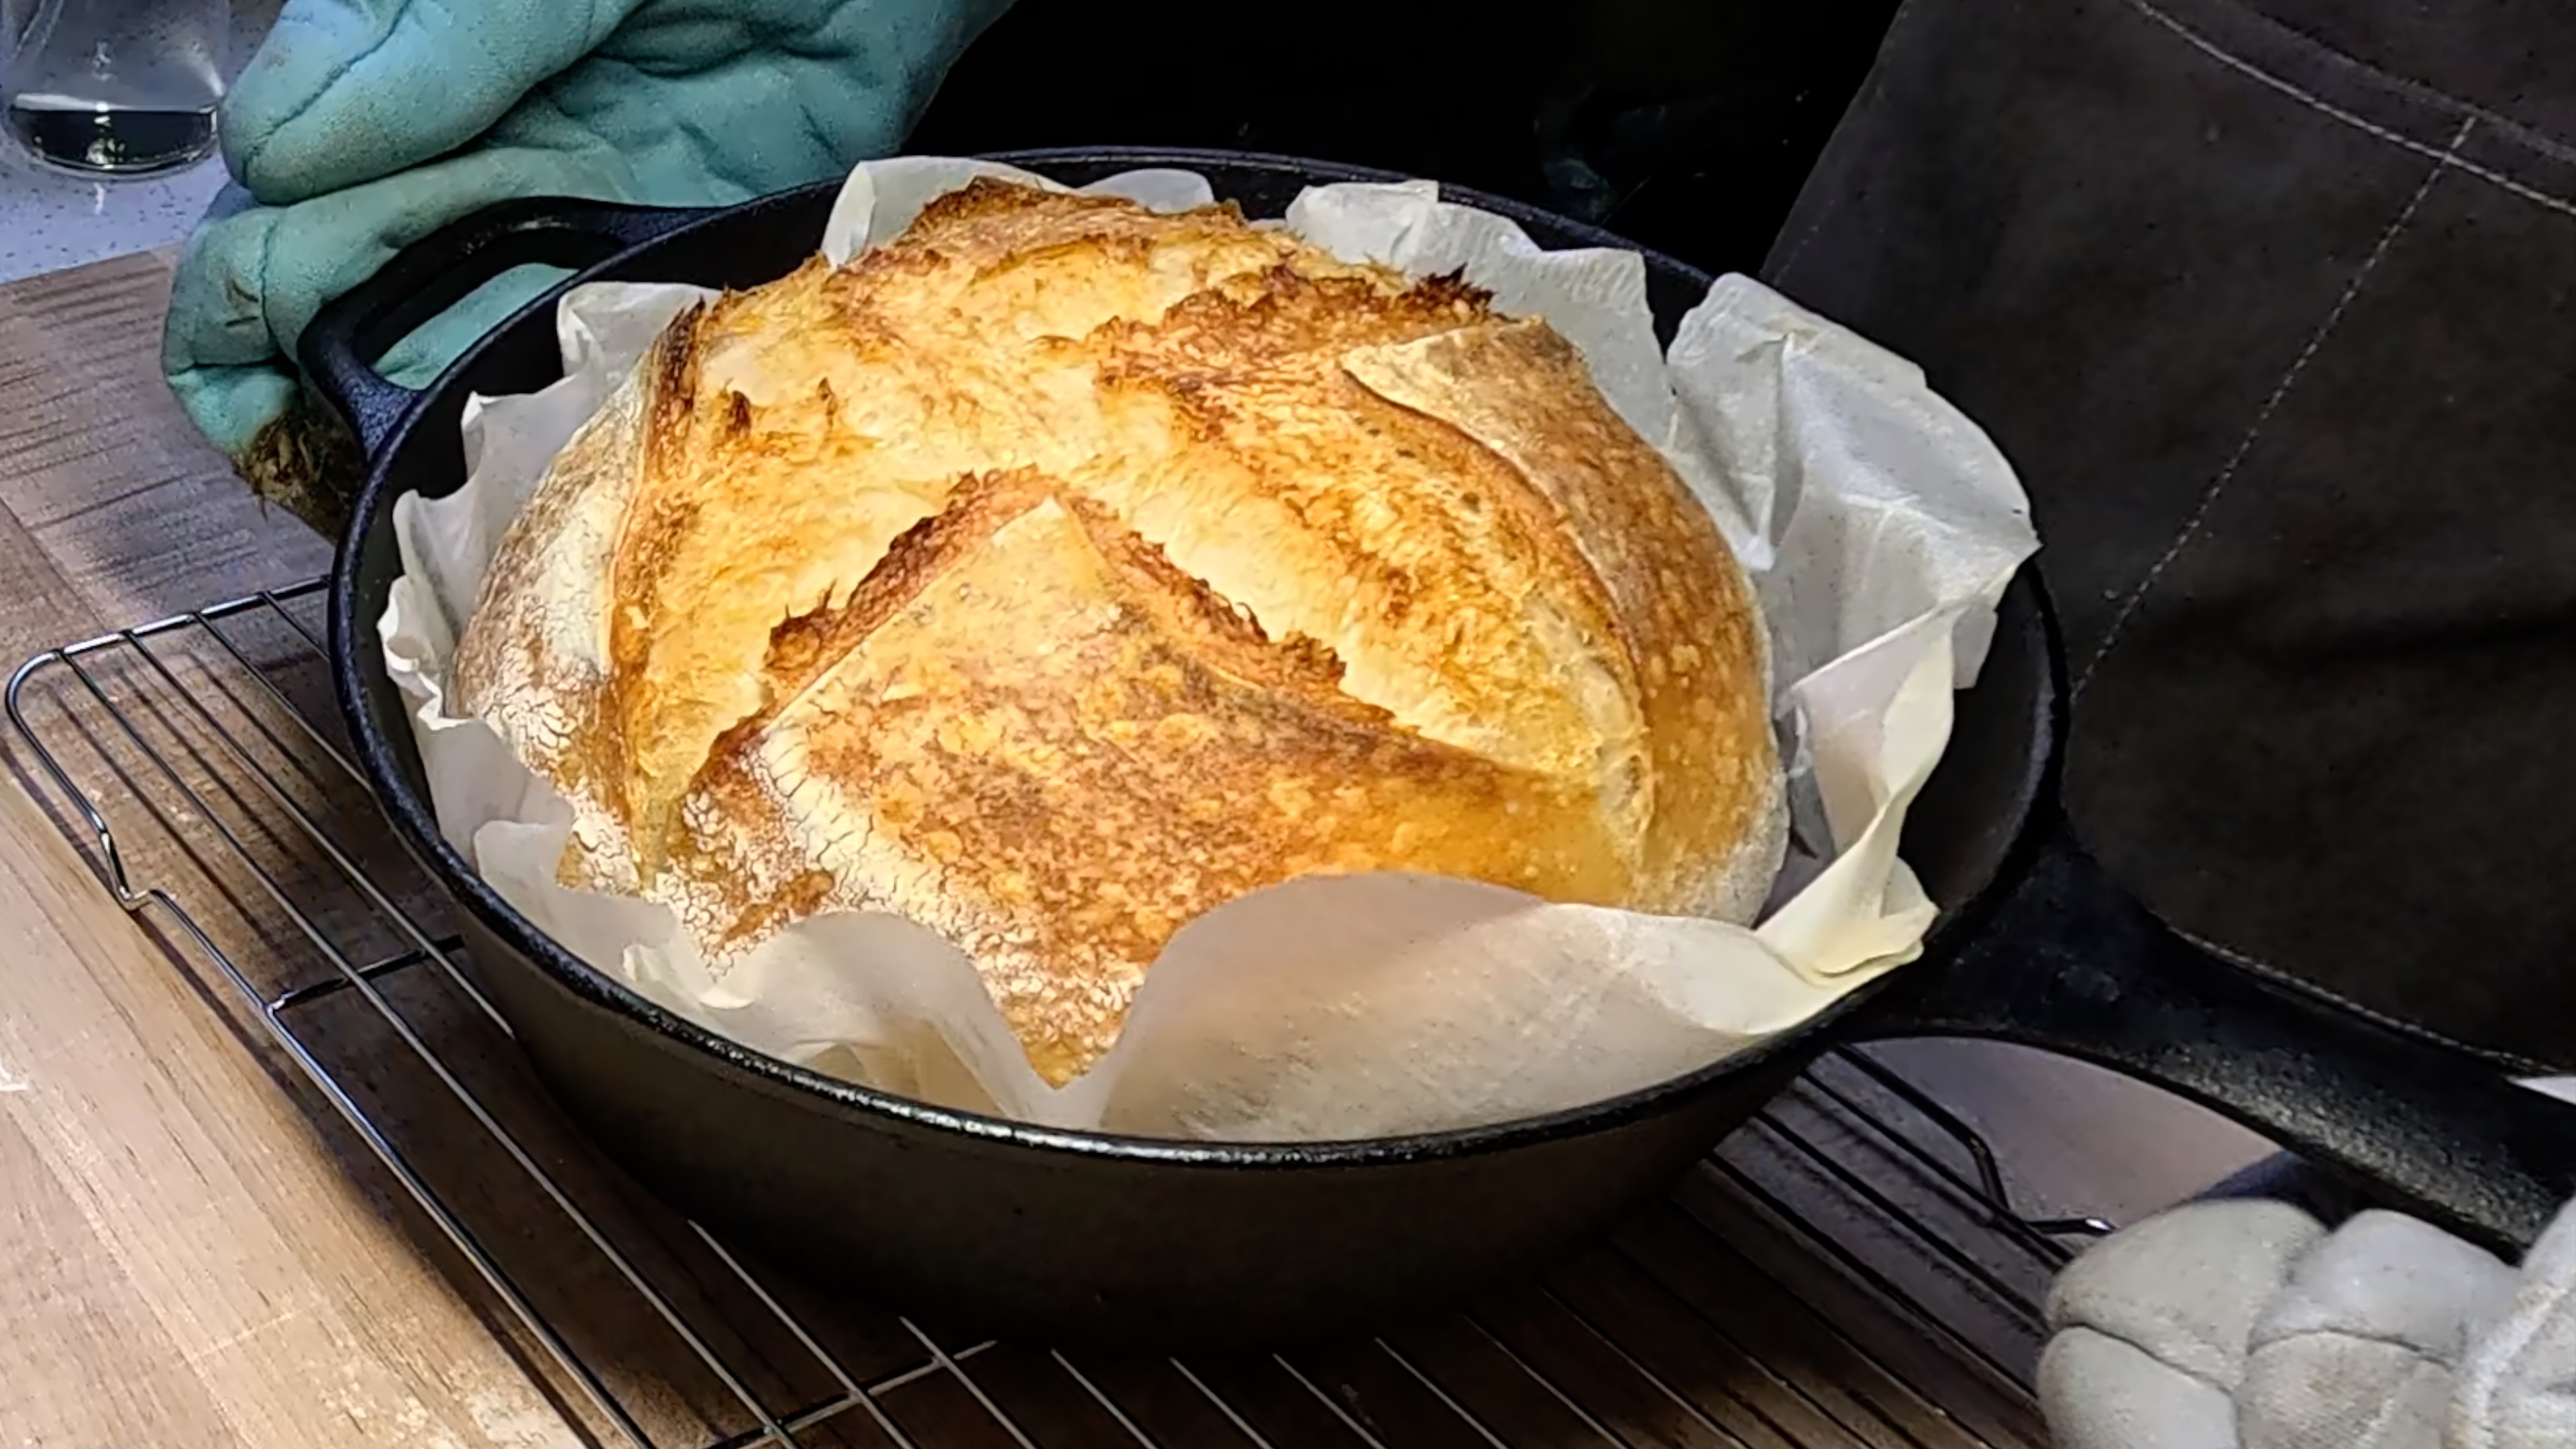
Use a Dutch Oven — Every Time You Can
Place your Dutch oven (lid on) inside while the oven preheats. The cast iron holds heat like nothing else and creates that steamy environment your loaf craves. For a recipe perfectly designed around this method, try our Classic Sourdough Boule - The Perfect Round Artisan Loaf.
Add Extra Steam If Baking Without a Dutch Oven
Place a metal baking pan on the lowest rack while preheating. When you load your bread, pour a cup of boiling water into that pan and quickly close the door. This floods the oven with steam for that critical first phase.
Score Your Dough Confidently
A bold, deep score (at a 30–45 degree angle, about ½ inch deep) gives your loaf a designated path to expand. A timid score means your bread pushes back against itself and spring gets trapped.
Bake Cold Dough Straight From the Fridge
Counter-intuitively, cold dough holds its shape better when it first hits the oven. It takes slightly longer to heat through, giving the outside more time to stay pliable while the inside rises. If you're retarding your dough overnight, go straight from fridge to hot Dutch oven.
Lower the Temperature After the Steam Phase
After 20 minutes, remove the lid from your Dutch oven (or remove the steam pan) and drop the temperature to 450°F. This lets the crust develop color and a gorgeous crackle without over-baking the crumb.
Recommended Product

Sally's Organics® Empty Clear Glass Spray Bottles - Refillable 16 oz
Quick Troubleshooting Checklist
If you're still struggling, run through this before your next bake:
- ✅ Is my starter actually active and passing the float test?
- ✅ Did I preheat for at least 45–60 minutes?
- ✅ Did I verify my oven temp with a thermometer?
- ✅ Am I trapping steam effectively?
- ✅ Is my dough properly fermented — not over or under?
- ✅ Did I score deeply and confidently?
- ✅ Is my dough going in cold from the fridge?
Over-fermented dough is actually one of the most common hidden culprits for poor oven spring in any oven. If your bulk fermentation went too long, the gluten structure weakens and can't hold the gas. Your loaf will spread out rather than up. When in doubt, err on the side of slightly under-proofed — it's a more forgiving place to be.
Recommended Product
Rattan Storage Basket, Hand Woven Fruit Basket with Handles
A Note on Different Loaf Styles
Some bread styles are naturally more forgiving for gas oven bakers. Flatter, wetter doughs like our Rustic Sourdough Ciabatta-style Bread with Golden Open Crumb don't rely on dramatic oven spring the same way a tall boule does — the open crumb comes from high hydration and those big, beautiful bubbles, not vertical lift. If you're feeling frustrated, baking a more forgiving style while you troubleshoot your oven spring can help rebuild your confidence.
Recommended Product

PIZZA STONE | Rectangular Pizza Stone For Oven Baking
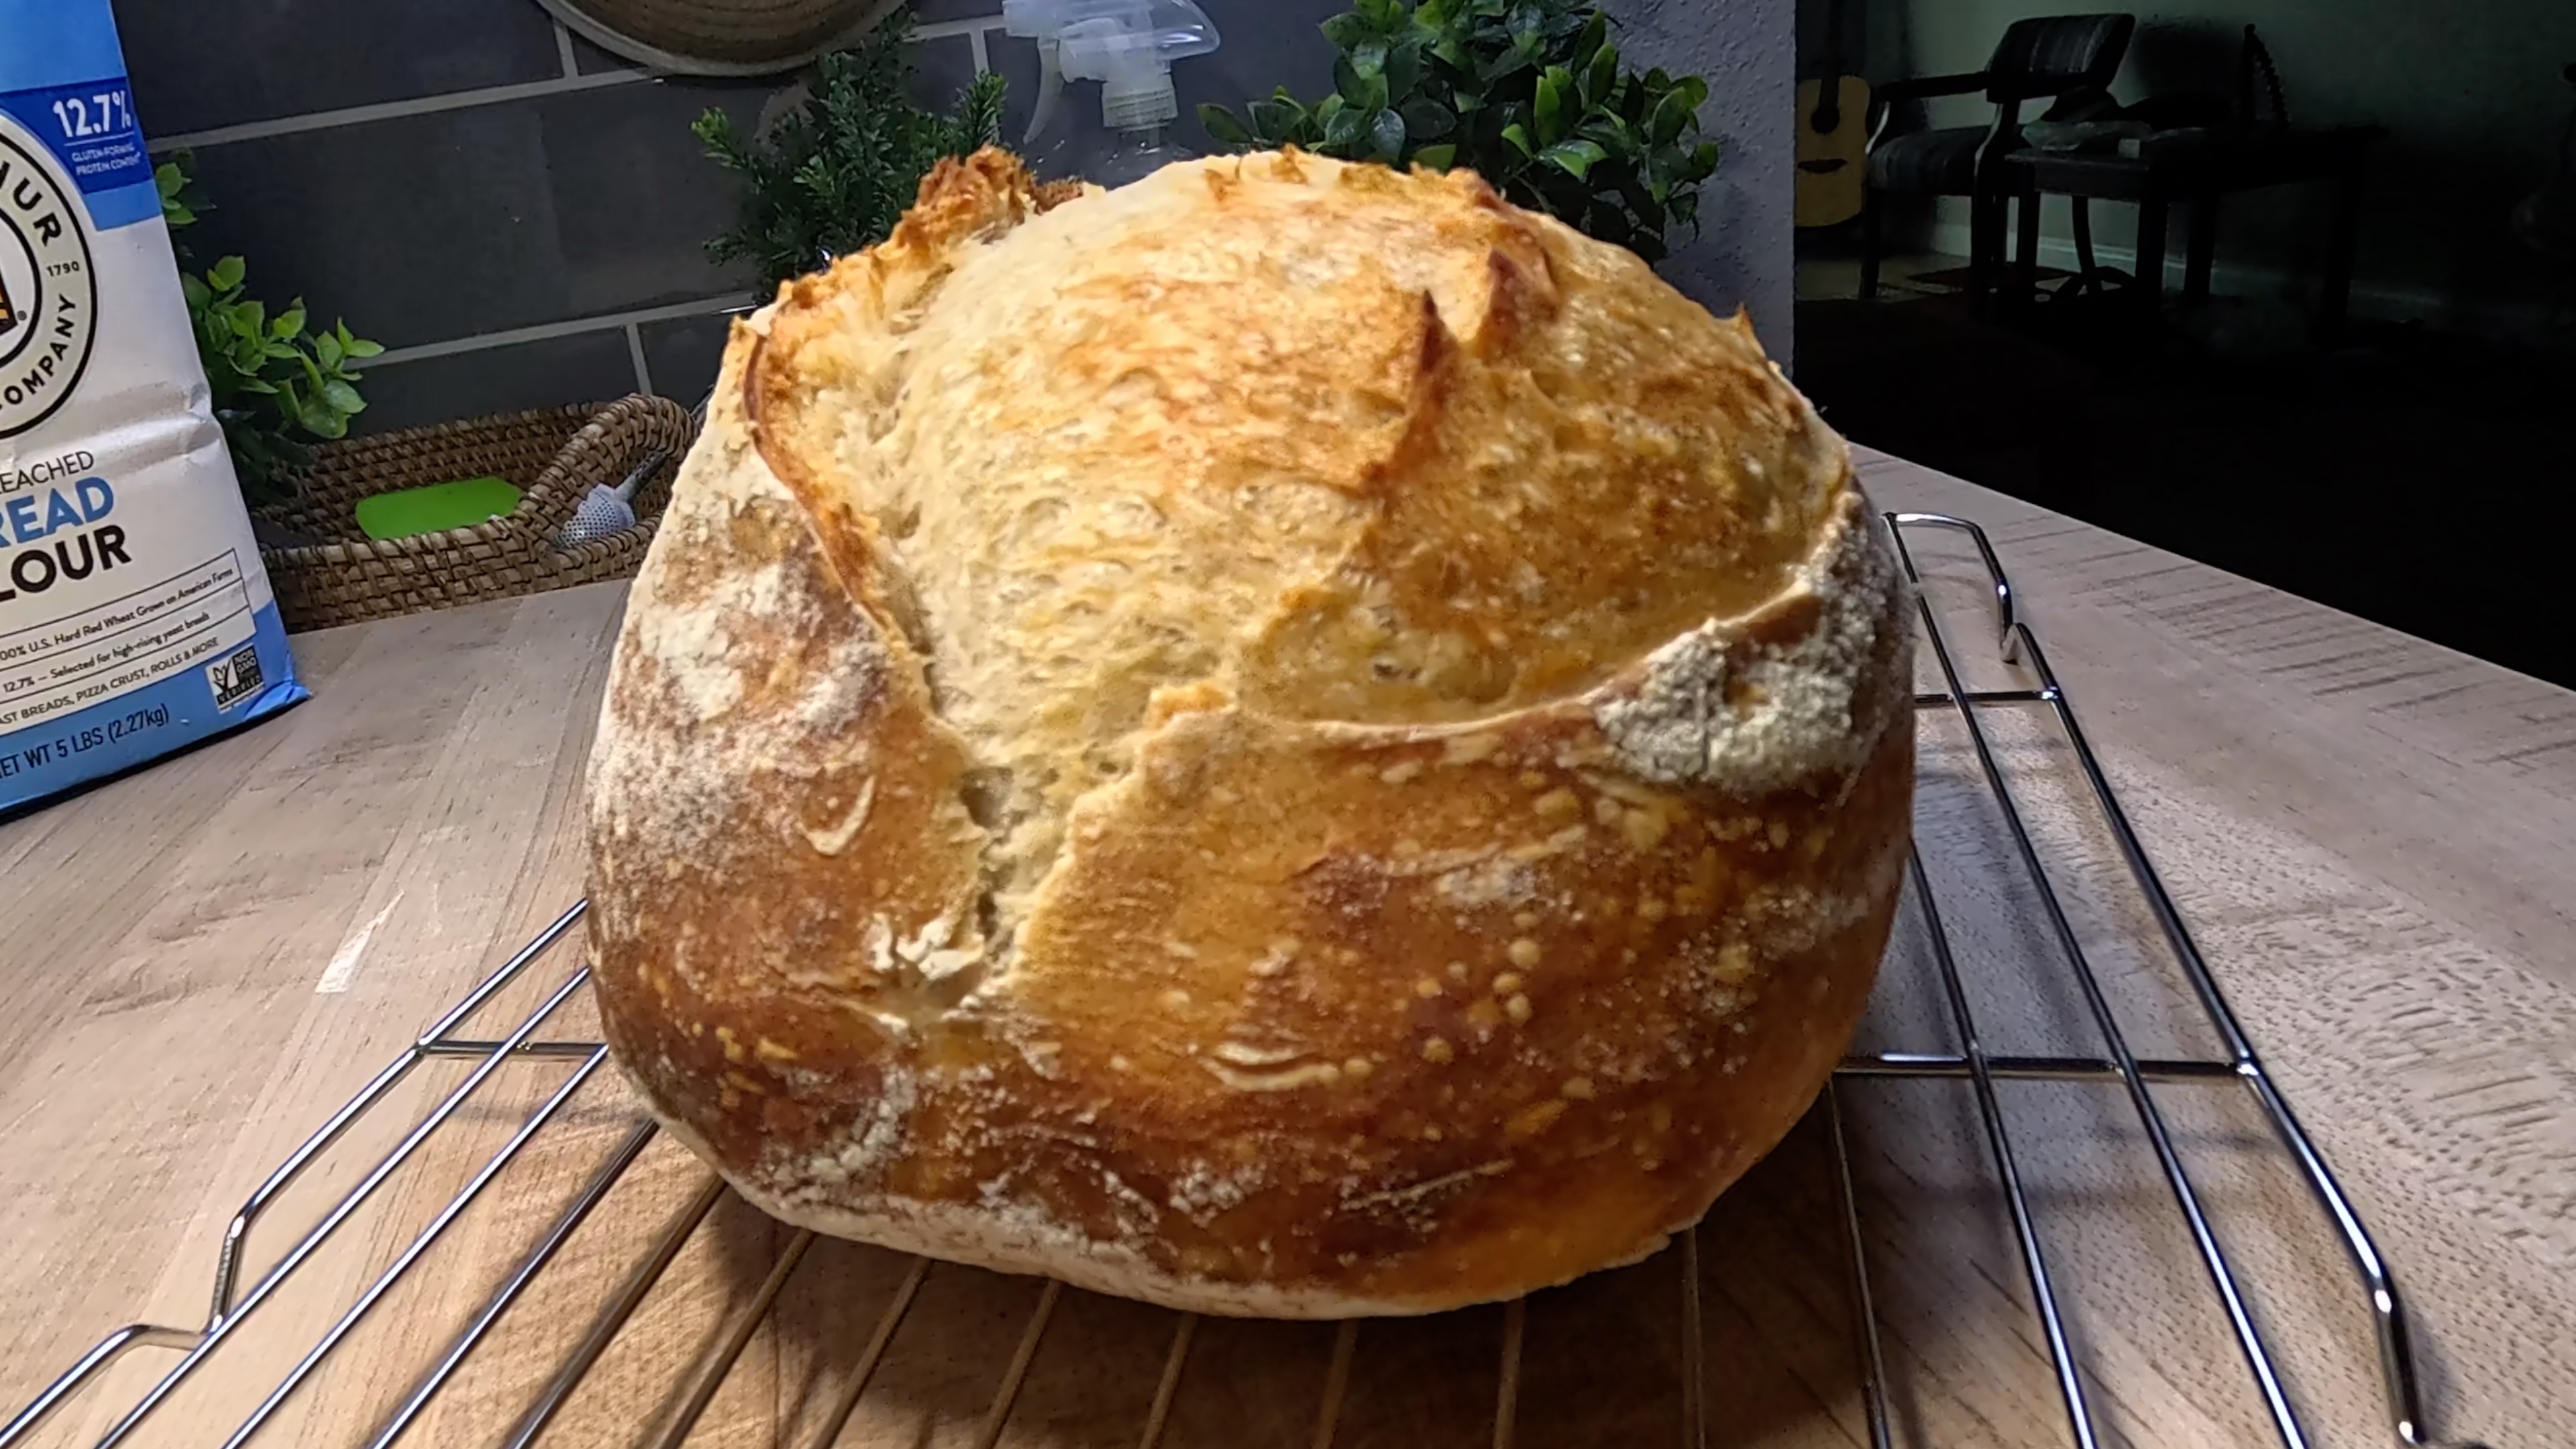
You've Got This
Baking in a gas oven isn't a disadvantage — it's just a different set of variables to learn. And honestly? Once you crack the code, you'll have a deep understanding of heat, steam, and dough behavior that makes you a better baker overall.
The flat loaves are just part of the journey. Every baker has a collection of dense, disappointing bricks in their past — they're tuition fees, not failures.
Grab that oven thermometer, preheat with intention, protect your steam, and score with confidence. Your ear-flaunting, beautifully sprung loaf is waiting for you on the other side.
Have you struggled with oven spring in your gas oven? Drop your questions in the comments below — I'd love to help you troubleshoot. And when you finally nail that rise, share a photo! Nothing makes me happier than seeing your wins. 🍞
Comments
Sign in to join the conversation
Sign In