
Maximizing Oven Spring: Get That Gorgeous Rise
Unlock the secret to that dramatic, bakery-worthy rise. Learn exactly what causes oven spring and how to make it work for you.
Published on May 24, 2026
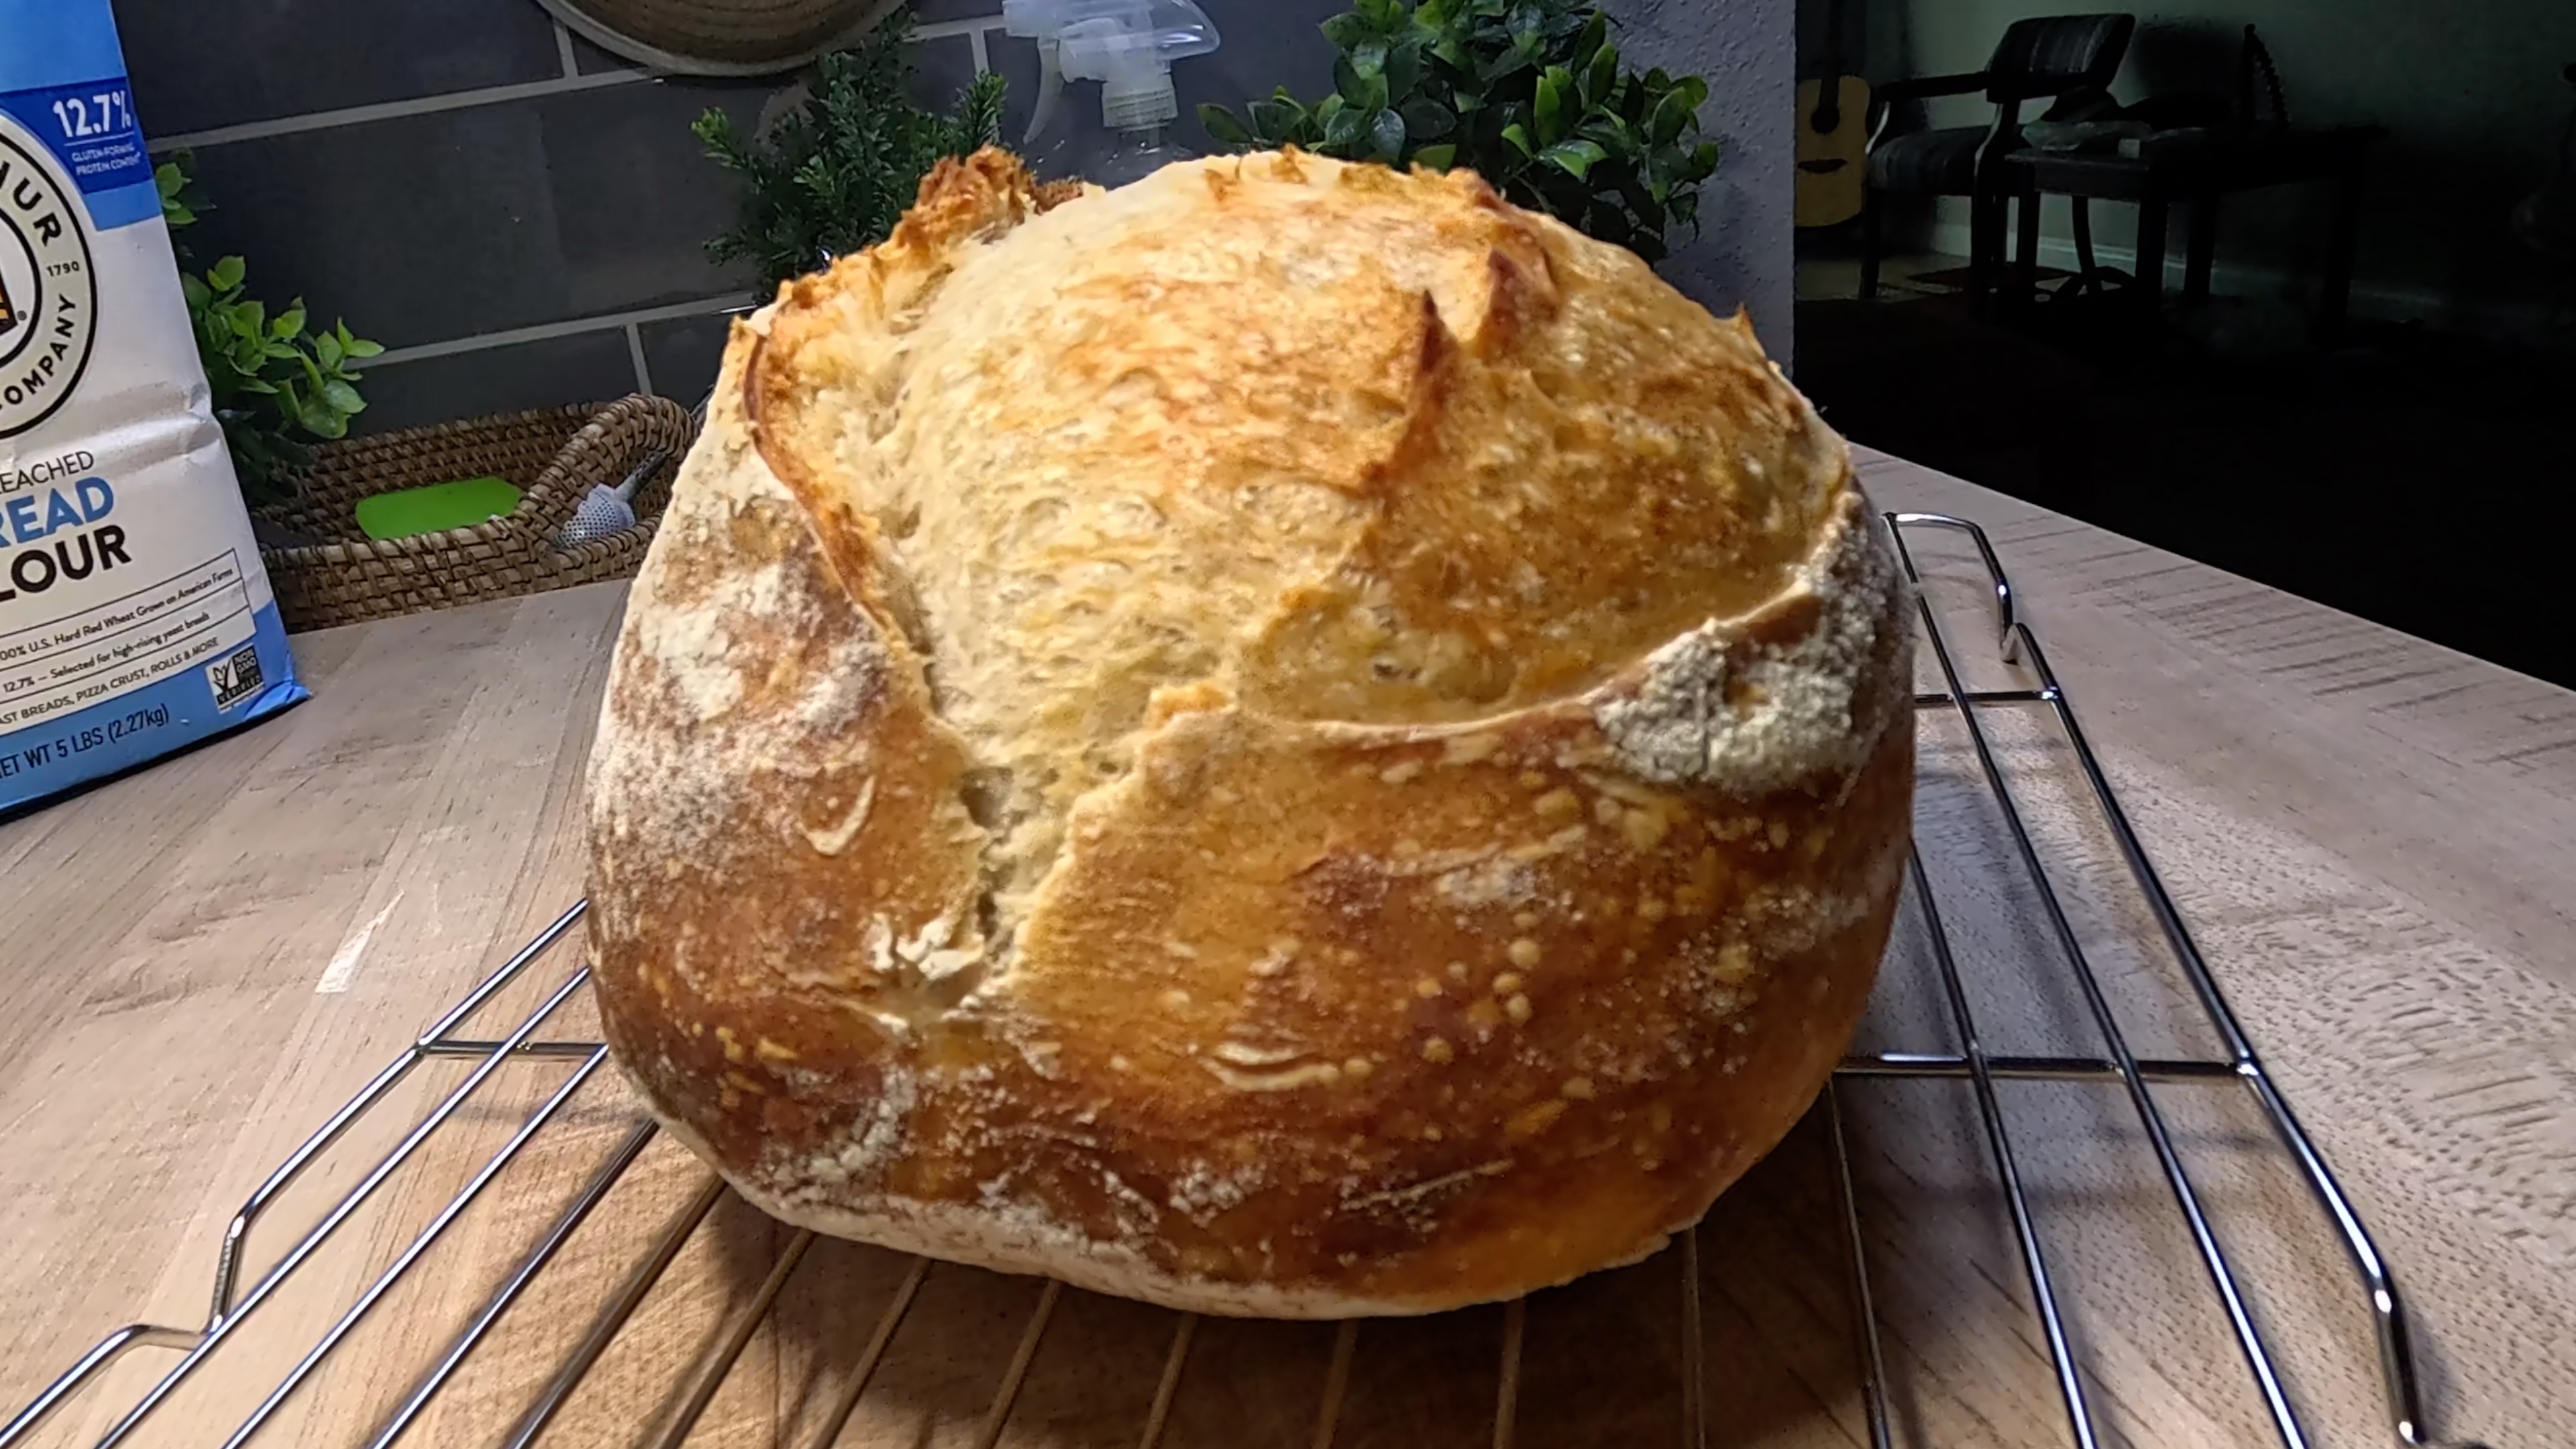
There's nothing quite like watching your sourdough loaf burst open in the oven — that dramatic, almost magical moment when the dough surges upward, the score tears open like a golden flower, and you know in your bones that something beautiful is happening. That moment has a name: oven spring.
It's one of the most satisfying parts of baking bread, and it's also one of the most misunderstood. If your loaves have been coming out a little flat, a little dense, or just not living up to their potential, this guide is for you. Let's dig into what oven spring actually is, why it happens, and — most importantly — how to maximize it every single bake.
Recommended Product

Sally's Organics® Empty Clear Glass Spray Bottles - Refillable 16 oz
What Is Oven Spring, Exactly?
Oven spring refers to the rapid rise your dough experiences in the first 10–15 minutes of baking, before the crust sets and the structure firms up.
When cold (or room-temperature) dough hits a screaming hot oven, a few things happen at once:
- The yeast goes into overdrive. As the temperature rises, your wild yeast kicks out one final, frantic burst of carbon dioxide before the heat kills it off.
- Gases expand. The CO2 already trapped in your dough expands rapidly with the heat, puffing up the crumb structure.
- Steam keeps the crust pliable. Moisture in the dough creates steam, which keeps the outer surface soft and stretchy long enough for the loaf to expand before the crust locks into place.
All three of these things need to work together. Miss one, and you'll miss your oven spring.
Recommended Product
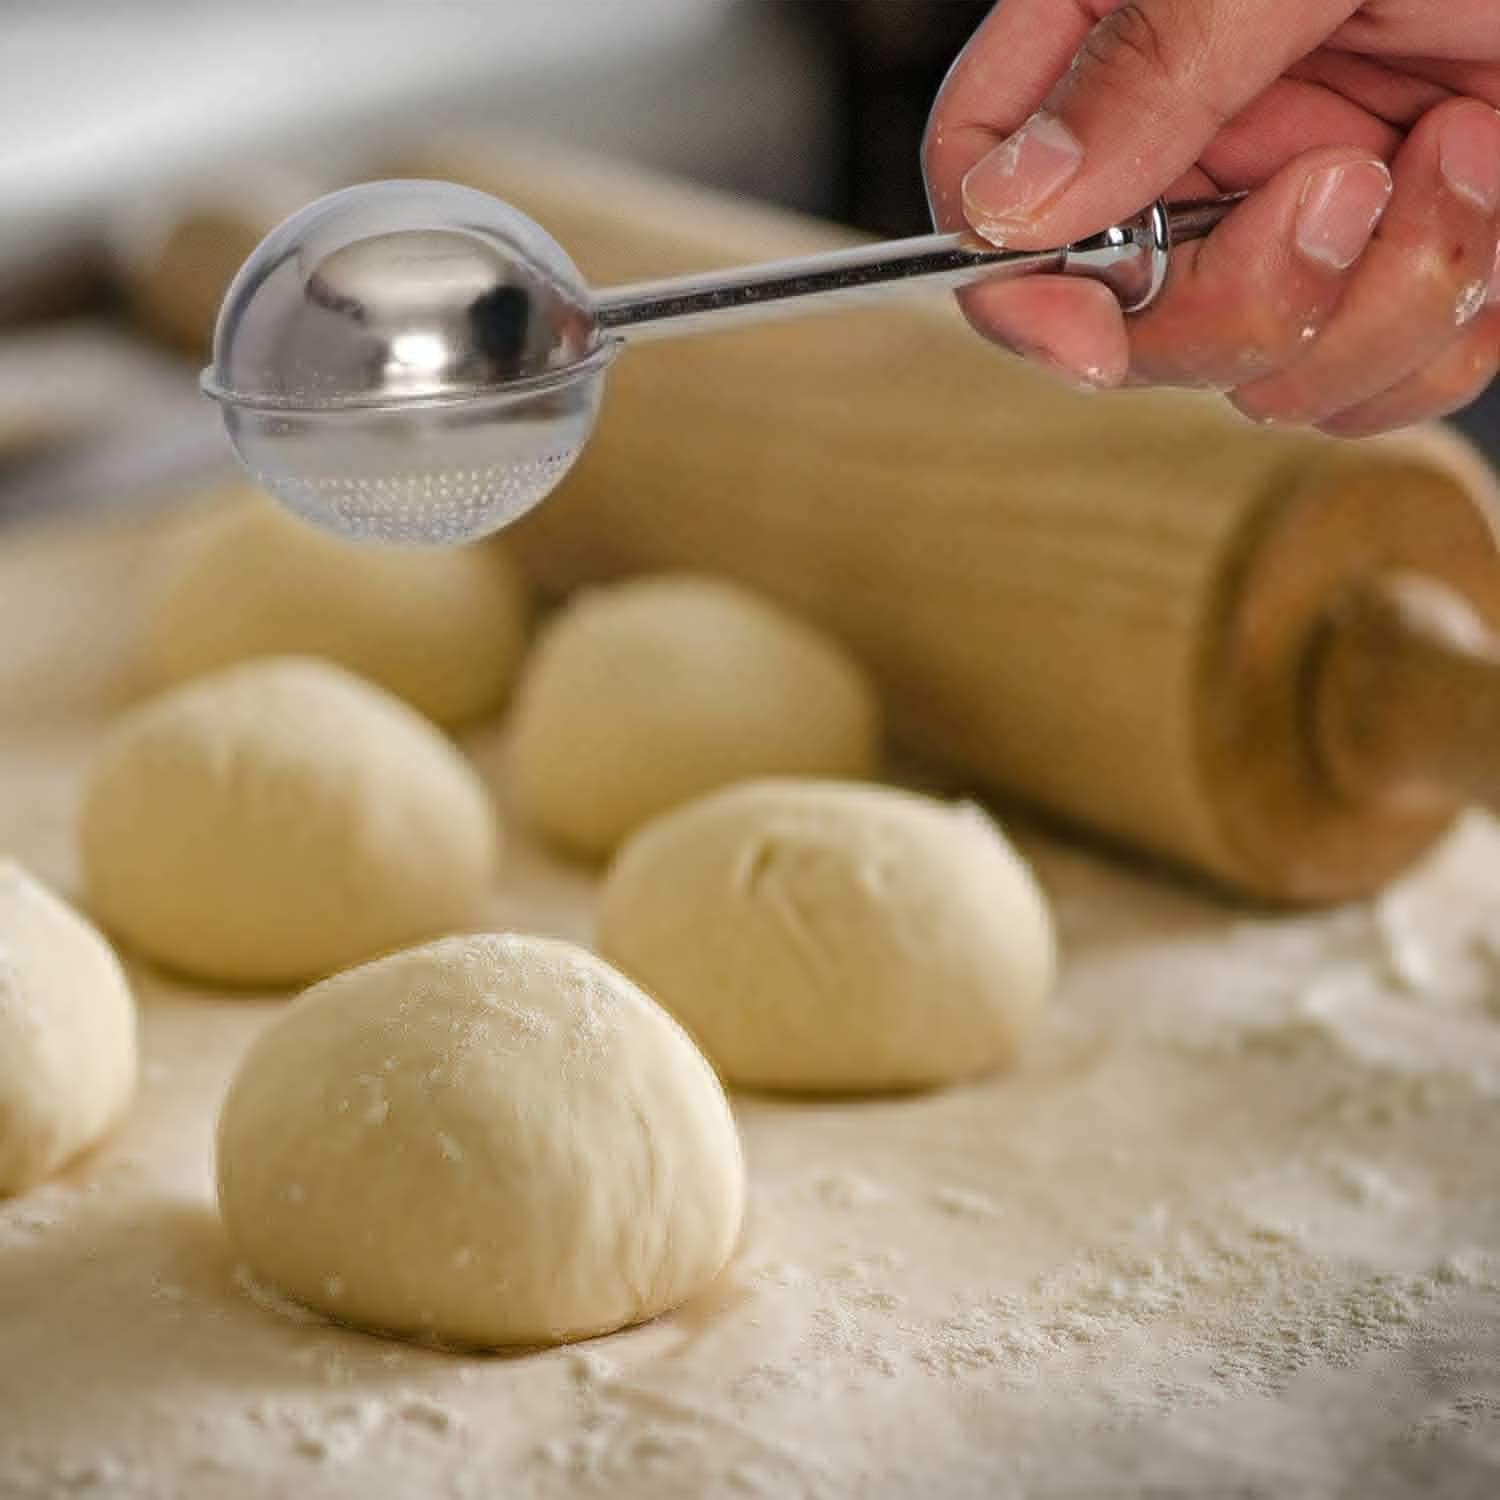
HULISEN Flour Duster for Baking, One-Handed Operation, 304 Stainless Steel Powdered Sugar Shaker Duster
The 6 Keys to Maximum Oven Spring
1. Start With an Active, Well-Fed Starter
This one sounds obvious, but it's where so many bakers run into trouble. Your sourdough starter is the engine behind oven spring. If it's sluggish, underfed, or past its peak, there simply won't be enough yeast activity to drive that final rise in the oven.
Always bake with a starter that's active, bubbly, and at or just past its peak — typically 4–8 hours after feeding at room temperature. You can test it with the float test: drop a small spoonful in water. If it floats, you're ready.
2. Don't Skip the Cold Retard
Popping your shaped loaf into the refrigerator overnight (also called cold retarding or cold proofing) is one of the single best things you can do for oven spring. Here's why:
- The cold slows fermentation, giving gluten time to relax and strengthen.
- A cold loaf holds its shape longer in the oven, giving the interior more time to rise before the crust sets.
- The temperature contrast between the fridge and the hot oven intensifies that initial burst of activity.
A 12–16 hour cold retard is the sweet spot for most sourdough loaves. Check out our Classic Sourdough Bread recipe to see this two-day process in action — the results speak for themselves.
3. Score Confidently and Decisively
Scoring isn't just decorative (though a beautiful ear is deeply satisfying). It's a pressure release valve for your loaf. Without a proper score, the crust can trap expanding gases, resulting in blowouts on the sides or a tight, restricted rise.
Tips for better scoring:
- Use a sharp lame or razor blade — a dull knife drags and deflates.
- Score at a 30–45 degree angle for that classic "ear" on a boule or batard.
- Score quickly and with confidence. Hesitation means dragging.
- Aim for cuts that are ½ to ¾ inch deep.
4. Preheat Thoroughly — Longer Than You Think
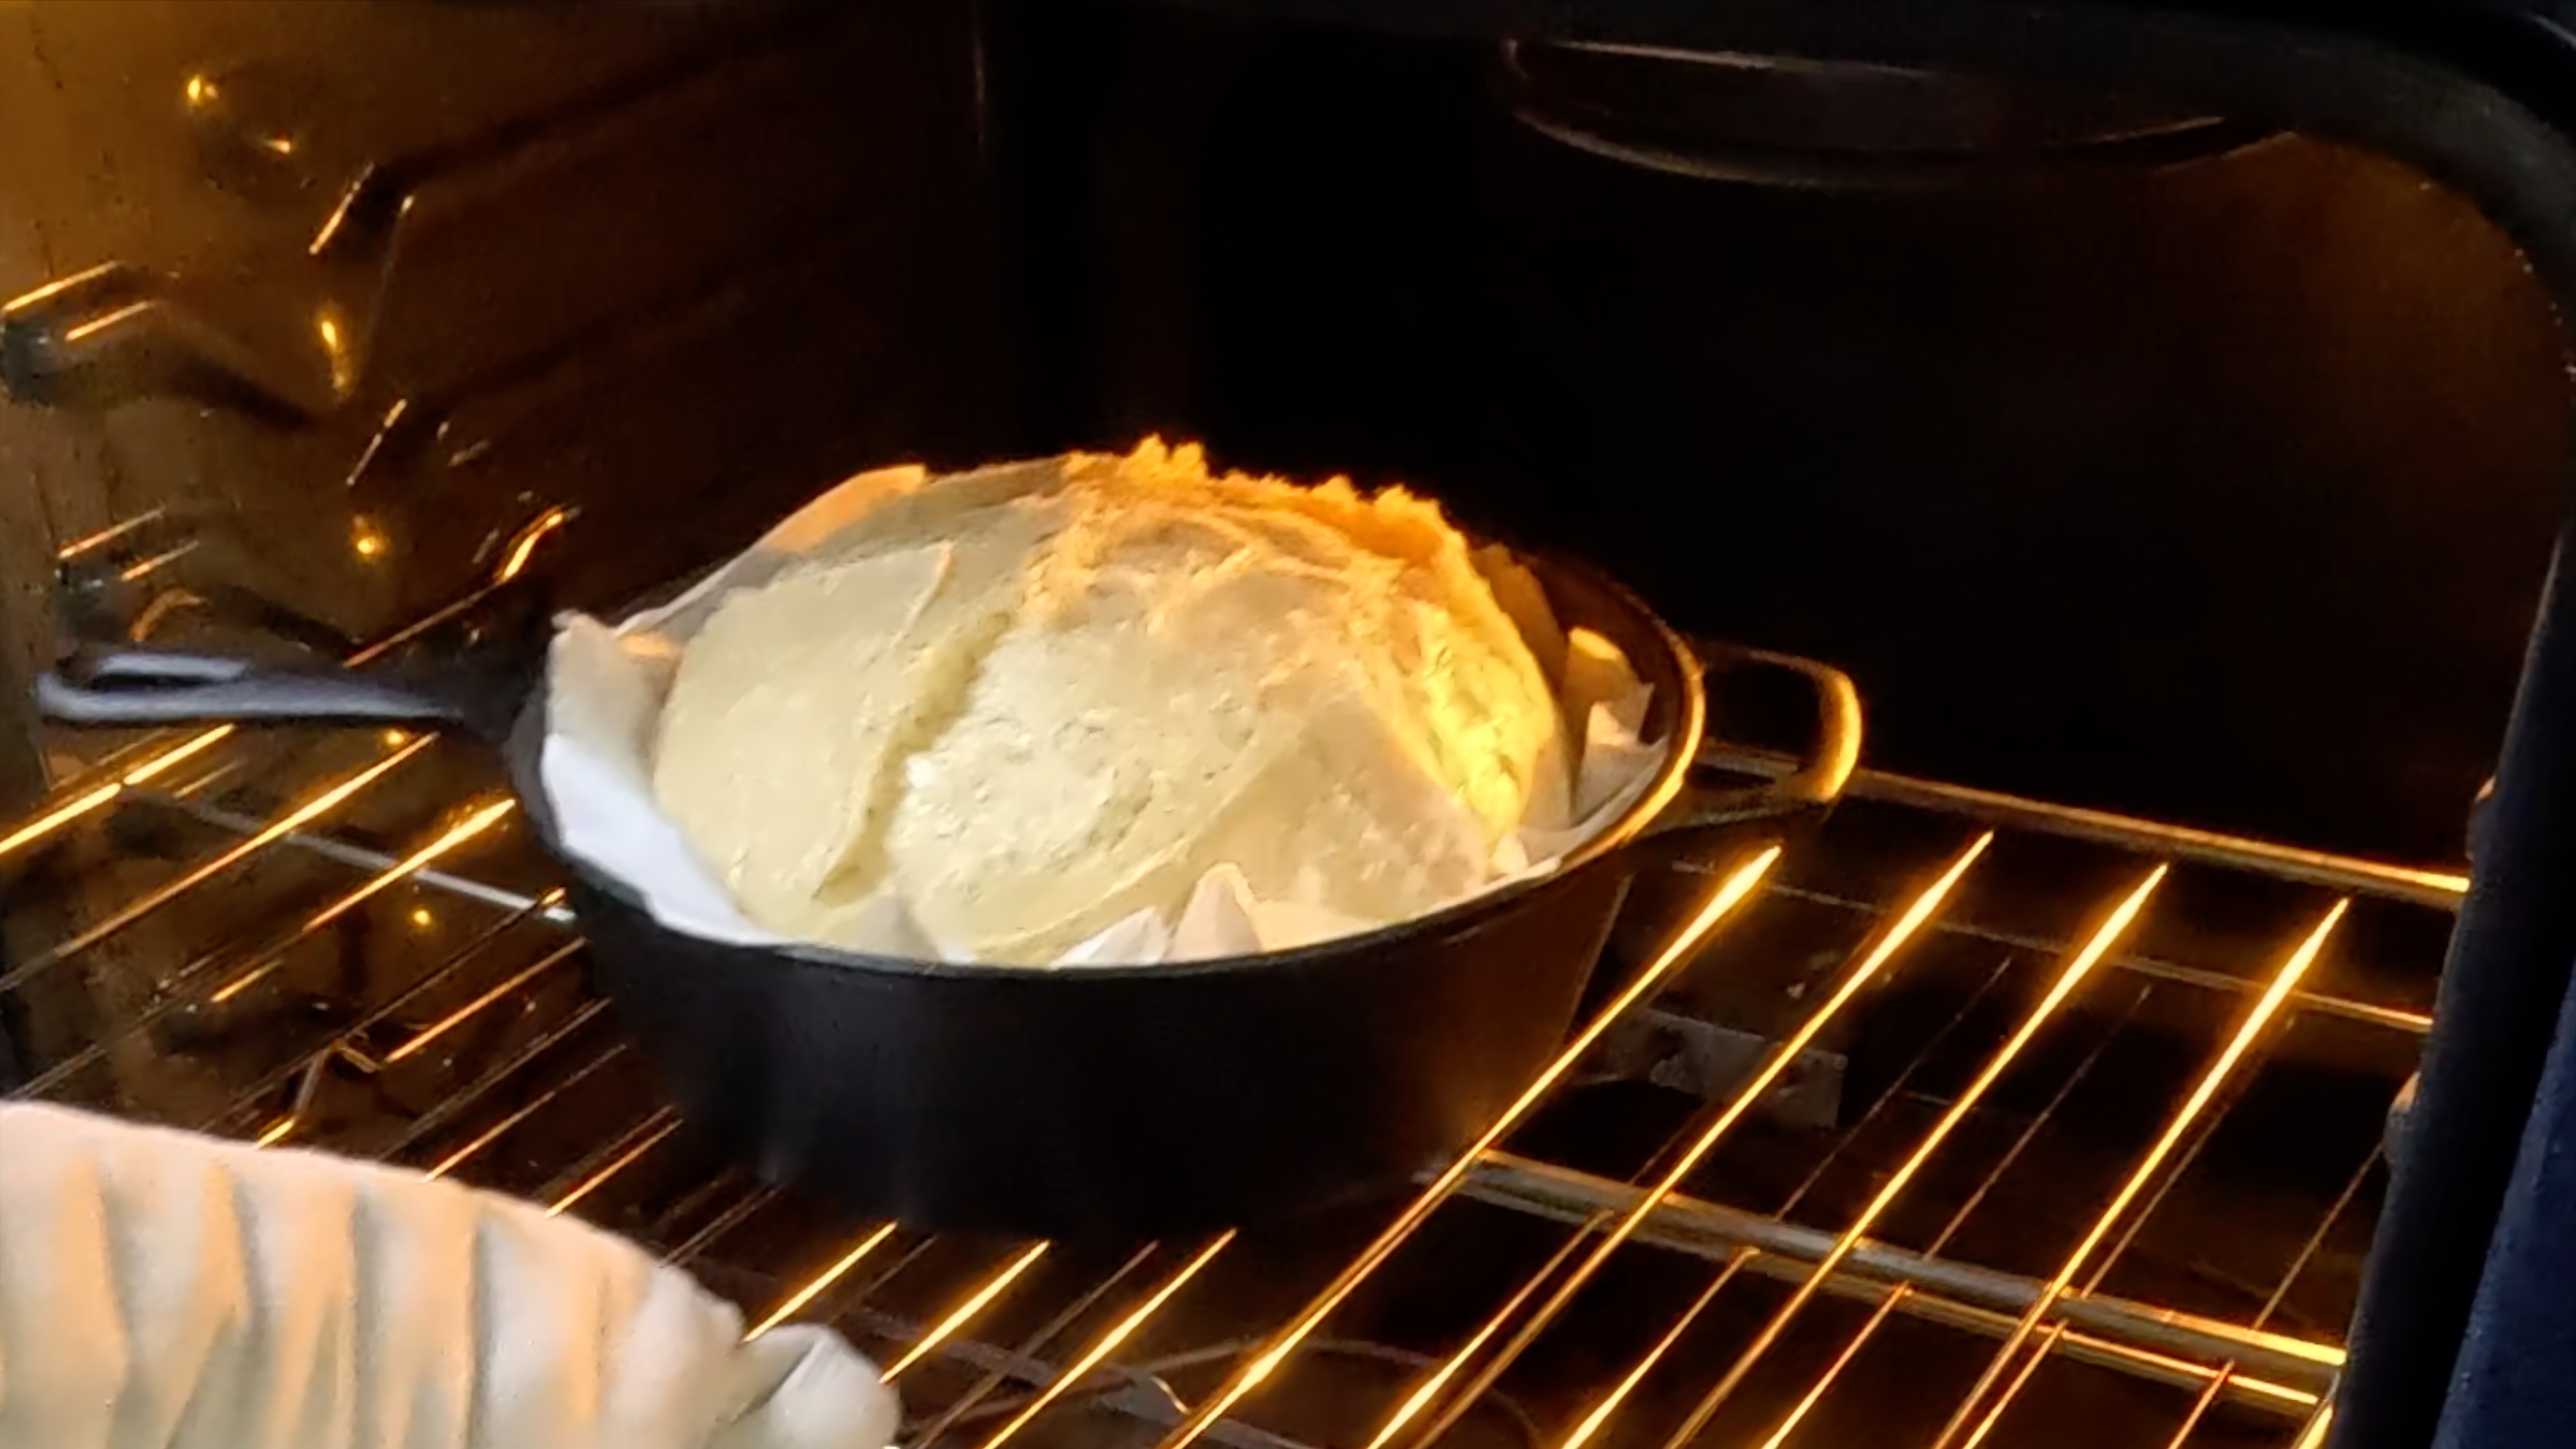
Your oven needs to be genuinely, deeply hot before the dough goes in — not just at temperature on the display. Preheat your oven with your baking vessel inside (Dutch oven, baking stone, or steel) for at least 45 minutes to 1 hour at 475–500°F (245–260°C).
The thermal mass of a properly preheated Dutch oven delivers intense bottom heat the moment your dough hits it. That heat from below jumpstarts expansion from the bottom up — exactly what you want.
5. Trap Steam in the First Phase of Baking
Steam is your best friend in the first 20 minutes of baking. It keeps the crust soft and extensible so the loaf can keep rising without the surface cracking prematurely or forming a hard shell that restricts expansion.
The easiest way to create steam at home? Bake in a lidded Dutch oven. The lid traps the moisture released by the dough itself, creating the perfect steamy environment.
If you're baking without a Dutch oven — totally possible and delicious! — add a pan of boiling water to the oven floor or throw a handful of ice cubes onto the oven floor just as you load your bread. Our No-Knead Sourdough Bread (No Dutch Oven) recipe walks through exactly how to do this and still get a gorgeous, crackling crust.
6. Nail Your Proofing Time
Over-proofed dough is the enemy of oven spring. When dough has fermented too long, the gluten structure becomes weak and slack — it's already done most of its expanding, and there's little left for the oven to work with. The result is a flat, dense loaf that spreads sideways instead of rising upward.
Under-proofed dough can actually spring pretty well in the oven, but the crumb may be tight and gummy inside.
The poke test is your friend: Gently poke your shaped, proofed dough with a floured finger. It should slowly spring back — not immediately (under-proofed) and not stay indented (over-proofed). Slow, lazy spring-back = ready to bake.
Troubleshooting: Why Didn't My Bread Rise?
Flat with no ear? Your score was too shallow, too straight, or your dough was over-proofed.
Spread sideways instead of up? Likely over-proofed, or the shaping tension wasn't tight enough.
Dense crumb despite good rise? Check your starter strength — fermentation may not be going deep enough.
Great rise but pale crust? Your oven may not be hot enough, or you're not baking long enough in the uncovered phase.
Recommended Product
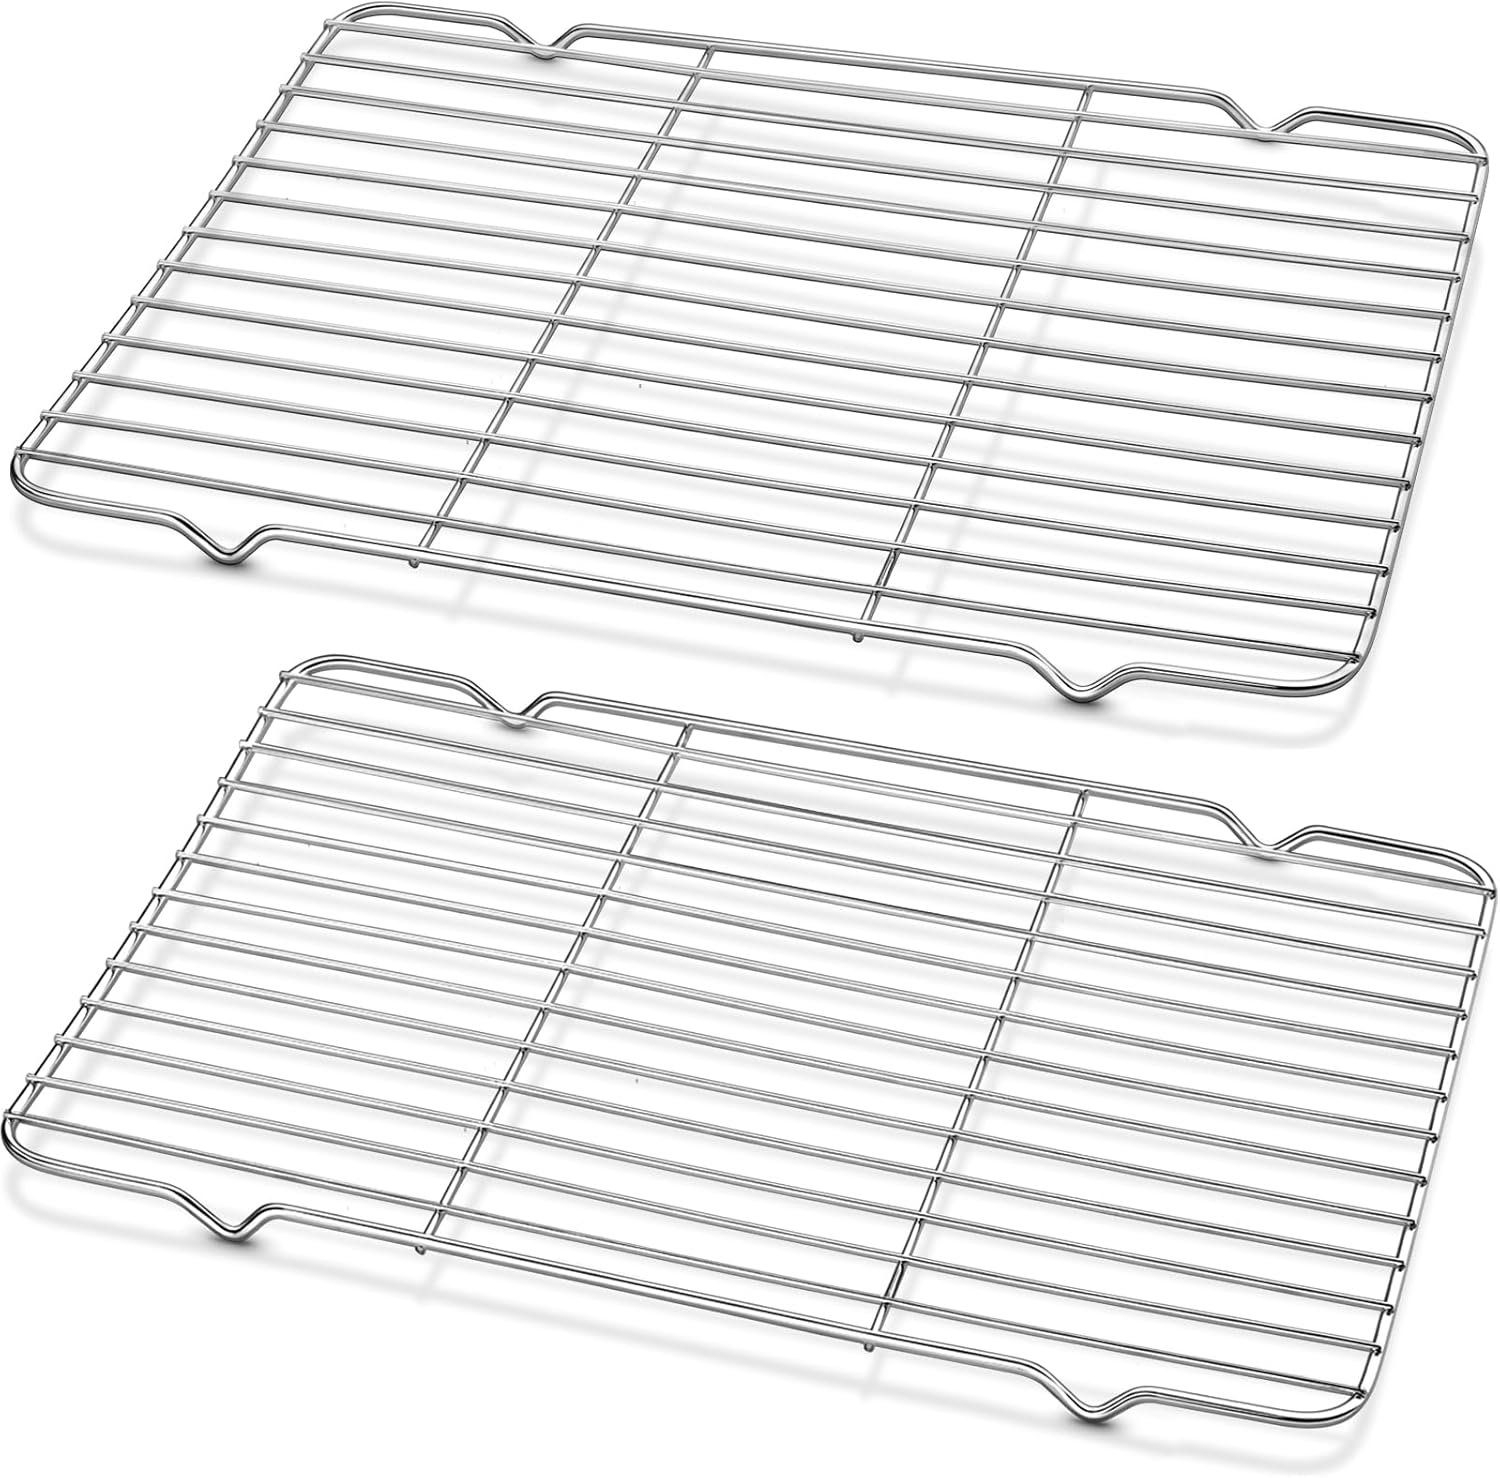
Cooling Rack and Baking Rack with Stainless Steel, 2 - Pack 10 x 15 Inches
Put It All Together
Oven spring is really the sum of everything that came before it — a healthy starter, proper fermentation, confident shaping, a good score, and a ripping hot oven with steam. Get those pieces in place, and your loaves will reward you with that dramatic, ear-splitting, gorgeous rise.
Ready to put these tips to the test? Our Same-Day Sourdough Batard is a fantastic recipe to practice your scoring and oven setup — and because it goes from start to finish in a single day, you can experiment and iterate quickly.
You've got this. Preheat that oven, grab your lame, and go bake something beautiful. 🍞✨
Comments
Sign in to join the conversation
Sign In