Cold Fermentation vs Cold Proof: The Ultimate Guide
Discover the key differences between cold fermentation and cold proofing, and learn how each technique transforms your sourdough bread's flavor, texture, and timing.
Published on April 9, 2026
If you've been diving deeper into sourdough baking, you've probably encountered these terms floating around in recipes and forums: cold fermentation and cold proofing. While they might sound similar (and both involve your refrigerator), these two techniques serve completely different purposes in bread making.
Understanding the distinction between these methods can transform your baking game, giving you more flexibility with timing and dramatically improving your bread's flavor and texture. Let me walk you through everything you need to know about these game-changing techniques.
Recommended Product
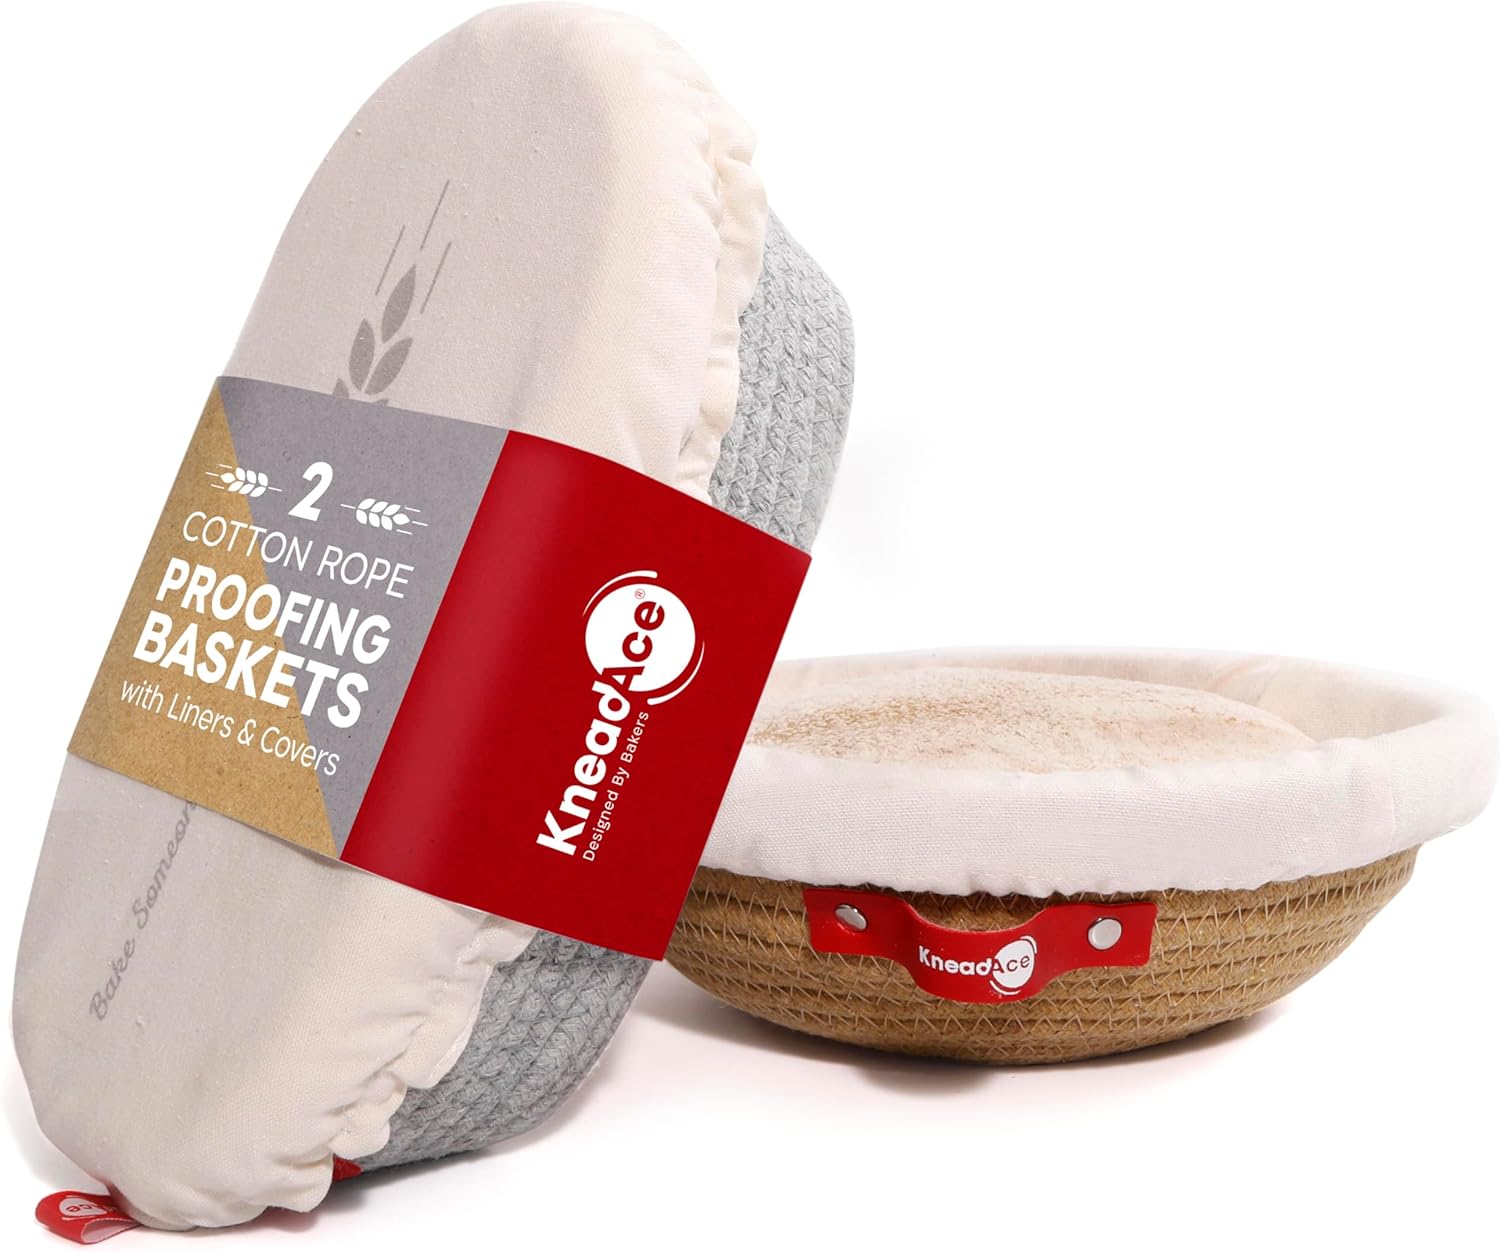
KneadAce Cotton Rope Banneton Bread Proofing Basket Set, Oval & Round Bread Baskets with Liners & Covers
What Is Cold Fermentation?
Cold fermentation, also called cold bulk fermentation or retarding, happens during the first rise of your dough—the bulk fermentation stage. This is when you mix your flour, water, starter, and salt, then let the dough develop its structure and flavor.
During cold fermentation, you're slowing down the yeast activity by placing your dough in the refrigerator (typically between 35-38°F). The magic happens slowly: enzymes continue working, breaking down proteins and starches, while wild yeasts and bacteria in your sourdough starter develop those complex, tangy flavors we all crave.
Benefits of Cold Fermentation:
- Enhanced flavor development: The extended time allows for deeper, more complex flavors
- Better digestibility: Longer fermentation breaks down gluten proteins
- Improved texture: Creates a more open crumb structure
- Flexible timing: You can start your dough and finish it 1-3 days later
Recommended Product
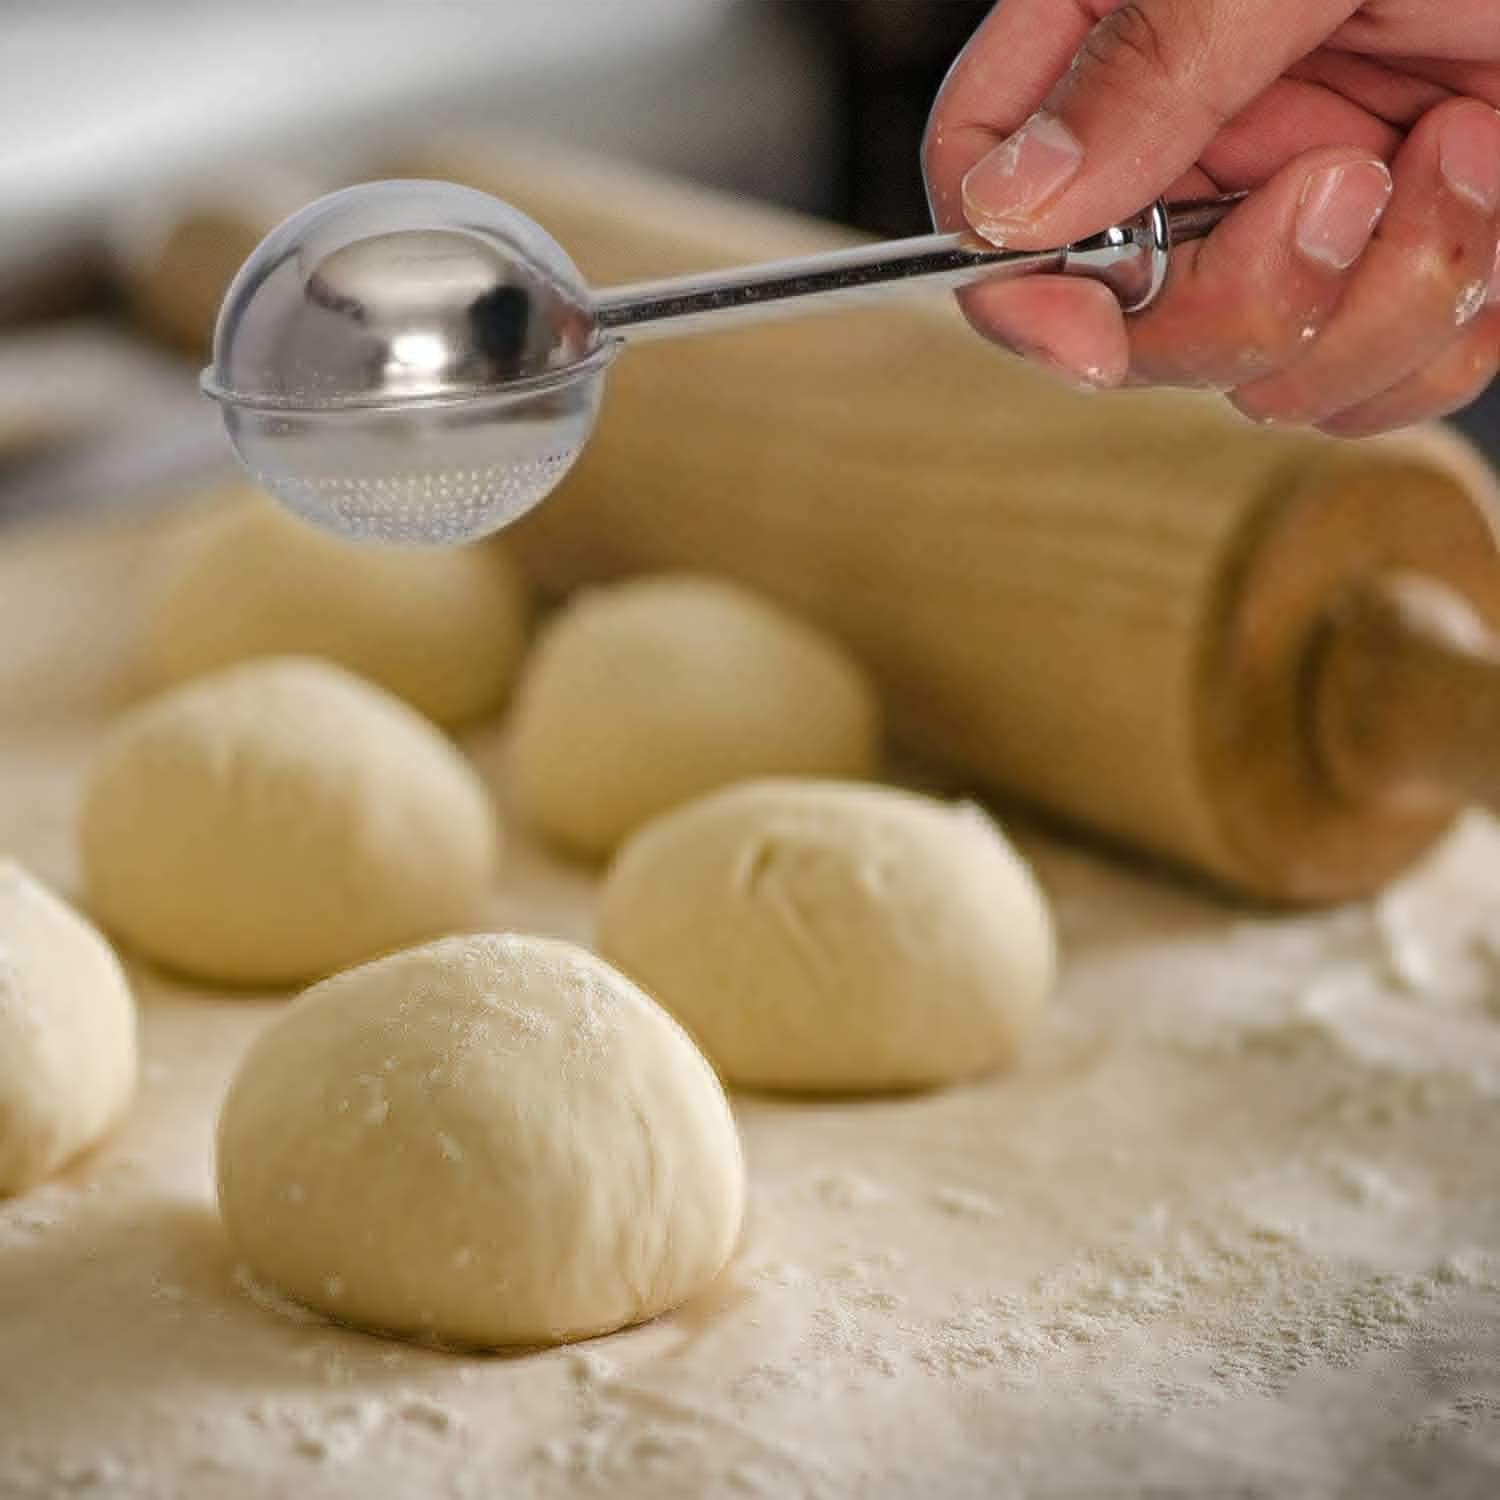
HULISEN Flour Duster for Baking, One-Handed Operation, 304 Stainless Steel Powdered Sugar Shaker Duster
What Is Cold Proofing?
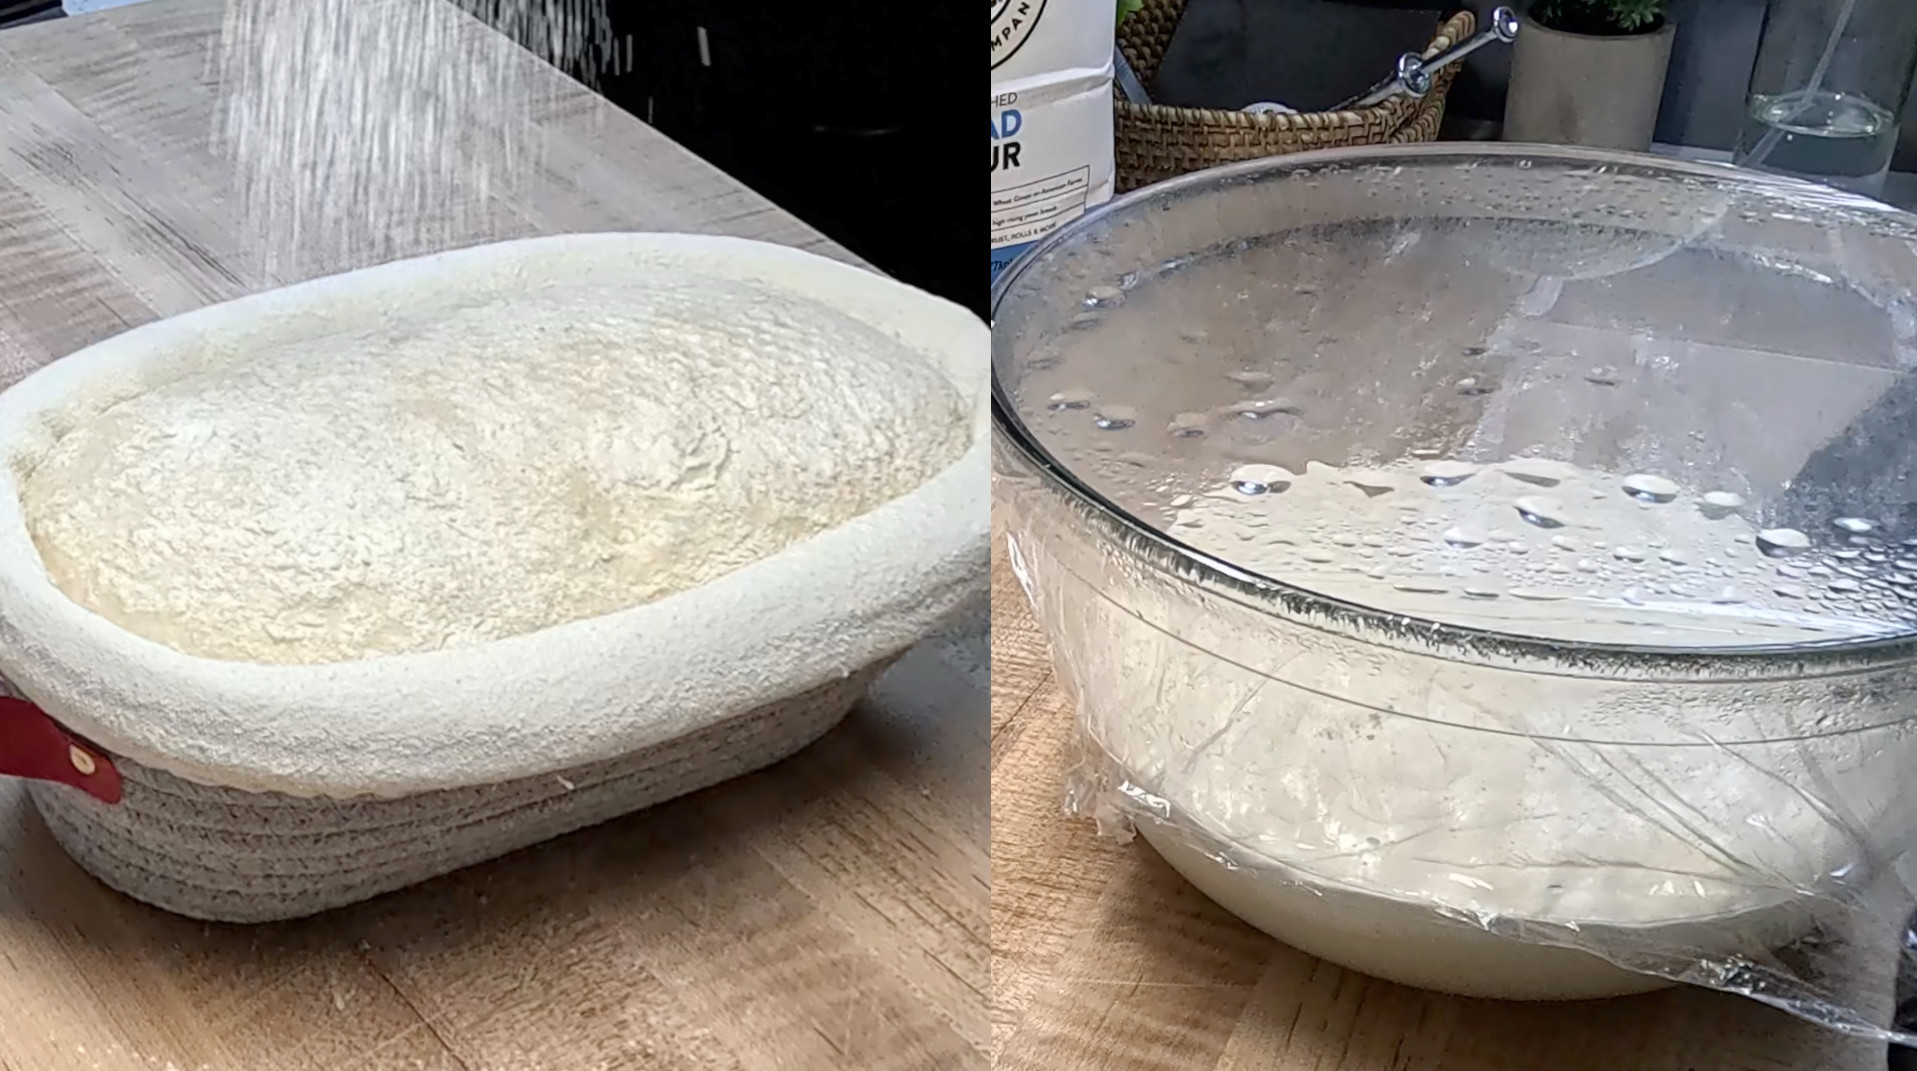
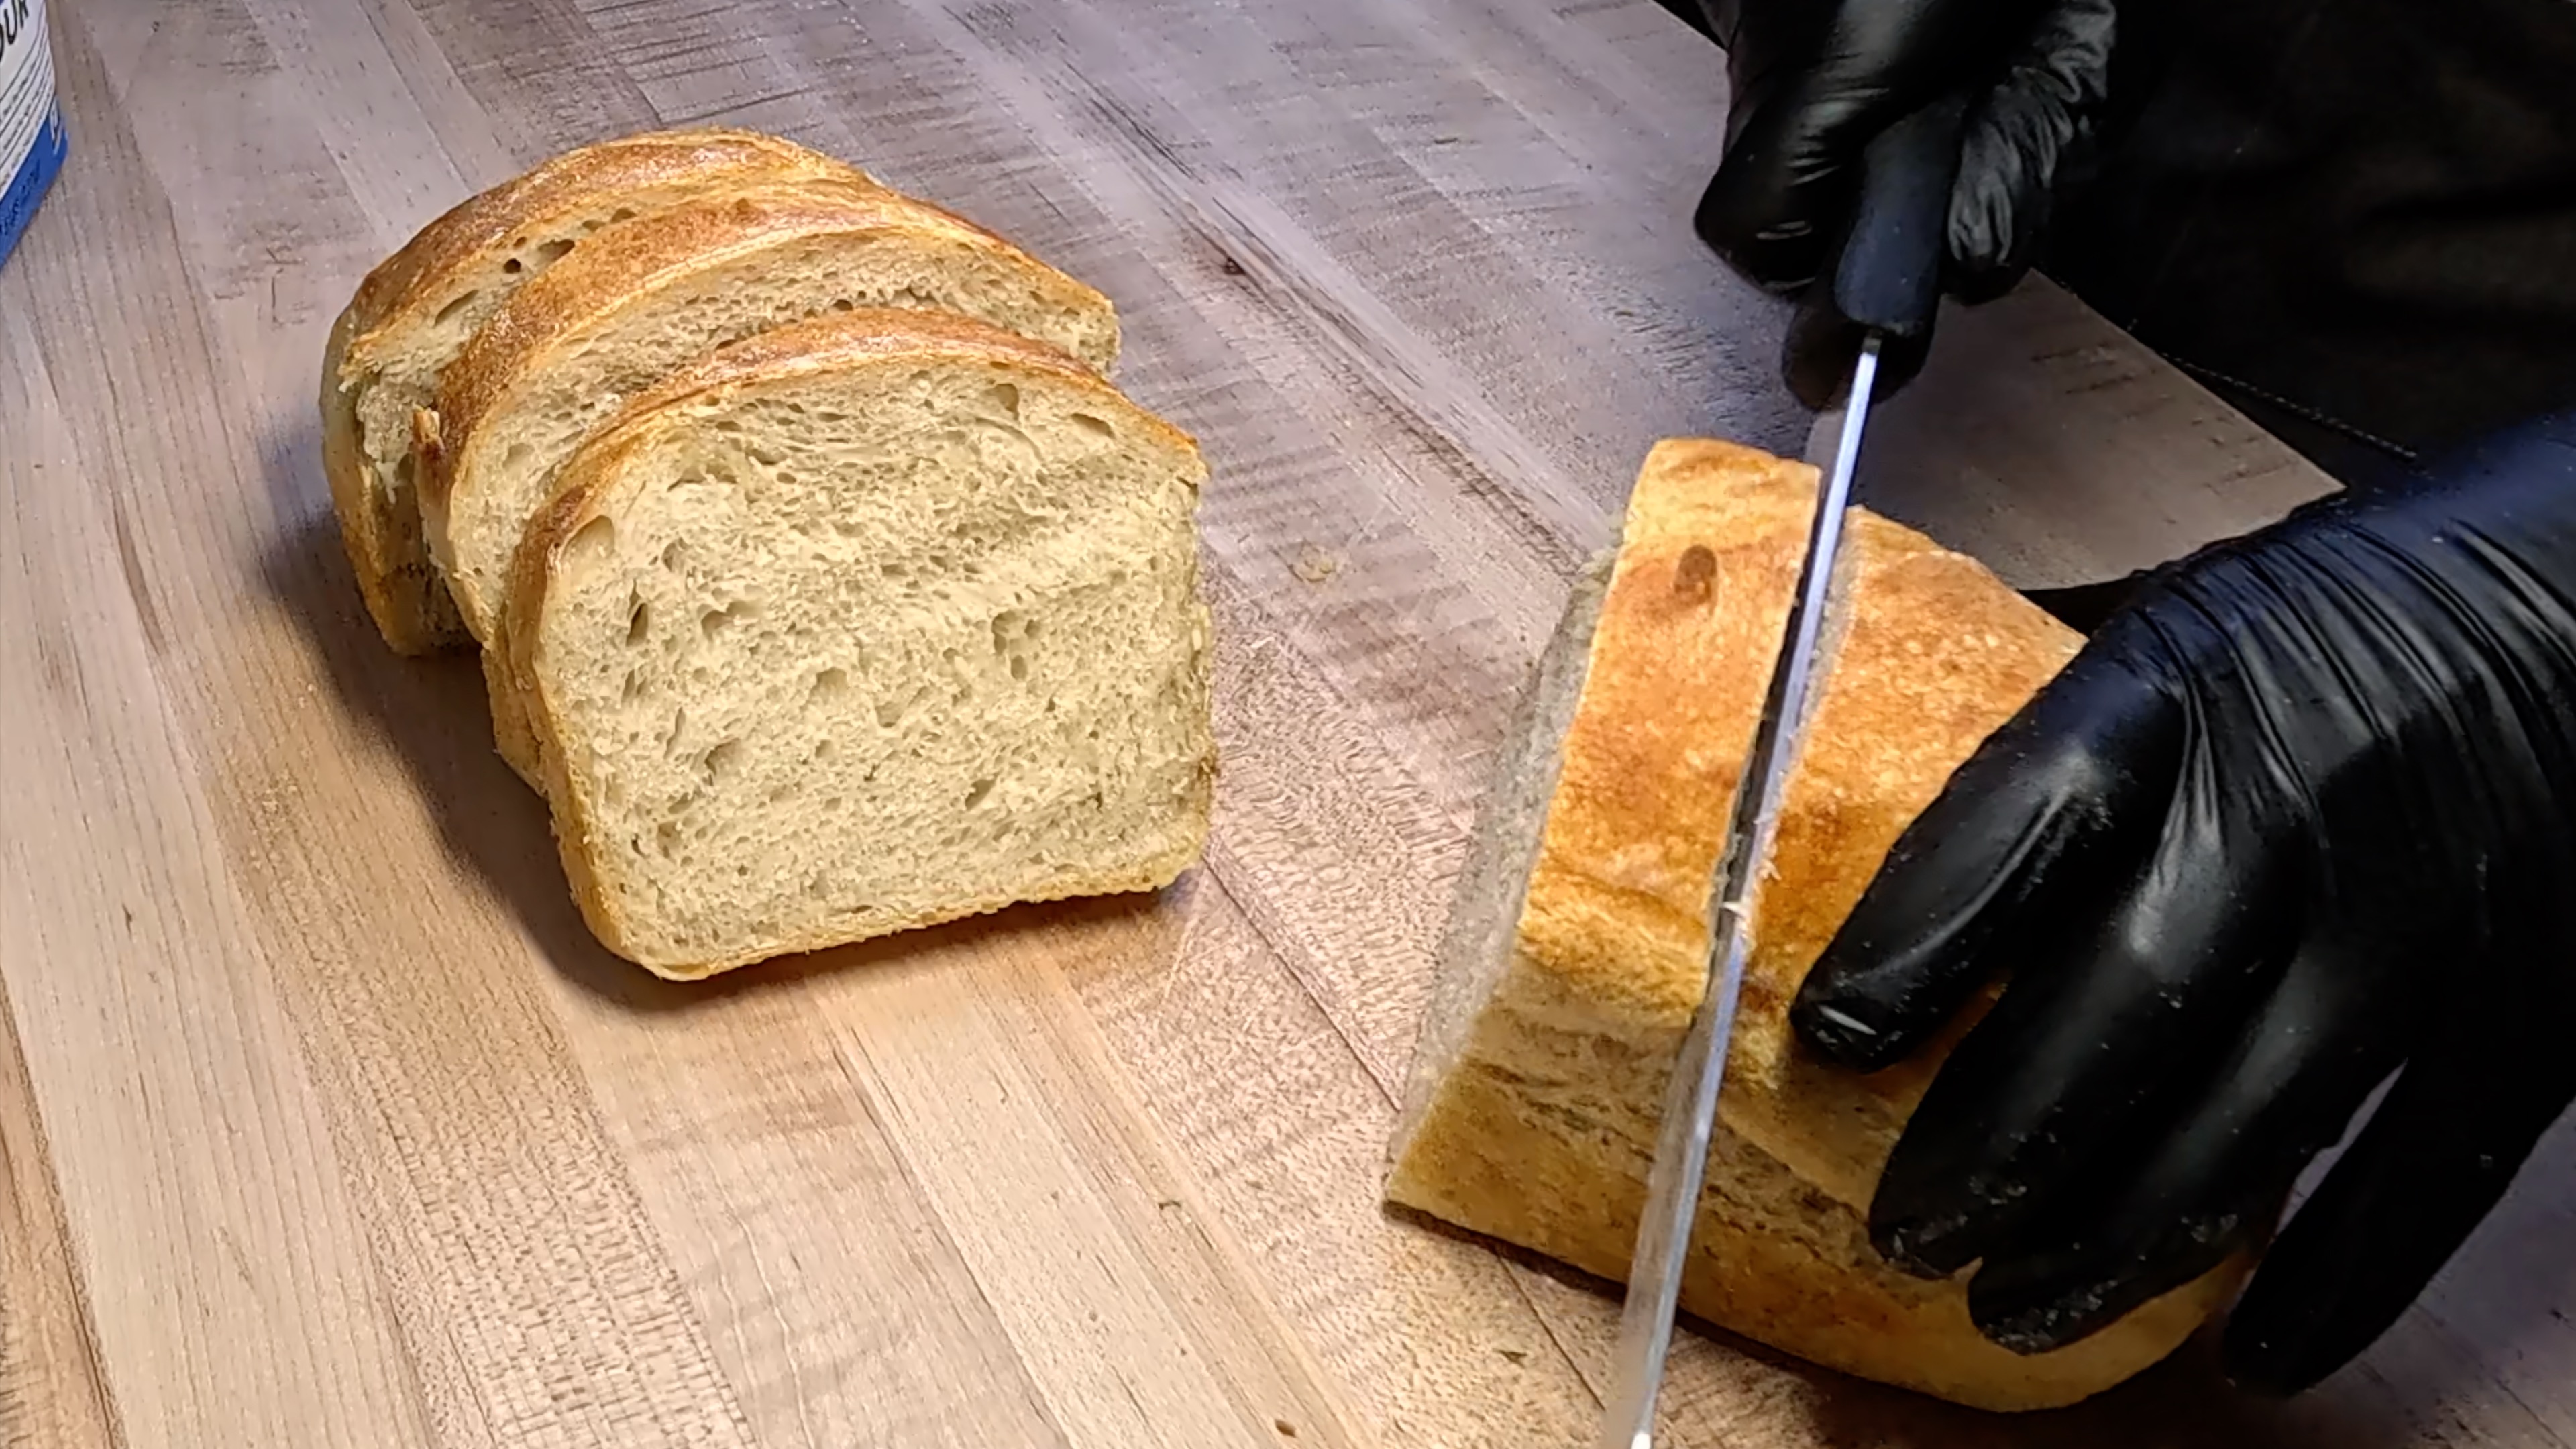
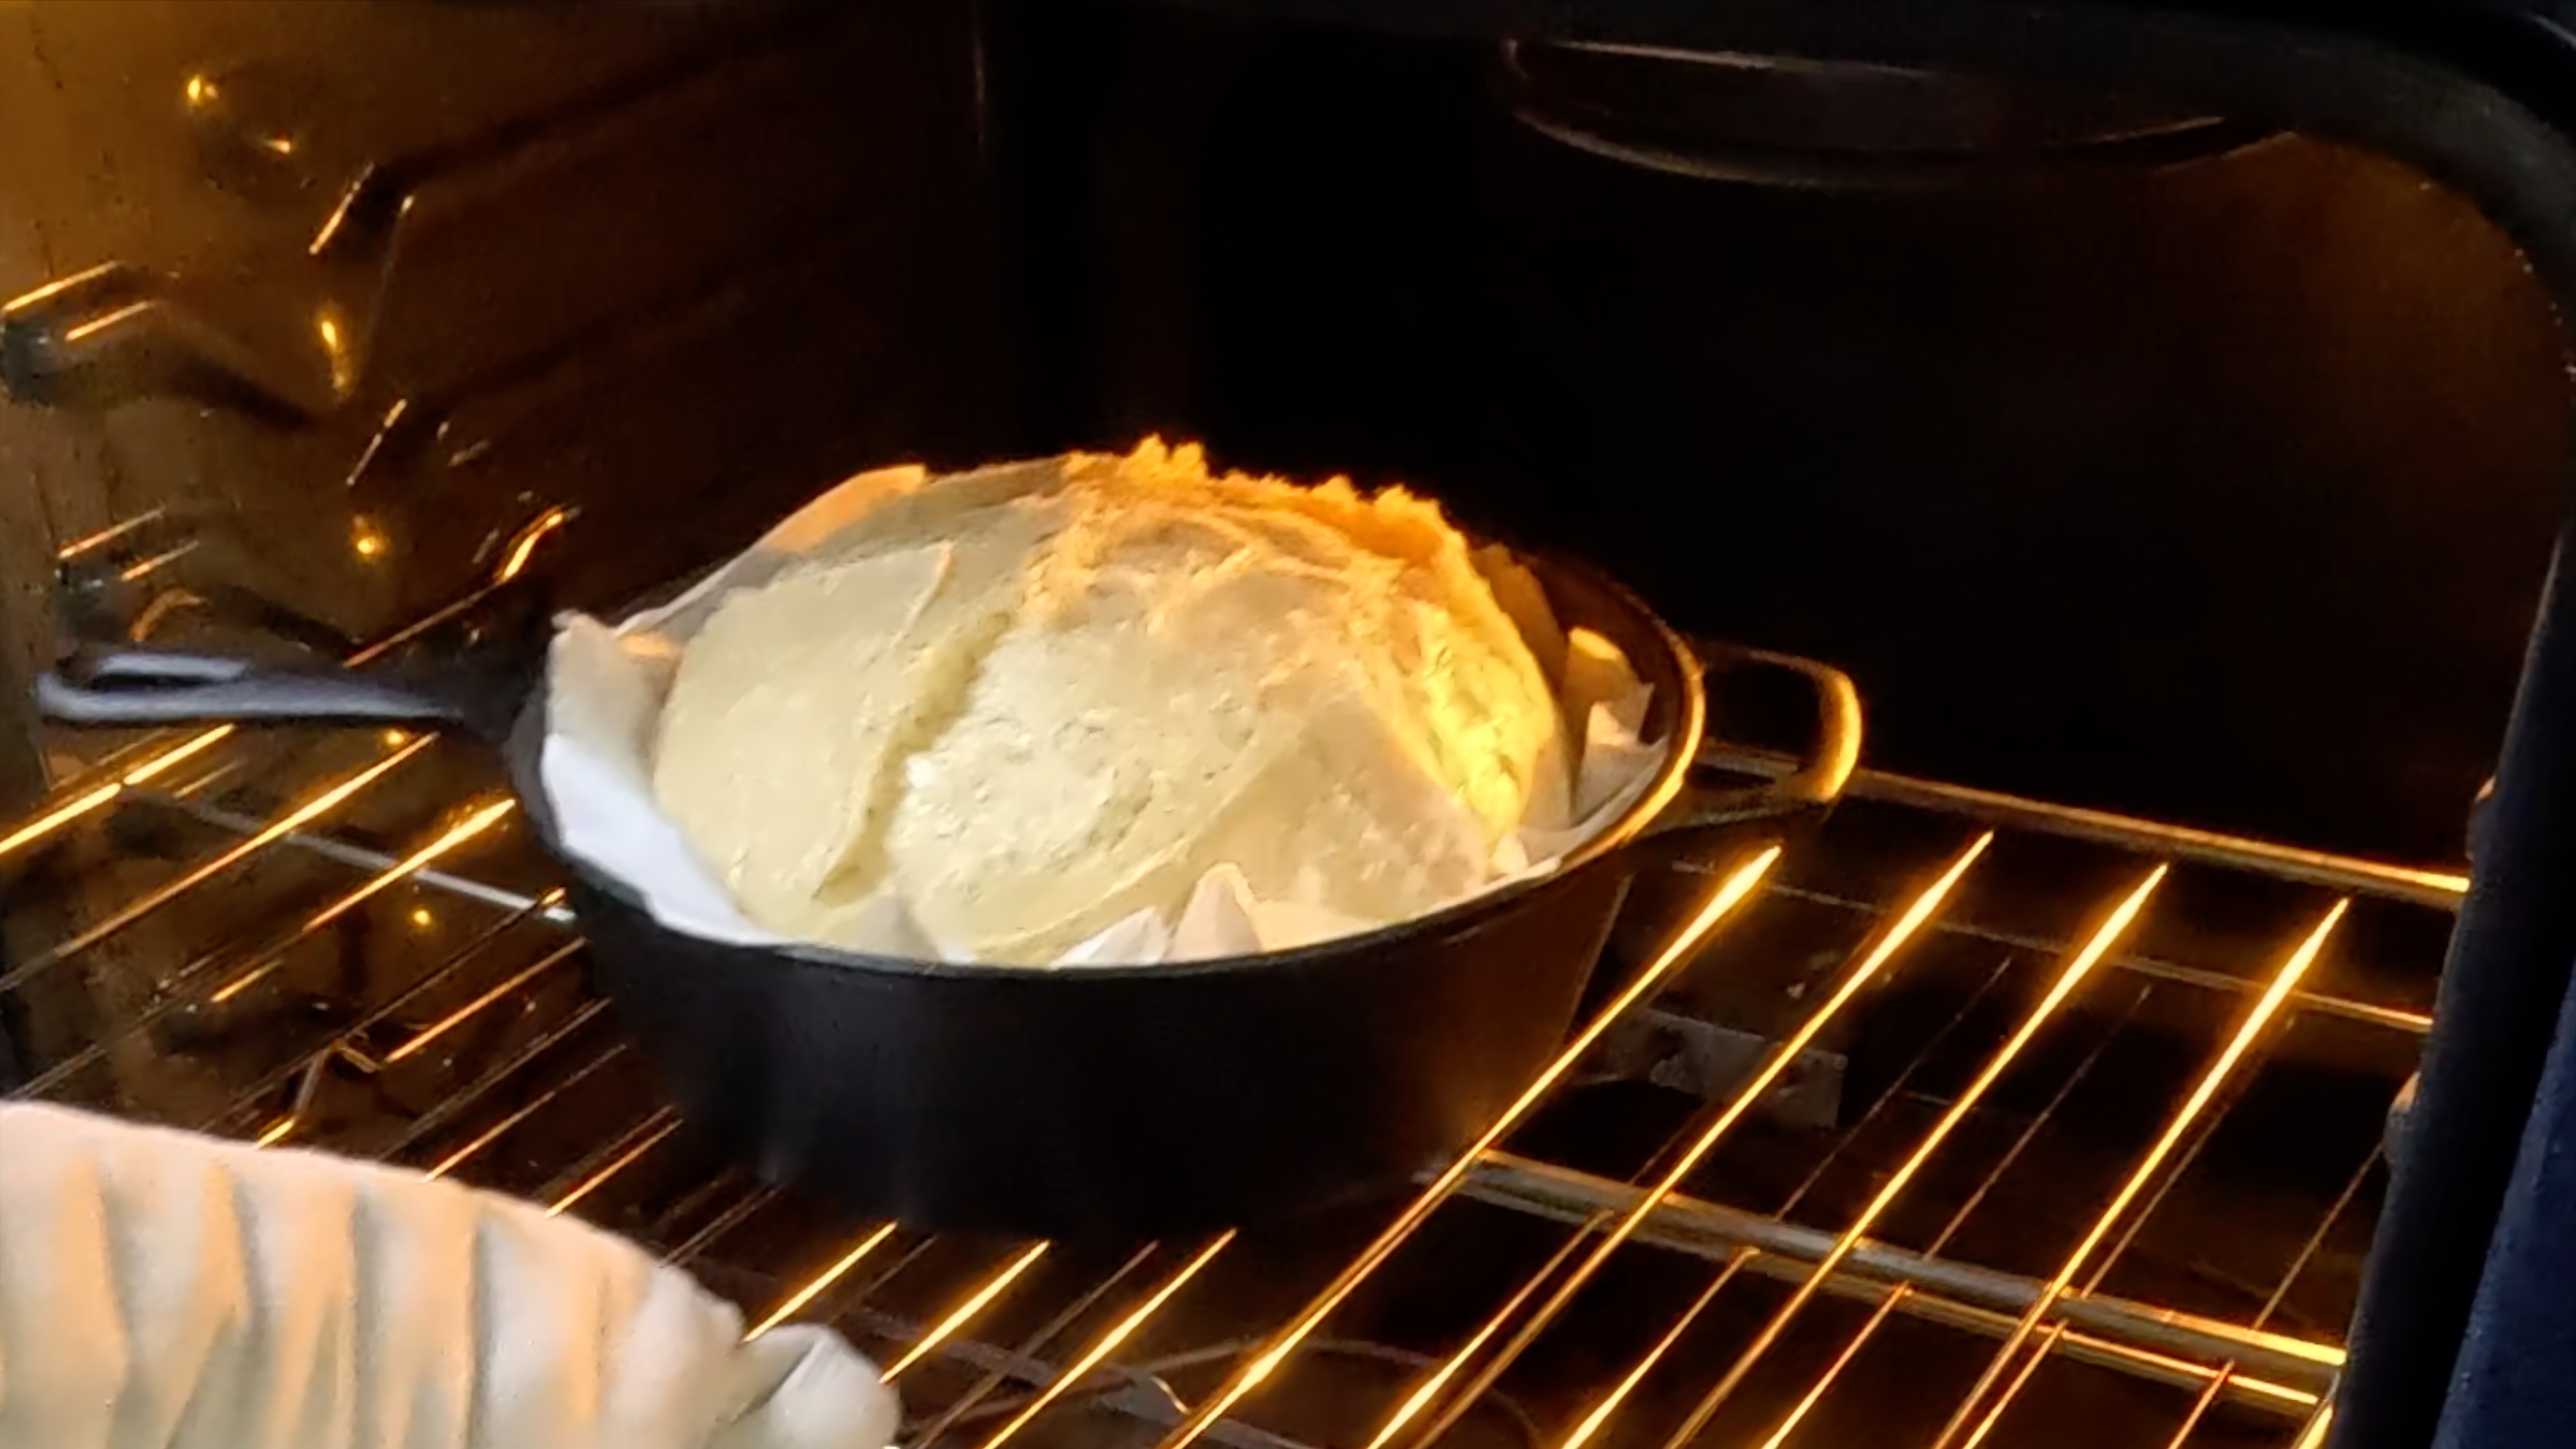
Cold proofing (also called final proofing or retarding) occurs after you've shaped your dough into its final form—whether that's a boule, batard, or Sourdough Baguette. This is the second and final rise before baking.
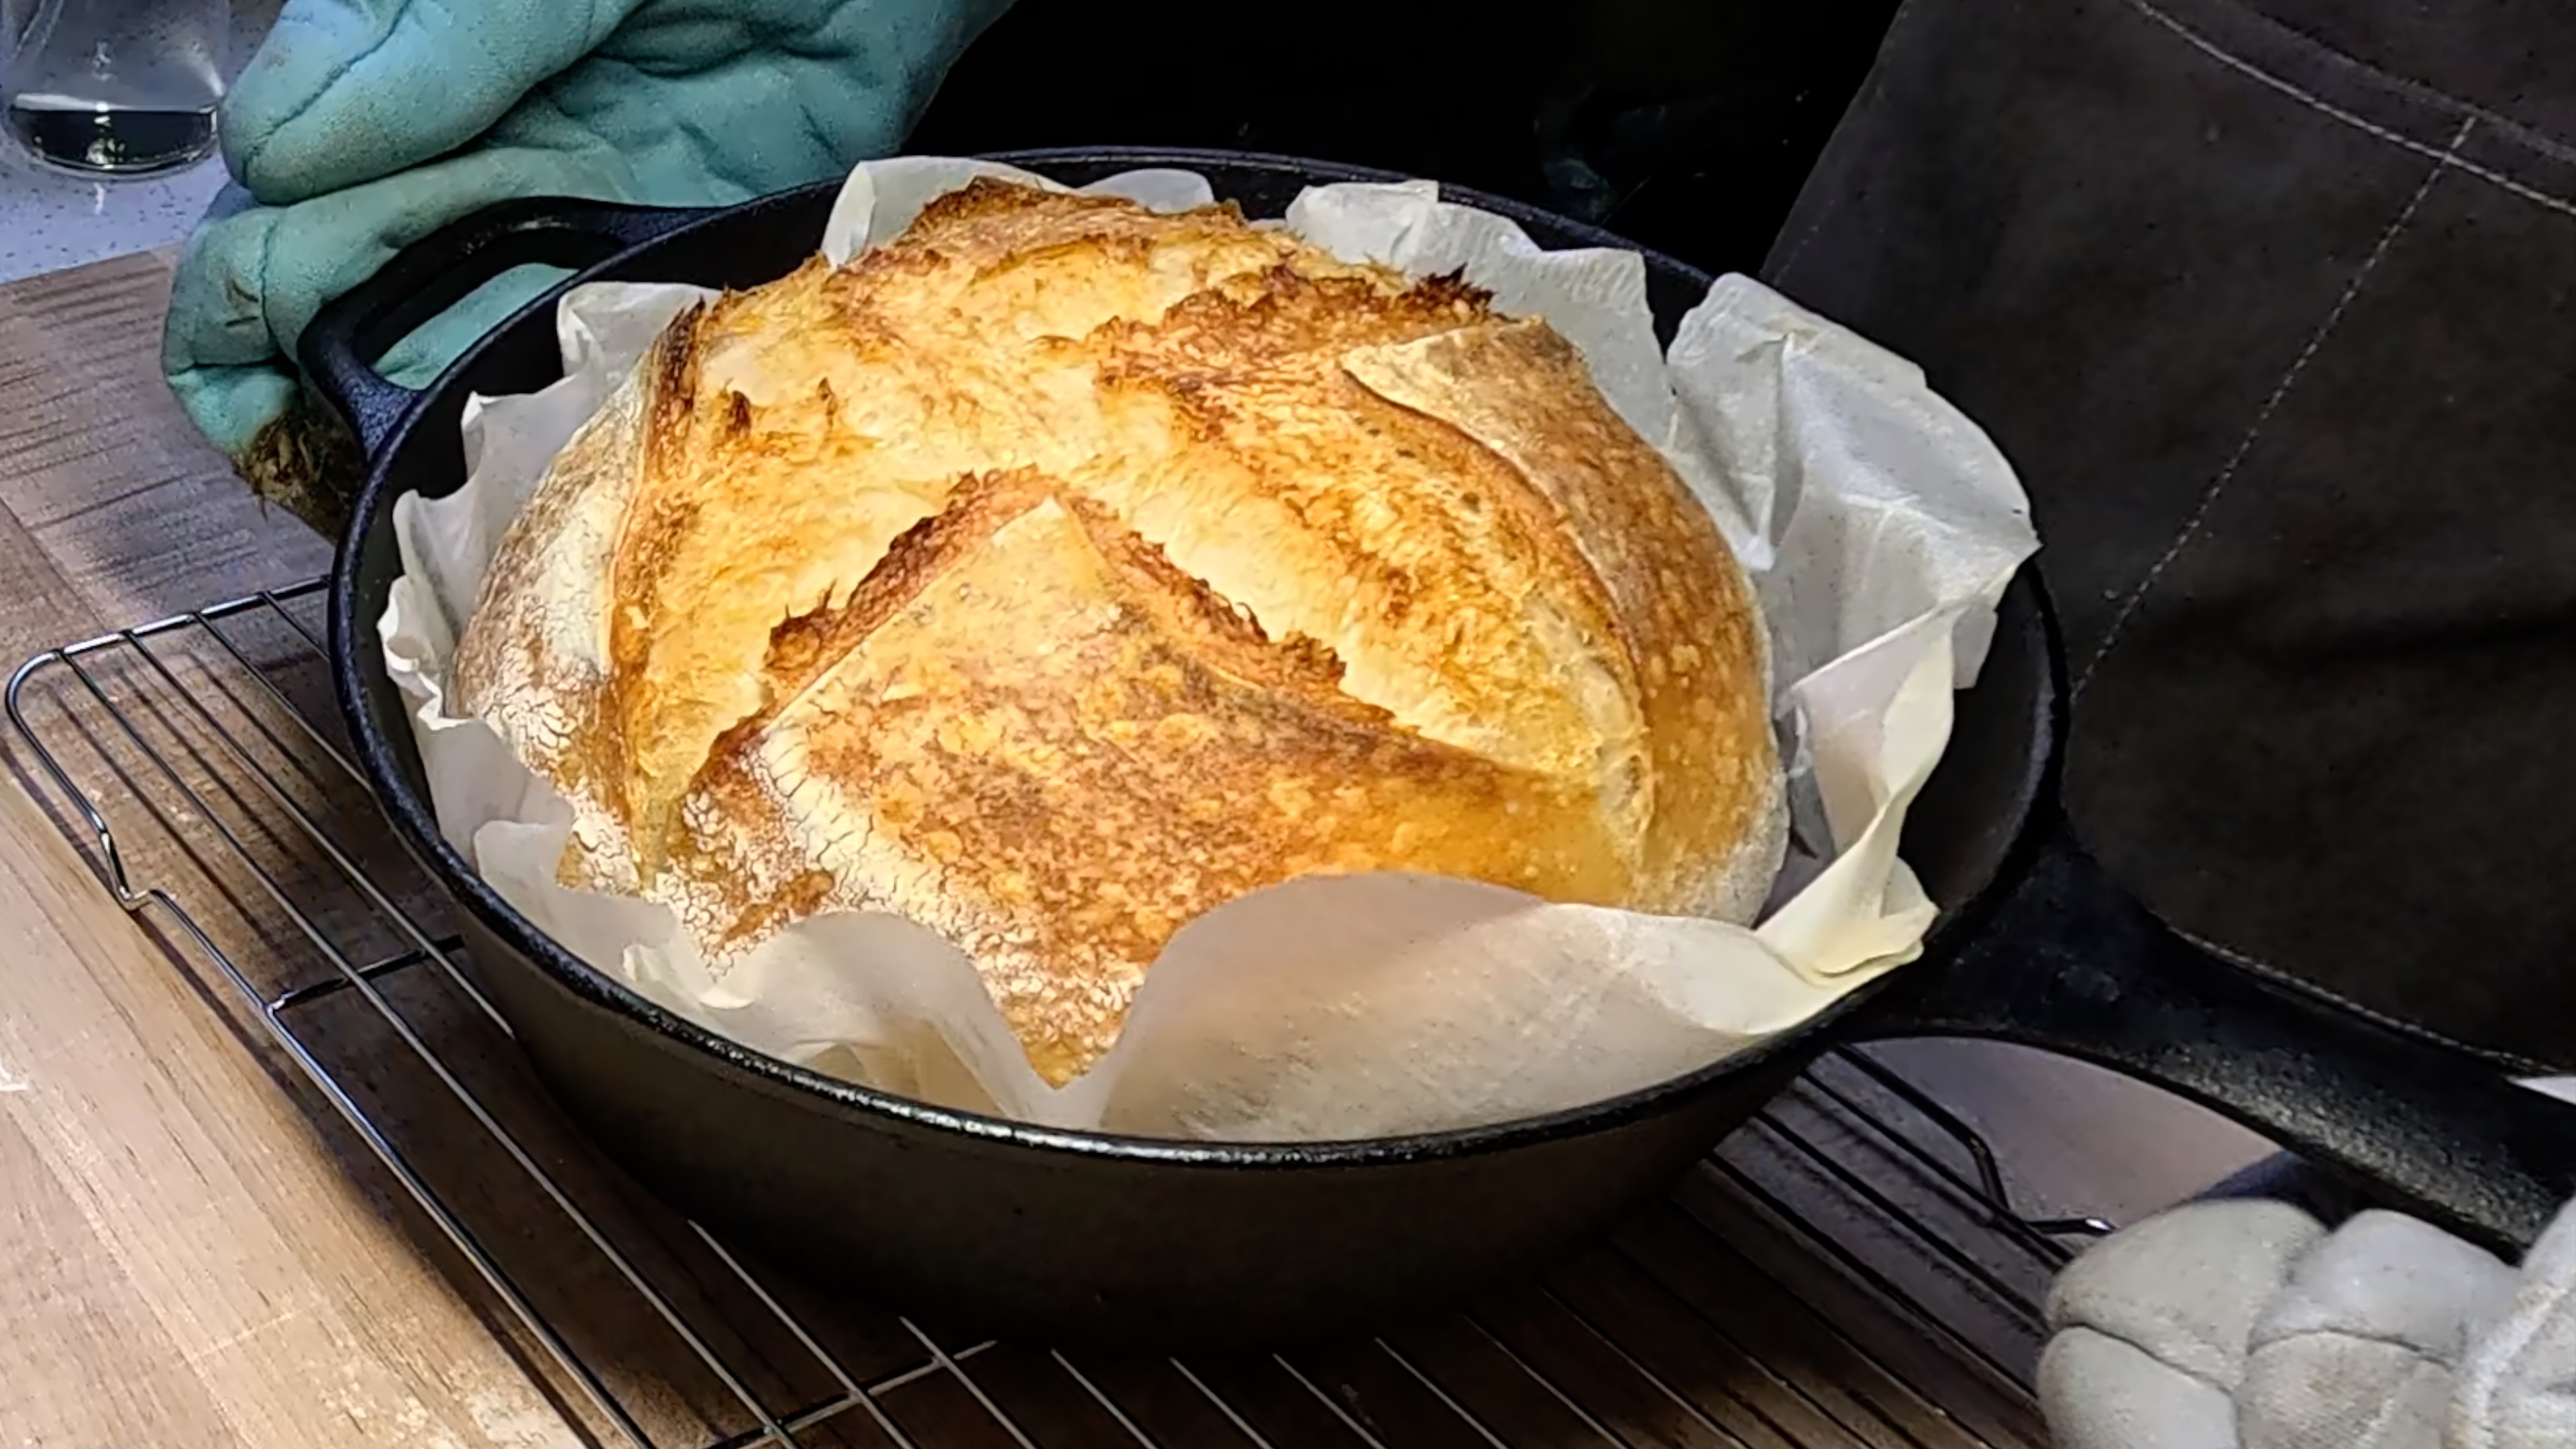
During cold proofing, your shaped loaves sit in the refrigerator, allowing the dough to slowly develop its final structure while making it easier to score and handle. The cold temperature firms up the dough, making those beautiful decorative cuts much more achievable.
Benefits of Cold Proofing:
- Easier scoring: Cold dough holds its shape better under the lame
- Better oven spring: Controlled fermentation leads to dramatic rise in the oven
- Convenience: Bake fresh bread any morning by prepping the night before
- Consistent results: More predictable timing and outcomes
Recommended Product
HULISEN Flour Duster for Baking, One-Handed Operation, 304 Stainless Steel Powdered Sugar Shaker Duster
Key Differences Between the Two Techniques
Timing in the Process
Cold fermentation happens during bulk fermentation (first rise), while cold proofing occurs after shaping (final rise). Think of it this way: cold fermentation is about flavor development, while cold proofing is about convenience and handling.
Duration
Cold fermentation typically lasts 12-72 hours, giving you incredible flexibility. Cold proofing is usually shorter—8-24 hours—though some bakers push it to 48 hours for convenience.
Impact on Bread Quality
Cold fermentation primarily affects flavor complexity and crumb structure. The longer your dough ferments, the more pronounced the tangy sourdough flavor becomes. Cold proofing mainly impacts the bread's appearance (better scoring patterns) and oven spring.
When to Use Each Technique
Choose Cold Fermentation When:
- You want maximum flavor development
- You're using lower hydration doughs that need extra time
- You want to break up the bread-making process over multiple days
- You're making enriched doughs that benefit from slow development
Choose Cold Proofing When:
- You want to bake fresh bread in the morning
- You're working with high-hydration doughs that are difficult to handle
- You want clean, dramatic scoring patterns
- You need predictable timing for your baking schedule
Can You Use Both Techniques Together?
Absolutely! Many experienced bakers combine both techniques for the ultimate flexibility and flavor development. You might cold ferment your dough for 24 hours, then shape it and cold proof overnight before baking the next morning.
This double-cold approach is particularly popular with recipes like our Classic Sourdough Bread, where the two-day process allows for incredible depth of flavor while maintaining a manageable schedule.
Recommended Product
Glad Cling N Seal Plastic Wrap for Food, Airtight Seal, 300 Square Foot Roll (Pack of 4)
Practical Tips for Success
For Cold Fermentation:
- Use less starter (about 50-75% of the normal amount) to slow fermentation
- Cover your container tightly to prevent drying out
- Check the dough occasionally—it should increase by about 50% in size
- Bring to room temperature for 30-60 minutes before shaping
For Cold Proofing:
- Shape your dough with slightly less tension than normal
- Use bannetons or bowls lined with floured cloth
- Cover well to prevent skin formation
- You can bake straight from the fridge—no need to warm up first
Recommended Product
Glad Cling N Seal Plastic Wrap for Food, Airtight Seal, 300 Square Foot Roll (Pack of 4)
Temperature Matters
Your refrigerator temperature significantly impacts both techniques. Too warm (above 40°F), and fermentation continues too quickly. Too cold (below 35°F), and the process nearly stops. Most home refrigerators run between 35-38°F, which is perfect for both methods.
Recommended Product
AFUN Chef Aprons for Men Women with Oversized Pockets
Troubleshooting Common Issues
Over-fermented during cold fermentation? Your dough will smell overly acidic and may not hold its shape well. Next time, use less starter or reduce the time.
Under-proofed after cold proofing? The bread might be dense with poor oven spring. Try extending the cold proof time or doing a final 30-minute room temperature proof.
Recommended Product
AFUN Chef Aprons for Men Women with Oversized Pockets
The Bottom Line
Both cold fermentation and cold proofing are incredible tools that can elevate your bread baking. Cold fermentation gives you complex flavors and better digestibility, while cold proofing offers convenience and better handling characteristics.
Start by experimenting with cold proofing—it's more forgiving and immediately improves your scoring game. Once you're comfortable, try incorporating cold fermentation into recipes like our No-Knead Sourdough Dinner Rolls for even more flavor development.
Remember, these techniques are about giving you more control over your schedule while improving your bread. Don't be afraid to experiment with timing—every kitchen and every starter is different.
Ready to put these techniques to work? Pick a recipe, embrace the cold, and discover how temperature control can transform your sourdough journey. Your future self (and your taste buds) will thank you!
Comments
Sign in to join the conversation
Sign In